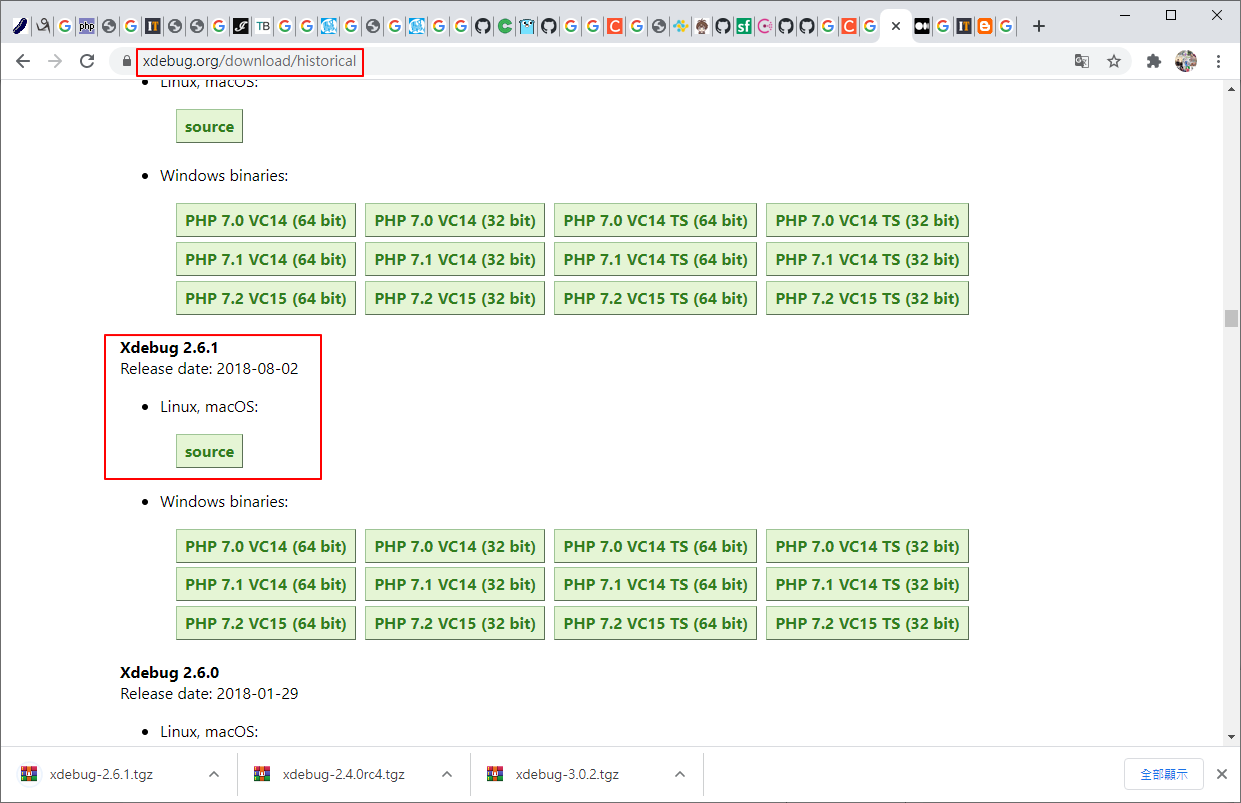
Xdebug 2.6.1
Release date: 2018-08-02
https://xdebug.org/download/historical
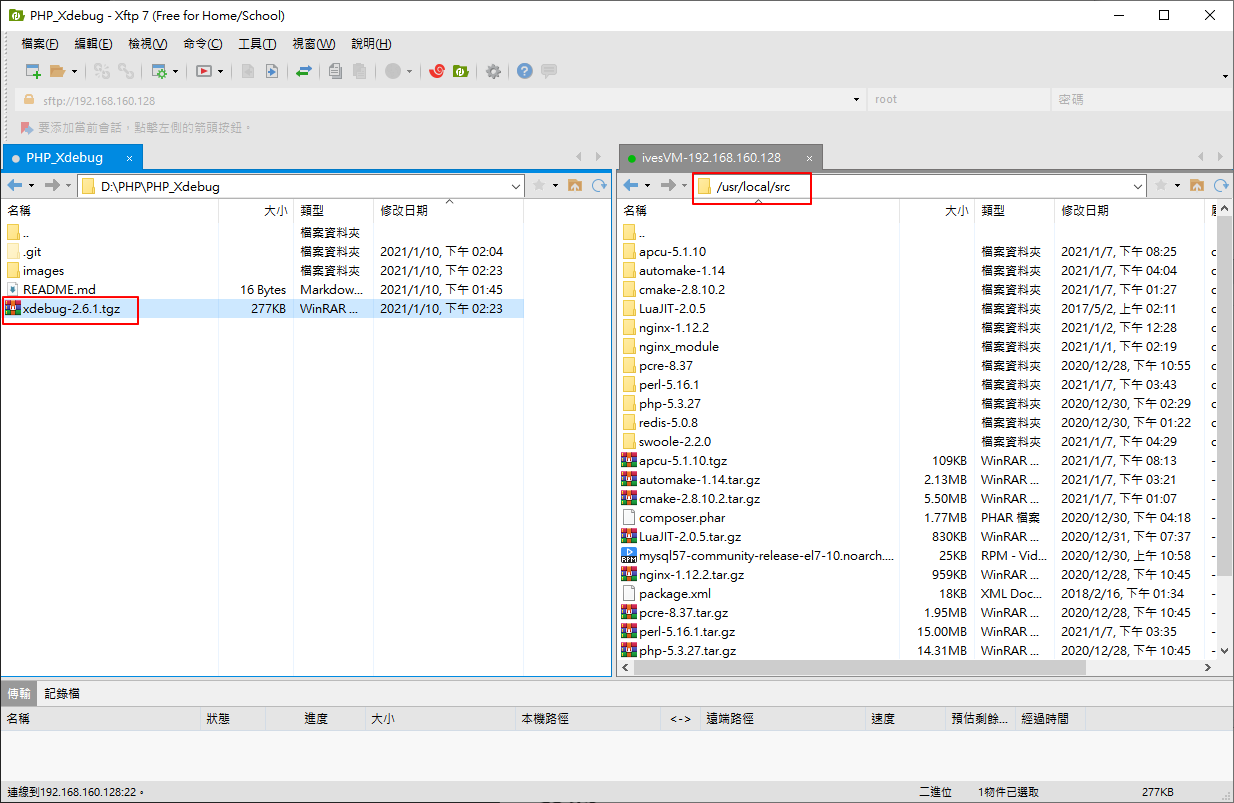
拷貝到對應的資料夾
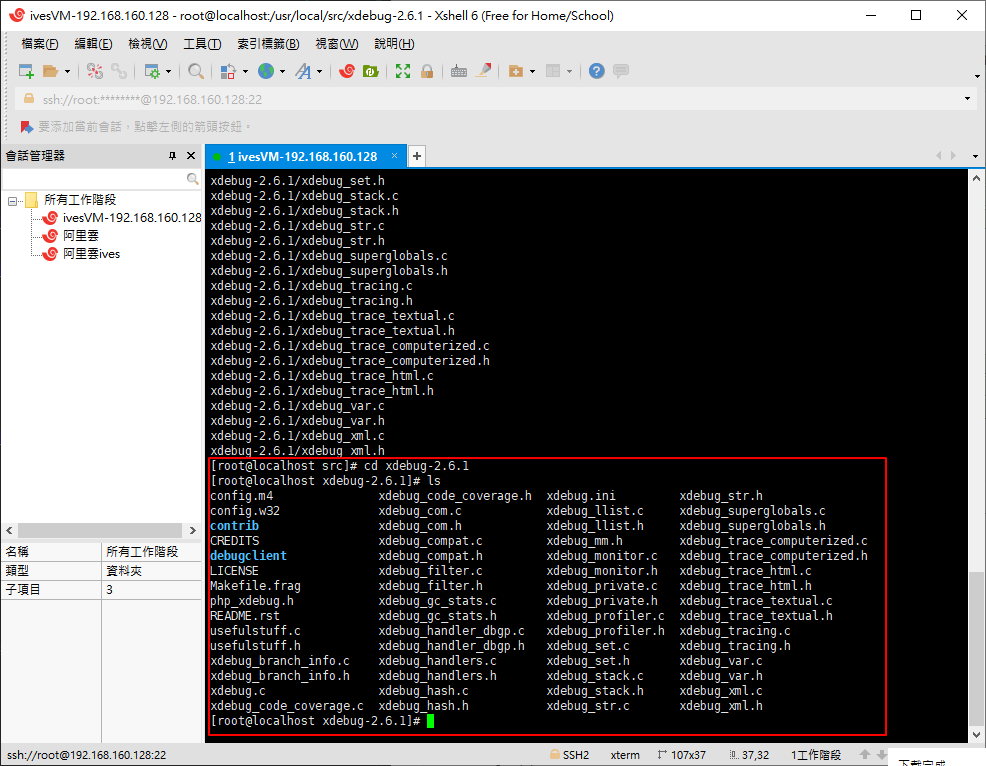
解壓
tar -zxvf xdebug-2.6.1.tgzcd xdebug-2.6.1查看一下,並沒有configure檔(綠色的)
找到phpize的位置
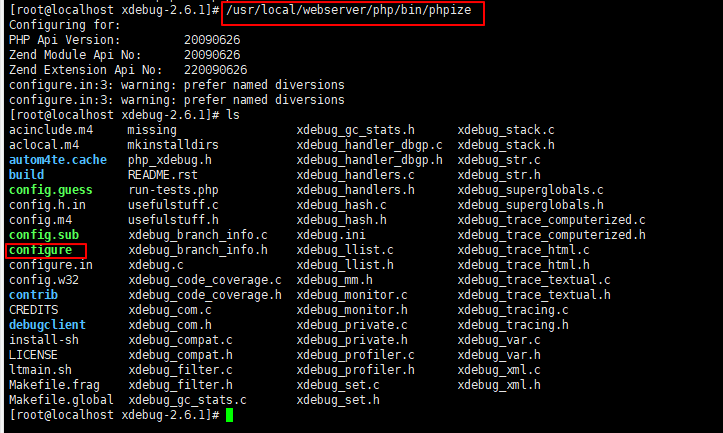
find / -name phpize執行phpize
/usr/local/webserver/php/bin/phpize

或

/usr/bin/phpize
產生對應的configure檔案了
找到php-config的位置
在/usr/local/webserver/php/bin/php-config
find / -name php-config--with-php-config= 填入對應的目錄
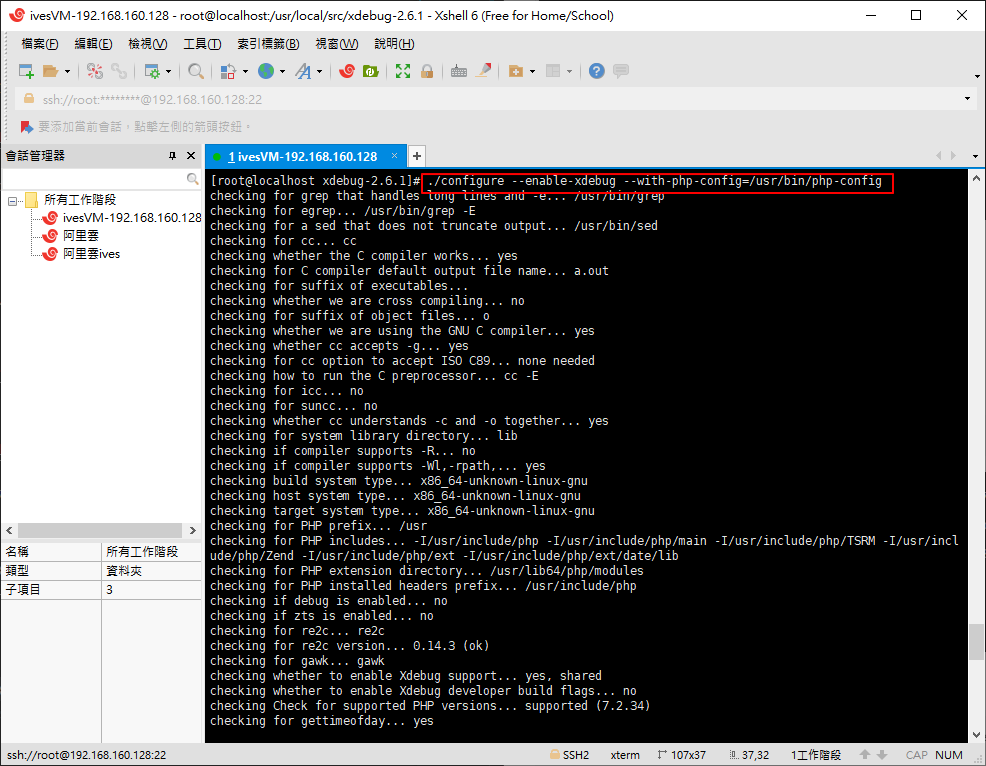
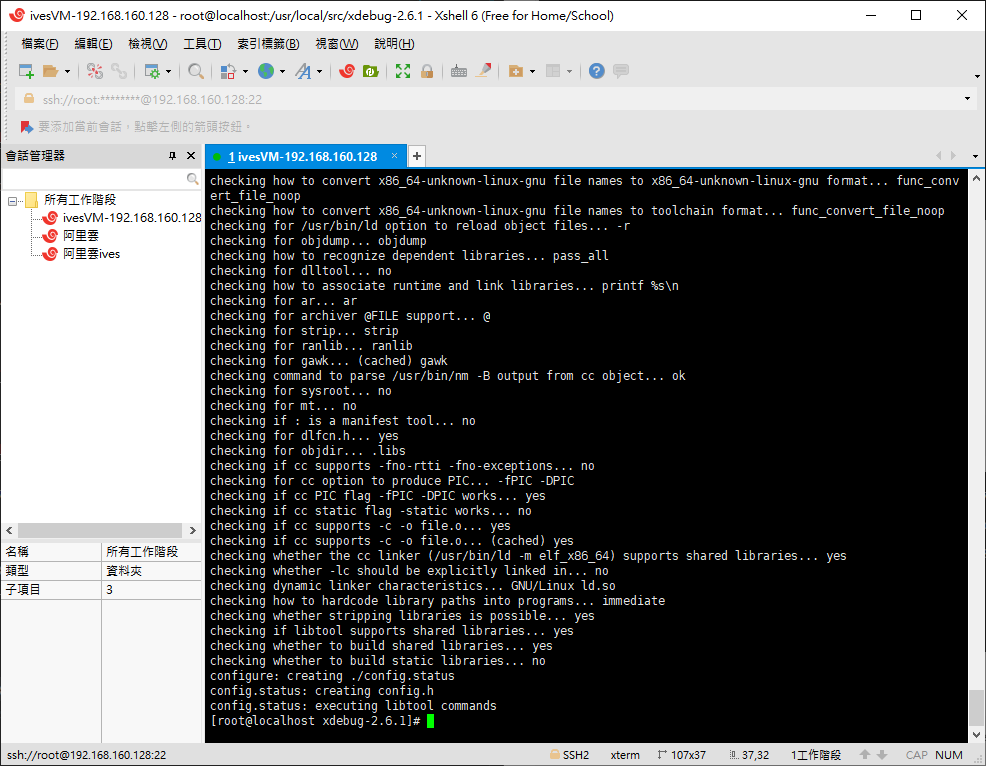
./configure --enable-xdebug --with-php-config=/usr/local/webserver/php/bin/php-config

或

./configure --enable-xdebug --with-php-config=/usr/bin/php-config
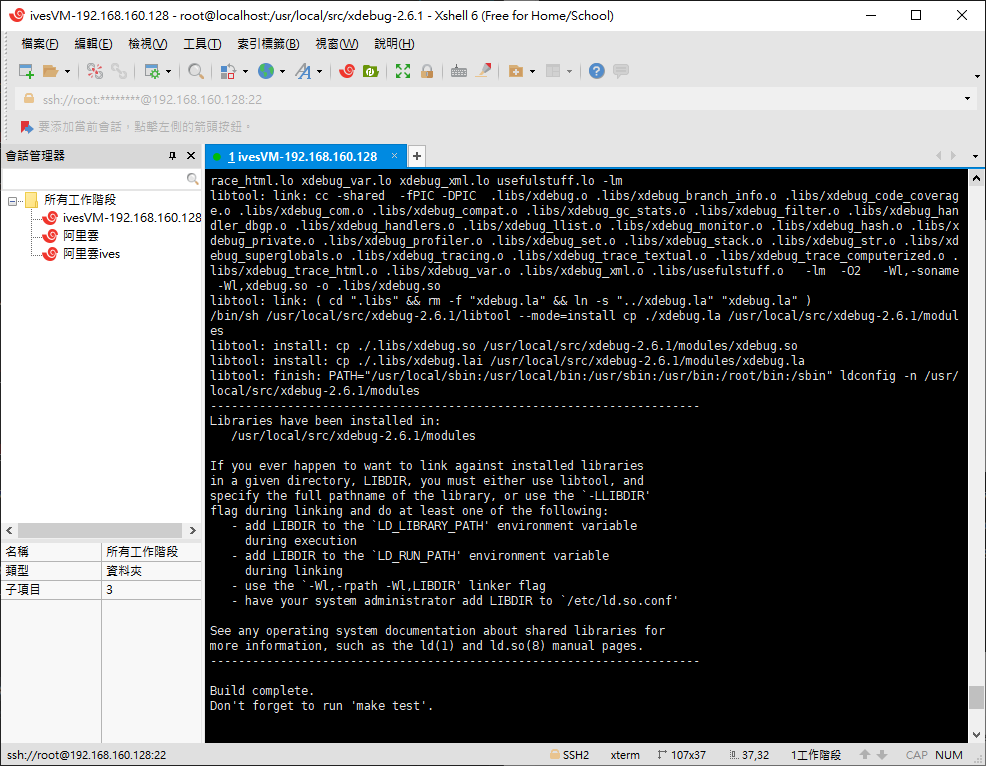
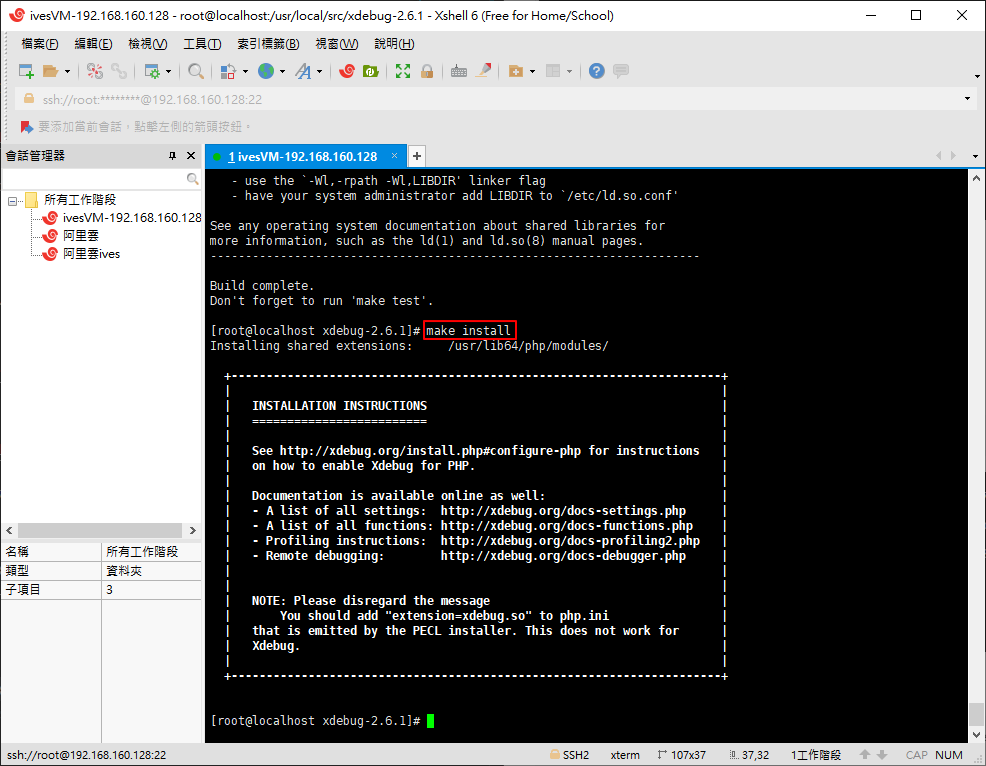
makemake install找尋php.ini檔
find / -name php.ini拷貝一份並在最下面加上擴展
zend_extension=xdebug.so

xdebug.remote_autostart=1
xdebug.remote_host=196.168.160.128
xdebug.remote_port=8000
xdebug.remote_enable=on
存放到php-fpm的設定檔目錄(依自己安裝的目錄而有異動)
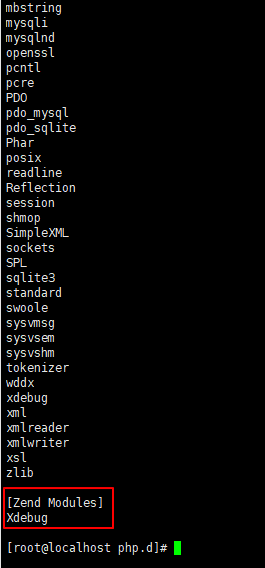
再重啟php-fmp下指令php-m應該就可以看到xdebug了!!
php -mcd /etc/php.d/在/etc/php.d/隨意拷一個設定檔,改名成swoole.ini,並修改內容增加擴展
cp 20-mysqlnd.ini xdebug.ini
vi xdebug.ini
zend_extension=xdebug.so
xdebug.remote_autostart=1
xdebug.remote_host=196.168.160.128
xdebug.remote_port=8000
xdebug.remote_enable=onphp -mzend_extension=xdebug.so
xdebug.remote_autostart=1
xdebug.remote_host=196.168.160.128
xdebug.remote_port=8000
xdebug.remote_enable=on