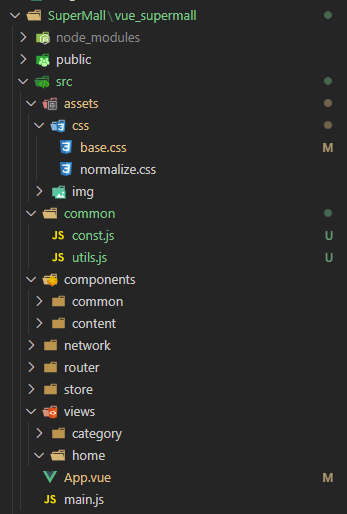
電商 購物網站建構
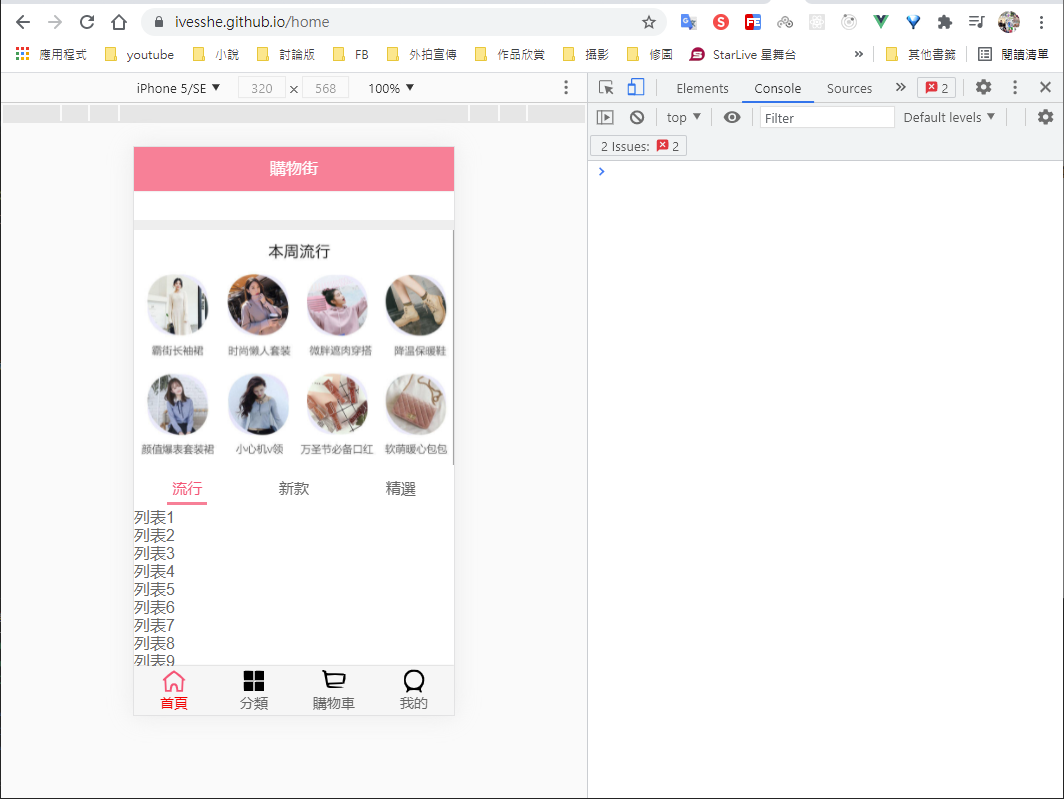
Github展示(開發中)
webpack全局安裝
npm i webpack -g
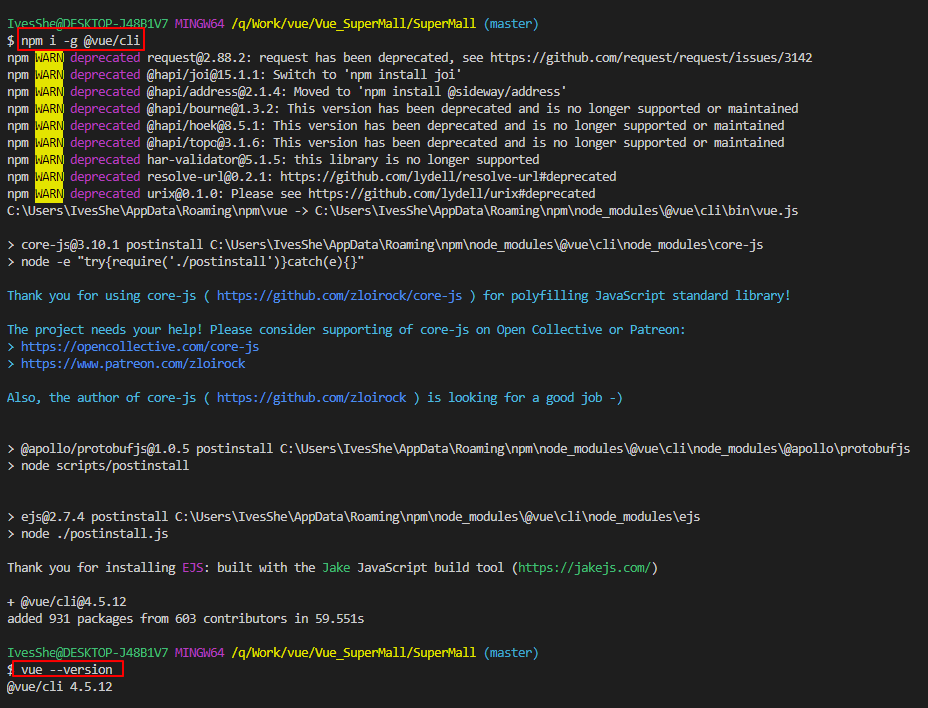
npm i -g @vue/clivue create supermall上面安裝的是Vue CLI4的版本,如果想要按照Vue CLI2的方式初始化是不可以的,如果需要使用舊版本的vue init功能,需要全局安裝一個橋接工具
npm i -g @vue/cli-init之後才能使用
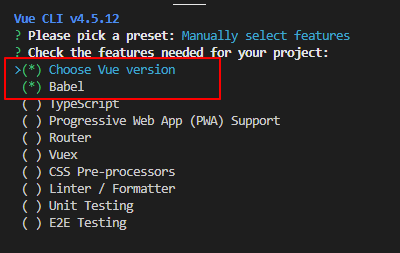
vue init webpack myProjectvue create vue_supermall選擇自訂安裝
這邊其實是要拉掉Linter的預設安裝
選擇使用Vue2或Vue3
選擇package.json的方式
最後會詢問是否將這次的設定儲存,我選擇yes,存為ives_vue2這名稱
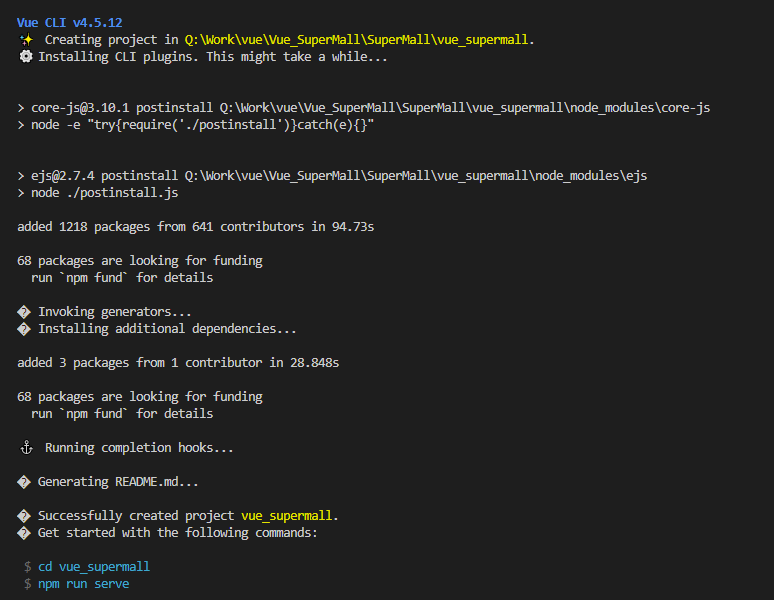
cd vue_supermall
npm run serve
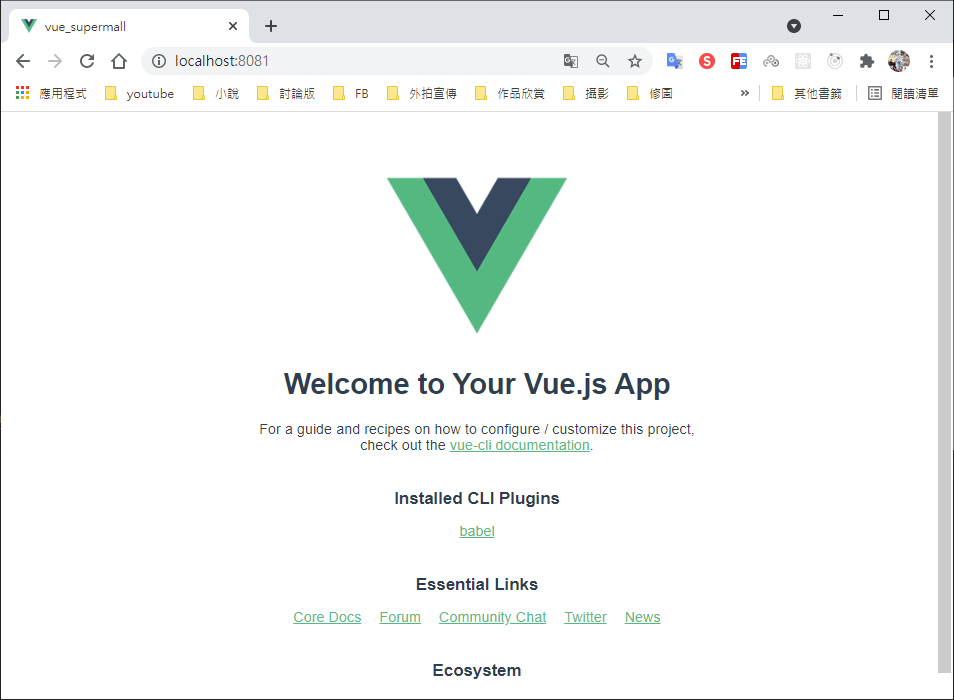
運行成功
方便開發
https://github.com/necolas/normalize.css/
https://cli.vuejs.org/zh/guide/installation.html
https://cli.vuejs.org/zh/guide/creating-a-project.html
normalize.css
參考官網並下載
https://github.com/necolas/normalize.css/
base.css
@import "./normalize.css";

/*:root -> 获取根元素html*/
:root {
  --color-text: #666;
  --color-high-text: #ff5777;
  --color-tint: #ff8198;
  --color-background: #fff;
  --font-size: 14px;
  --line-height: 1.5;
}

*,
*::before,
*::after {
  margin: 0;
  padding: 0;
  box-sizing: border-box;
}

body {
  font-family: "Helvetica Neue",Helvetica,"PingFang SC","Hiragino Sans GB","Microsoft YaHei","微软雅黑",Arial,sans-serif;
  user-select: none; /* 禁止用户鼠标在页面上选中文字/图片等 */
  -webkit-tap-highlight-color: transparent; /* webkit是苹果浏览器引擎,tap点击,highlight背景高亮,color颜色,颜色用数值调节 */
  background: var(--color-background);
  color: var(--color-text);
  /* rem vw/vh */
  width: 100vw;
}

a {
  color: var(--color-text);
  text-decoration: none;
}


.clear-fix::after {
  clear: both;
  content: '';
  display: block;
  width: 0;
  height: 0;
  visibility: hidden;
}

.clear-fix {
  zoom: 1;
}

.left {
  float: left;
}

.right {
  float: right;
}
module.exports = {
    configureWebpack: {
        resolve: {
            alias: {
                'assets': '@/assets',
                'common': '@/common',
                'components': '@/components',
                'network': '@/network',
                'views': '@/views',
            }
        }
    }
}統一代碼風格
root = true

[*]
charset = utf-8
indent_style = space
indent_size = 2
end_of_line = lf
insert_final_newline = true
trim_trailing_whitespace = true
npm i vue-router --save官網
https://better-scroll.github.io/docs/zh-CN/guide/
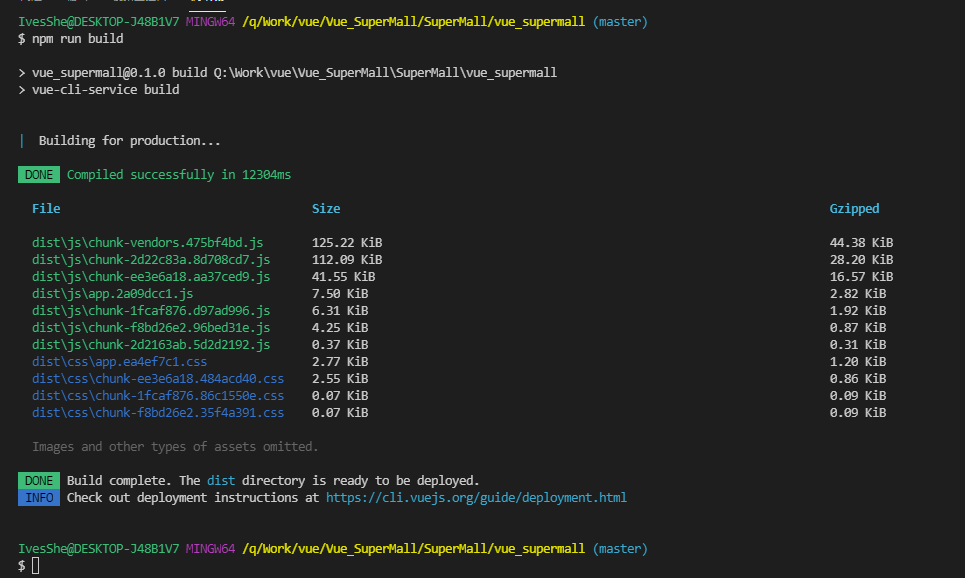
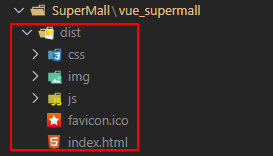
npm i better-scroll --savenpm install --save axiosnpm run build<link rel="icon" href="<%= BASE_URL %>favicon.ico"><template>
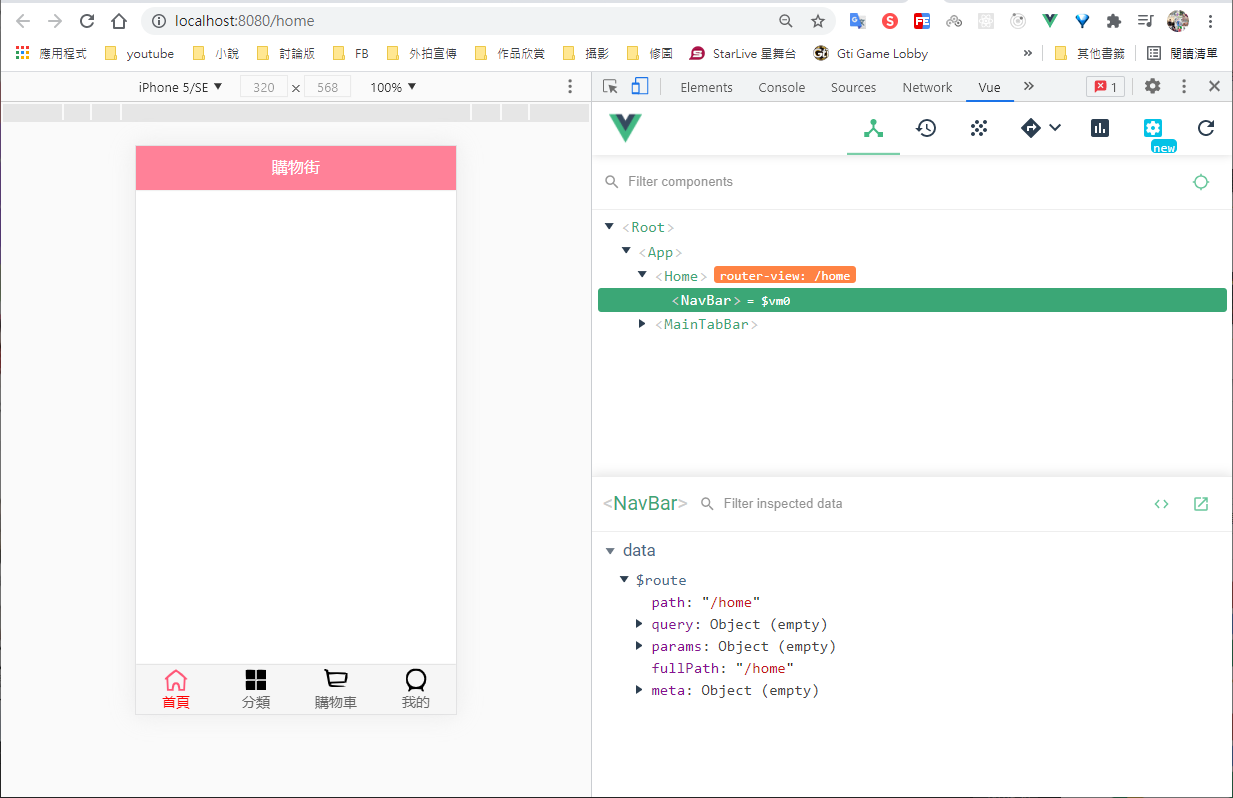
<div id="home">
<nav-bar class="home-nav"><div slot="center">購物街</div></nav-bar>
</div>
</template>
<script>
import NavBar from 'components/common/navbar/NavBar'
export default {
name: "Home",
components: {
NavBar
}
}
</script>
<style scoped>
.home-nav {
background-color: var(--color-tint);
color: #fff;
}
</style><template>
<div class="nav-bar">
<div class="left"><slot name="left"></slot></div>
<div class="center"><slot name="center"></slot></div>
<div class="right"><slot name="right"></slot></div>
</div>
</template>
<script>
export default {
}
</script>
<style>
.nav-bar {
display: flex;
height: 44px;
line-height: 44px;
text-align: center;
box-shadow: 0 1px 1px rgba(100,100,100,.1);
}
.left, .right {
width: 60px;
/* background-color: red; */
}
.center {
flex: 1;
/* background-color: blue; */
}
</style>組件建立完成時,請求數據
import { request } from "./request";

export function getHomeMultidata(){
    return request({
        url: '/home/multidata'
    })
}import {getHomeMultidata} from "network/home"
export default {
name: "Home",
components: {
NavBar
},
data(){
return {
// result: null,
banners: [],
recommends: []
}
},
created() {
// 1.請求多個數據
getHomeMultidata().then(res => {
console.log(res);
// this.result = res;
// console.log("@@@result",this.result);
this.banners = res.data.banner.list;
this.recommends = res.data.recommend.list;
})
},
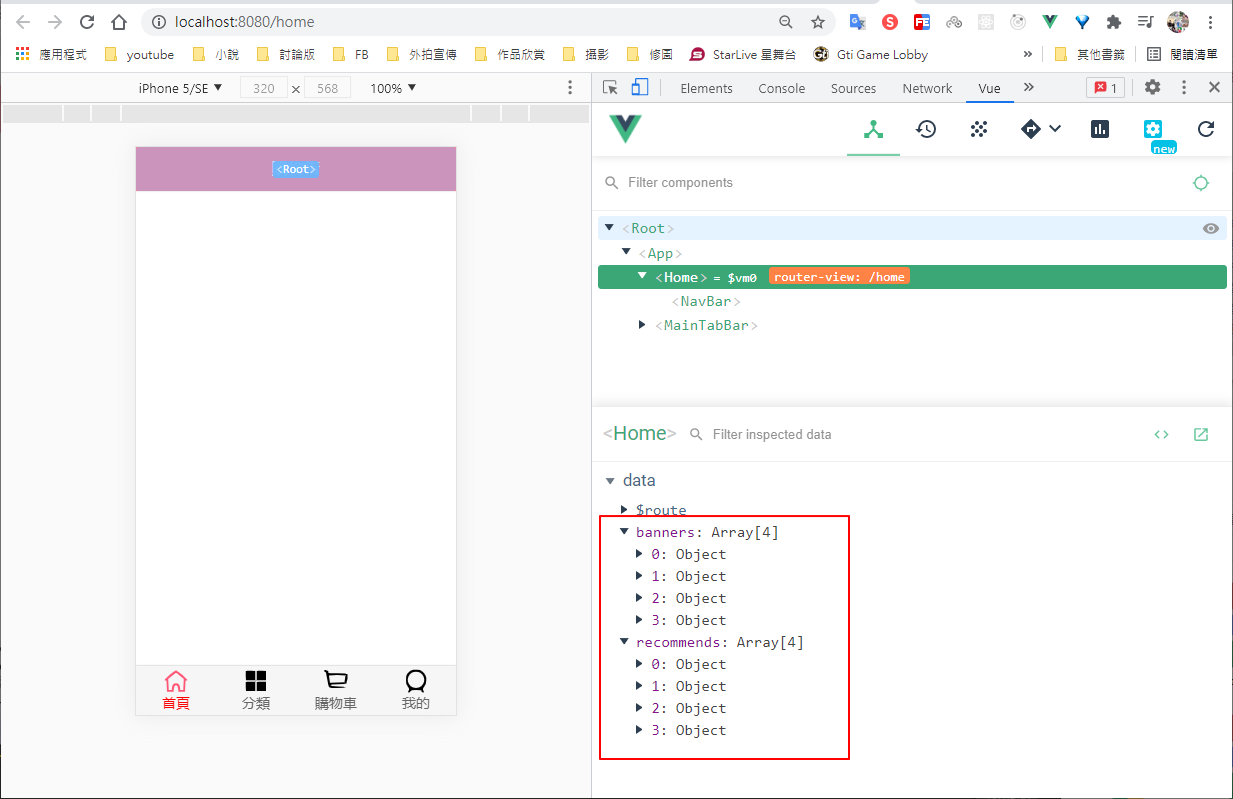
}訪問得到的資料,已存放在data
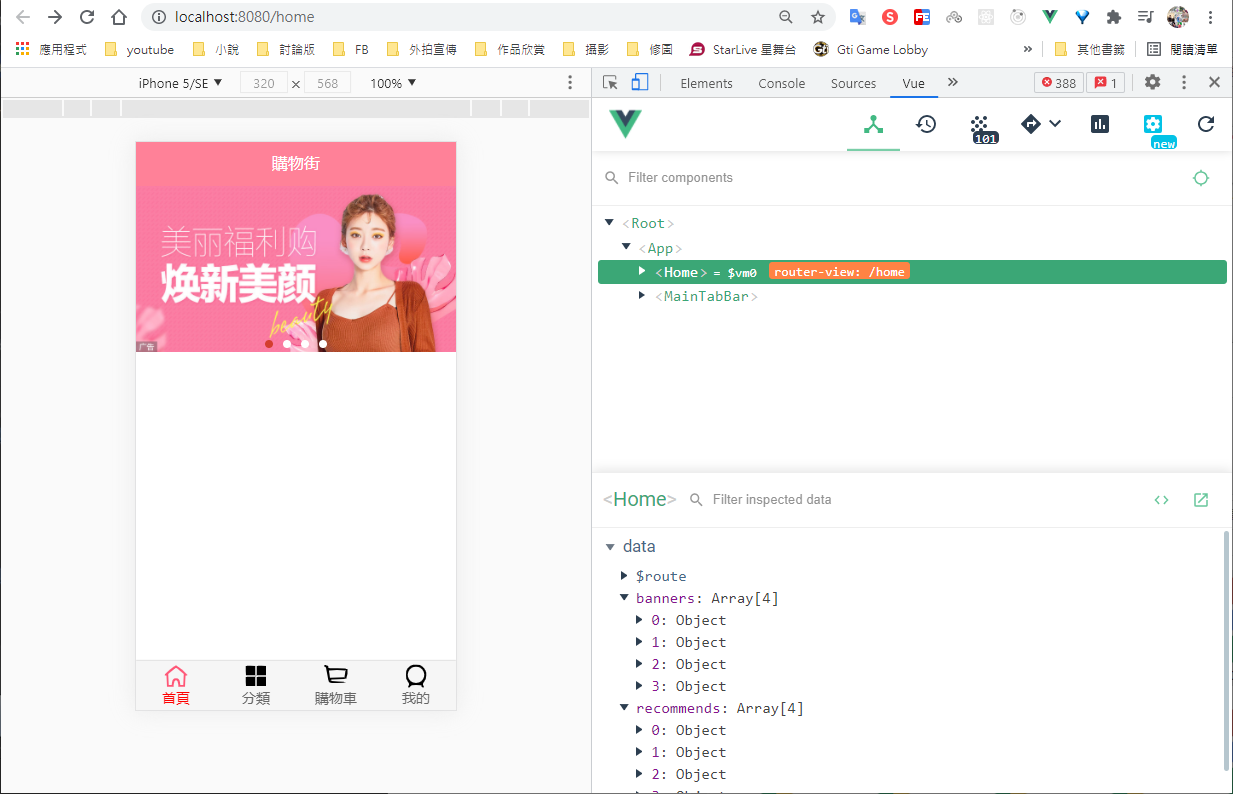
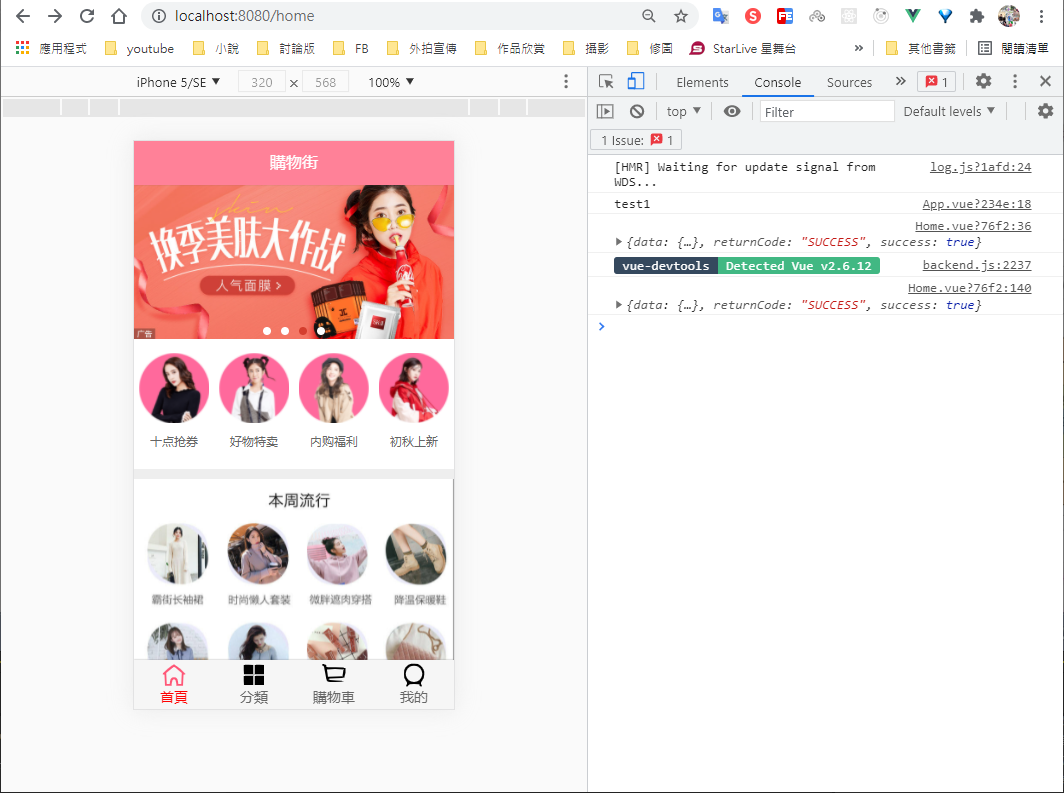
直接使用封裝好的swiper組件
將使用輪播圖的代碼,再封裝成一個組件,給Home.vue使用
<template>
  <swiper>
          <swiper-item v-for="item in banners" :key="item">
              <a :href="item.link">
                  <img :src="item.image" alt="">
              </a>
          </swiper-item>
      </swiper>
</template>

<script>
import {Swiper, SwiperItem} from 'components/common/swiper'

export default {
    name: "HomeSwiper",
    props: {
        banners: {
            type: Array,
            default() {
                return []
            }
        }
    },
    components: {
        Swiper,
        SwiperItem
    },
}
</script>

<style>

</style><template>
<div id="home">
<nav-bar class="home-nav"><div slot="center">購物街</div></nav-bar>
<home-swiper :banners="banners"/>
</div>
</template>
<script>
import NavBar from 'components/common/navbar/NavBar'
import HomeSwiper from './childComps/HomeSwiper'
import {getHomeMultidata} from "network/home"
export default {
name: "Home",
components: {
NavBar,
HomeSwiper
},因為創專案時,預設使用到eslint
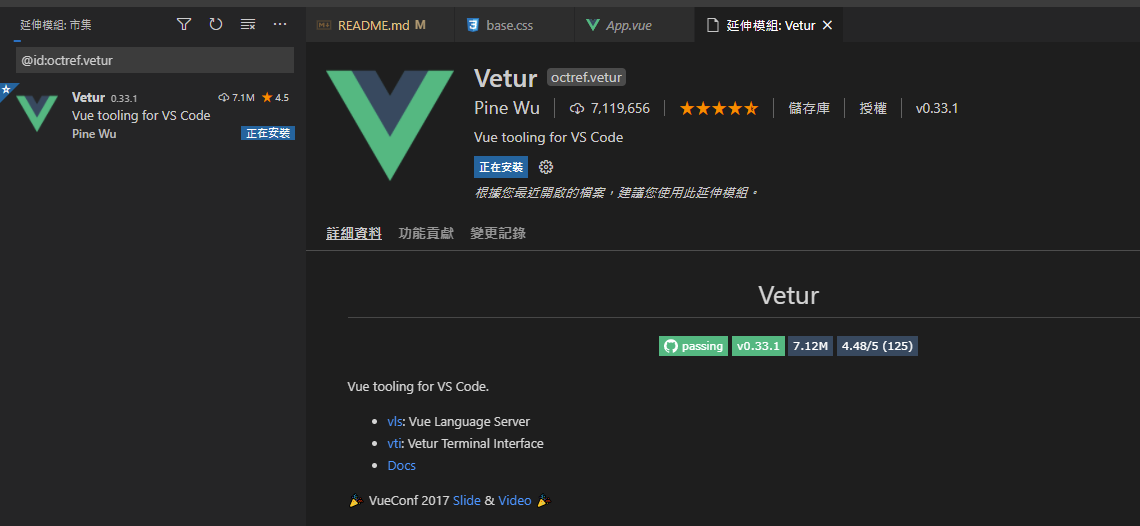
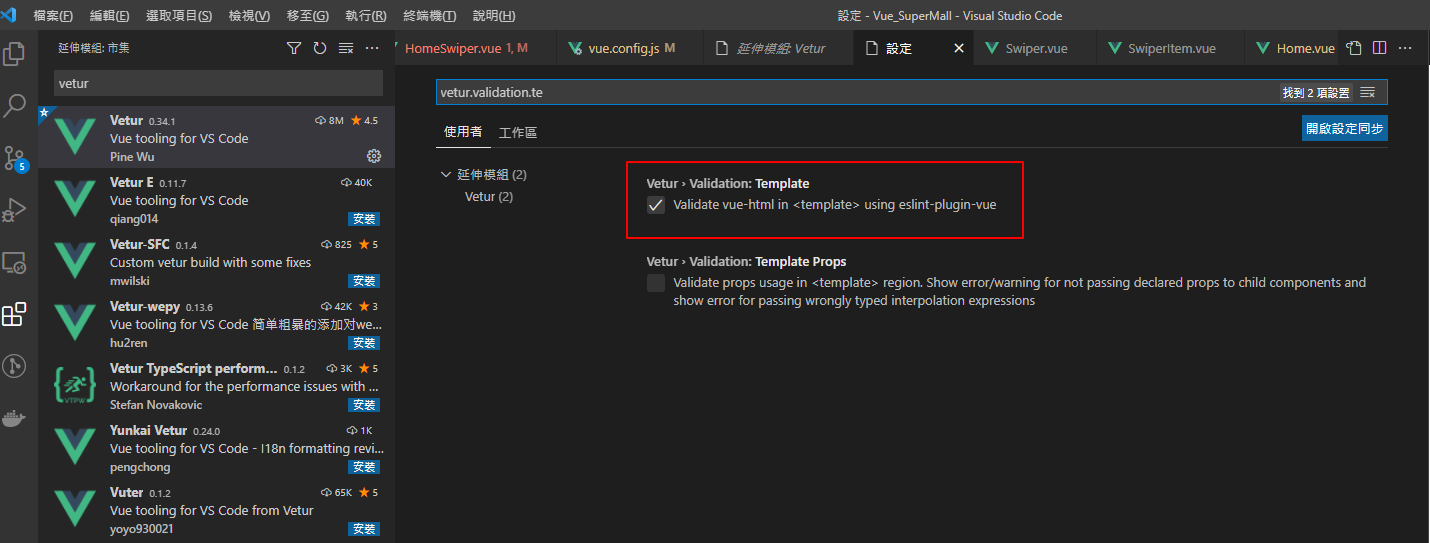
VSCode也裝了Vetur,會跳eslint的警告
需要分別關閉
關閉專案eslint的檢察
module.exports = {
    lintOnSave:false //關閉eslint檢查
}
關閉Vetur eslint的檢查
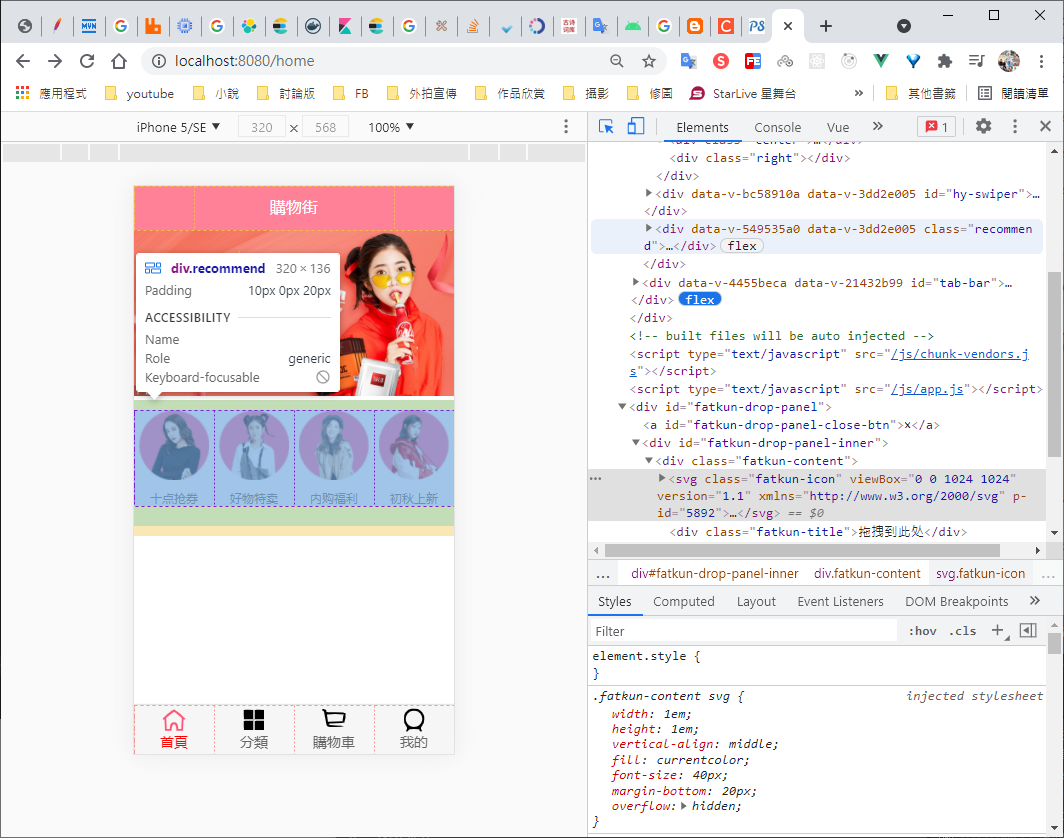
<template>
  <div class="recommend">
      <div v-for="item in recommends" class="recommend-item">
          <a :href="item.link">
              <img :src="item.image" alt="">
              <div>{{item.title}}</div>
          </a>
      </div>
  </div>
</template>

<script>
export default {
    name: "RecommendView",
    props: {
        recommends: {
            type: Array,
            default() {
                return []
            }
        }
    }
}
</script>

<style scoped>
    .recommend {
        display: flex;
        text-align: center;
        font-size: 12px;

        padding: 10px 0 20px;
        border-bottom: 10px solid #eee;
    }

    .recommend-item {
        flex: 1
    }

    .recommend-item img {
        width: 70px;
        height: 70px;
        margin-bottom: 10px;
    }
</style><template>
<div id="home">
<nav-bar class="home-nav"><div slot="center">購物街</div></nav-bar>
<home-swiper :banners="banners"/>
<recommend-view :recommends="recommends"/>
</div>
</template>
<script>
import RecommendView from './childComps/RecommendView'
export default {
components: {
RecommendView
},
</script> <template>
<div class="feature">
<a href="https://act.mogujie.com/zzlx67">
<img src="~assets/img/home/recommend_bg.jpg" alt="">
</a>
</div>
</template>
<script>
export default {
name: "FeatureView"
}
</script>
<style scoped>
.feature img {
width: 100%;
}
</style><template>
<div id="home">
<nav-bar class="home-nav"><div slot="center">購物街</div></nav-bar>
<home-swiper :banners="banners"/>
<recommend-view :recommends="recommends"/>
<feature-view/>
</div>
</template>
<script>
import NavBar from 'components/common/navbar/NavBar'
import HomeSwiper from './childComps/HomeSwiper'
import RecommendView from './childComps/RecommendView'
import FeatureView from './childComps/FeatureView'
import {getHomeMultidata} from "network/home"
export default {
name: "Home",
components: {
NavBar,
HomeSwiper,
RecommendView,
FeatureView
},
data(){
return {
// result: null,
banners: [],
recommends: []
}
},
created() {
// 1.請求多個數據
getHomeMultidata().then(res => {
console.log(res);
// this.result = res;
// console.log("@@@result",this.result);
this.banners = res.data.banner.list;
this.recommends = res.data.recommend.list;
})
},
}
</script>
<style scoped>
#home {
/* 留標頭的空間 */
padding-top: 44px;
}
.home-nav {
background-color: var(--color-tint);
color: #fff;
/* 解決標頭一起滾動的問題 */
position: fixed;
left: 0;
right: 0;
top: 0;
z-index: 9;
}
</style>新增列表假資料,方便滑動
ul>li{列表$}*100
<template>
  <div class="tab-control">
      <div v-for="(item,index) in titles"
      class="tab-control-item"
      :class="{active: index===currentIndex}"
      @click="itemClick(index)">
          <span>{{item}}</span>
      </div>
  </div>
</template>

<script>
export default {
    name: "TabControl",
    props: {
        titles: {
            type: Array,
            default() {
                return []
            }
        }
    },
    data() {
        return {
            currentIndex: 0
        }
    },
    methods: {
        itemClick(index) {
            this.currentIndex = index;
        }
    },
}
</script>

<style scoped>
    .tab-control {
        display: flex;
        text-align: center;
        font-size: 15px;

        height: 40px;
        line-height: 40px;
        background-color: #fff;
    }

    .tab-control-item {
        flex: 1;
    }

    .tab-control-item span {
        padding: 5px;
    }

    .active {
        color: var(--color-high-text);
    }

    .active span {
        border-bottom: 3px solid var(--color-tint);
    }
</style><template>
<div id="home">
<tab-control class="tab-control" :titles="['流行','新款','精選']"/>
</div>
</template>
<script>
import TabControl from 'components/content/tabControl/TabControl.vue'
export default {
name: "Home",
components: {
TabControl
},Home.vue
<template>
  <div id="home">
      <tab-control class="tab-control" :titles="['流行','新款','精選']"/>
  </div>
</template>

<script>

</script>

<style scoped>

    /* 鎖定TabControl的位置 */
    .tab-control {
        position: sticky;
        top: 44px;
    }
</style>
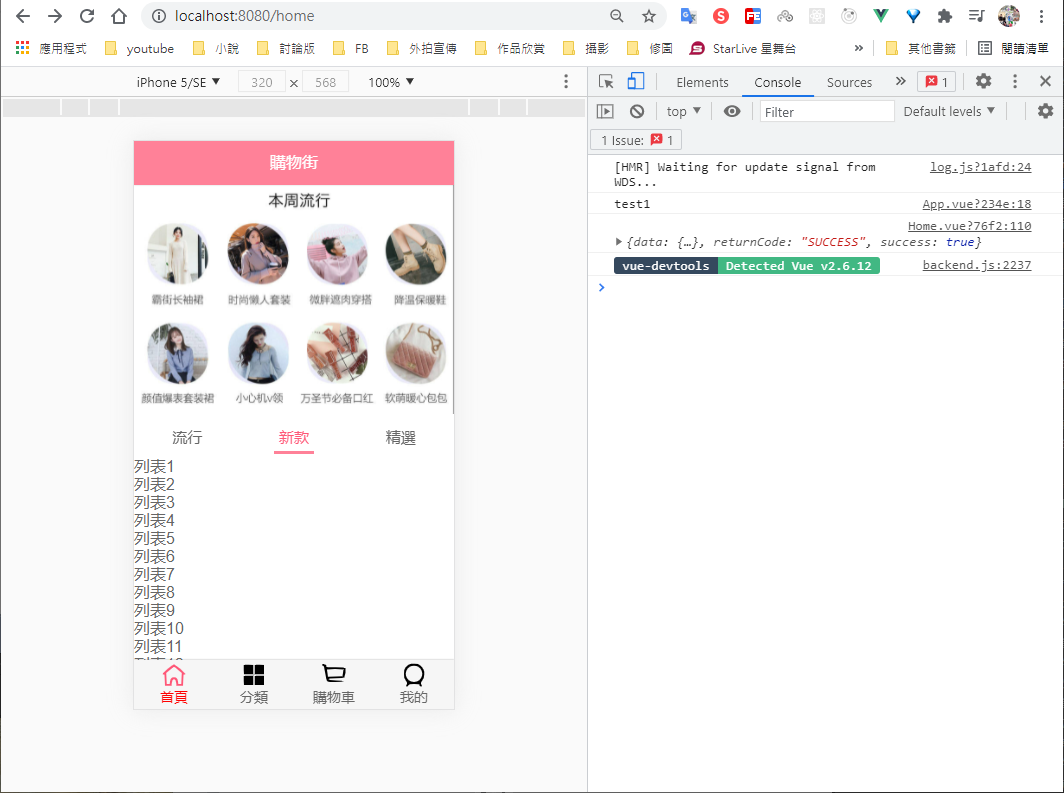
設定好之後Tab即會固定在上方固定的位置,當y值到上方44px時,即不受滾動影響
需修改vue.config.js的設定
新增這項設定
module.exports = {
    publicPath: process.env.NODE_ENV === 'production'
    ? '/Vue_SuperMall/'
    : '/'

}
Vue_SuperMall為github專案名稱
