- Visual Studio Code Download
- 64 bit System Installer (
VSCodeSetup-x64-1.57.1.exe- 78KB) - Default Installation Path (
C:\Program Files\Microsoft VS Code) - Installation Time (~5 mins)
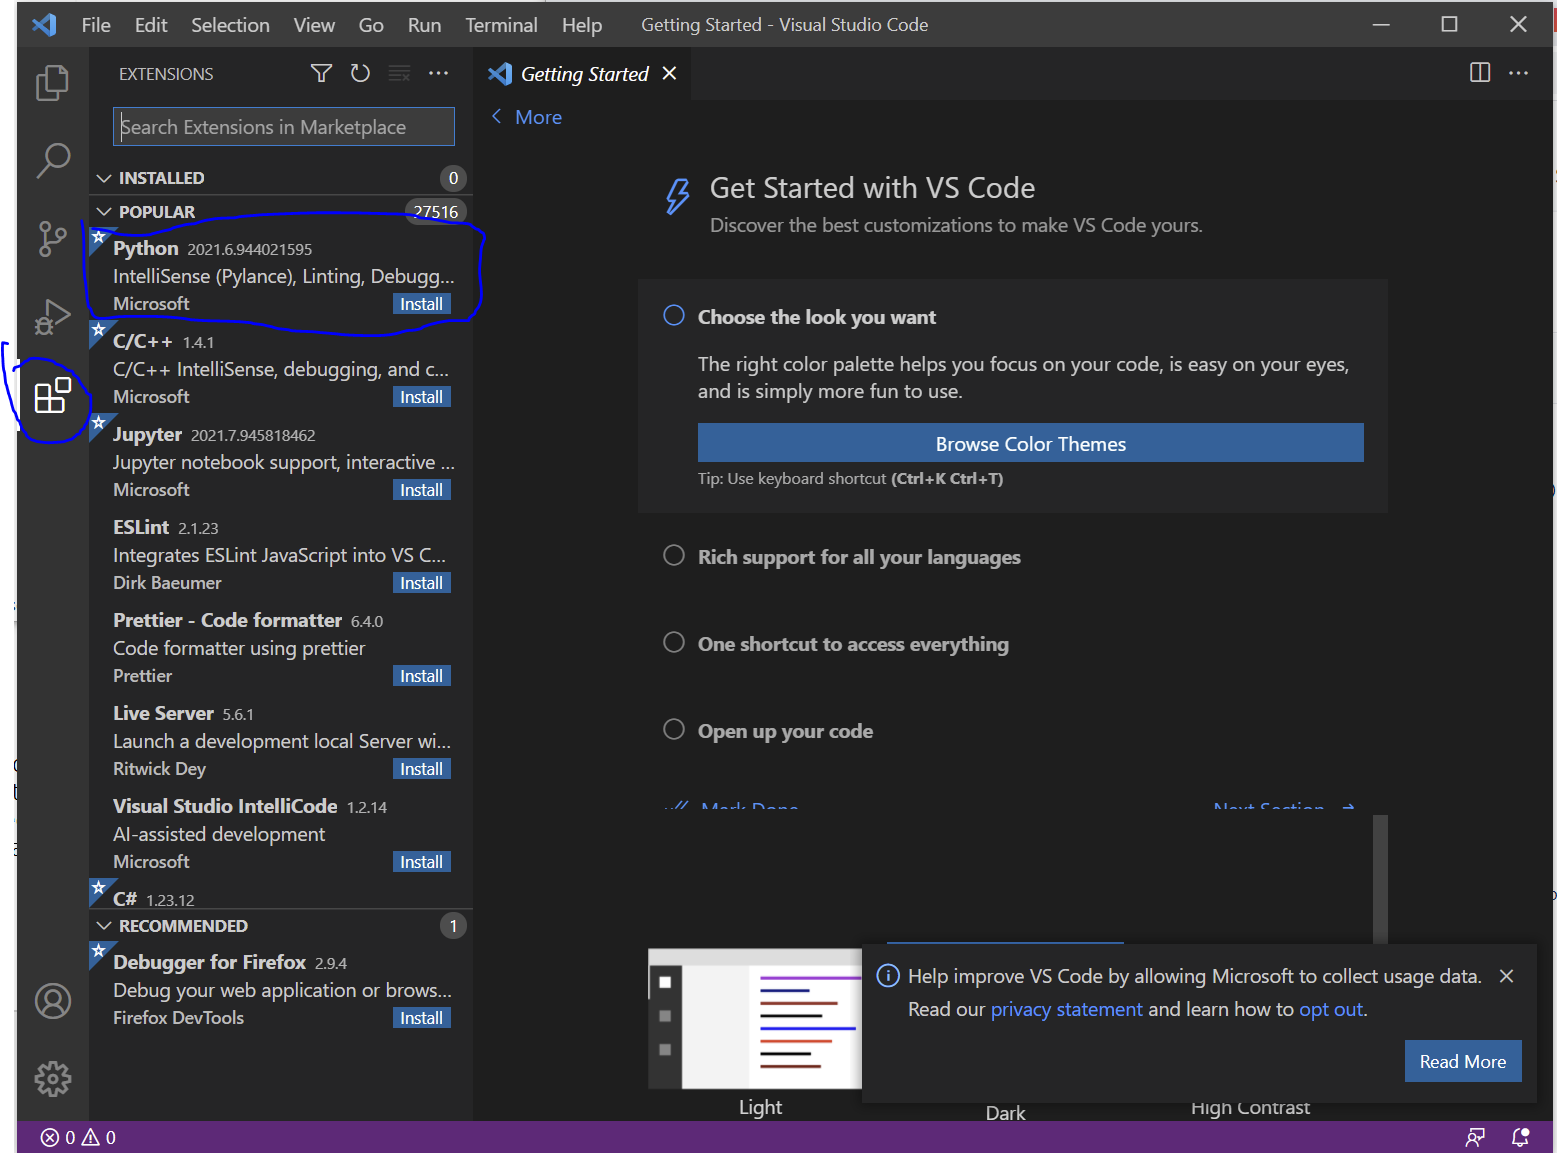
- Python Extension for VSCode Instruction
- Remote - SSH Extension
- Remote X11 (SSH) Extension
- Latest Version of Git for Windows
- Don't forget to add git to the system PATH
- Anaconda Installation Instructions
- Individual Version (
Anaconda3-2021.05-Windows-x86_64.exe- 488KB) - Installation Size (2.9 GB)
- Installed for all users at
C:\ProgramData\Anaconda3 - Installation Time (~30 mins)
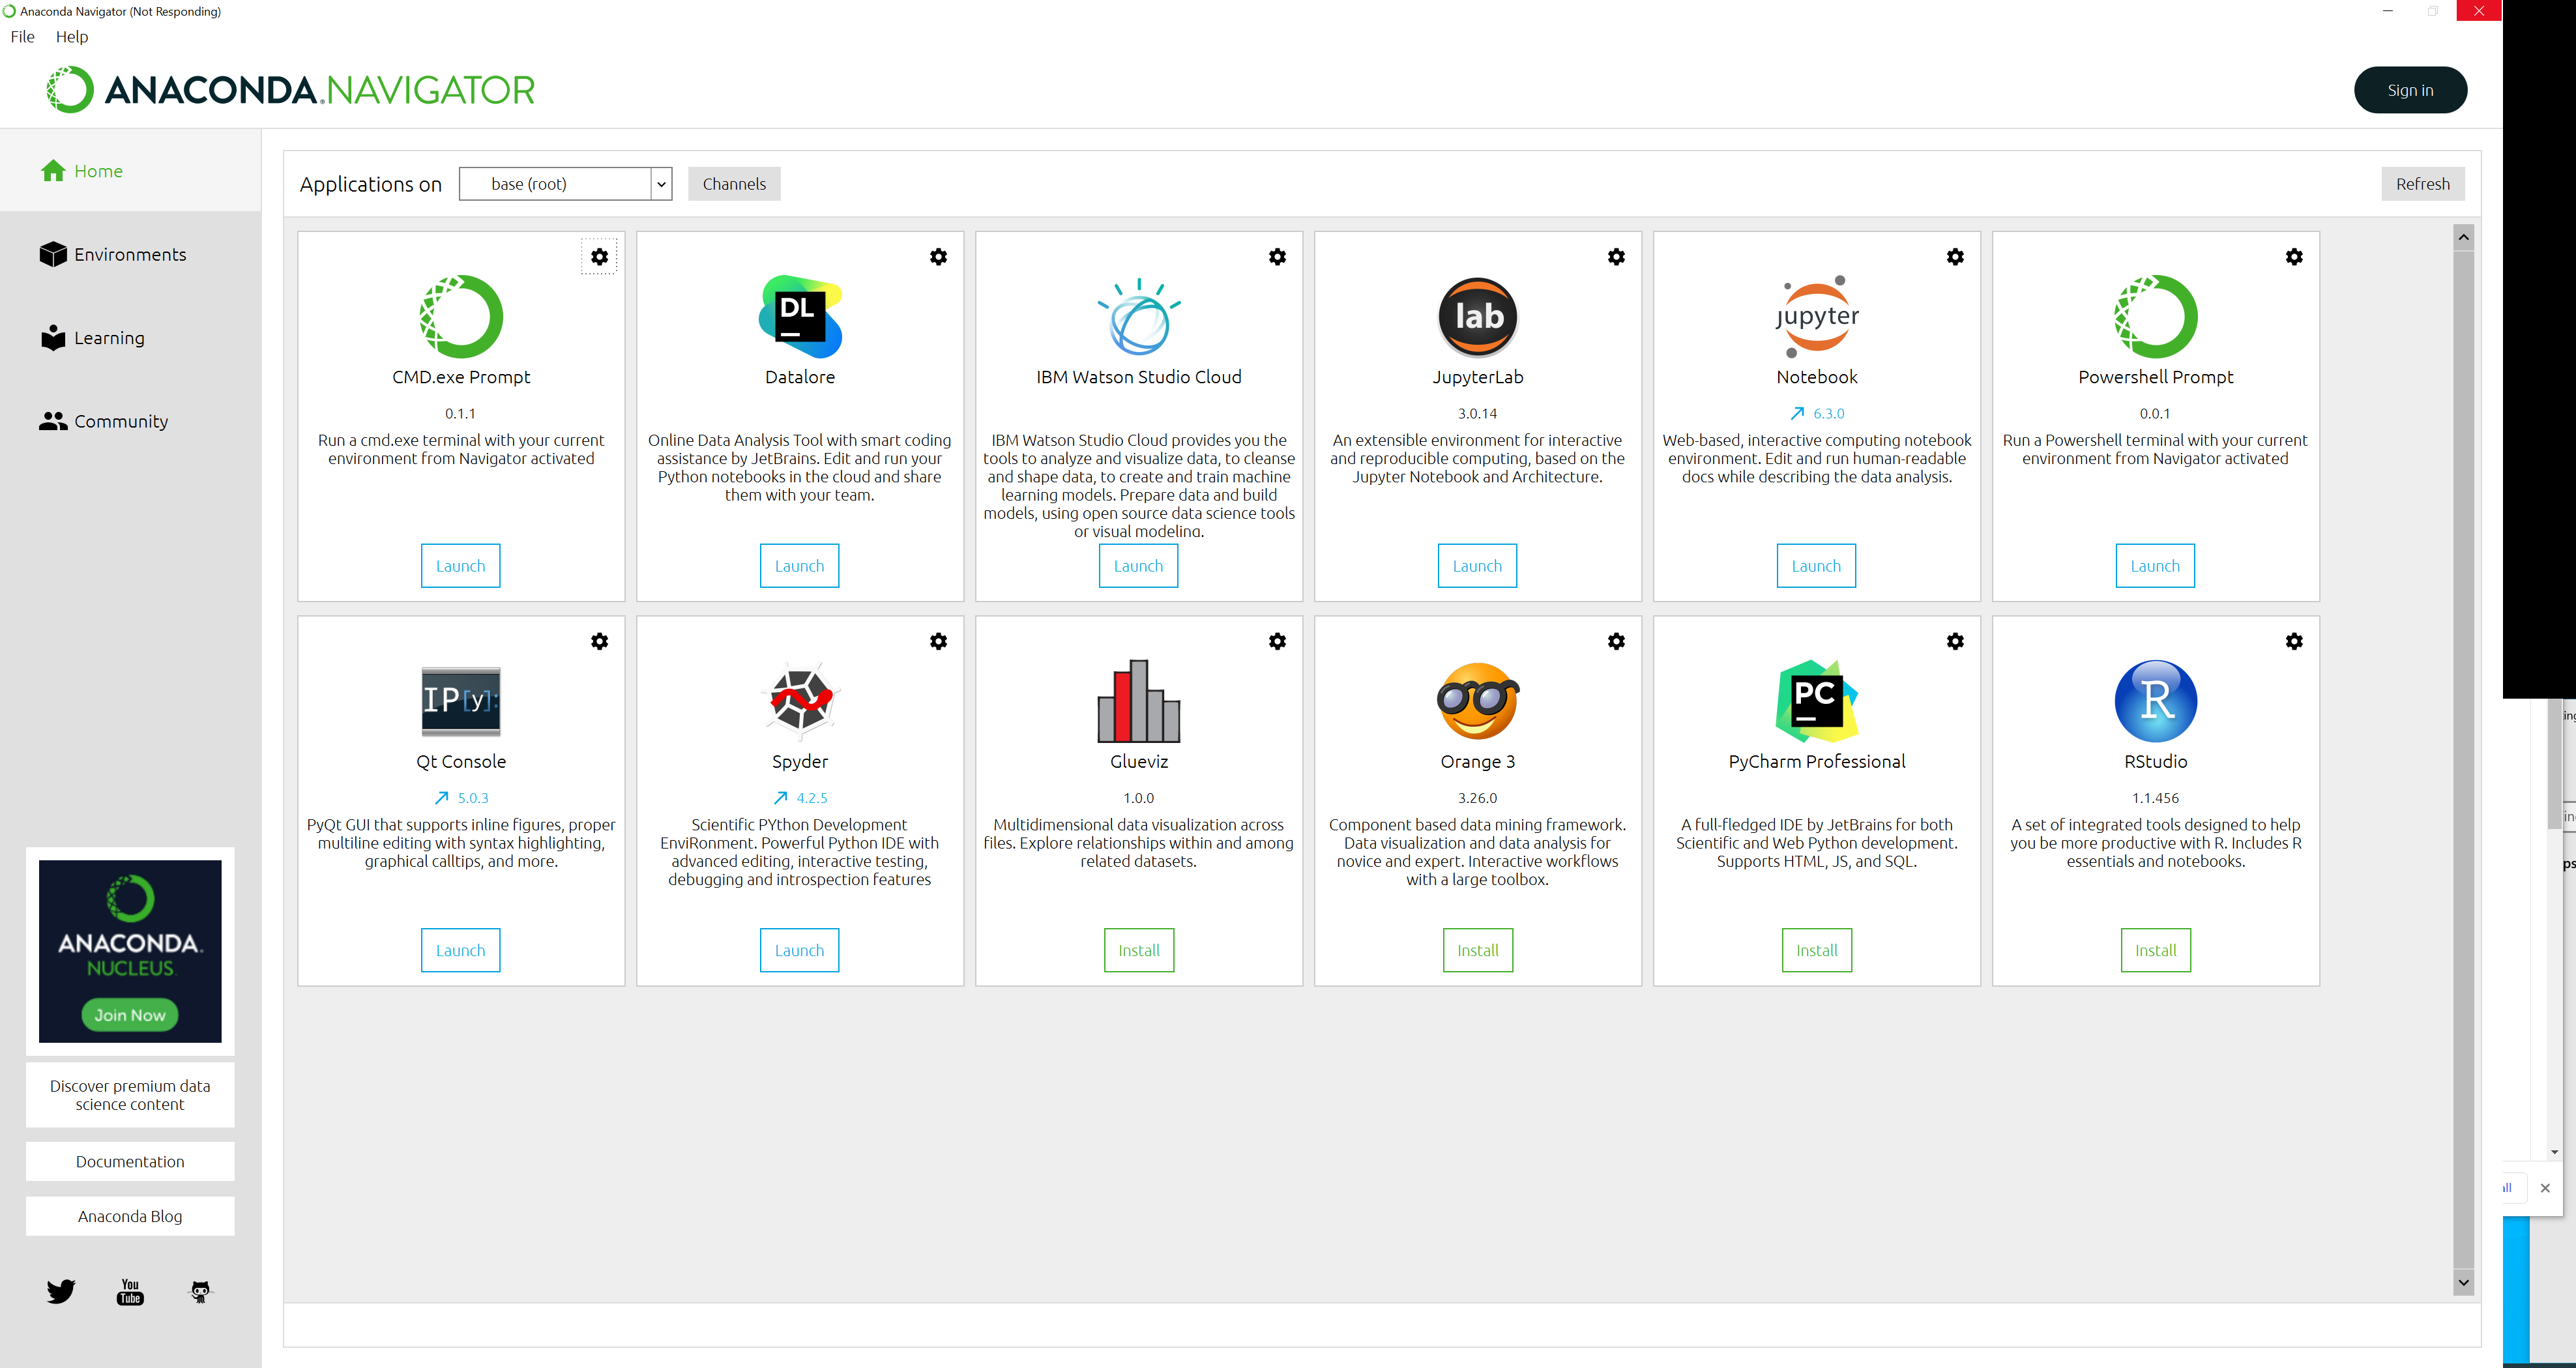
- Launch Anaconda Navigator
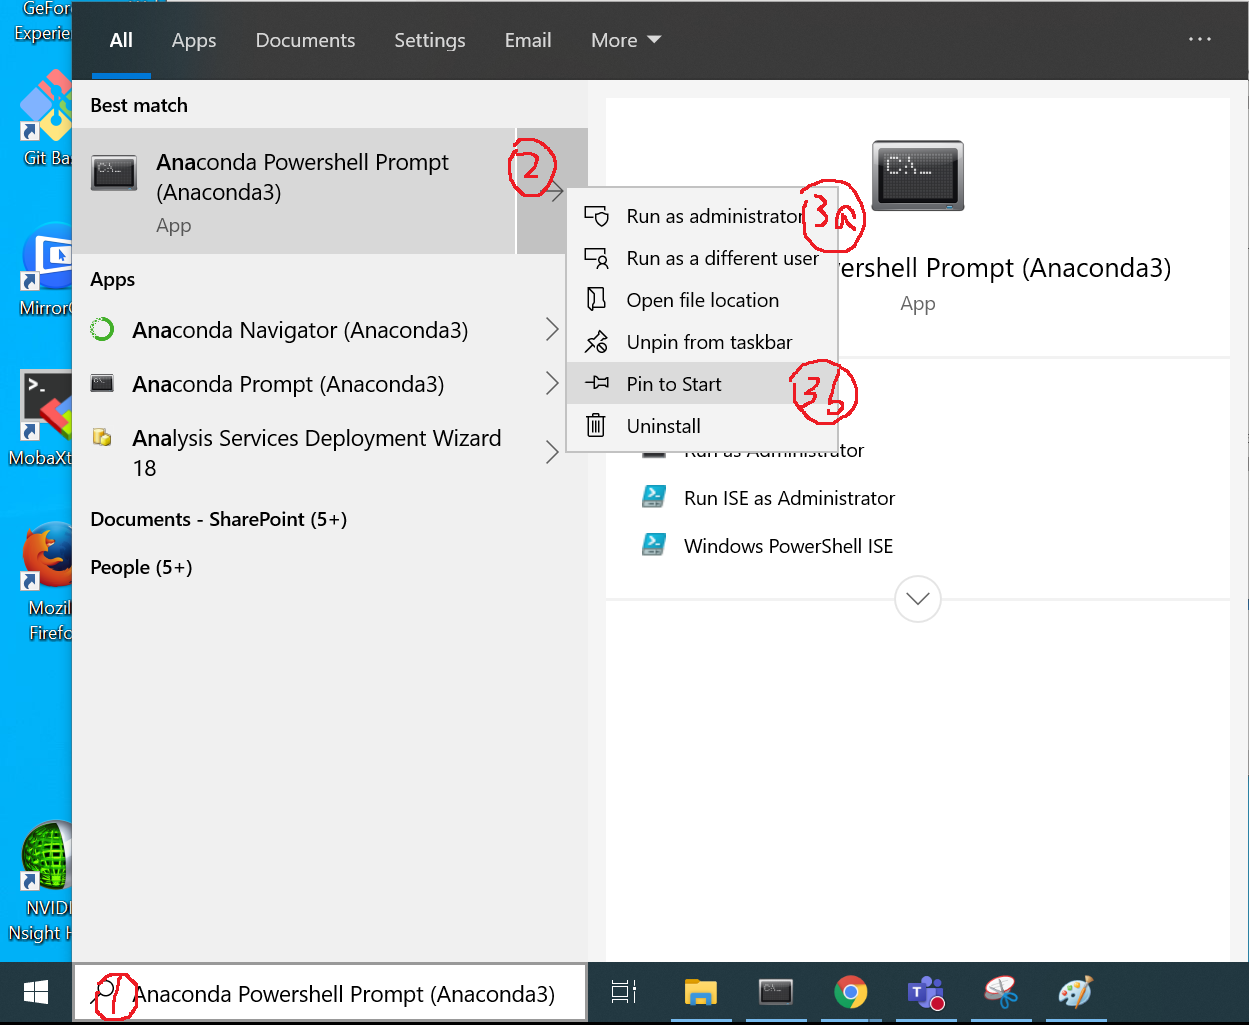
You can start a CMD or POWERSHELL console using the navigator, or following the steps 1 and 2 in the screenshot below to start a CMD or POWERSHELL. If you are intalling packages, you can right click the arrow to bring up a pop-up menu, run as adminstrator (Step 3a) or pin on taskbar (Step 3b) for future convenience.
If we install from this YAML file, then we can ignore all the following steps in Section 2.3.
conda create -p c:\envs\cits4012 --file cits4012.yml
If this is successful, you can ignore the rest of the steps below.
Need admin access to write to C drive (Run Conda Powershell as Administrator - right click on the icon)
conda create -p c:\envs\cits4012 python=3.8conda activate c:\envs\cits4012
- Instructions on how to use environment in VSCode
- Test to see if the CITS4012_base environment is available from VSCode
- Go back to Conda CMD.exe, check to see if you have
pipinstalled using
conda listpip install -U spacypython -m spacy download en_core_web_sm
- Find the Spacy version (we want v3+):
# Windows CMD
C:\> conda list | findstr "spacy"`

# Windows PowerShell
C:\> conda list | Select-String "spacy"

# Linux
$ conda list | grep "spacy"
- Click Start.
- On the Start menu, click Run.
- In the Open box, type "dxdiag" (without the quotation marks), and then click OK.
- The DirectX Diagnostic Tool opens. ...
- On the Display tab, information about your graphics card is shown in the Device section.
My laptop has NVIDIA GeForce MX130.
- with GPU
conda install pytorch torchvision torchaudio torchtext cudatoolkit=11.1 -c pytorch -c conda-forge
- CPU only
conda install pytorch torchvision torchaudio torchtext cpuonly -c pytorch -c conda-forge
conda install -c conda-forge tensorboard
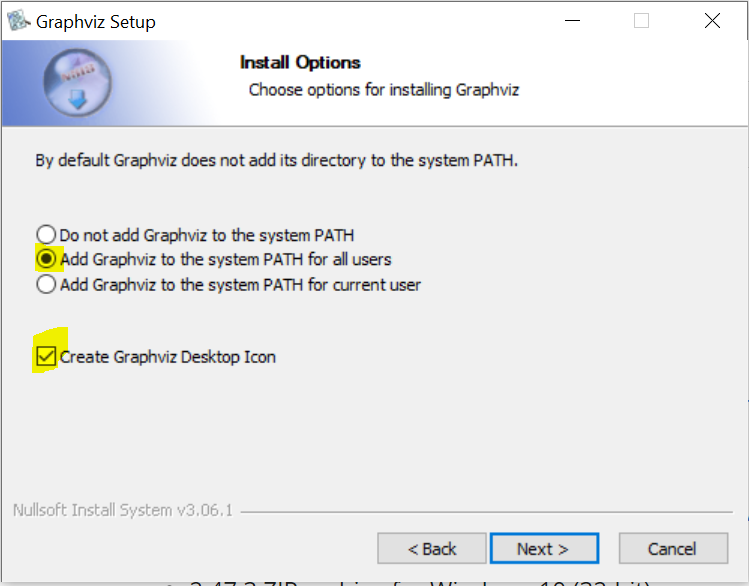
2.47.3 EXE installer for Windows 10 (64-bit)
Download the exe file and install, make sure it is added to the system PATH (Windows - Edit the Windows Environment Variables.
pip install torchviz
pip install nltk
and then download the data and models
python -m nltk.downloader -d c:\envs\cits4012\nltk_data all
install this after NLTK installation pls.
pip install truecase
conda install -c conda-forge jupyterlab
pip install -U scikit-learn
Verify if it works:
python -c "import sklearn; sklearn.show_versions()"
conda env export -p c:\envs\cits4012 --no-builds -f cits4012.yml


