This document do not provide a package installation method such as tkinter or etc. Please install it on your own. Make an issue if something is wrong or not working on process


Require 3 computers to make experiment including Raspberry Pi4
- Raspberry Pi 4B
-
4GB of RAM
-
Role of
Publisher -
Need to install
- Node.js v18+
- Docker(Optional)
- Synology NAS DS 720+
-
Intel Celeron, with 10GB of RAM
-
Role of
Rabbit MQ Server -
Need to install
- Docker
- Mac mini
- Apple Silicon, 16GB of RAM
- Role of
Consumer - Need to install
- Python
- Node.js v18+
- Docker
- Docker-Compose
- Node.js
- Pakcage manager : yarn
- TypeScript
- Python3
- Runtime : Anaconda
- TypeScript + Express.js
- Nest.js
- Platform : Raspberry Pi4
- Docker
- Docker-Compose
- Message Queue : Rabbit MQ
- Influx DB
- Grafana
- Telegraf
Execute Rabbit MQ docker in Rabbit MQ Server. I recently made Rabbit MQ tutorial contents with Node.js. So if you need those information, please follow this [link].(https://github.com/J-hoplin1/RabbitMQ-R-n-D)
sudo docker run -d --name rabbitmq -p 5672:5672 -p 15672:15672 -p 1883:1883 -e RABBITMQ_DEFAULT_USER=user -e RABBITMQ_DEFAULT_PASS=password rabbitmq:3-management
After execute docker container of rabbit mq you need to edit .env file of both client-side and server-side
-
Client's envfile : client-producer/env/.env
# Connection information MQ_NAME=(Rabbit MQ username) MQ_PASSWORD=(Rabbit MQ user password) MQ_HOST=(Rabbit MQ Server Host) MQ_PORT=(Rabbit MQ Port of server) ... -
Server's envfile : server-dotenv/.env
# Connection information
MQ_NAME=(Rabbit MQ username)
MQ_PASSWORD=(Rabbit MQ user password)
MQ_HOST=(Rabbit MQ Server Host)
MQ_PORT=(Rabbit MQ Port of server)

...
First you need to start InfluxDB - Grafana docker compose located in here. If you want to use telegraf also, please follow this document.
cd ./server-influx-grafana-compose

docker compose up -d
Please refer to this page to make setting of InfluxDB - Grafana
After setting InfluxDB - Grafana start Consumer and API Server and Monitoring GUI in order.
-
cd server-consumer/ yarn install yarn tsc node dist/ -
cd server-api-server/

yarn install

yarn run start
Connect to
localhost:3000/docsin server machine browser for API endpoints documetlocalhost:3000/docs -
cd monitoring-gui/

python3 app.py
It's normal that no data appears
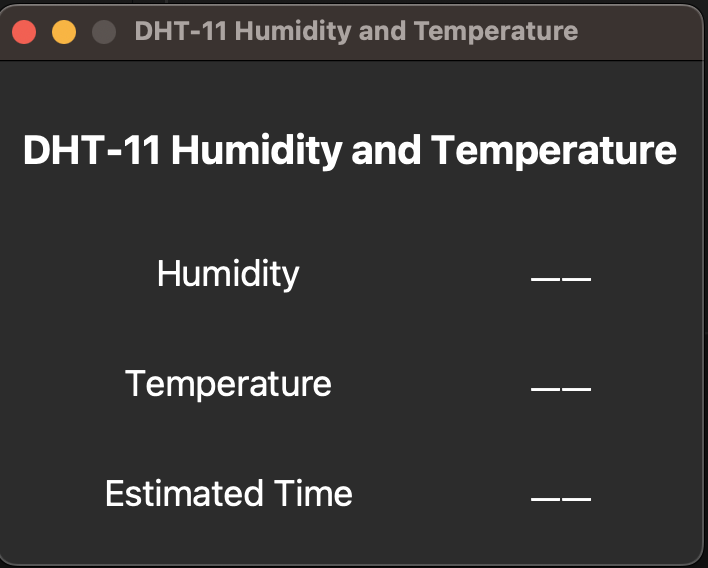

If it's normally executed, Monitoring GUI will request to API server per second

Client should be Raspberry Pi4. Make an DHT 11 sensor connection. Follow picture under below

and install Adafruit Python DHT. Follow the instructions on this github
Check sensor connected to gpio by executing client-DHT11/app.py
python3 app.py
If it's normal temperature, humidity sensor should be estimate. Don't care about Connection error occured. Please check API Server message.
Next we need to execute REST API based producer.
cd client-producer/

yarn install

yarn tsc

node dist/www.js
Connect to localhost:3000/docs in client machine browser for API endpoints documet
localhost:3000/docs
If producer start normally it will publish message to rabbit mq

and rabbit mq will receive message and save to queue by routing key.

Server consumer will consume message

and save it as time-series data to influx db

finally you can view datas in realtime via monitoring GUI and grafana dashboard


Reason why I made producer as API type, is to reduce user dependence on programming languages, packages, and frameworks and module coupling when developing applications. Instead, using a protocol called http allows users to focus more on business logic by simply sending data to endpoints, and the source code they write does not need to be combined with source code that relies on message queue modules such as Rabbit mq.