Python Workshop.
This workshop is oganiased for the Chemical Biology Winter School 2016 and given by the Imperial College Advanced Hackspace.
Instructor: Dr. Ariadna Blanca Romero
email: ariadna@starignus.com
Twitter: @starignus
Material
To download the material of the workshop to your computer just execute the following command line in the bash terminal ( you must be in the path where you want to save the folder in your computer):
cd /name/of/folder/where/to/save/
git clone https://github.com/Starignus/Python_Workshop_ICAH.git
or just download it from here.
Lessons
- Introduction
- Getting Start with Python
- Python Statements
- Functions
- Scripting
- Numerical Python (NumPy)
- Matplotlib
- Pandas
Optional:
Required preparations
For this workshop, the participants are encouraged to use their computers to ensure the proper setup of tools required for an efficient workflow. The lessons assume no previous knowledge of the tools or skills, but working through the workshop requires to have a copy of the code on your computer. Please, make sure to install all the software needed before working through the lessons.
Setting Up Python
We recommend installing Anacoda distribution of Python, which is an all-in-one installer. Individually installing all of its scientific packages can be slow and arduous.
Regardless of how you choose to install it, please make sure you install Python version 2.x (e.g., 2.7.12 is fine).
During the lessons, we will be using the Jupyter Notebook, a programming environment that runs in a web browser. Therefore, we will need a reasonably up-to-date browser. The current versions of the Chrome, Safari and Firefox browsers are all supported (some older browsers, including Internet Explorer version 9 and below, are not).
Windows
- Open the Anaconda download website.
- Download the default Python 2.x installer (If you are not use to the command line commands download the graphical installer).
- Use all of the defaults for installation except make sure to check Make Anaconda the default Python.
Mac OS X
- Open the Anaconda download website.
- Download the default Python 2.x installer (If you are not use to the command line commands download the graphical installer).
- Use all of the defaults for installation.
Linux
- Open the Anaconda download website.
- Download the default Python 2.x installer, save it in your home folder.
- Install Python 2.x using all of the defaults for installation. (Installation requires using the shell. If you aren't comfortable doing the installation yourself stop here and request help.)
- Open a terminal window.
- Type
bash Anaconda-and then press tab. The name of the file you just downloaded should appear.
6. Press enter. You will follow the text-only prompts. When there is a colon at the bottom of the screen press the down arrow to move down through the text. Type yes and press enter to approve the license. Press enter to approve the default location for the files. Type yes and press enter to prepend Anaconda to your PATH (this makes the Anaconda distribution the default Python).
Checking our installation is working.
To make sure Anaconda installation was successful, you can download the script check_python_installation.py that will check if Anaconda has been correctly installed on your system. From your terminal, navigate to the directory where you downloaded the script and execute the following:
python check_python_installation.pyIf you receive an AssertionError, it will inform you how to correct your installation. Otherwise, it will tell you that your system is good to go and ready for you.
Note: In case you are unfamiliar with bash commands you can practise in a command line interface or use this cheatsheet.
Jupyter Notebook
The Jupyter Notebook is a web application that allows you to create and share documents that contain live code, equations, visualizations and explanatory text.
In case you Jupyter is not by default installed, you should have got a message telling you so when running the check_python_installation.py. If that is the case, you have to install it.
In Linux and Mac open a terminal and type:
conda update jupyterthen enter.
In Windows:
- Go to the Start Menu and type in: anaconda command prompt and click or enter in the option.
- A terminal shell looking interface will pop out.
- Follow the same steps as above for Linux and Mac.
Running the Notebook
Start the notebook server from the command line:
jupyter notebookNote: For Windows open the anaconda command prompt window and type in the command of above.
This will print some information about the notebook server in your terminal, including the URL of the web application (by default, http://localhost:8888).
$ jupyter notebook
[I 08:58:24.417 NotebookApp] Serving notebooks from local directory: /Users/catherine
[I 08:58:24.417 NotebookApp] 0 active kernels
[I 08:58:24.417 NotebookApp] The Jupyter Notebook is running at: http://localhost:8888/
[I 08:58:24.417 NotebookApp] Use Control-C to stop this server and shut down all kernels (twice to skip confirmation).
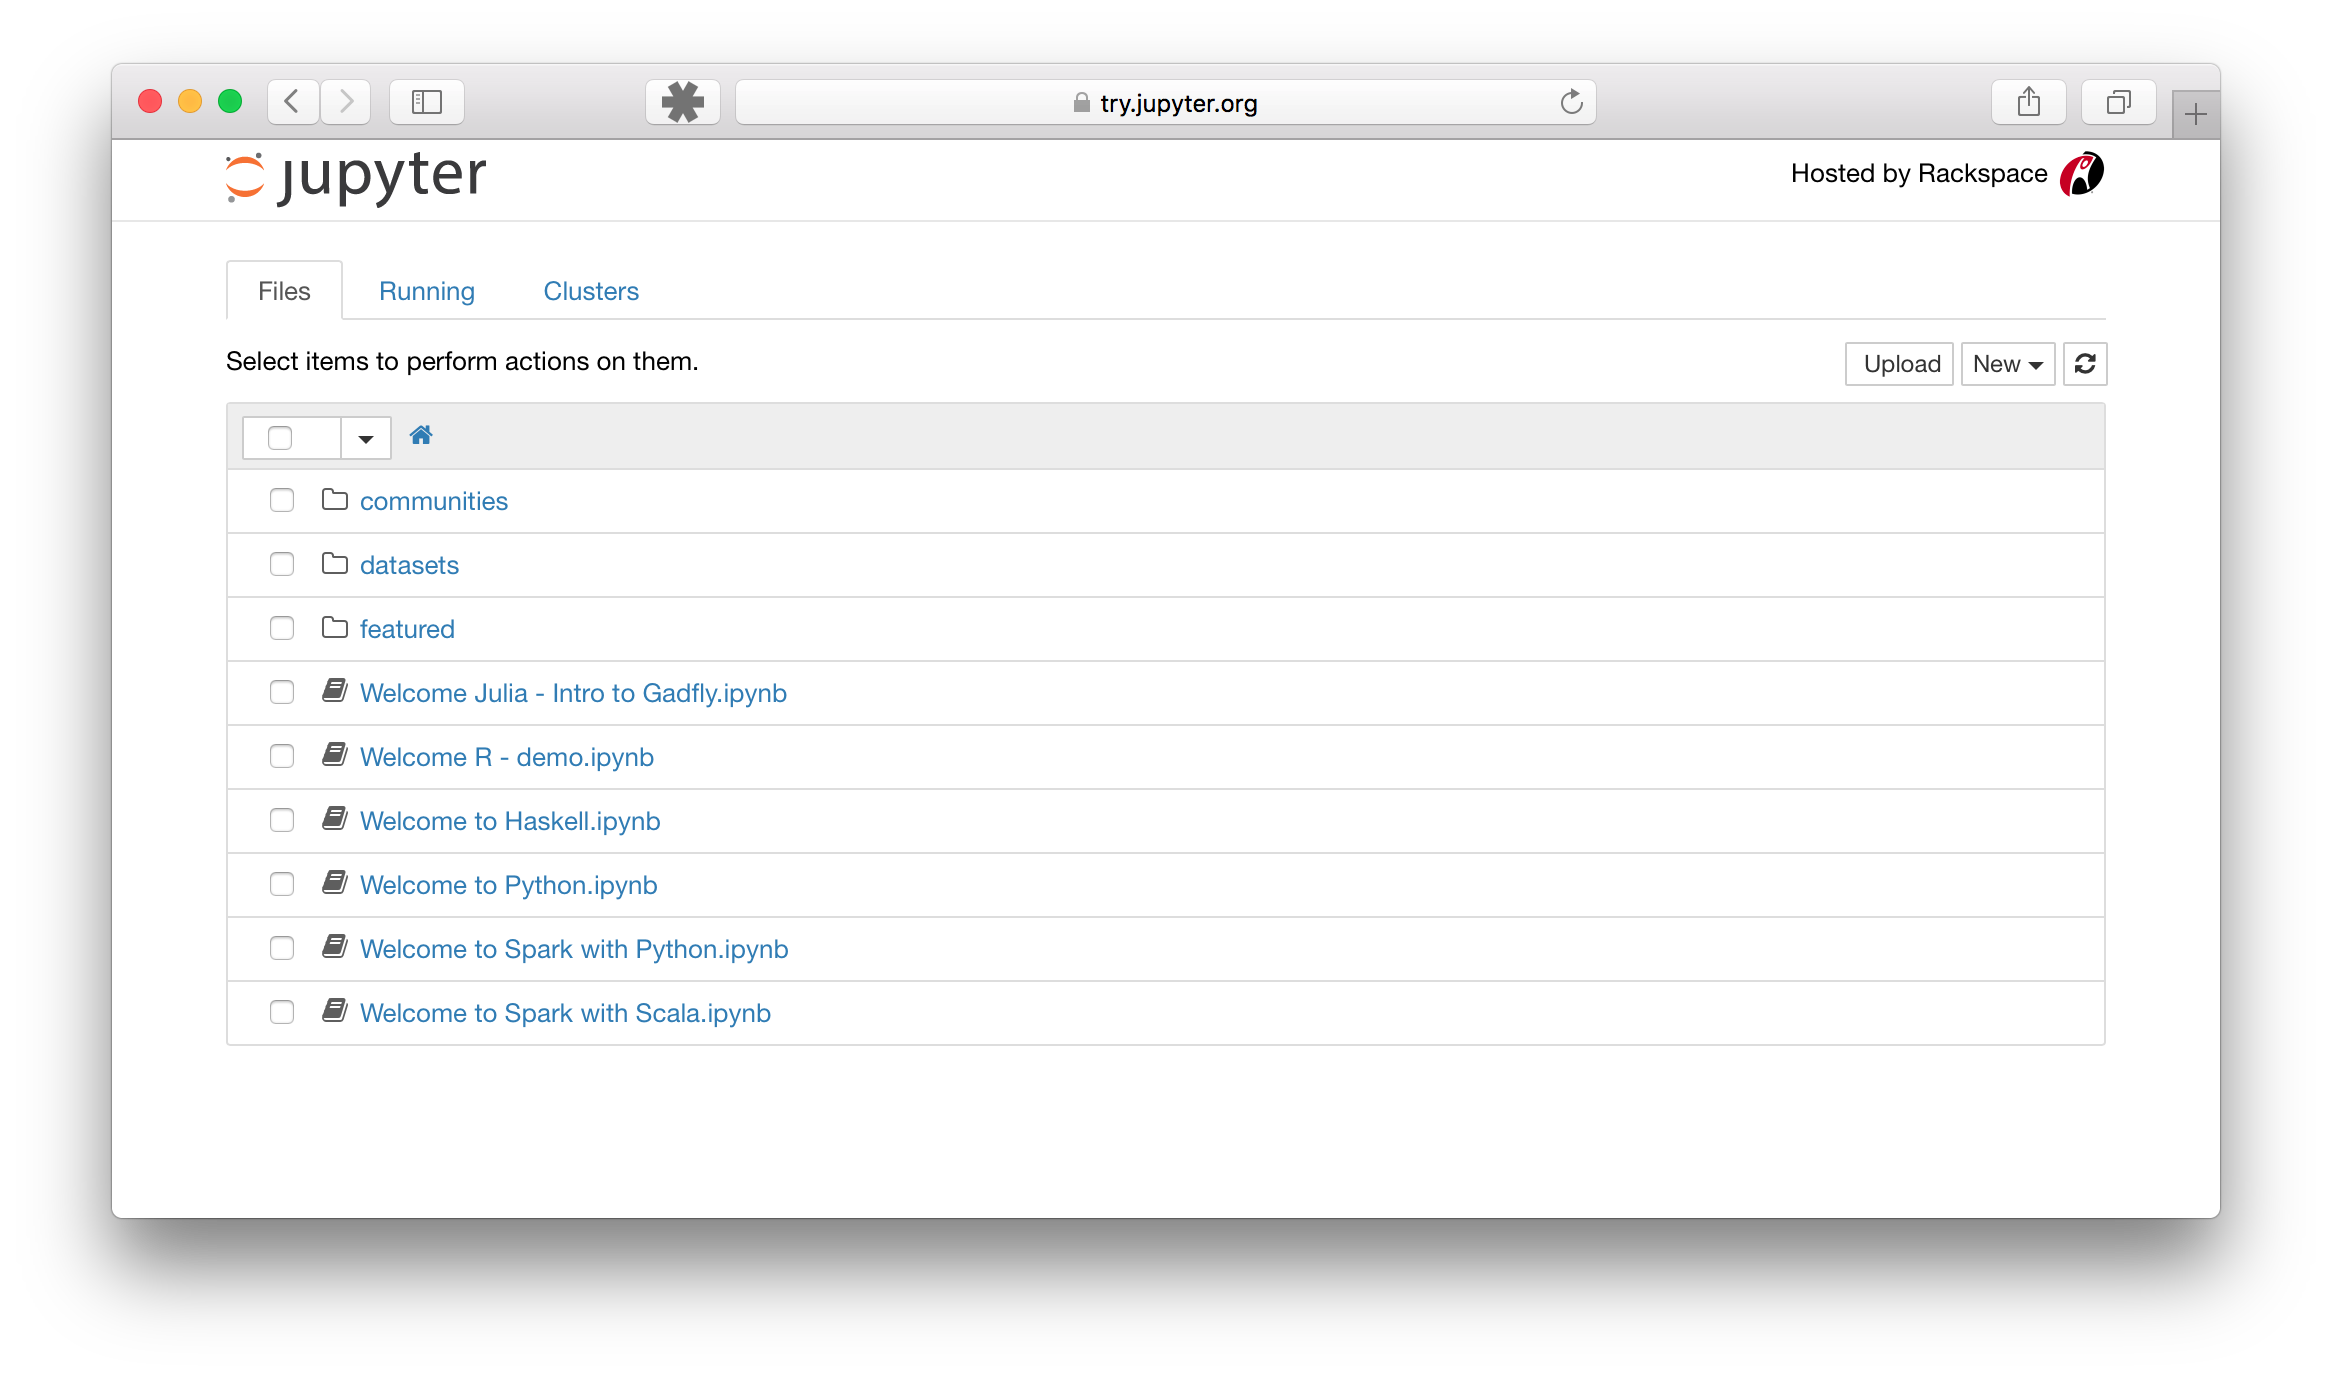
You should see the notebook open in your browser to this URL:
When the notebook opens in your browser, you will see the Notebook Dashboard, which will show a list of the notebooks, files, and subdirectories in the directory where the notebook server was started. Most of the time, you will wish to start a notebook server in the highest level directory containing notebooks. Often this will be your home directory.
You have done your preparations for the course, see you in the workshop!.
Reference [1]

