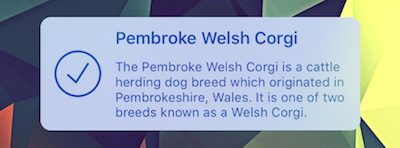
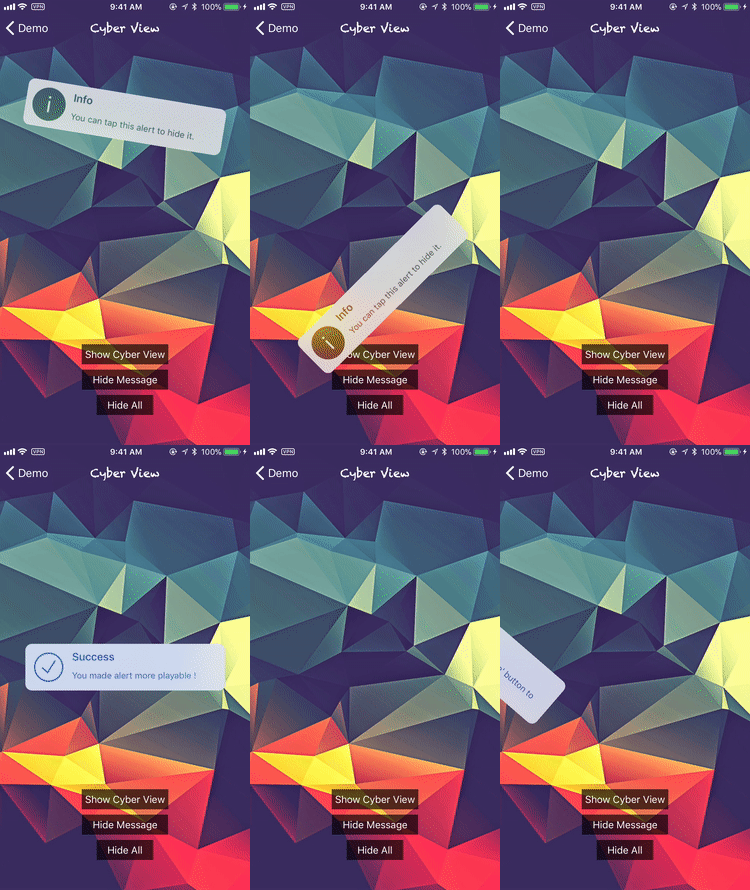
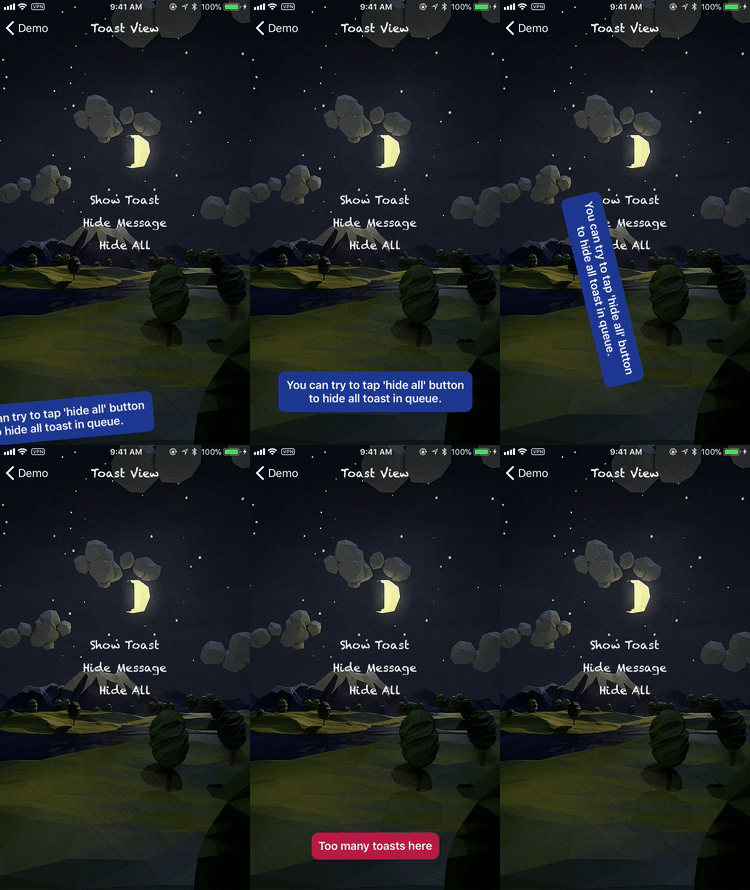
CFNotify is written in Swift. Using UIKit Dynamics as animator. It can make ANY UIView object draggable and throwable. This library mainly use for in-app notification and alerts. Let's notice and alert your users in more playable and fun way !
- Work with ANY
UIViewobject ! - Using UIKit Dynamics. Light and Smooth !
- Highly Customizable
- Included three ready to use views:
CyberView,ClassicView,ToastView - Simple to implement
- Swift 4.0+
- Xcode 9
- iOS 9.0+
Please read CHANGELOG.md.
-
Carthage (Recommended)
Add the following lines into Cartfile
#CFNotify
github "JT501/CFNotify"
Run
carthage updateand then add CFNotify.framework and CFResources.bundle into your project -
Add the following lines into Podfile
pod "CFNotify"
There is an example project inside the source code. You are suggested to have a look first and get familiar with this framework.
This is the basic function with all default settings, design your own UIView or use CFNotifyView to create one easily.
CFNotify.present(view: UIView)If you need more custom settings, create your own Config and use the following function.
CFNotify.present(config: Config, view: UIView)if you want custom tap action, use the following function. (If you use tapHandler, it will override the default tap to hide action)
CFNotify.present(config: Config, view: UIView, tapHandler: (()->Void)?)CFNotify will put all the views to be shown in queue (First In First Out).
You can hide the view programmatically using the following functions.
CFNotify.hide() // hide the current view

CFNotify.hideAll() // hide all the views in queue (Clear the queue)You can create an alert view quickly and easily by using CFNotifyView class.
CFNotifyView included 3 views currently: Cyber, Classic, Toast.
Each style has 4 themes: Info, Success, Fail, Warning
Each theme has 2 styles: Light and Dark
-

// Use Pre-set theme
let cyberView = CFNotifyView.cyberWith(title: "Title",
                                        body: "Body",
                                       theme: .info(.light))

//More customizations
let customCyberView = CFNotifyView.cyberWith(titleFont: UIFont,
                                            titleColor: UIColor,
                                              bodyFont: UIFont,
                                             bodyColor: UIColor,
                                       backgroundColor: UIColor,
                                             blurStyle: UIBlurEffectStyle)
-

// Use Pre-set theme
let classicView = CFNotifyView.classicWith(title: "Title",
                                            body: "Body",
                                           theme: .success(.light))

//More customizations
let customClassicView = CFNotifyView.classicWith(titleFont: UIFont,
                                                titleColor: UIColor,
                                                  bodyFont: UIFont,
                                                 bodyColor: UIColor,
                                           backgroundColor: UIColor)
-

// Use Pre-set theme
let toastView = CFNotifyView.toastWith(text: "Text",
                                      theme: .fail(.dark))

//More customizations
let customToastView = CFNotifyView.toastWith(text: String,
                                         textFont: UIFont,
                                        textColor: UIColor,
                                  backgroundColor: UIColor)
You can config CFNotify using Config class. Config class included lots of properties, the following three are the most common:
initPosition: where the view is bornappearPosition: where the view appear positionhideTime: the view will automatically hide afterhideTime(default is 3 sec)
Example:
var classicViewConfig = CFNotify.Config()
classicViewConfig.initPosition = .top(.random) //the view is born at the top randomly out of the boundary of screen
classicViewConfig.appearPosition = .top //the view will appear at the top of screen
classicViewConfig.hideTime = .never //the view will never automatically hideCFNotify provides Delegate methods for some of common events.
You need to conform to the CFNotifyDelegate.
func cfNotifyDidAppear() {}

func cfNotifyStartDragging(atPoint: CGPoint) {}

func cfNotifyIsDragging(atPoint: CGPoint) {}

func cfNotifyEndDragging(atPoint: CGPoint) {}

func cfNotifyDidDisappear() {}

func cfNotifyIsTapped() {}- Add SPM support
- Improve the example app
- Add alert view with buttons
- Full documentation
If you find any bugs or encounter some issues regard to this framework, please feel free to open a new issue in Issues page.
You are welcome to contribute into this project, feel free to Pull Request.
CFNotify is released under an MIT License. See LICENSE for details.


