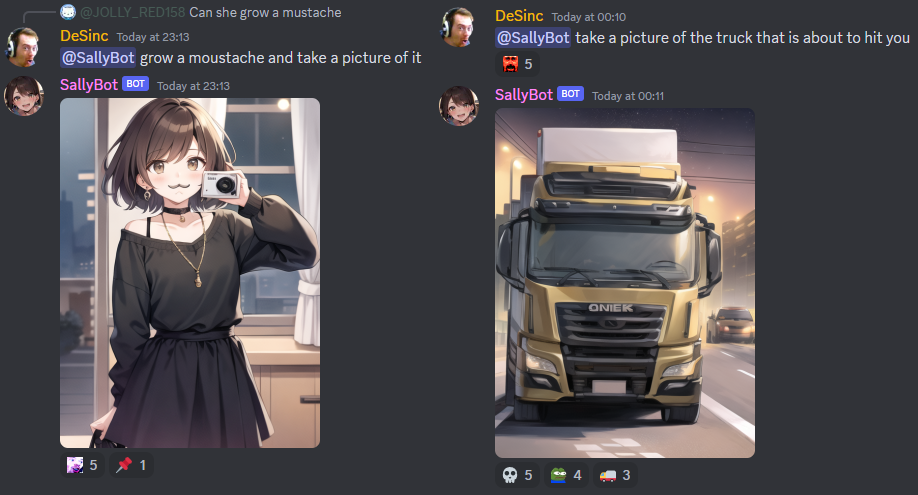
AI Chatbot that uses locally-ran large language models to talk to you (No Chat-GPT! Runs on your PC! It even runs on a raspberry pi 4B!)
It also uses Stable Diffusion to take real selfies, running on your local GPU
Coded in Discord.net C#
Context: I Made a Discord Chat Bot that Can Take Selfies
Oobabooga Text Generation Web UI
Either git clone the repo into a folder called Sallybot
or
Click the 'Code' drop-down at the top right corner of this webpage and select 'Download ZIP' and place the contents into a folder called SallyBot (changing the name risks issues with the Visual Studio environment)
Download and install Visual Studio Community WITH C# dotNET development modules ticked. Look up guides if you are confused - when installing Visual Studio Community, it will ask with big squares with tickboxes in the corners which types of coding packages you want to install. Pick the C#/Dot NET ones.
Double click sallybot.csproj and open with Visual Studio Community (ideally 2022)
It should open up the whole project and make a .sln file, etc.
If you don't have a bot already:
-
Create a new Discord bot on the Discord Developer Portal and make an API key (takes about 2 mins) https://discord.com/developers/applications
-
Make sure you enable message intents and other intents for this bot or you won't see any message content etc.
Use this guide: https://autocode.com/discord/threads/what-are-discord-privileged-intents-and-how-do-i-enable-them-tutorial-0c3f9977/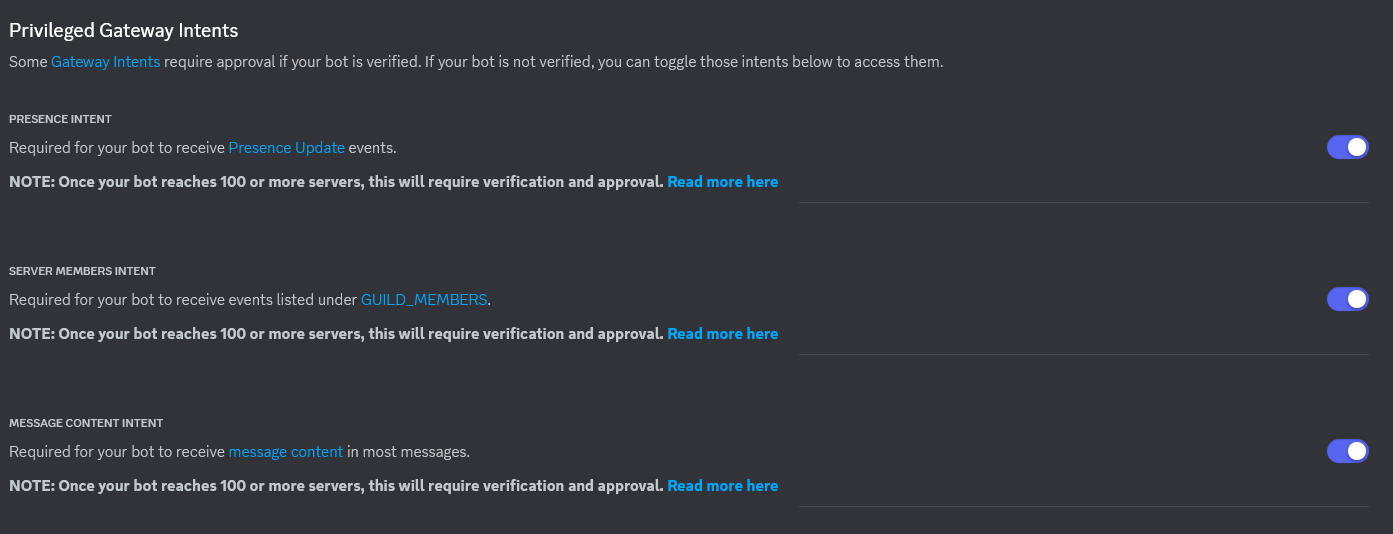
-
Join the bot to your server, follow this guide if you don't know how: https://discordjs.guide/preparations/adding-your-bot-to-servers.html#bot-invite-links
Put your bot API key and your server's ID in the MainGlobal.cs file (they will error out until you fill them in to show you where to put them)
Press F5 to build it and run and see what happens (it should work first try)
There is a disabled line of code that you can enable which replies to any message the bot sees. This can be used to test if the bot works in your server by sending a message back to you. CTRL + F search for "Hello!!" to find that commented-out line of code, and use it/remove it/change it however you like.
If it does not repeat your message back to you, then message intents might not be enabled. See the steps above with pictures to fix that.
Feel free to use or remove this line of code entirely after testing the bot is up and running and able to read your messages.
This bot doesn't generate the AI text but just sends requests off to a language learning model of your choice. At the moment I made the requests send out in the format for Dalai Alpaca 7B
Just follow their quick and easy instructions and the bot will automatically connect and start sending Dalai requests when you ping the bot.
If you wish to modify the LLM parameters, it's this section here for Dalai:
    var dalaiRequest = new
    {
        seed = -1,
        threads = 4,   <--(btw, change this to your thread count minus 2 for more speed)
        n_predict = 200,
        top_k = 40,
        top_p = 0.9,
        temp = 0.8,
        repeat_last_n = 64,
        repeat_penalty = 1.1,
        debug = false,
        model = "alpaca.7B",

        prompt = inputPrompt
    };
Using Oobabooga Text Generation Webui (Run on the GPU) -- A little more involved but still easy if you're lucky
Download and install Oobabooga from their repo here. You can use the 1-click windows installer zip file or clone their repo, both work fine. Follow their guide on installing it and then come back here.
If you don't have a language model yet, run the Download-model.bat file, pick L for none of the above, and enter ozcur/alpaca-native-4bit and let it download.
Once installed and model downloaded, you need to enable the --extensions API --notebook args in the start-webui.bat file.
If you're having issues starting it, take this example that for sure works:
call python server.py --model ozcur_alpaca-native-4bit --wbits 4 --groupsize 128 --extensions api --notebook --listen-port 7862 --xformers
--listen-port is set to 7862 because we ARE NOT USING default API. It is BROKEN. We are instead using --extensions api which runs on port 5000.
--xformers is a very good optimiser that reduces your vram usage for free, but you need to install it by typing pip install xformers==0.0.18 in command prompt before it'll be doing anything for you.
Once the Oobabooga server is running NOT in --chat-mode (turn this arg off! replace it with --notebook) it should start accepting queries from Sallybot immediately!
If you'd like to modify the parameters for Oobabooga, it's this section here:
var parameters = new
            {
                prompt = oobaboogaInputPrompt,
                max_new_tokens = 200,
                do_sample = false,
                temperature = 0.85,
                top_p = 0.9,
                typical_p = 1,
                repetition_penalty = 1.1,
                encoder_repetition_penalty = 1,
                top_k = 40,
                num_beams = 1,
                penalty_alpha = 0,
                min_length = 0,
                length_penalty = 1,
                no_repeat_ngram_size = 0,
                early_stopping = true,
                custom_stopping_strings = new string[] { "\n[", "\\n[", "]:", "\n#", "##", "###", "000000000000", "1111111111", "0.0.0.0.", "1.1.1.1.", "2.2.2.2.", "3.3.3.3.", "4.4.4.4.", "5.5.5.5.", "6.6.6.6.", "7.7.7.7.", "8.8.8.8.", "9.9.9.9.", "22222222222222", "33333333333333", "4444444444444444", "5555555555555", "66666666666666", "77777777777777", "888888888888888", "999999999999999999", "01010101", "0123456789", "<noinput>", "<nooutput>" },
                seed = -1,
                add_bos_token = true
            };
If you're using another AI text generator, check its github page for instructions on how to format the data and change the format of the request to what it needs. You might also need to change the way it sends the request in, which could be a lot of code changes depending. This bot sends via SocketIO to Dalai Alpaca which is the easiest to set up imo and runs on anything with very good speed. I mean anything. It runs on a raspberry pi 4B. Some guy got it running on a texas instruments calculator I heard. You still need 4gb of ram for the model to load though.
Generate images with Stable Diffusion (runs on the GPU and needs probably minimum 4GB vram, more like 6GB to not have to hack around getting it to work)
Download stable-diffusion-webui
Follow their installation steps, then find either webui-user.bat on Windows or webui-user.sh on Linux.
Edit the file and modify the COMMANDLINE_ARGS line.
Windows:
set COMMANDLINE_ARGS=--api --xformersLinux:
export COMMANDLINE_ARGS=--api --xformersSave the file and run it. The API is now ready to receive request right from SallyBot. If you get an error with xformers just remove --xformers from the args and save the file and run it again.
It will send it to a default model of some kind, most likely it comes with Stable Diffusion 1.5 model which is a real-life images model.
Go to Civitai (warning: look out for NSFW imagery if you make an account) and then look for an anime model you like on the homepage.
Download that model, put it in \models\stablediffusion\ where the text file is that says "Place checkpoints here.txt"
Open the stable diffusion Web ui by going to localhost:7860 in your web browser url bar
Select the drop-down at the top left and pick the model you just downloaded, or the one you want to try out.
Now the next image request you send from SallyBot will be in that model.
Stable Diffusion needs to use an older version of Python. Follow the steps in their repo and install Python 3.10 making sure to add it to your system PATH.
Afterwards, assuming you did not change the default install location, modify the PYTHON line in your webui-user.bat file.
set PYTHON="%LOCALAPPDATA%\Programs\Python\Python310\python.exe"With Windows 11, Microsoft made PowerShell the default terminal, make sure to use Command Prompt to start it instead, an easy way to do that is WIN + R cmd.exe and then use cd to navigate to the Dalai directory.
Oobabooga has an issue at the moment with its default built-in API (this is why you use --extension api) where for some reason any data that is sent in the request ends up not setting params correctly and somewhere somehow this is causing the bot to want to spam ever lengthening repeating twitter hashtags and long long strings of emojis incessantly.
The result of these params being set wrong is that the bot enters a state known only as Hashtag Psychosis. If the bot sees a single hashtag anywhere it will begin to put a few hashtags on the end of their msg.. then 4.. then 10... and it sees its own messages in the history and causes it to spiral and become actually unusable.
No known cure exists Edit: the cure is to use the --extensions api flag instead of the default API that doesn't work right.
The reason for this is that there is no proper working stop command built into dalai. There is one they tried to make, but it crashes the dalai server every 2nd or 3rd time you run it so in my view it's not working.
I built my own stop command into the source code myself. Not only does it work every time without crashing, it's also much faster and stops the rambling instantly, compared to their weak stop command that lets it ramble for like 5+ whole seconds after you told it to stop.
It's just 5 easy steps to get it working on your system too!
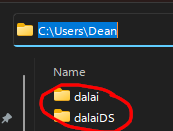
- download the dalai source code from that cocktailpeanut github linked above
- unzip it to a folder somewhere ON C DRIVE ON C DRIVE ON C DRIVE IT DOES NOT WORK ON ANY OTHER DRIVE LETTER (I suggest putting it next to the c:\users\username\dalai folder. mine is C:\Users\Dean\dalaiDS)
- replace the index.js file with my special index.js file here: https://pastebin.com/A3bpWhTG
- navigate a command prompt to this custom source dalai folder we just unzipped with the custom index.js file in it (by typing "cd" and then the custom folder. like this:
cd c:\downloads\dalaiCustomSource - run the
npx dalai servecommand from command prompt within this folder
NOTE: it will do this purple IndexTree thingie every time you start the server with my custom code:
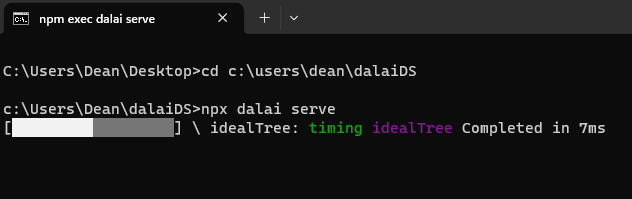
I don't know why but it just does. It takes like 20-40 seconds at worst. Small price to pay for a working stop command that actually stops the bot ramblin without crashing the server.
That's it! After it starts up, you are ready to run the bot and query some LLMs!