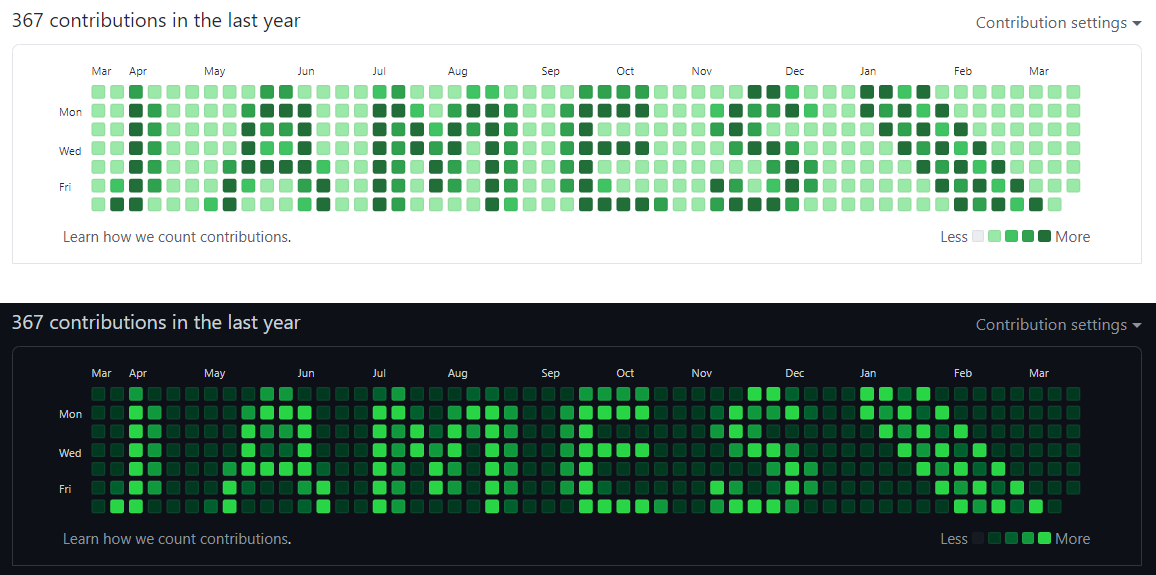
Turn your GitHub profile activity heatmap into an image of your choice. Run this tool daily to generate fake activity on your account to produce the right pixel colour.
Note: The tool looks at your daily activity level, and only 'tops it up' to the desired amount. Providing you run it at the end of the day, you can continue using GitHub as you normally would.
Warning: GitHub's Acceptable Use Policy states you should not "use our servers for any form of excessive automated bulk activity". This tool only does a few HTTP GETs to read activity, and commits very small text files each day, so I believe this falls within acceptable use. But, use it at your own risk.
- Make sure the activity heatmap on your profile has 'private contributions' enabled.
On your profile page, scroll down to the activity heatmap, click the 'Contribution settings' dropdown, and make sure 'Private contributions' is checked.
-
Create an empty private repository. The tool will add fake commits to this repository to generate activity each day.
-
Create a Personal Access Token with repo scopes.
In your GitHub account settings, under 'Developer settings' navigate to 'Personal access tokens' then 'Generate new token'. Give it a name like 'Activity Art'. Check boxes for the
reposcopes. Then press 'Generate token' and save the token somewhere (we'll need it in a sec).
- Download the built tool (
.zip) for your platform from the GitHub Releases page.
Each
.zipcontains the tool built as a single executable file. It is portable and self-contained, nothing else is required. See below if you want to build it yourself. The.zipwill also include aconfig.jsonconfiguration file and sample imageart.bmp. These files should all be kept in the same directory.
- Create your image.
Height must be 7 pixels, width is your choice but GitHub will only display ~52 columns at one time (as 7 * 52 = 1 year). Save it as a
.bmpfile. I recommend you use 5 colours which are as close to the GitHub colours as possible these are:white,#9be9a8,#40c463,#30a14e,#216e39. If you use any other color, the tool will attempt to match it to the closest of these 5 colours. See the sampleart.bmpto help.
Note: After a year has passed the tool will loop back to the first column of the image. So make sure the image tiles nicely when you put two copies of it side-by-side.
- Fill in the details in the
conf.jsonconfiguration file.
See section below for details.
- Do a test run.
Set
test_modetotruein theconf.jsonconfiguration file. Then run the tool. No GitHub activity is created, instead an output imagetest_result.bmpwill be created in the same directory. This image shows the heatmap columns (in GitHub colours) produced over ~500 days. Use it to check colours and ensure you have set the correctstart_date. Remember to settest_modeback tofalsebefore you want to use it properly.
- Schedule it to run every day.
On Linux you can do this using a CRON job. Enter
crontab -ein a terminal, this will open the crontab text file. Add the line30 23 * * * /home/.../GitHubActivityArtwhere you change the path to the executable file. This will run the tool every day at 23:30.
On Windows you can use the Task Scheduler.
The conf.json configuration file should take the following format:
{
	"auth": {
		"type": "token",
		"token": "GITHUB_PERSONAL_ACCESS_TOKEN"
	},
	"repo_name": "REPO_NAME",
	"repo_owner": "REPO_OWNER",
	"image_file_name": "art.bmp",
	"start_date": "14032021",
	"test_mode": false
}
Where the values should be set as follows:
token- the personal access token you created in step 3 of the above instructionsrepo_name- the name of the repository you created in step 2 above. Don't include the owner, e.g. the name of this repo is"GitHub-Activity-Art"repo_owner- the username of your GitHub account. e.g. mine would be"James231"image_file_name- the name of the image file in the same directory, which you created in step 5 abovestart_date- date of the Sunday you want the column of your activity heatmap (starting with that Sunday) to match up with the first column of your image. Date should be in ddMMyyyy format.test_mode- when set tofalse, the tool executes as expected. Whentruethe tool doesn't generate activity, instead it outputs a test image as described in step 7 above.
To build the tool yourself you'll need Visual Studio 2019 (or later) with .NET Core 3.1 installed. Open the .sln file in Visual Studio. After building, make sure you create conf.json and a test image in the bin/Debug folder. And set test_mode to true in conf.json to avoid creating commits.
To publish as a single file, use the .NET Core CLI with the command:
dotnet publish -c Release -p:PublishSingleFile=true -r linux-x64 --self-contained true
where you change linux-x64 to the appropriate platform identifier.
This code is released under MIT license. This means you can use this for whatever you want. Modify, distribute, sell, fork, and use this as much as you like. Both for personal and commercial use. I hold no responsibility if anything goes wrong.
If you use this, you don't need to refer to this repo, or give me any kind of credit but it would be appreciated. At least a ⭐ would be nice.
It took longer than you think to publish and document this tool for free. Perhaps you could consider buying me lunch?

Pull Requests are welcome. But, note that by creating a pull request you are giving me permission to merge your code and release it under the MIT license mentioned above. At no point will you be able to withdraw merged code from the repository, or change the license under which it has been made available.