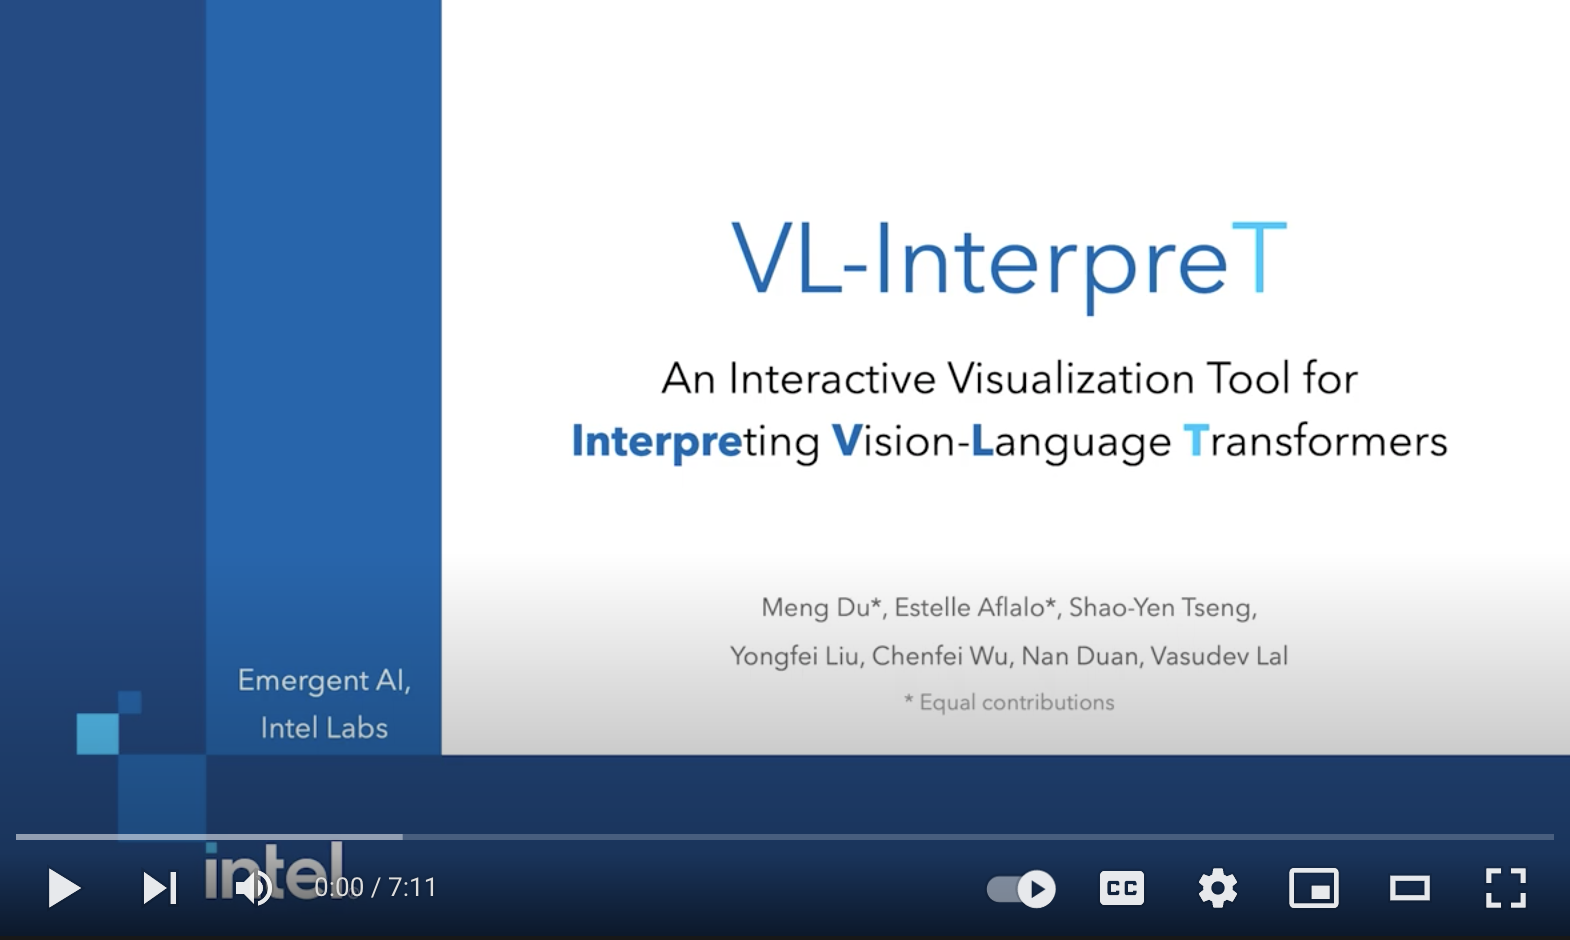
VL-InterpreT provides interactive visualizations for interpreting the attentions and hidden representations in vision-language transformers. It is a task agnostic and integrated tool that:
- Tracks a variety of statistics in attention heads throughout all layers for both vision and language components
- Visualizes cross-modal and intra-modal attentions through easily readable heatmaps
- Plots the hidden representations of vision and language tokens as they pass through the transformer layers.
Our paper won the Best Demo Award at CVPR 2022: VL-InterpreT: An Interactive Visualization Tool for Interpreting Vision-Language Transformers
This video provides an overview of VL-Interpret and demonstrates a few interesting examples.
A live demo of the app (same as in the screencast video) is available here.
Please watch the screencast video to get a sense of how to navigate the app. This demo contains 100 examples from the Visual Commonsense Reasoning task and shows the attention and hidden representations from the KD-VLP model.
You may run VL-InterpreT together with a model of your own choice (see Set up a live model), and/or with a database that contains data extracted from a model.
To run VL-InterpreT with our example databases, please first clone this repository and install the dependencies. For example:
git clone https://github.com/IntelLabs/VL-InterpreT.git
# create and activate your virtual environment if needed, then:
cd VL-InterpreT
pip install -r requirements.txt
Then you can run VL-InterpreT (replace 6006 with any port number you prefer):
python run_app.py --port 6006 --database example_database2
# alternatively:
python run_app.py -p 6006 -d example_database2
We have included two example databases in this repository. example_database1 contains grey "images" and randomly generated data, and example_database2 contains one example image+text pair that was processed by the KD-VLP model.
Once the app runs, it will show the IP address where the app is running on. Open it in your browser to use VL-InterpreT:
You may extract data from a transformer in a specific format, and then use VL-InterpreT to visualize them interactively.
To set up such a database, please see db_example.py, which is an example script that creates a database (i.e., example_database1) with randomly generated data. To prepare the data from your own transformer, for each image+text pair you should mainly:
- Extract cross-attention weights and hidden representation vectors from your transformer
- For example, you may extract them from a Huggingface model by specifying
output_attentions=Trueandoutput_hidden_states=True.
- For example, you may extract them from a Huggingface model by specifying
- Get the original input image as an array, and input tokens as a list of strings (text tokens followed by image tokens, where image tokens can be named at your discretion, e.g., "img_0", "img_1", etc.).
- For the input image tokens, specify how they corresponds to the positions in the original image, assuming the top left corner has coordinates (0, 0).
Please refer to db_example.py for more details. You may also look into our example_database1 and example_database2 for example databases that have been preprocessed.
Once you prepared the data as specified, organize them in the following format (again, see db_example.py for the specifics):
data = [
  {  # first example
    'ex_id': 0,
    'image': np.array([]),
    'tokens': [],
    'txt_len': 0,
    'img_coords': [],
    'attention': np.array([]),
    'hidden_states': np.array([])
  },
  {  # second example
    'ex_id': 1,
    'image': np.array([]),
    'tokens': [],
    'txt_len': 0,
    'img_coords': [],
    'attention': np.array([]),
    'hidden_states': np.array([])
  },
  # ...
]
Then run the following code from the app/database directory to create and preprocess your database:
import pickle
from database import VliLmdb  # this is in app/database/database.py

# create a database
db = VliLmdb(db_dir='path_to_your_database', read_only=False)
# add data
for ex_data in data:
    db[str(ex_data['ex_id'])] = pickle.dumps(ex_data, protocol=pickle.HIGHEST_PROTOCOL)
# preprocess the database
db.preprocess()
Now you can visualize your data with VL-InterpreT:
python run_app.py -p 6006 -d path_to_your_databaseYou may also run a live transformer model together with VL-InterpreT. This way, the Add example functionality will become available on the web app -- users can add image+text pairs for the transformer to process them in real time and for VL-InterpreT to visualize the process:
To add a model, you will need to define your own model class that inherits from the VL_Model base class, and then implement a data_setup function in this class. This function should run a forward pass with your model given the input image+text pair, and return data (e.g., attention weights, hidden state vectors, etc.) in the required format. The return data format is the same as what was specified in Set up a database and in db_example.py. Please see vl_model.py for more details. You may also refer to kdvlp.py for an example model class.
Additionally, please start with the following naming pattern for your script and class, to make sure your model runs easily with VL-InterpreT:
- Create a new python script in
app/database/modelsfor your model class, and name it in all lowercase (e.g.,app/database/models/yourmodelname.py) - Name your model class in title case, e.g.,
class Yourmodelname. This class name should be the result of calling'yourmodelname'.title(), where'yourmodelname.py'is the name of your python script. - For example, our KD-VLP model class is defined in
app/database/models/kdblp.py, and namedclass Kdvlp.
Once your implementation is completed, you can run VL-InterpreT with your model using:
python run_app.py --port 6006 --database example_database2 --model yourmodelname your_model_parameters
# alternatively:
python run_app.py -p 6006 -d example_database2 -m yourmodelname your_model_parameters
Note that the __init__ method of your model class may take an arbituary number of parameters, and you may specify these parameters when running VL-InterpreT by putting them after the name of your model (i.e., replacing your_model_parameters).


