Full implementation of YOLO version3 in PyTorch, including training, evaluation, simple deployment(developing).
[Paper]
[Original Implementation]
Implement YOLOv3 and darknet53 without original darknet cfg parser.
It is easy to custom your backbone network. Such as resnet, densenet...
Also decide to develop custom structure (like grayscale pretrained model)
- pytorch >= 0.4.0
- python >= 3.6.0
git clone https://github.com/zhanghanduo/yolo3_pytorch.git
cd YOLOv3_PyTorch
pip3 install -r requirements.txt --user
cd data/
bash get_coco_dataset.sh
Please visit BDD100K for details.
- See weights readme for detail.
- Download pretrained backbone wegiths from Google Drive or Baidu Drive
- Move downloaded file
darknet53_weights_pytorch.pthtowegihtsfolder in this project.
- Review config file
training/params.py - Replace
YOUR_WORKING_DIRto your working directory. Use for save model and tmp file. - Adjust your GPU device. See parallels.
- Adjust other parameters.
cd training
python training.py params.py
#  please install tensorboard in first
python -m tensorboard.main --logdir=YOUR_WORKING_DIR
- See weights readme for detail.
- Download pretrained yolo3 full wegiths from Google Drive or Baidu Drive
- Move downloaded file
yolov3_weights_pytorch.pthtowegihtsfolder in this project.
cd evaluate
python eval.py params.py
| Model | mAP (min. 50 IoU) | weights file |
|---|---|---|
| YOLOv3 (paper) | 57.9 | |
| YOLOv3 (convert from paper) | 58.18 | official_yolov3_weights_pytorch.pth |
| YOLOv3 (train best model) | 59.66 | yolov3_weights_pytorch.pth |
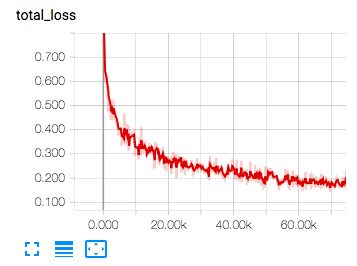
- Yolov3 training
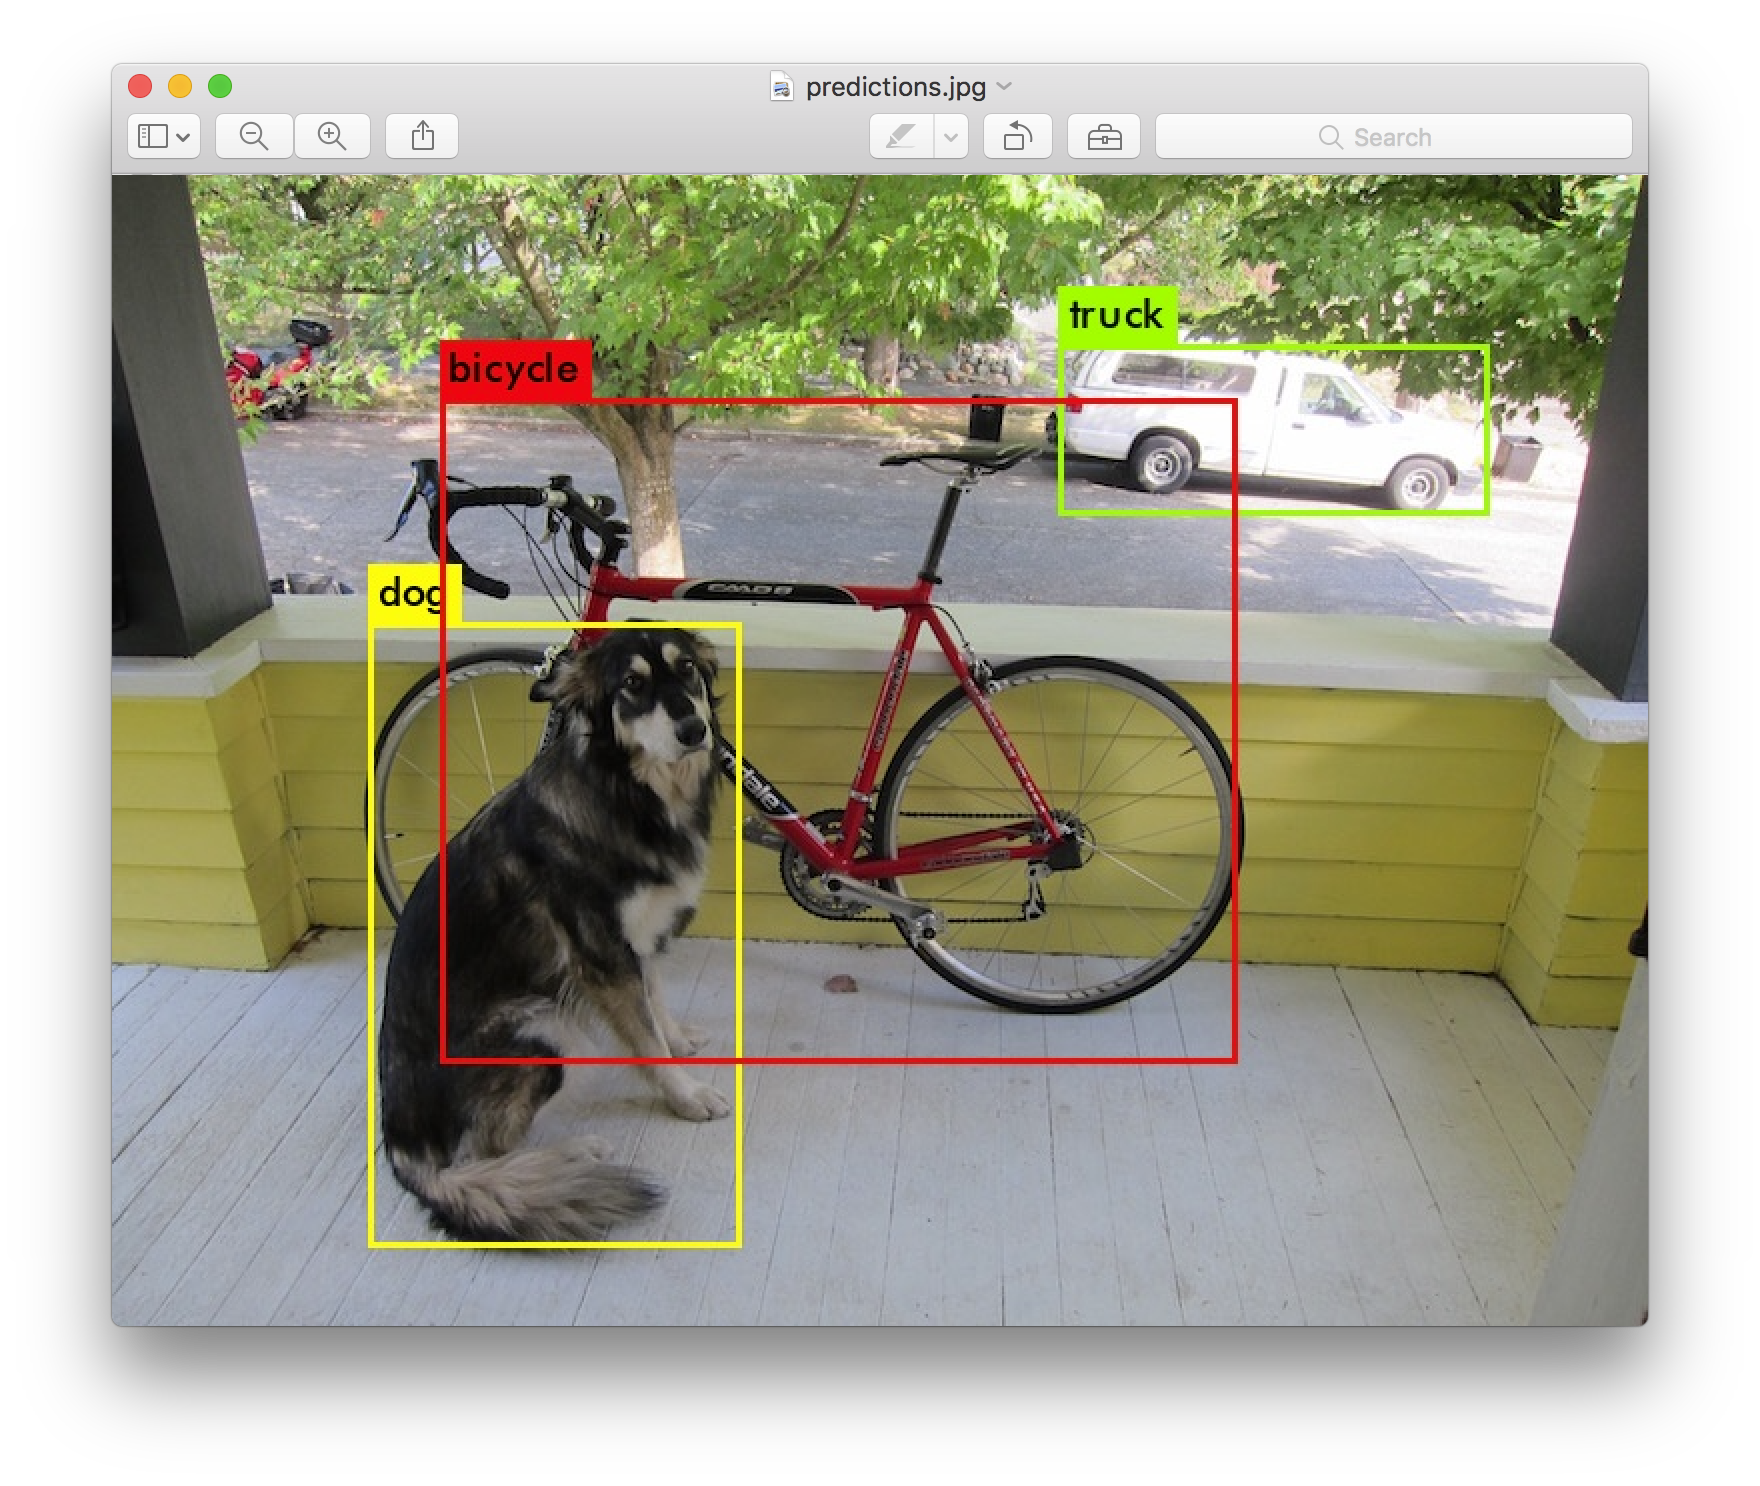
- Yolov3 evaluation
- Add backbone network other than Darknet
- Able to adapt 3-channel image to 1-channel input
@article{yolov3,
	title={YOLOv3: An Incremental Improvement},
	author={Redmon, Joseph and Farhadi, Ali},
	journal = {arXiv},
	year={2018}
}
- darknet
- PyTorch-YOLOv3: Thanks for Evaluate and YOLO loss code

