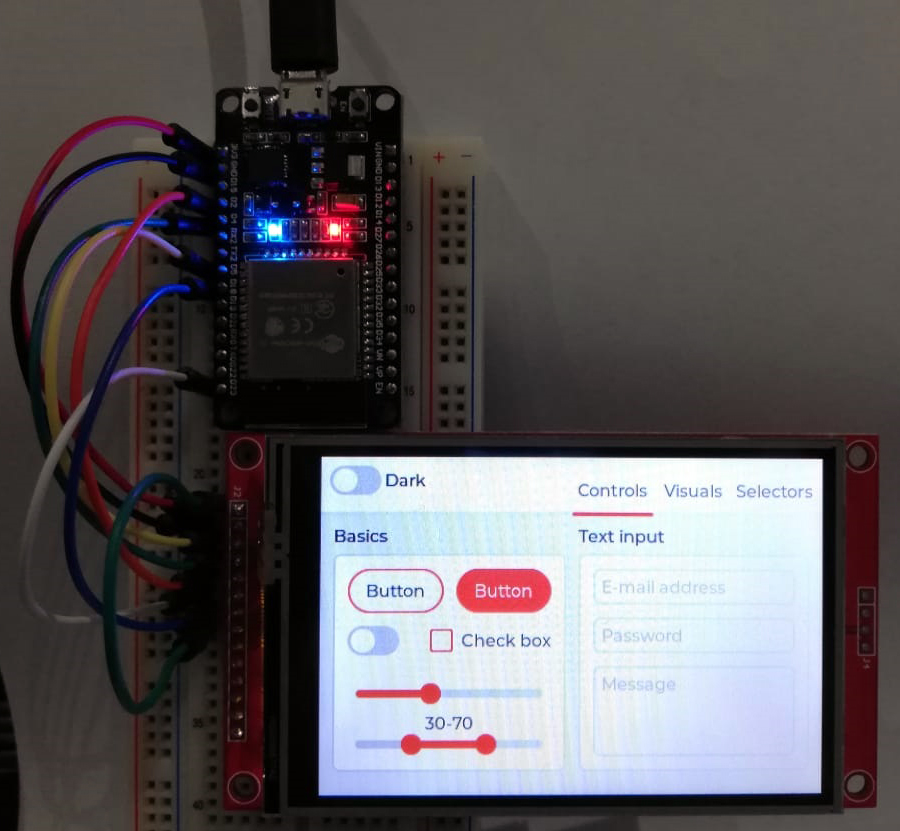
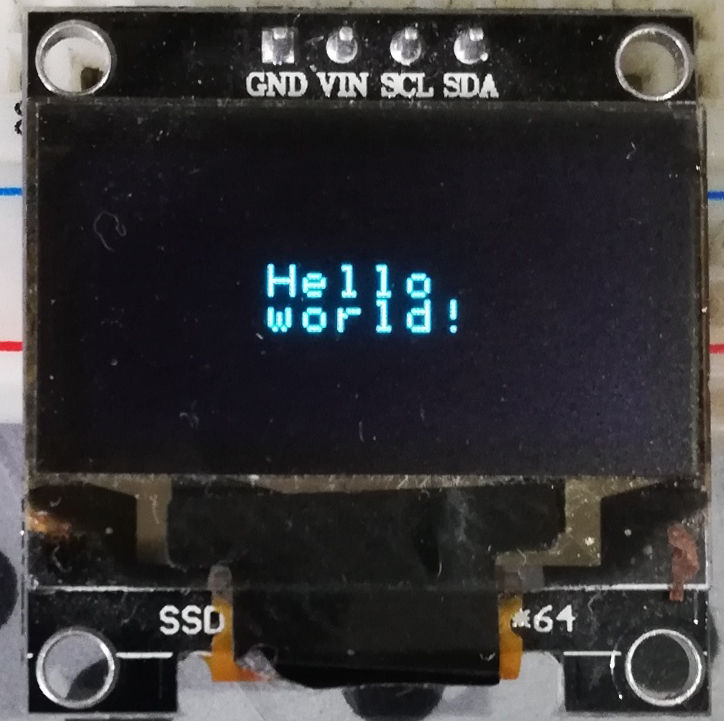
This is the port of LVGL for the ESP32, with the submodule references removed (files kept) and configuration set for the WT32-SC01 device (see manual in repo).
These are the submodules removed:
[submodule "components/lvgl_esp32_drivers"]
	path = components/lvgl_esp32_drivers
	url = https://github.com/lvgl/lvgl_esp32_drivers.git
[submodule "components/lvgl"]
	path = components/lvgl
	url = https://github.com/lvgl/lvgl.git
[submodule "components/lv_examples/lv_examples"]
	path = components/lv_examples/lv_examples
	url = https://github.com/littlevgl/lv_examples.git
	branch = release/v7
This is an ESP32 demo project showcasing LVGL v7 with support for several display controllers and touch controllers.
The demo application is the lv_demo_widgets project from the lv_examples repository.
- Version of ESP-IDF required 4.2. NOTE: We're trying to make this repo backwards compatible, usage of idf.py is encouraged.
- Version of LVGL used: 7.9.
- Version of lv_examples used: 7.9.
- Get started
- Use LVGL in your ESP-IDF project
- Use lvgl_esp32_drivers in your project
- Platformio support
- ESP32-S2 Support
Example demo for TFT displays:
Monochrome support:
The display and touch (indev) controllers are now into it's own repository, you can find it here.
To report any issue or add new display or touch (indev) drivers you can do so in the lvgl_esp32_drivers repo.
- ESP-IDF Framework.
This project tries to be compatible with both the ESP-IDF v3.x and v4.0, but using v4.0 is recommended.
Instructions assume you are using the v4.x toolchain, otherwise use the make commands, e.g. instead of running idf.py menuconfig, run make menuconfig.
-
Clone this project by
git clone --recurse-submodules https://github.com/lvgl/lv_port_esp32.git, this will pull this repo and its submodules. -
Get into the created
lv_port_esp32directory. -
Run
idf.py menuconfig -
Configure LVGL in
Components config->LVGL Configuration. For monochrome displays use the mono theme and we suggest enabling theunscii 8font. -
Configure your display and/or touch controllers in
Components config->LVGL TFT Display ConfigurationandComponents config->LVGL TOUCH Configuration. -
Store your project configuration.
-
Build the project with
idf.py build -
If the build don't throw any errors, flash the demo with
idf.py -p (YOUR SERIAL PORT) flash(withmakethis is justmake flash- in 3.x PORT is configured inmenuconfig)
LVGL now includes a Kconfig file which is used to configure most of the LVGL configuration options via menuconfig, so it's not necessary to use a custom lv_conf.h file.
It is recommended to add LVGL as a submodule in your IDF project's git repo.
From your project's root directory:
- Create a directory named
components(if you don't have one already) withmkdir -p components. - Clone the lvgl repository inside the
componentsdirectory withgit submodule add https://github.com/lvgl/lvgl.git components/lvgl - Run
idf.py menuconfig, go toComponent configthenLVGL configurationto configure LVGL.
It is recommended to add lvgl_esp32_drivers as a submodule in your IDF project's git repo.
From your project's root directory:
- Create a directory named
components(if you don't have one already) withmkdir -p components. - Clone the lvgl_esp32_drivers repository inside the
componentsdirectory withgit submodule add https://github.com/lvgl/lvgl_esp32_drivers.git components/lvgl_esp32_drivers - Run
idf.py menuconfig, go toComponent configthenLVGL TFT configurationandLVGL TFT Display configurationto configure lvgl_esp32_drivers.
Using the lv_platformio project add the following lines to platformio.ini file:
[env:esp32]
platform = espressif32
framework = espidf
board = esp-wrover-kit
Change the default environment to default_envs = esp32.
Modify the main.c like this:
#include "lvgl.h"

// #include "driver.h"

#include "demo.h"

int app_main(void)
{
    lv_init();

    /* Initialize your hardware. */

    /* hw_init(); */

    demo_create();

    /* Create the UI or start a task for it.
     * In the end, don't forget to call `lv_task_handler` in a loop. */

    /* hw_loop(); */

    return 0;
}
For more information see: platformio with espidf framework compability.
Support for ESP32-S2 variant is Work In Progress. Smaller displays (e.g. 320x240) work fine, but larger ones need testing.
ESP32-S2 has less on-chip SRAM than its predecessor ESP32 (520kB vs. 320kB). This causes problems with memory allocation with large LVGL display buffers as they don't fit into the on-chip memory and external PSRAM is not accessible by DMA.
Moreover, static allocation to external PSRAM is not yet supported (see GitHub issue).
At this momement, the buffers are dynamicaly allocated with DMA capabilty and memory allocator handles the rest.

