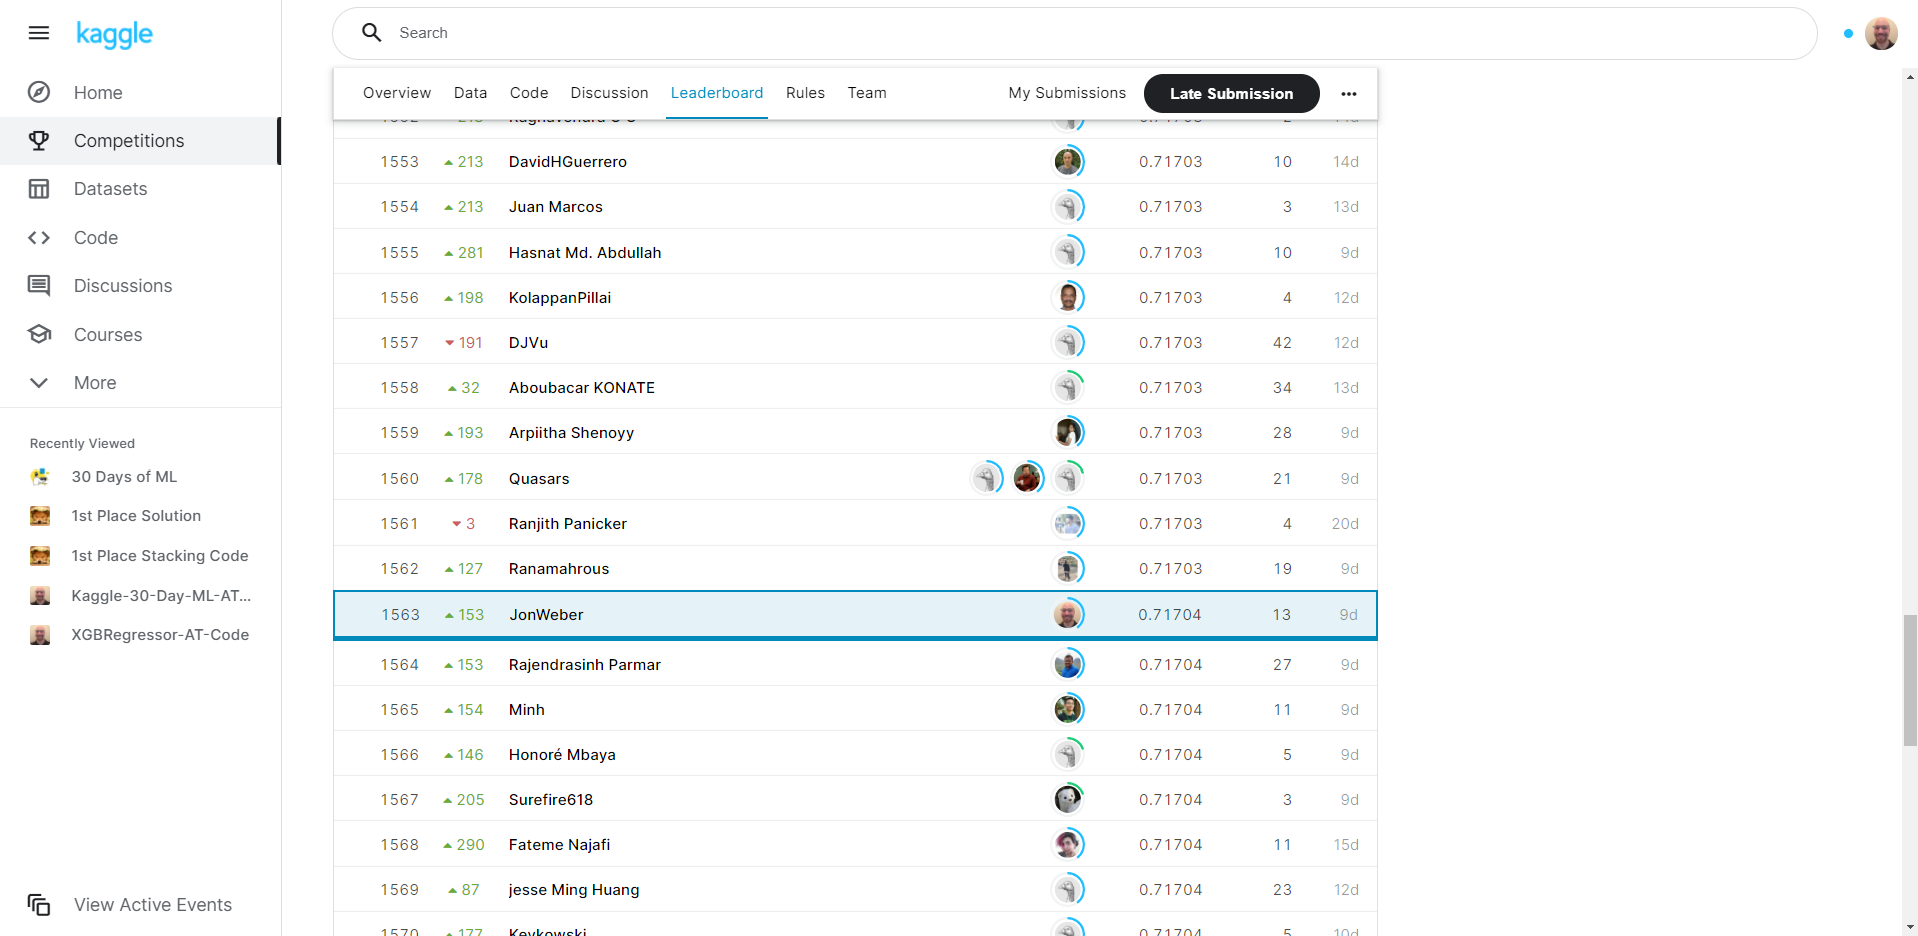
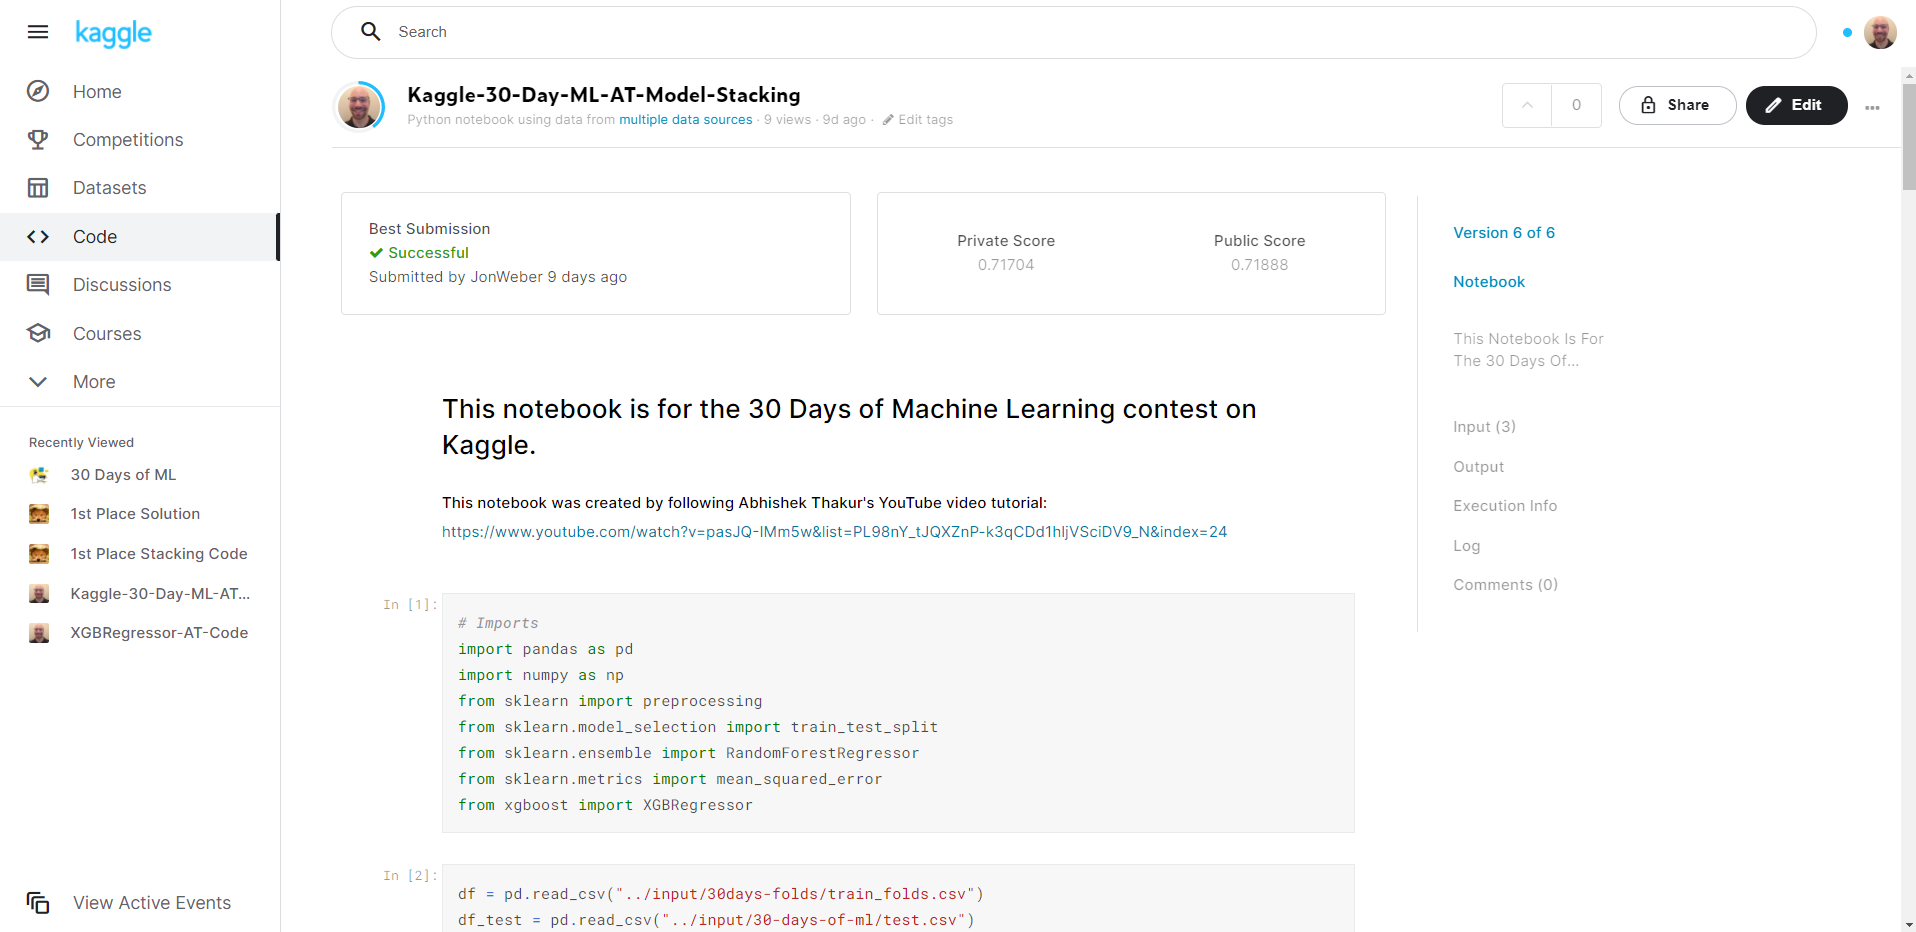
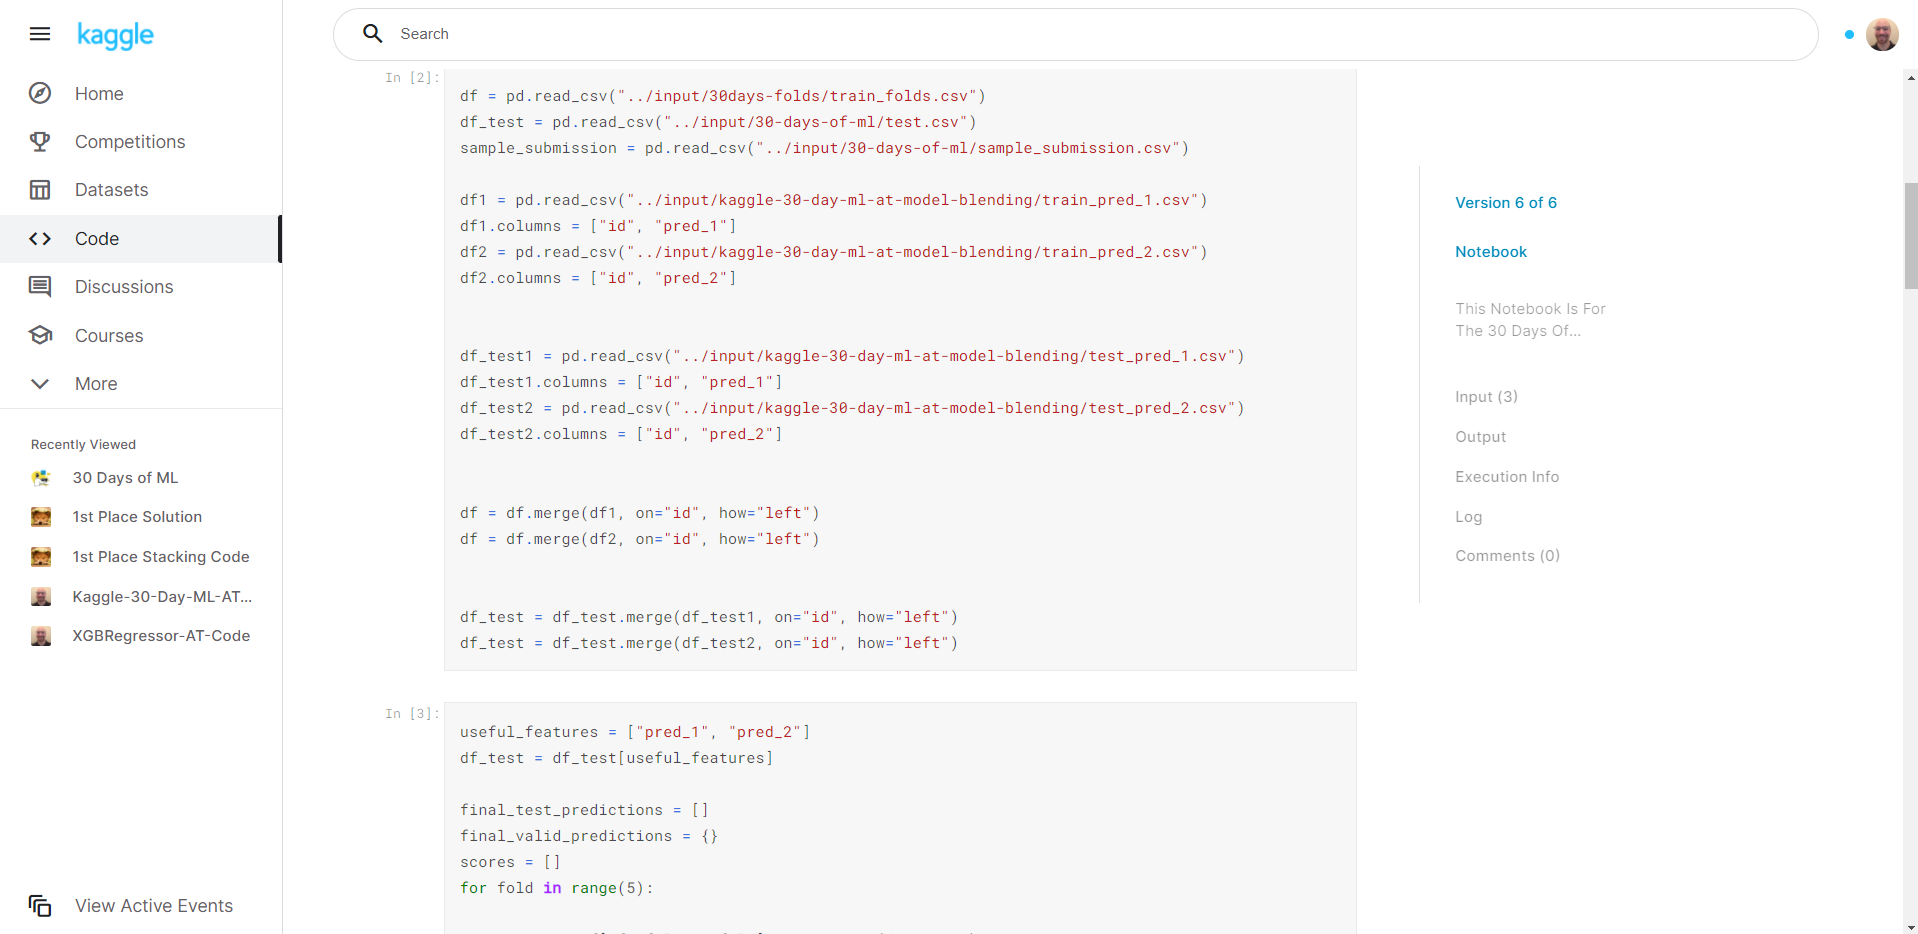
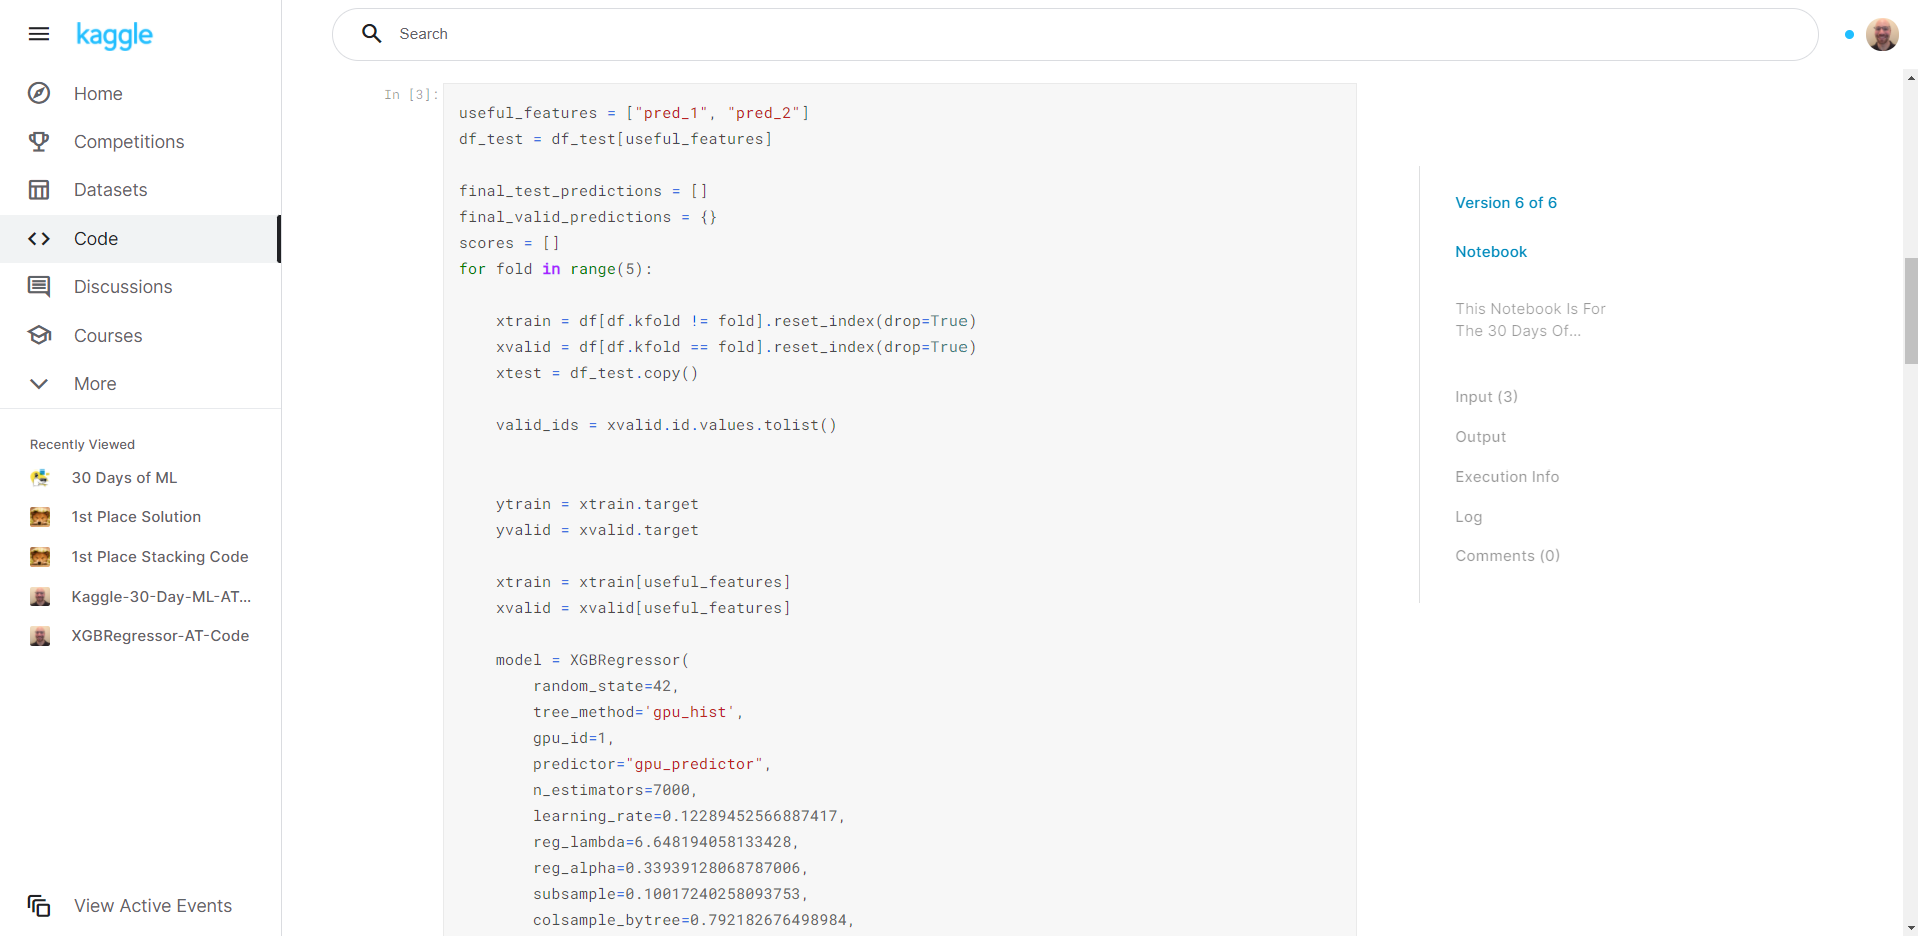
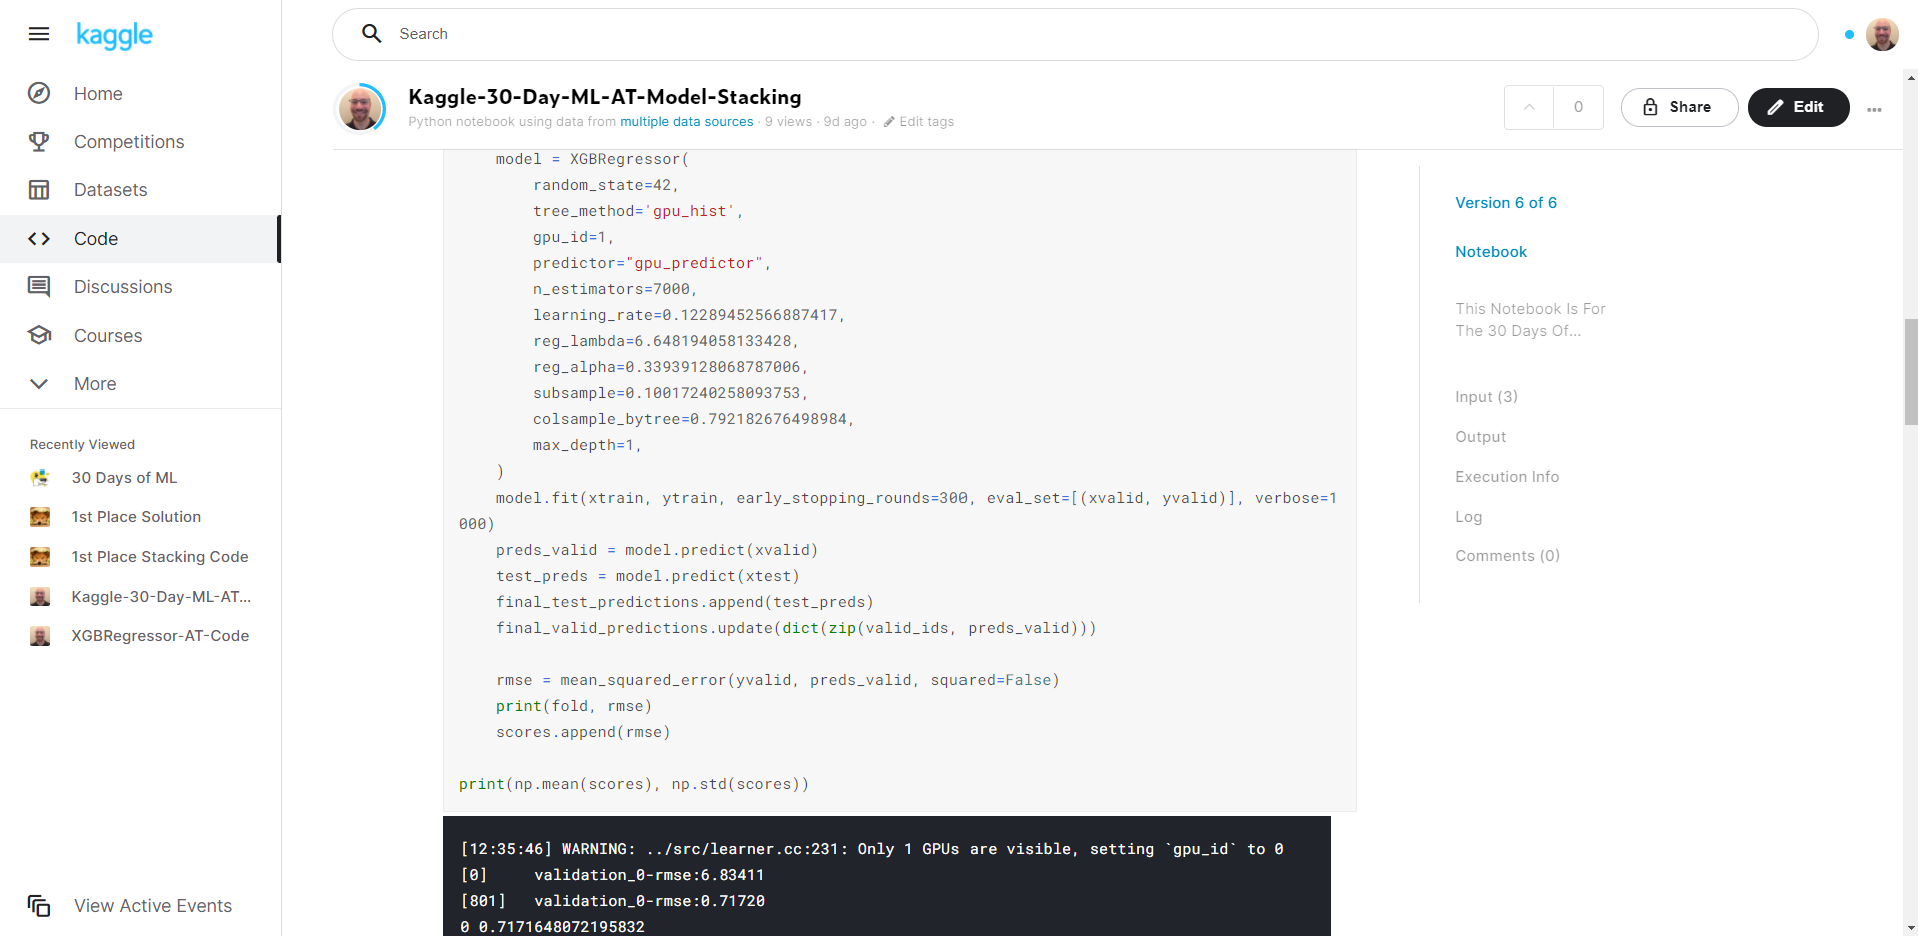
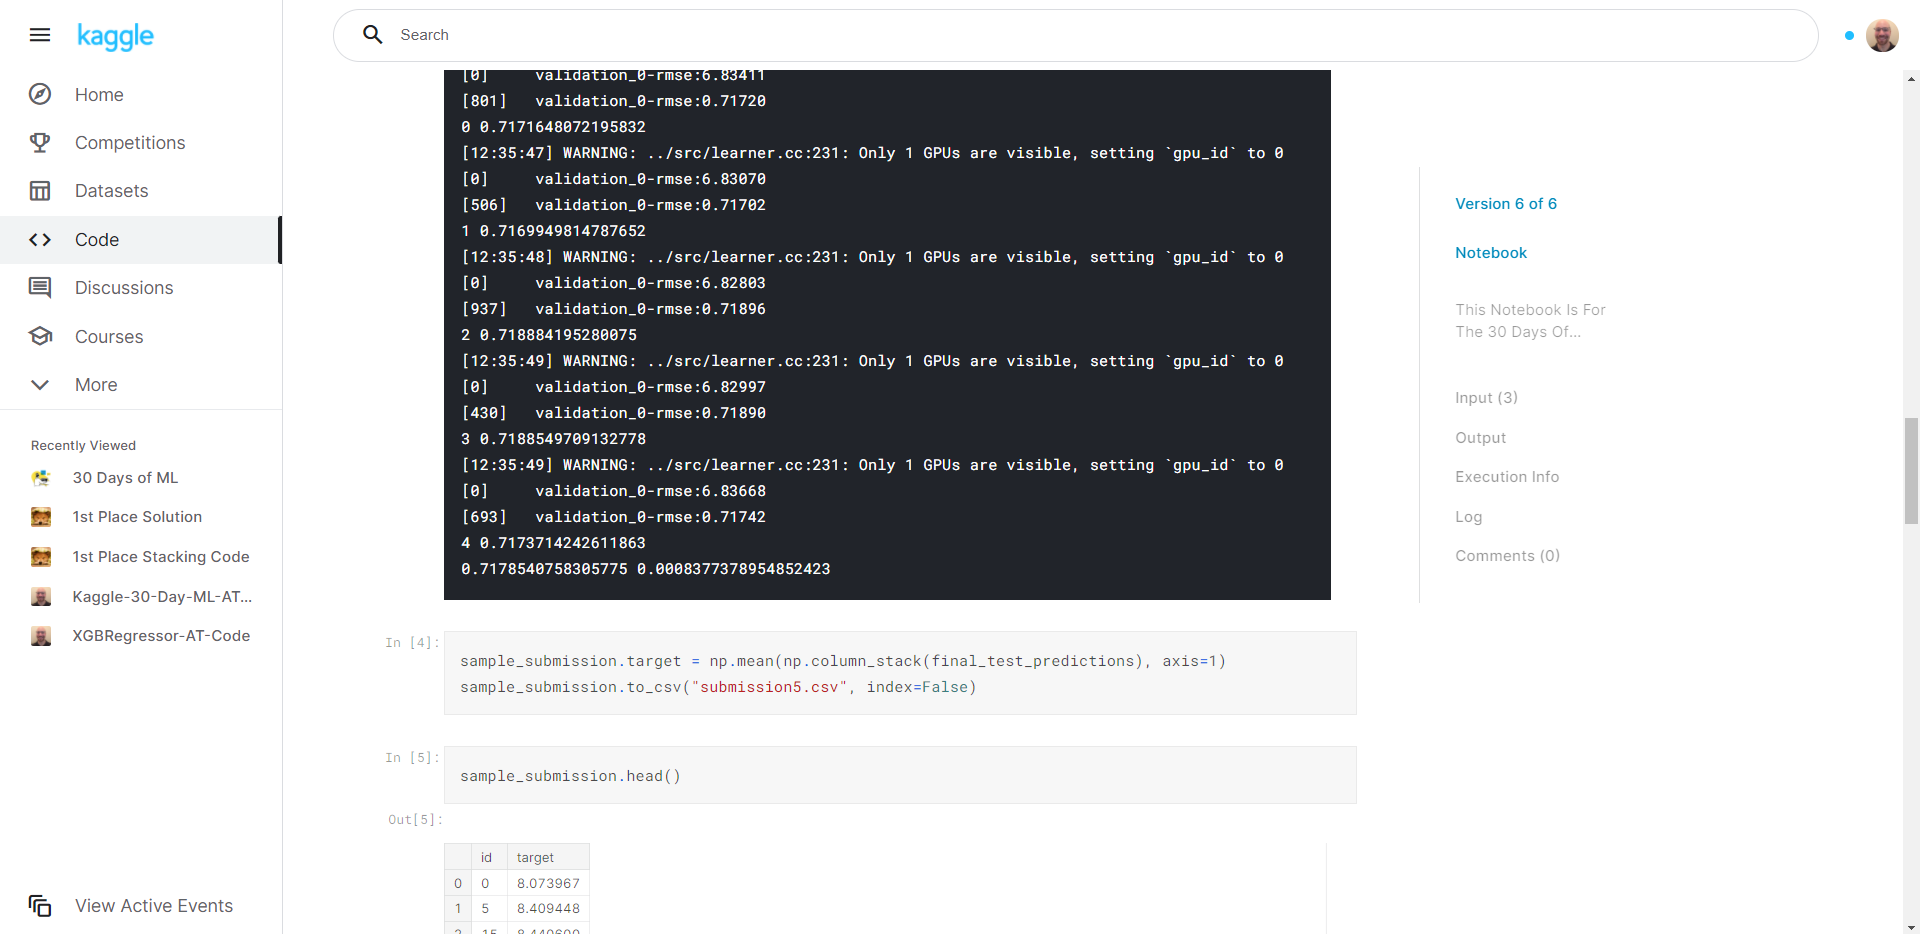
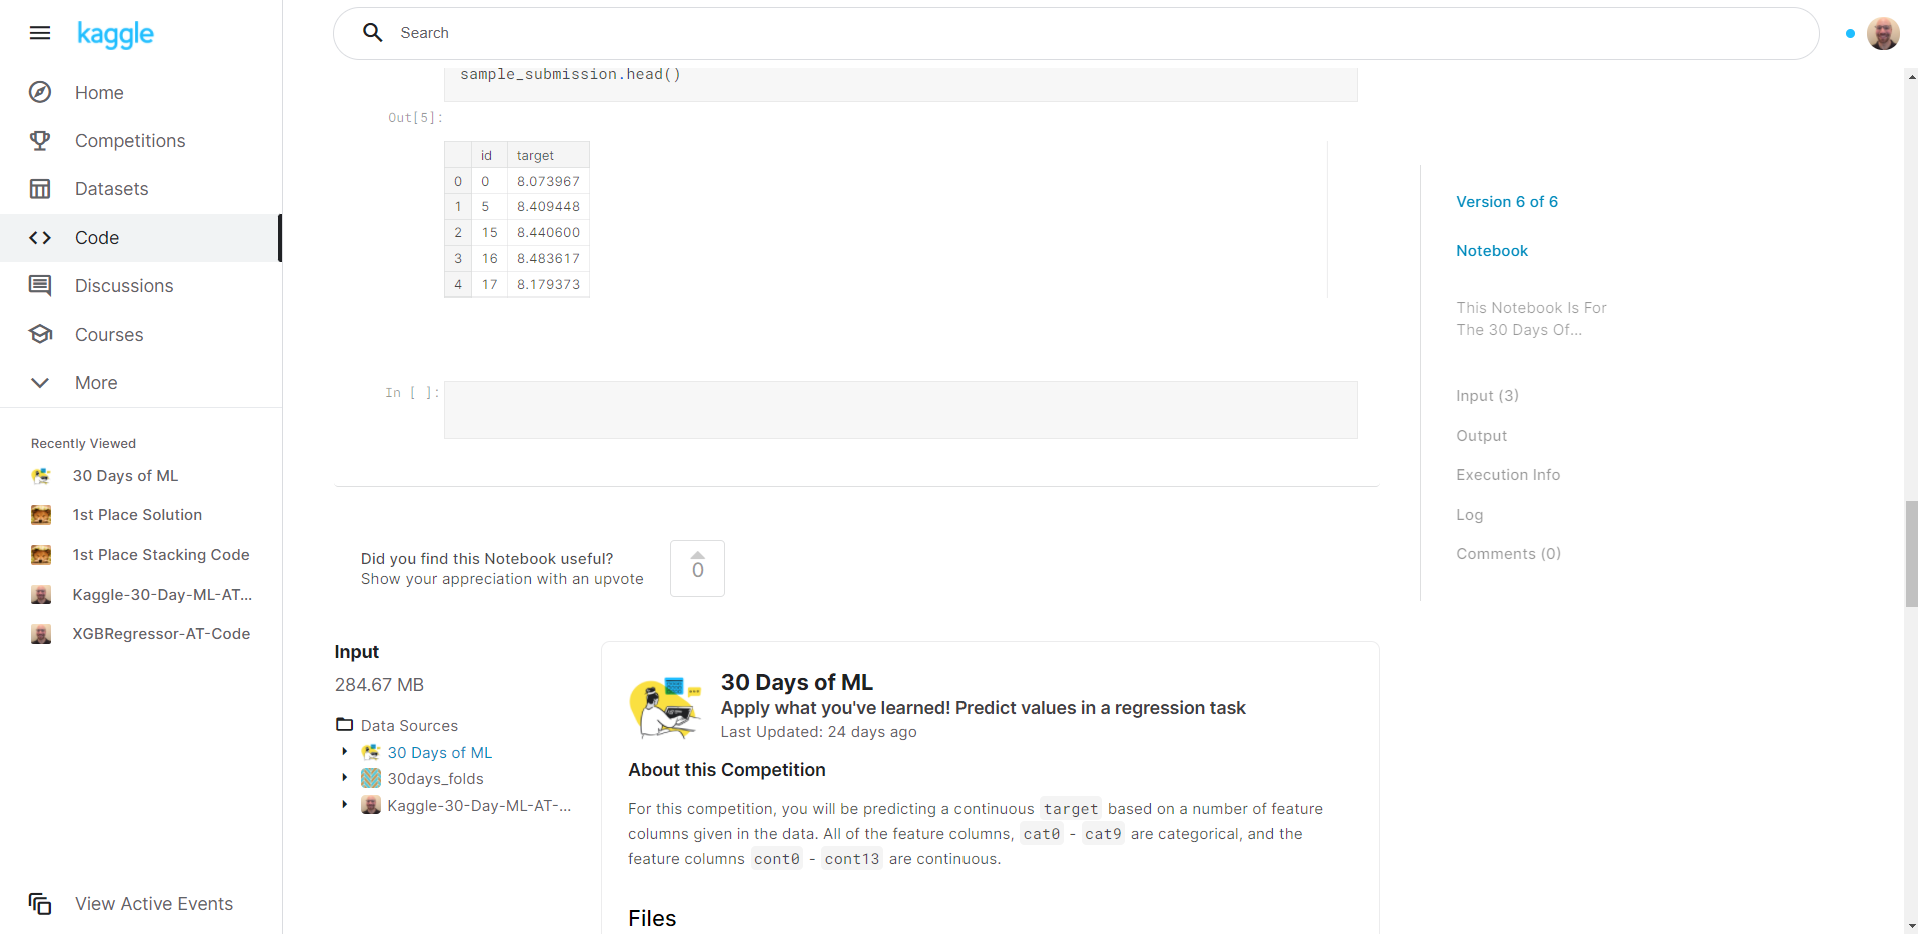
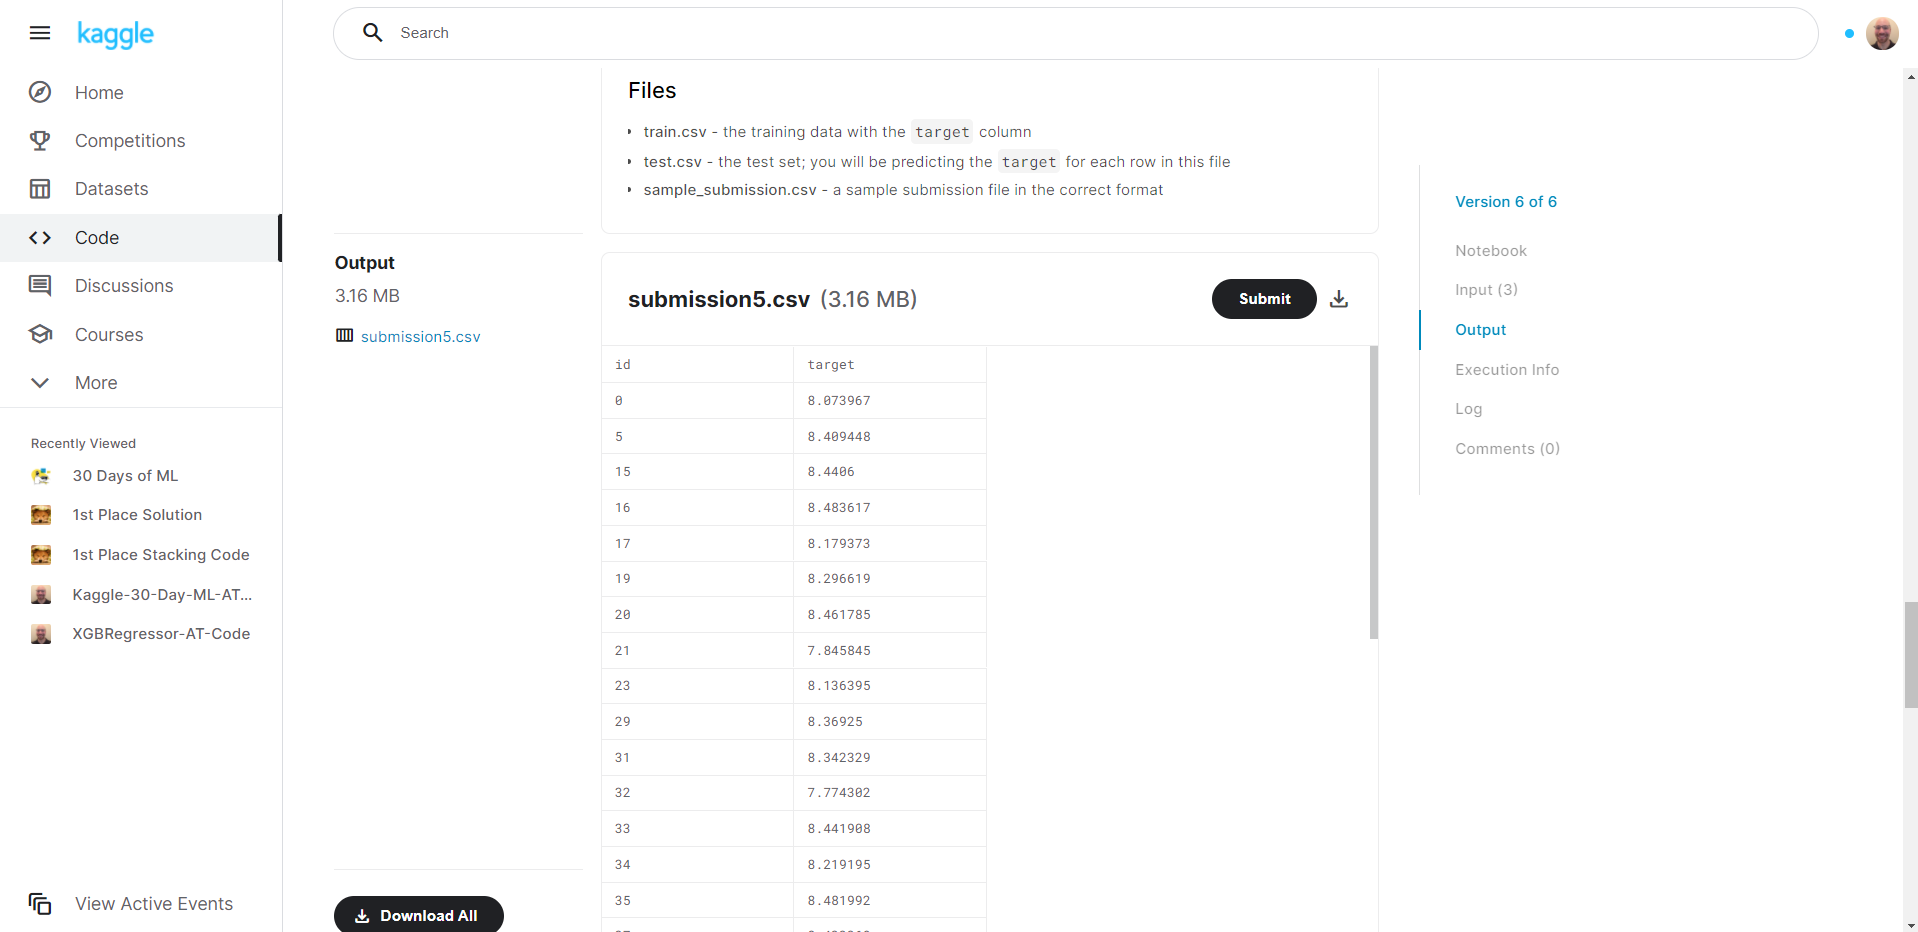
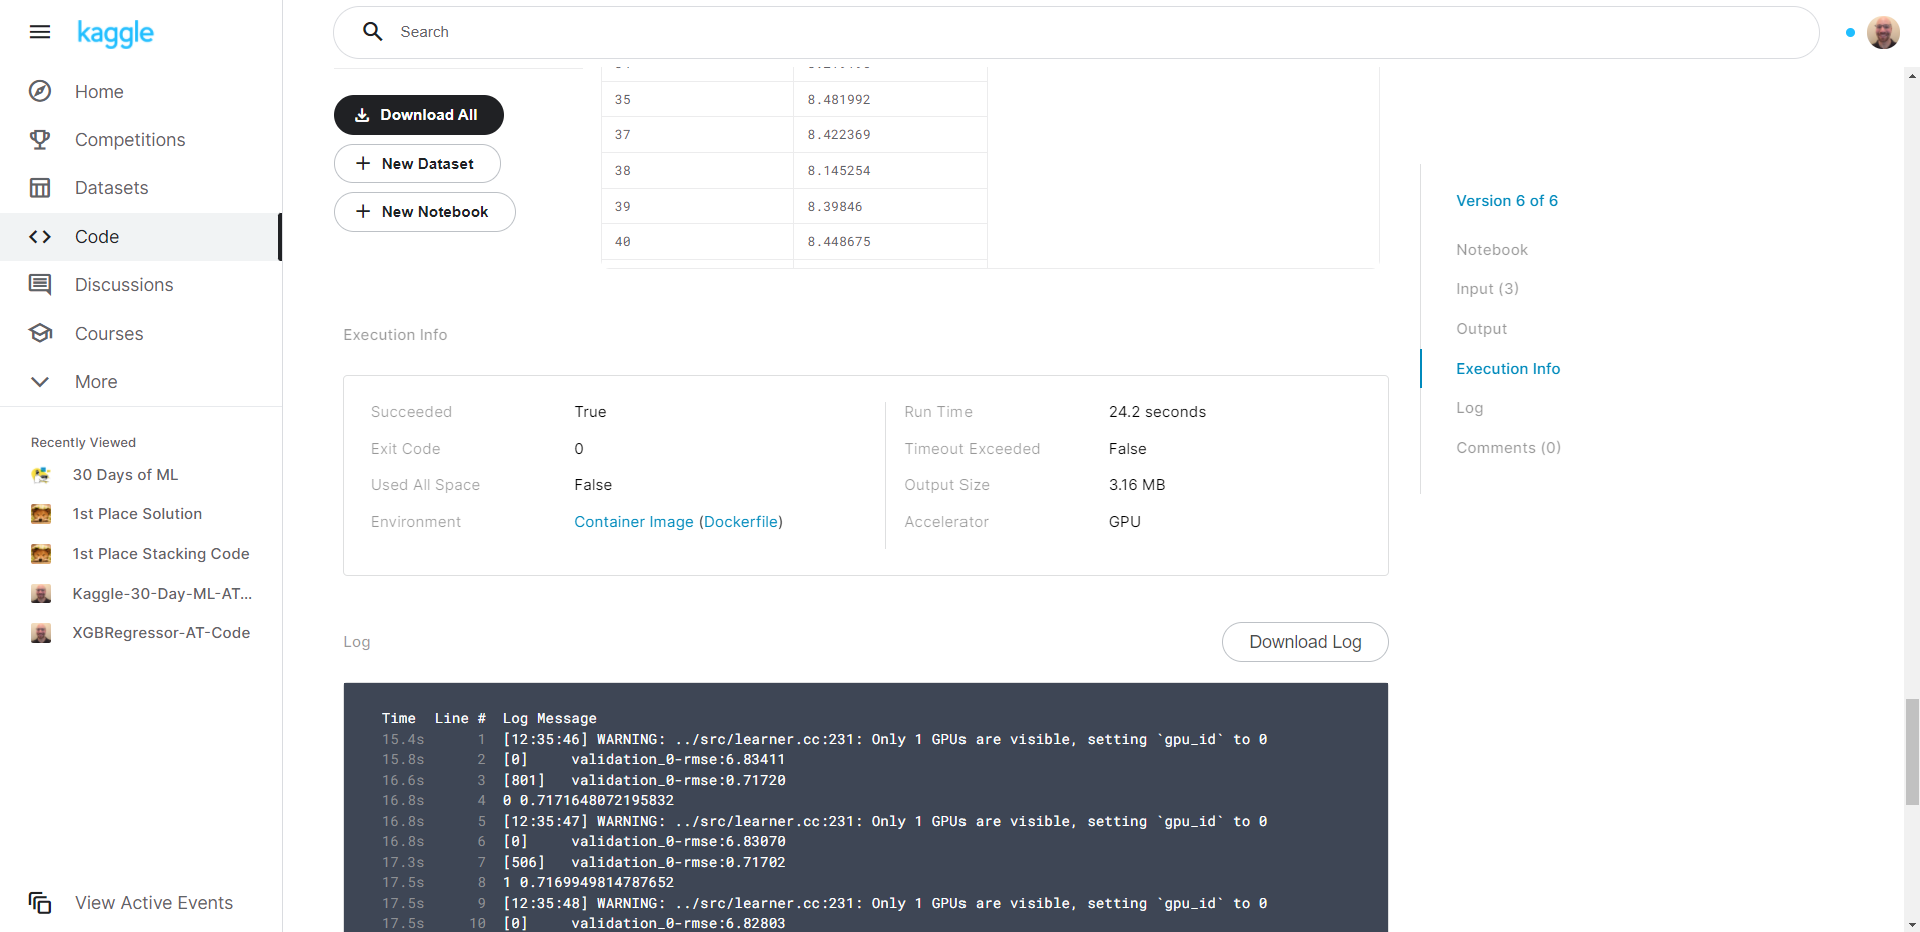
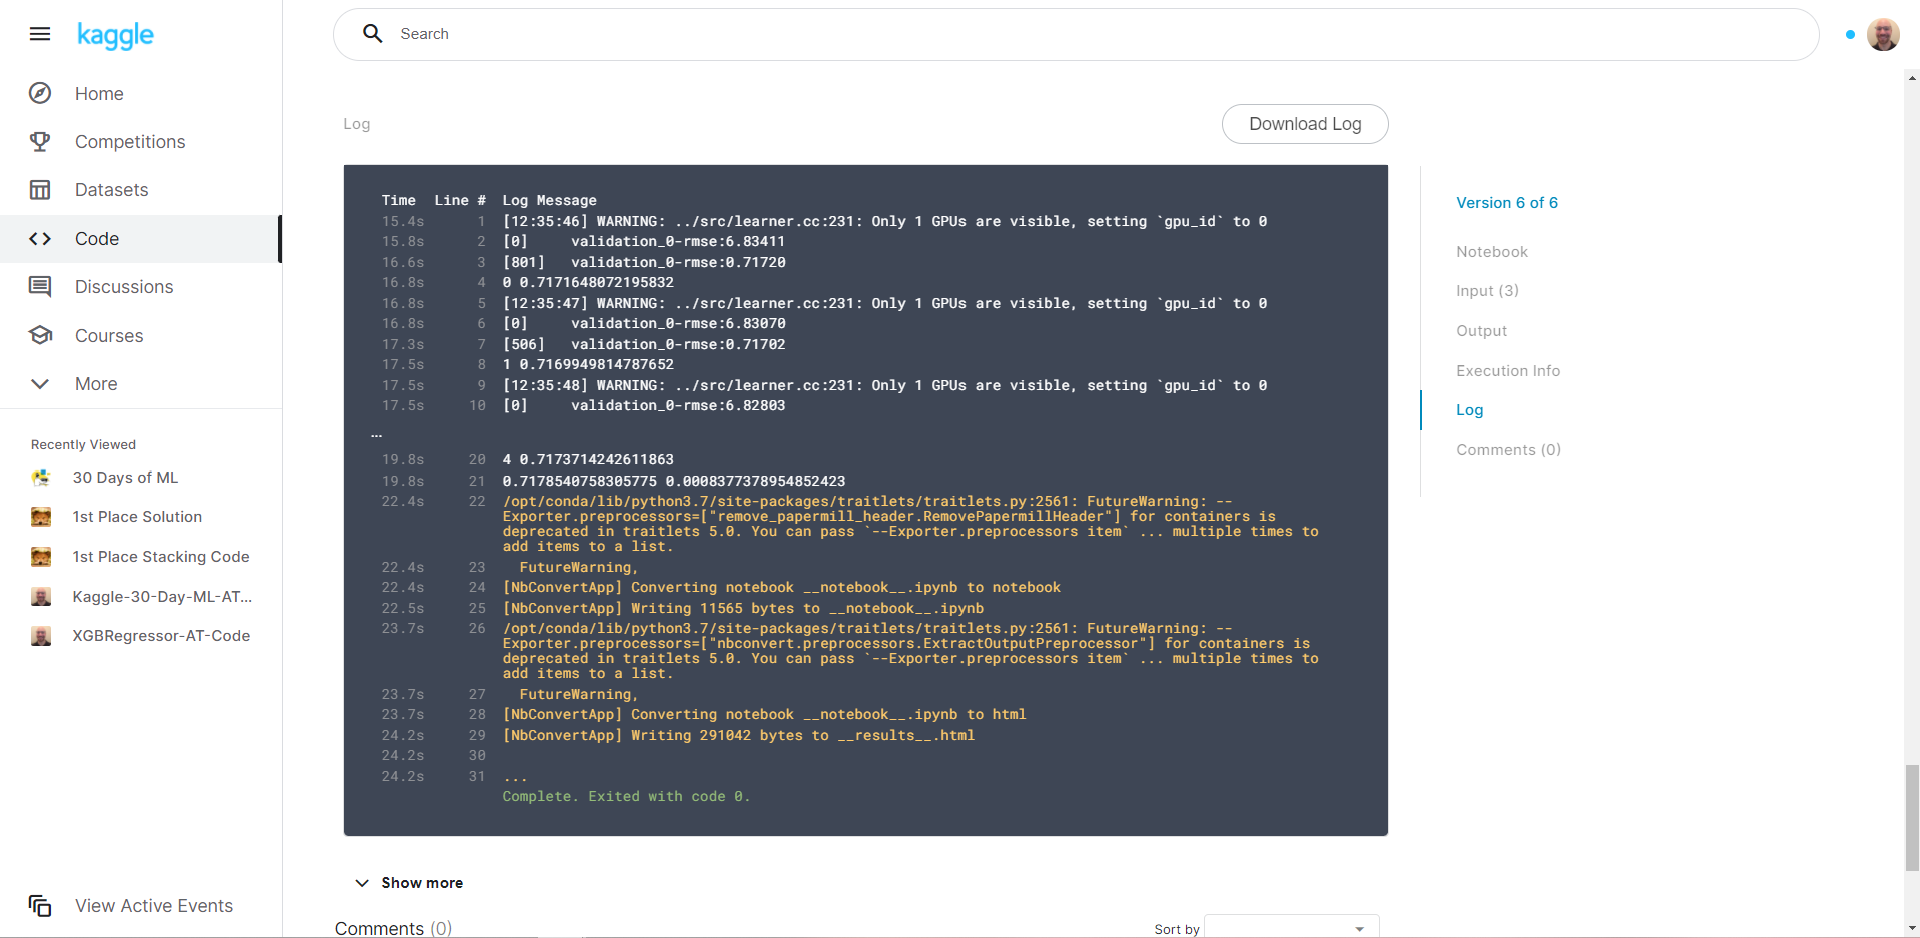
This repo is for the 30 Days of Machine Learning competition on Kaggle. We analyze a synthetic (generated using a CTGAN) dataset in order to design a machine learning model that can minimize the root mean square error (RMSE) of our predicted values. 🧑💻
These instructions will get you a copy of the project up and running on your local machine for developement and testing purposes. See Deployment for notes on how to deploy the project on a live system.
You can also view the jupyter notebooks: feature engineering, model blending, model stacking, target encoding, hyperparameter tuning, or feature engineering here in the Github repo, or scroll down to see the project visuals.
What things you need to install the software and how to install them.
-
GitHub Account
-
Python
- Libraries: pandas, NumPy, scikit-learn, xgboost, and optuna
-
Git
-
Kaggle account
- Sign up here
A step by step series of examples that tell you how to get a development environment running.
We are using Python and Jupyter Notebook so those two should be installed. I recommend using Anaconda and Conda (both are free) to create a virtual environment if you currently don't have either one installed. Follow the instructions below to set these up on a PC. For additional information on Python Virtual Environments click here.
Python
- Download and install Anaconda
- Click download and select the latest Python version.
- Open the installer and follow the instructions to complete the installation.
- Verify Conda is installed by entering the following command into your terminal window:
conda --version
- Update Conda by running the following command into your terminal window:
conda update conda
- From your terminal run the following code to install pip:
conda install pip
- pip is the package installer for Python. This will come in handy for the Python libraries we will be installing.
- Python is infamous for its libraries.
Git
- Download a free version control system called Git.
-
Git is a great way to interact with GitHub. You are currently viewing this repository on GitHub so I'm assuming you already have an account. If not, Sign up now.
-
Go through the installation until you get to the "Choosing the default editor used by Git".
- Select "Use Visual Studio Code as Git's default editor" if you don't already have a code editor installed.
- Download Visual Studio Code here.
- Select "Use Visual Studio Code as Git's default editor" if you don't already have a code editor installed.
-
Set up your user name in Git by following the instructions here.
-
Set up your user email address in Git by following the instructions here.
-
Set up your SSH keys in Git by following the steps in this video.
-
Python Libraries
Click the library name for instructions on how to download.
Clone the repo
-
In GitHub, in this repository (repo), Fork a copy of this repo by selecting "Fork".
-
For additional information click here.
-
You should now have a Fork of this repo in your "Your repositories" on your GitHub account.
-
-
In GitHub under "Your repositories, select the name of this repo.
- Find the "Code" dropdown.
- Select "SSH" and copy the entire line of code. It should look similar to: "git@github.com:YourUserName/RepoName.git"
- Find the "Code" dropdown.
-
Open A Git Bash terminal window where you would like to clone this repo.
- For now, you can open the terminal window on your desktop if you don't have another location in mind.
-
Type the following code into your Git Bash terminal:
git clone
- Paste the SSH key copied from step 2 after "git clone ", then press Enter.
- You should now have a clone of this repo on your local machine.
Open Jupyter Notebook
-
Open a Git Bash terminal from your repo file.
-
In your Git Bash terminal, type the following code:
source activate PythonData
- (PythonData) should now be displayed in your Git Bash terminal.
- In your Git Bash terminal, type the following code:
jupyter notebook
- You should now see a Jupyter Notebook tab open in your web browser.
- I'd like to thank Dominic LaBella, my instructor at the Data Visualization and Analytics Boot Camp I attended, for planting a seed in my brain that was the start of my computer programming knowledge and understanding. I work hard every day to grow that seed. None of this would be possible for me if not for his passion for teaching and deep understanding of these subjects.


