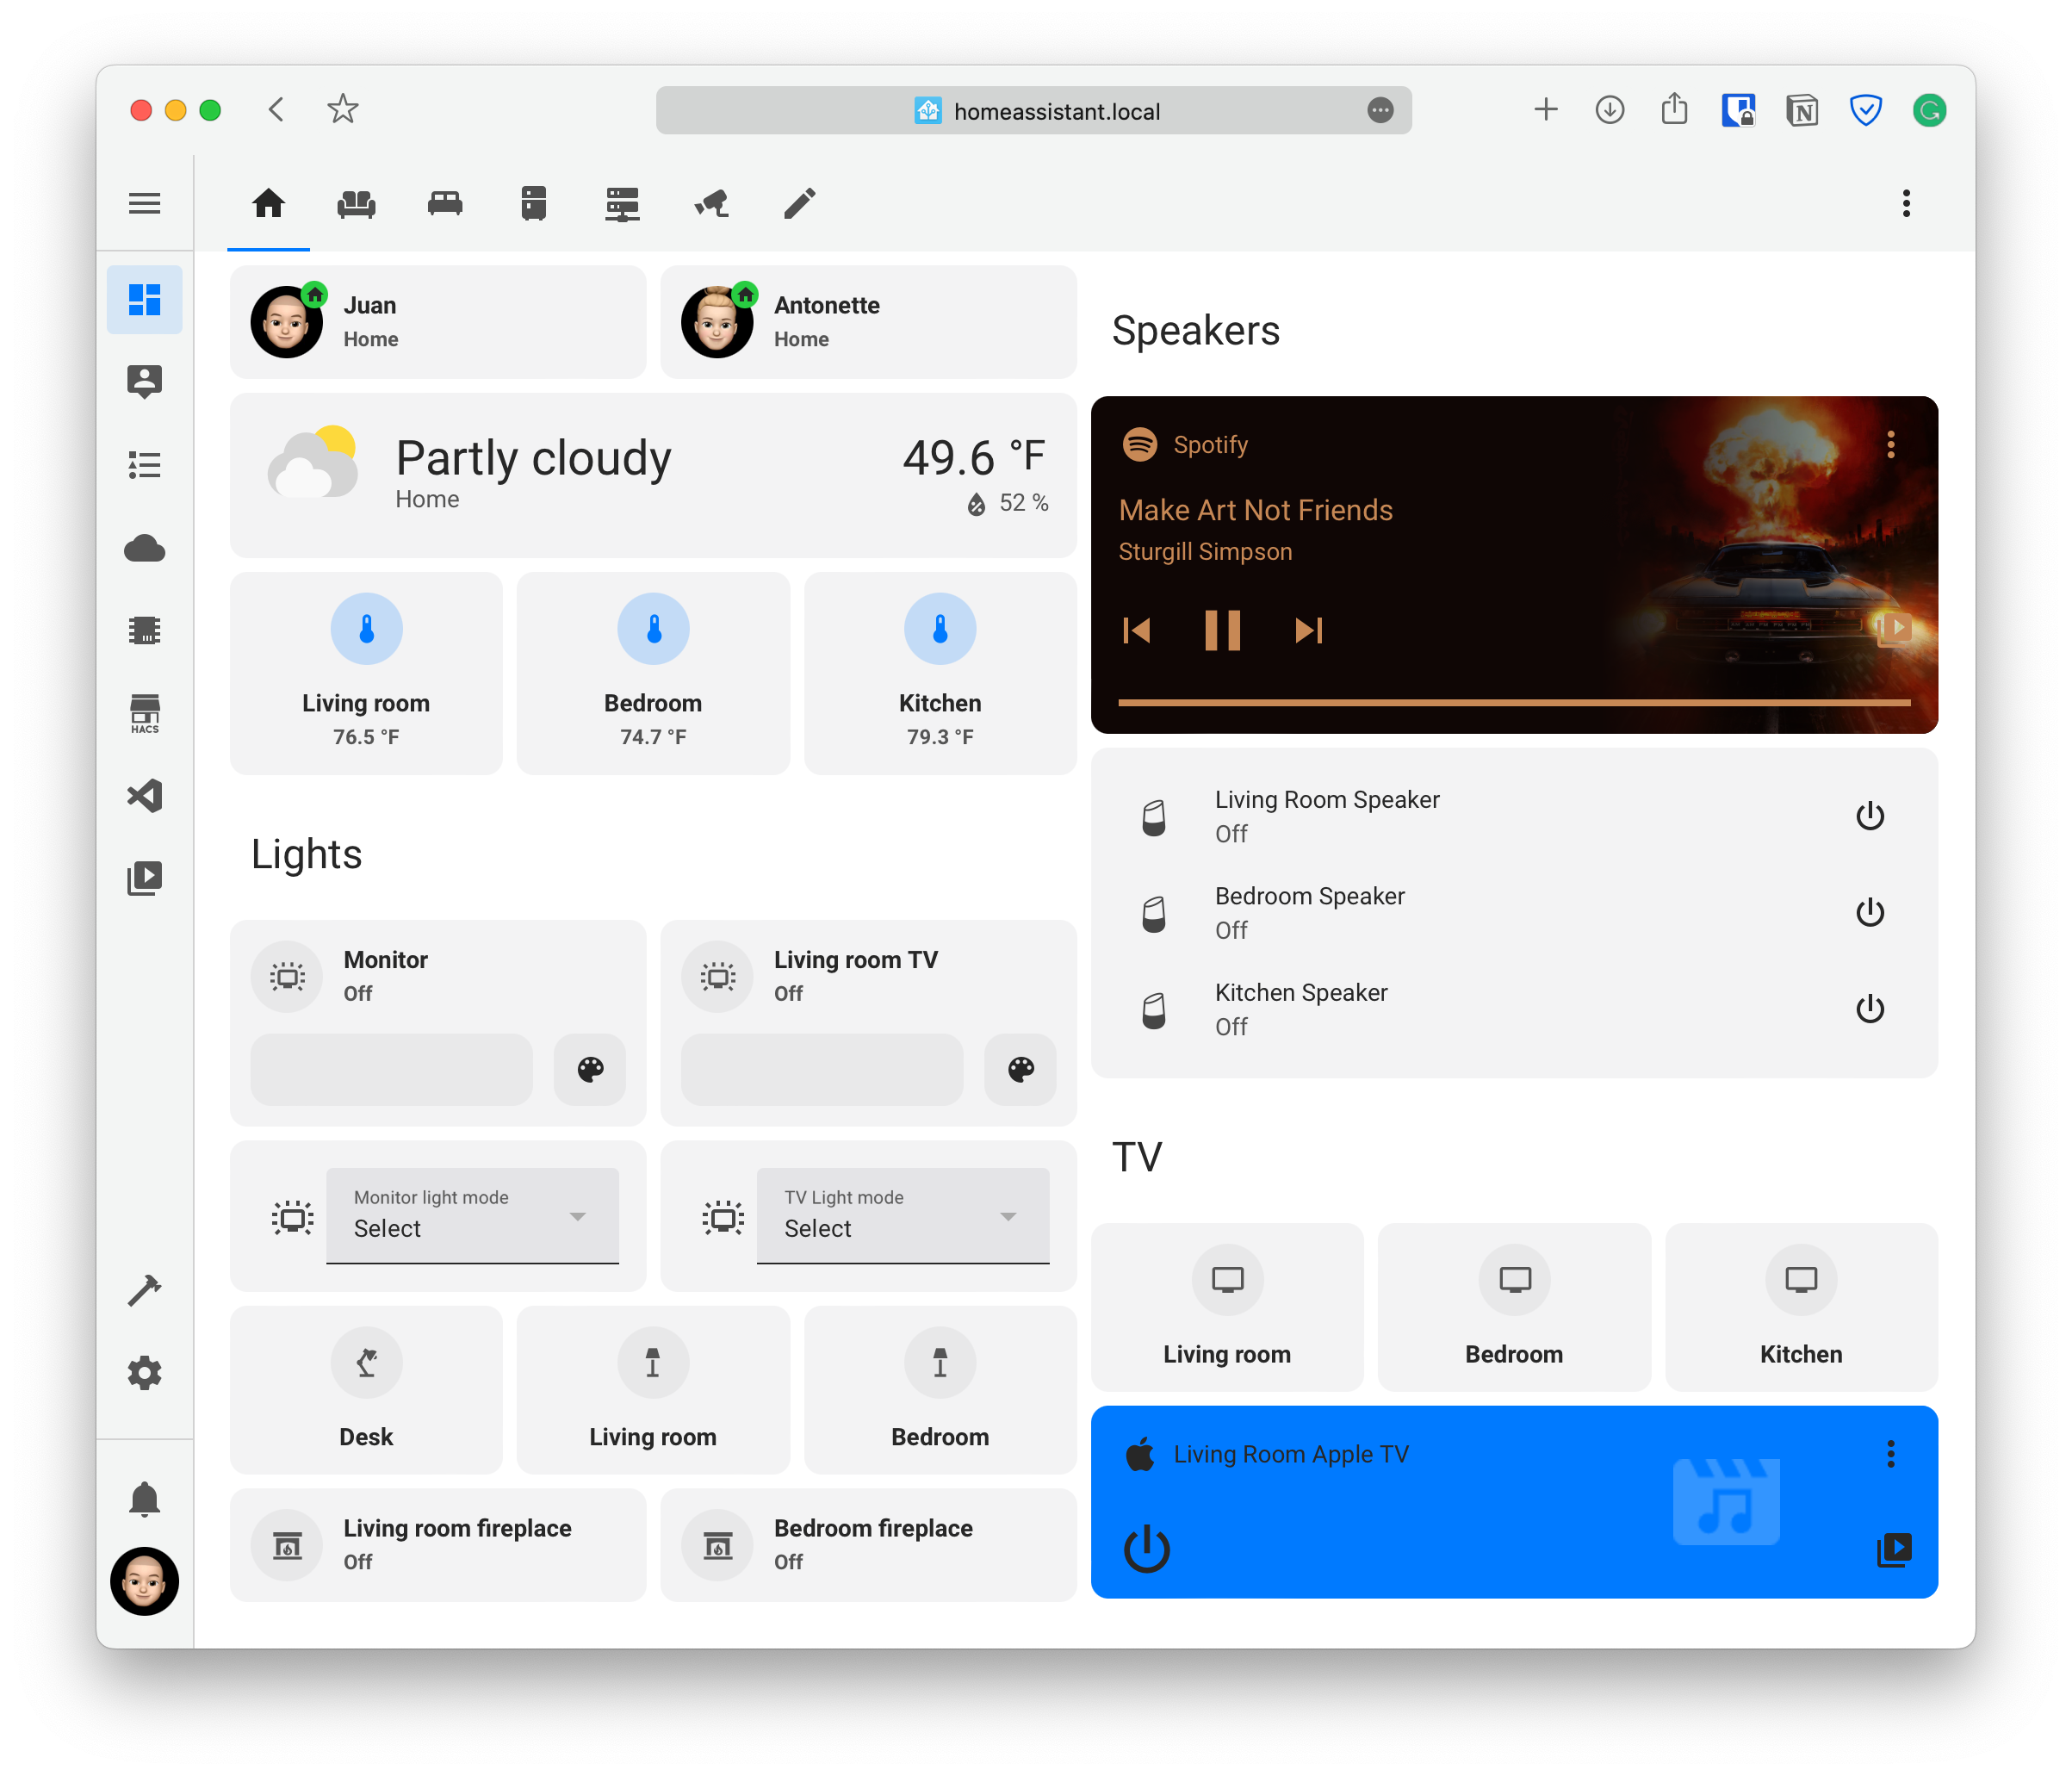
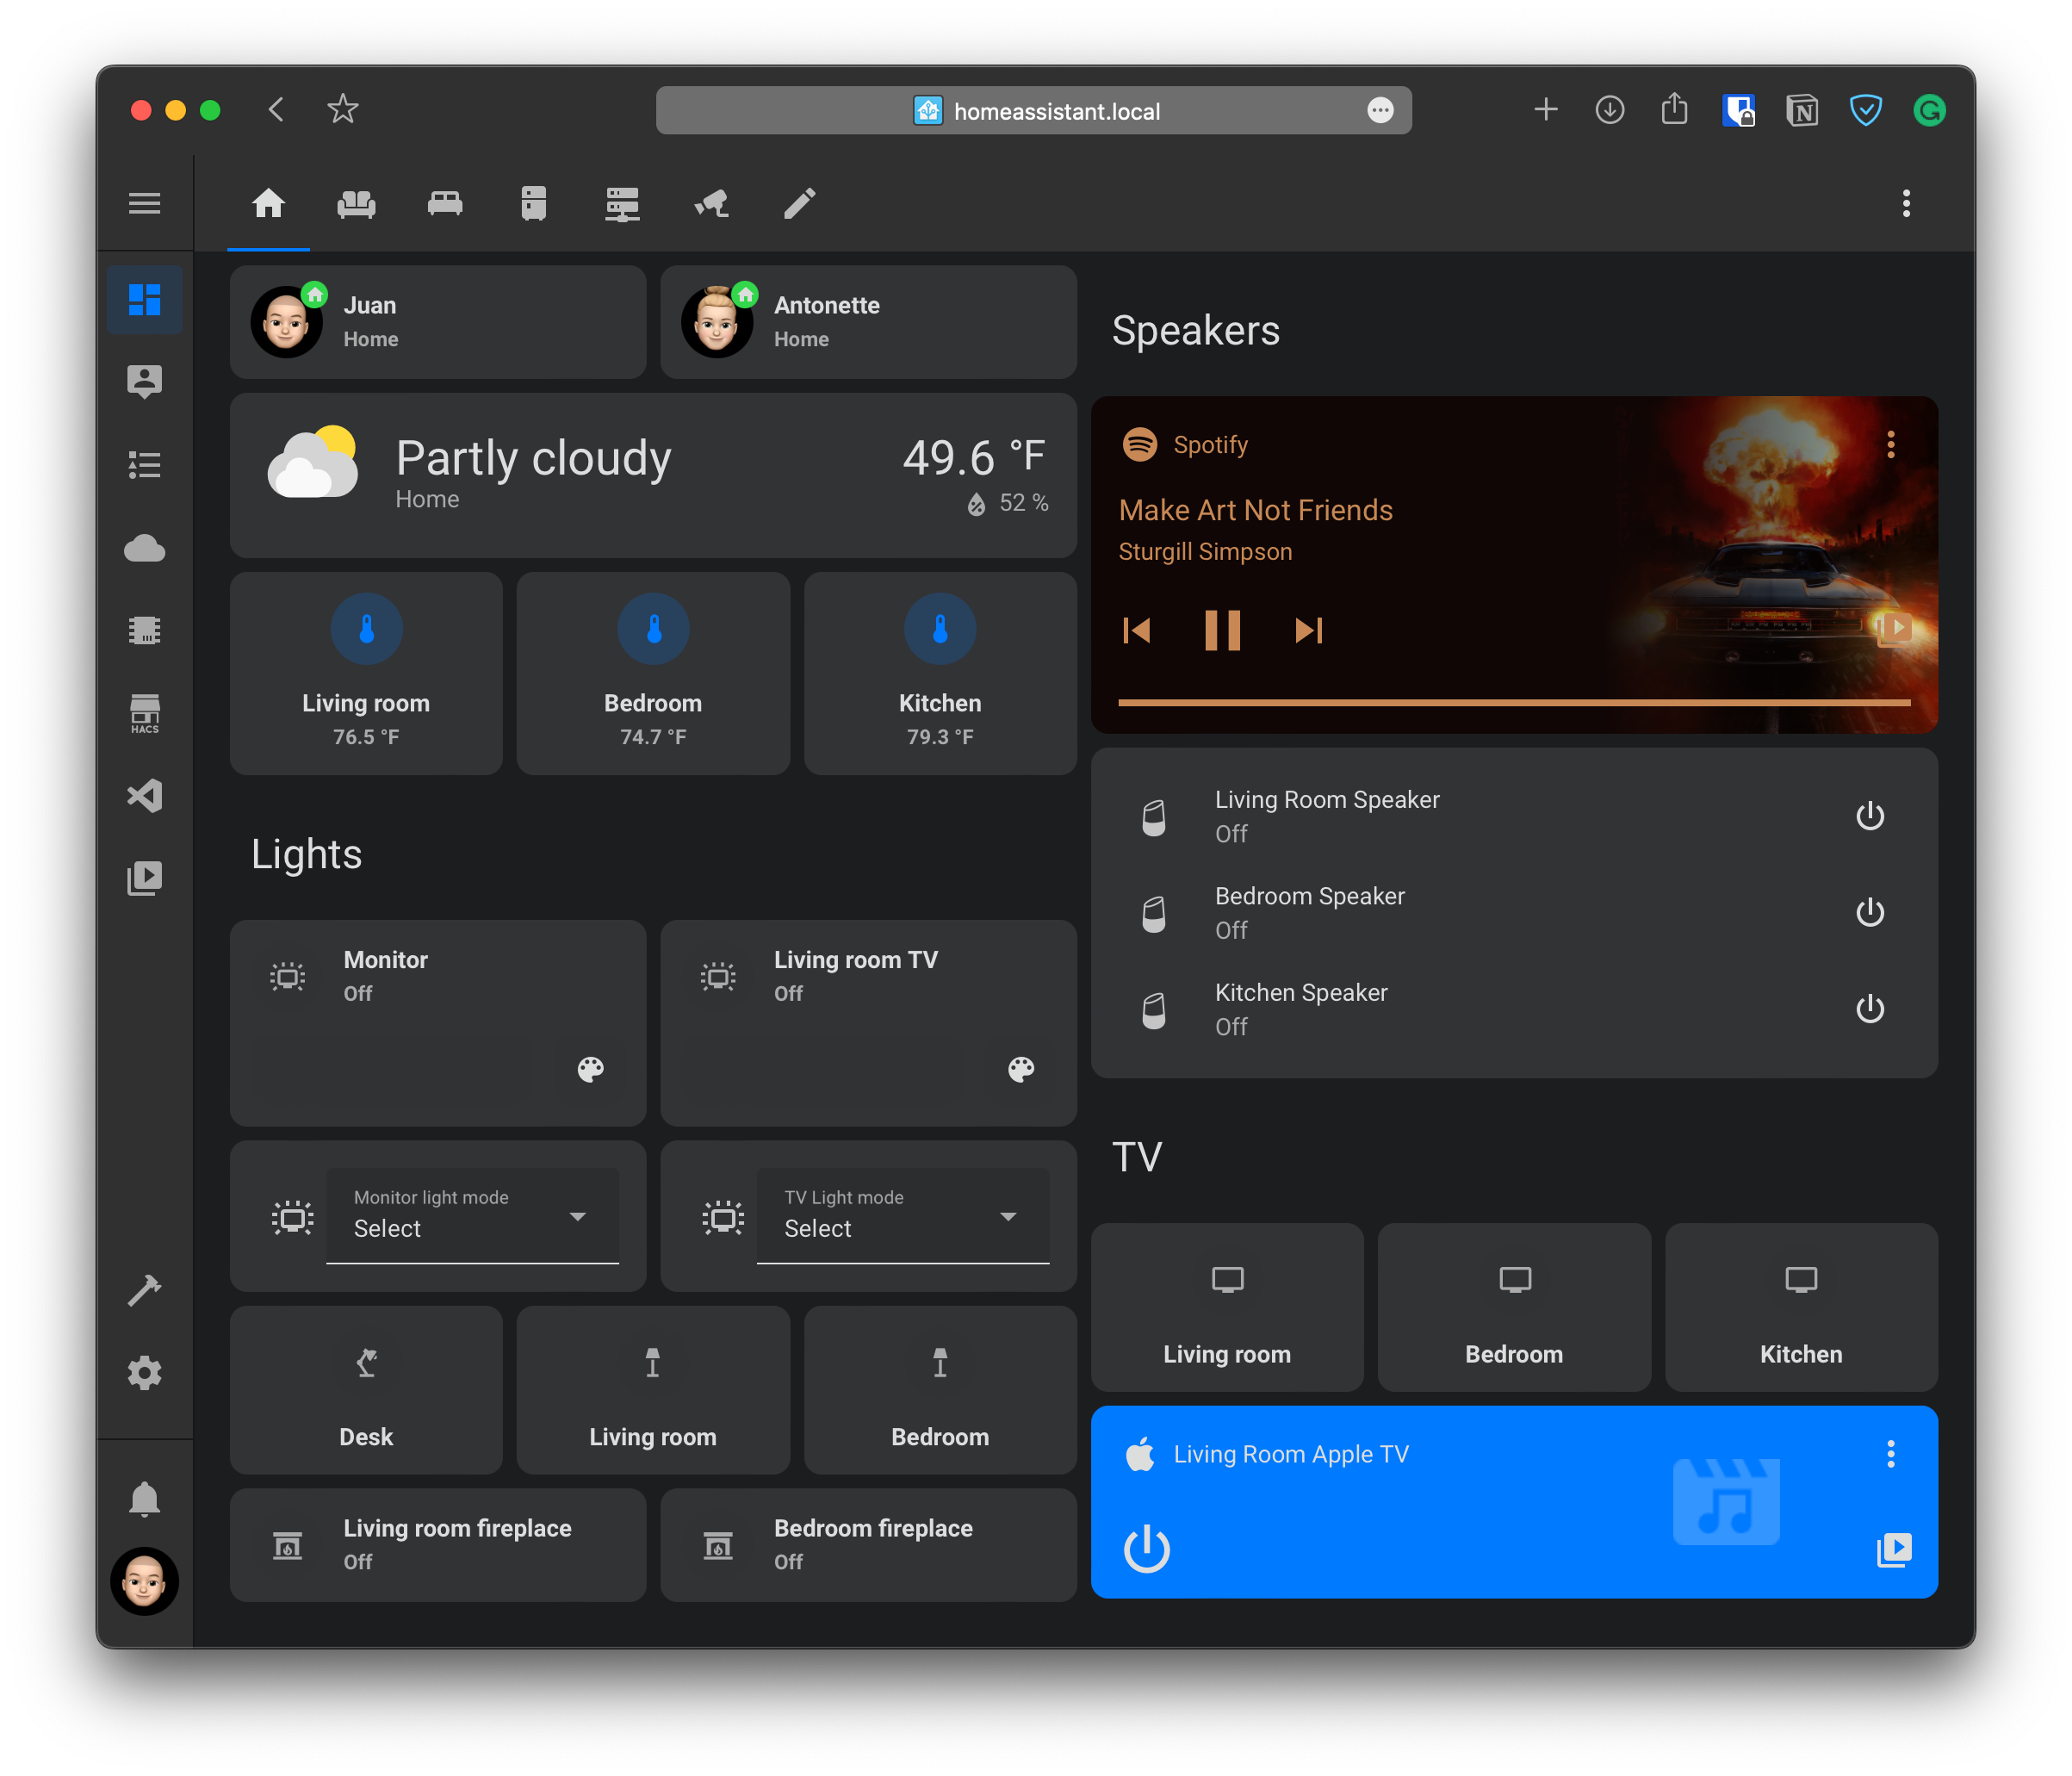
A Home Assistant theme based on the macOS Monterey system-wide light and dark mode interface.
- Make sure that under the configuration.yaml file you have the following:
frontend:
  themes: !include_dir_merge_named themes
- Under the Home Assistant Config folder, create a new folder named themes
- Restart Home assistant to apply the changes.
- Go into the Community Store (HACS)
- Search for macOS Theme
- Open the theme
- Press Install
- Restart Home Assistant
If the theme doesn't show up in HACS, you can manually add the repository.
- Go into HACS
- Go to Frontend
- Click on the icon with the 3 dots on the top right
- Select Custom Repositories
- enter the GitHub URL for the theme under Repository
- Under Category, select Theme
- Click on Add
- Search for the theme to add it
- In the Home assistant themes folder, create a file named
macos_theme.yaml - In this GitHub repo, go into the themes folder, open the
macos_theme.yamlfile and copy the content - Paste the content in the
macos_theme.yamlfile created under your Home Assistant themes folder
- Open your Home Assistant Profile
- Under, Themes, select the new macOS Theme
- Open Developer Tools
- Go to Services
- Under Service enter
frontend.set_theme - Under Name, enter
macOS Theme - Enable Mode and set it to
light - Click on Call Service
- Repeat steps 1 to 6 but change the Mode to
dark


