iOS Project implemented with Modular Architecture. (Can be used as Template project by replacing item name “Movie”). More information in medium post: Medium Post about Modular Architecture
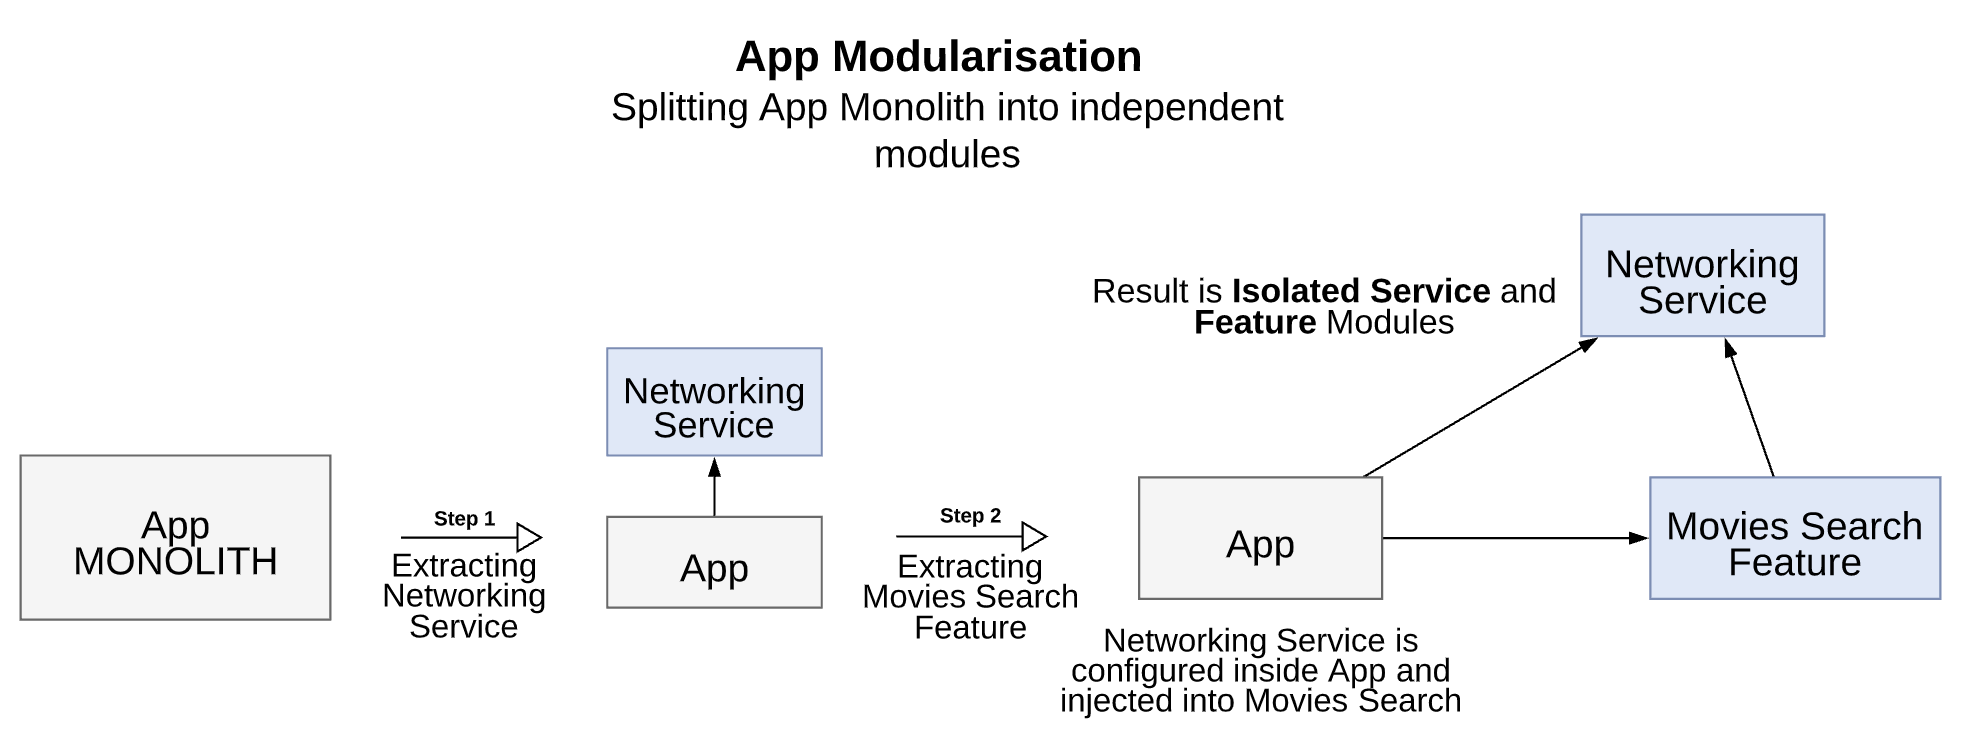 More information in medium post: Medium Post
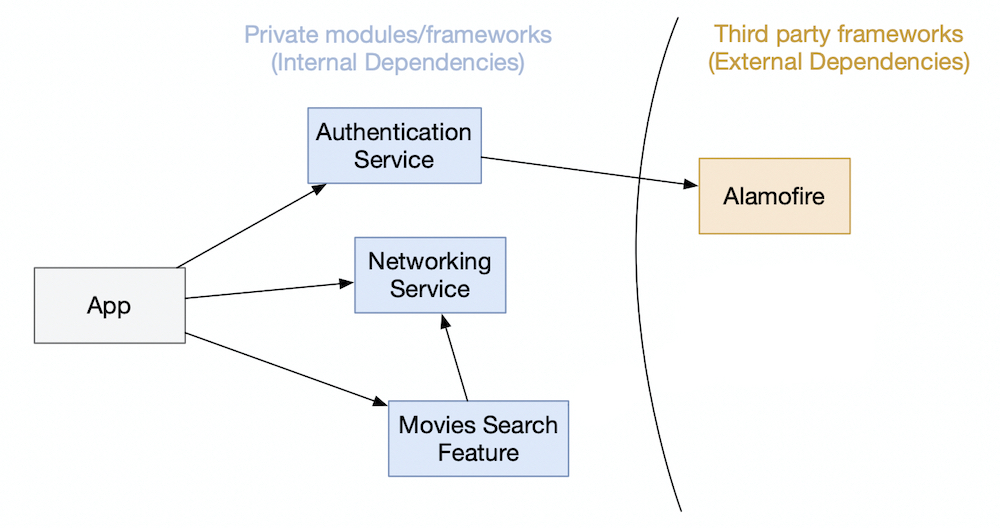
More information in medium post: Medium Post
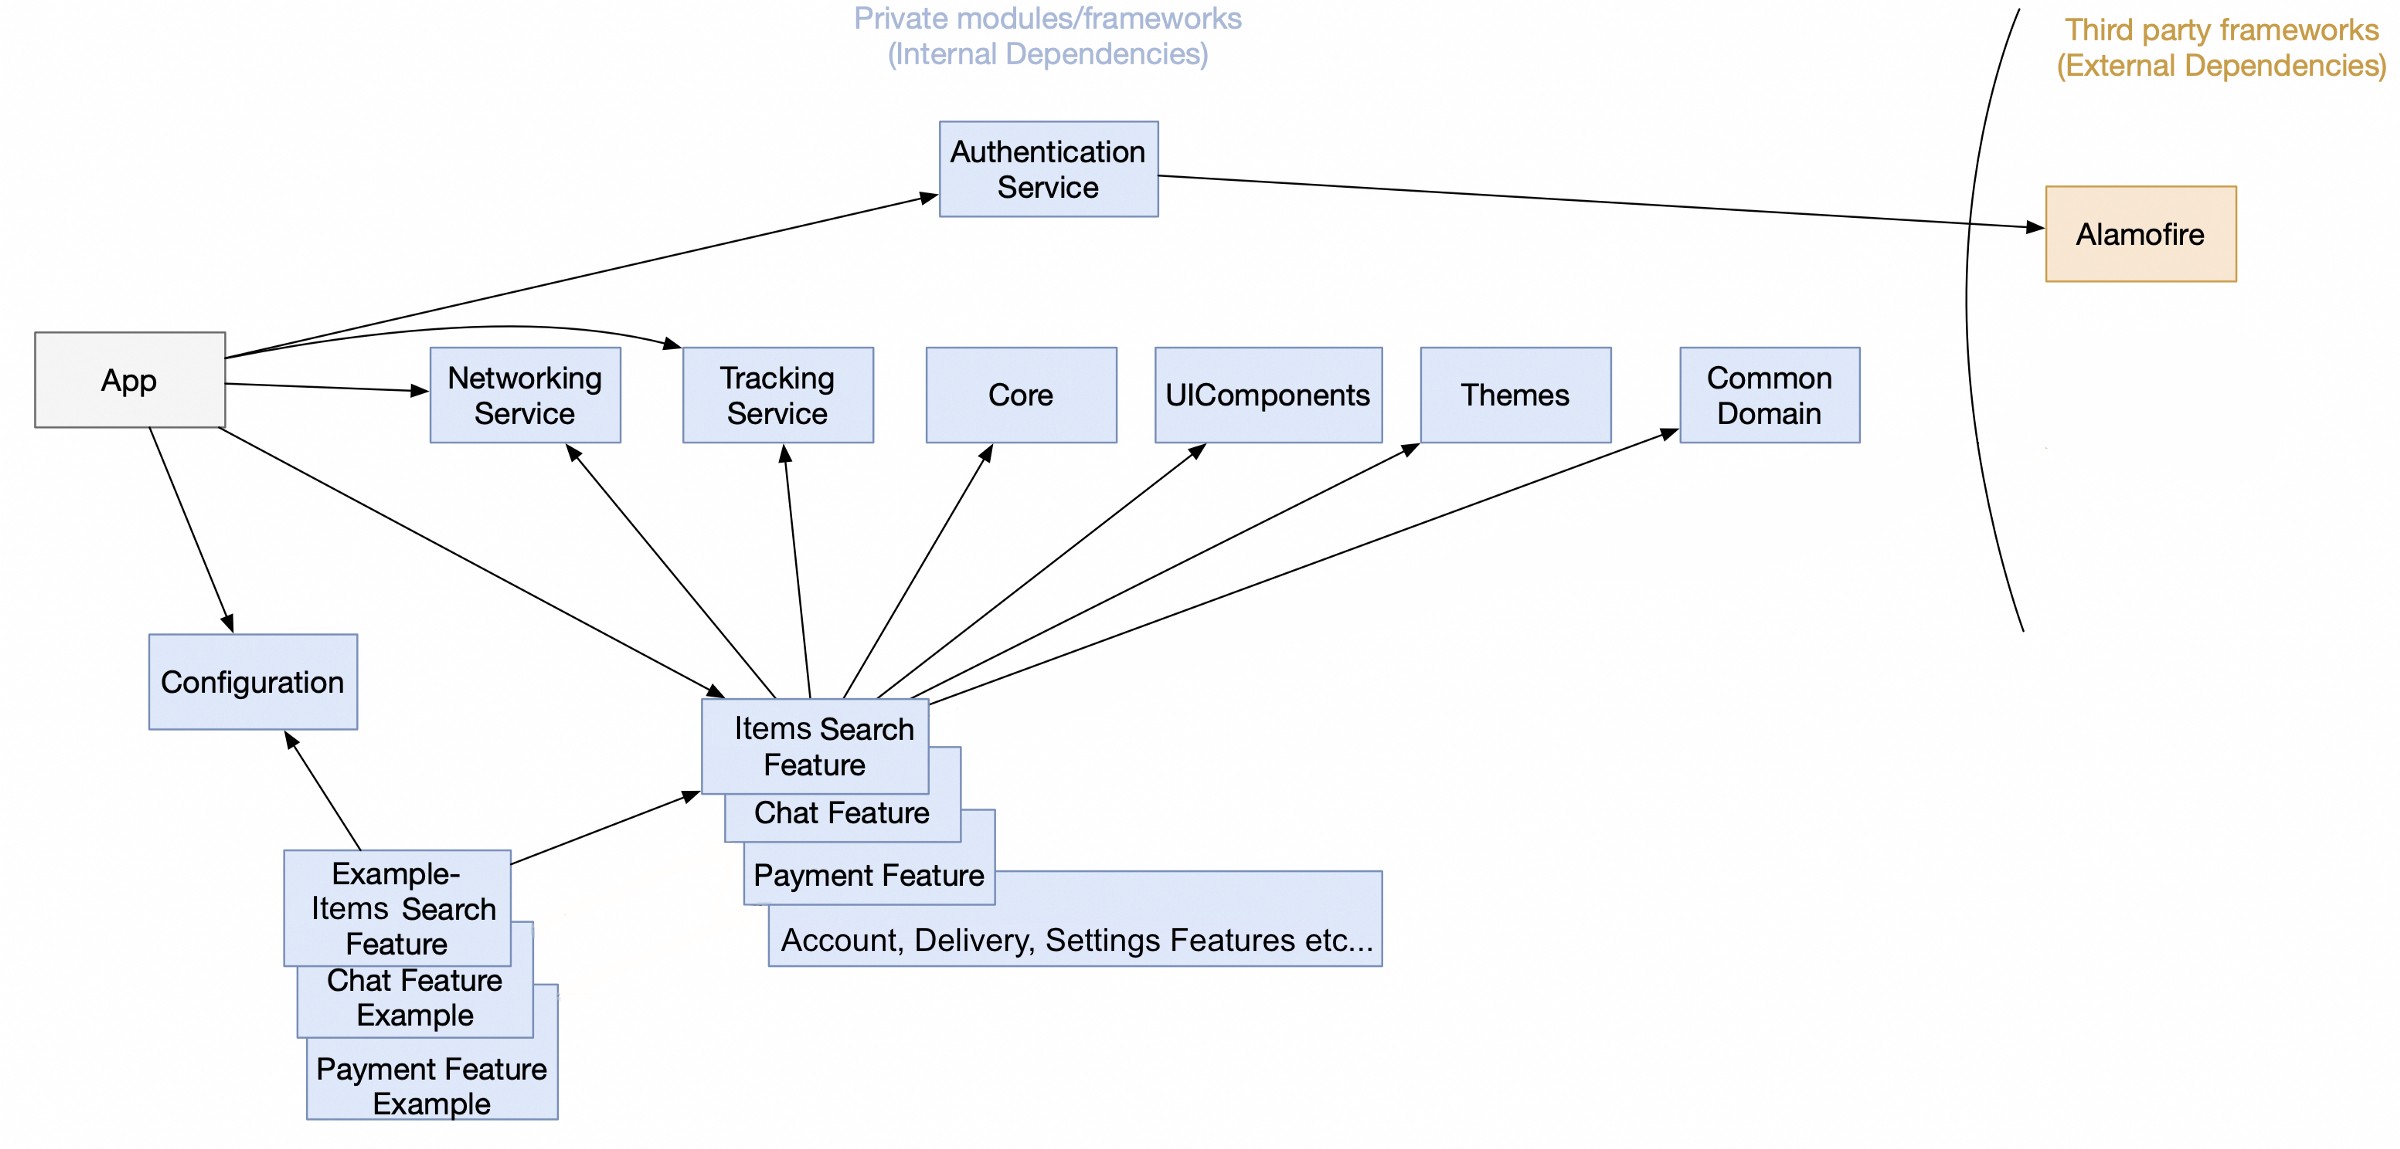
Check medium post for more information: Medium Post
Video 1: Extracting Networking Service Module. see steps
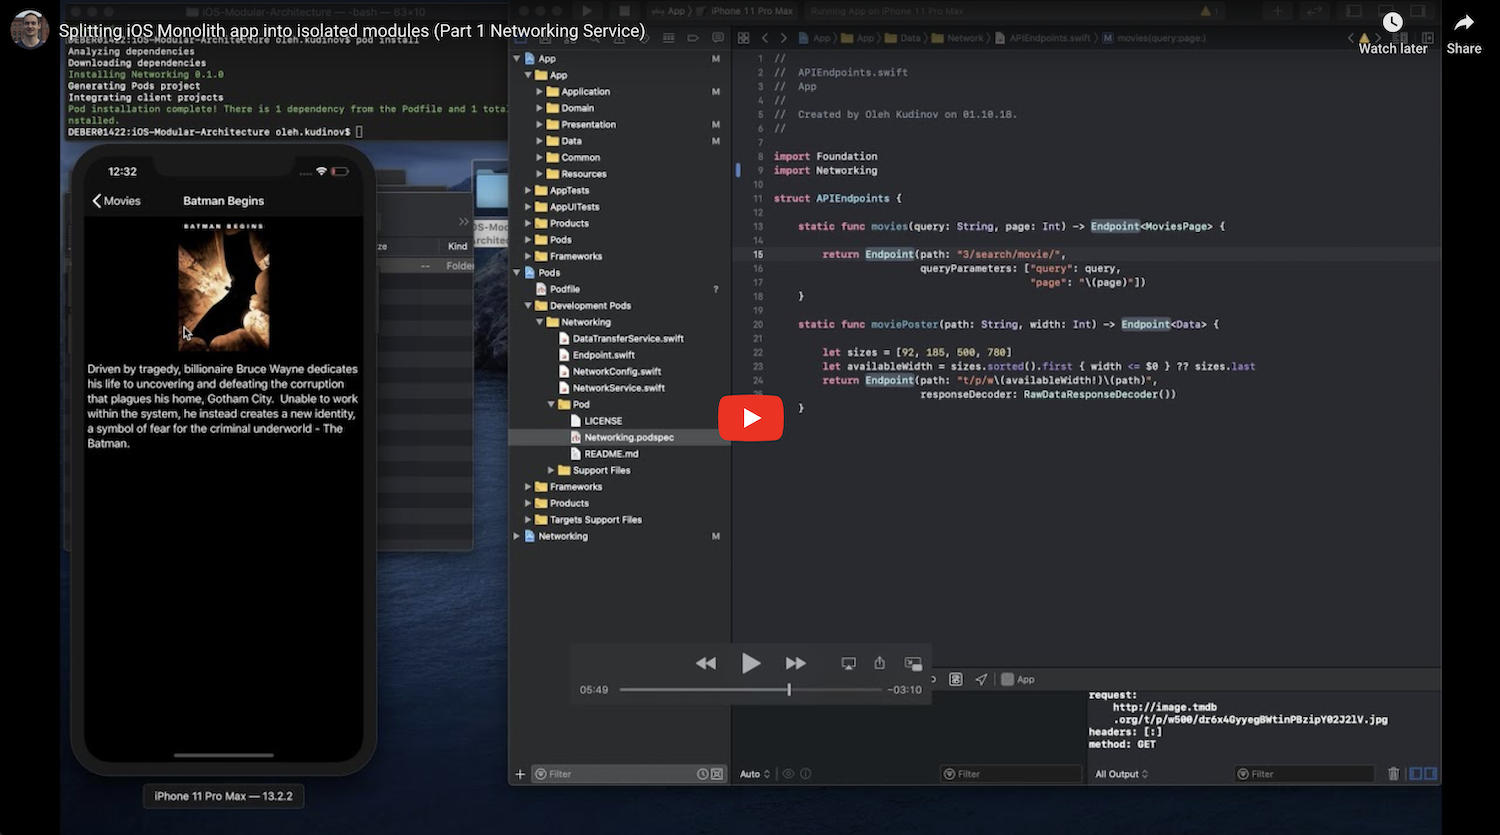
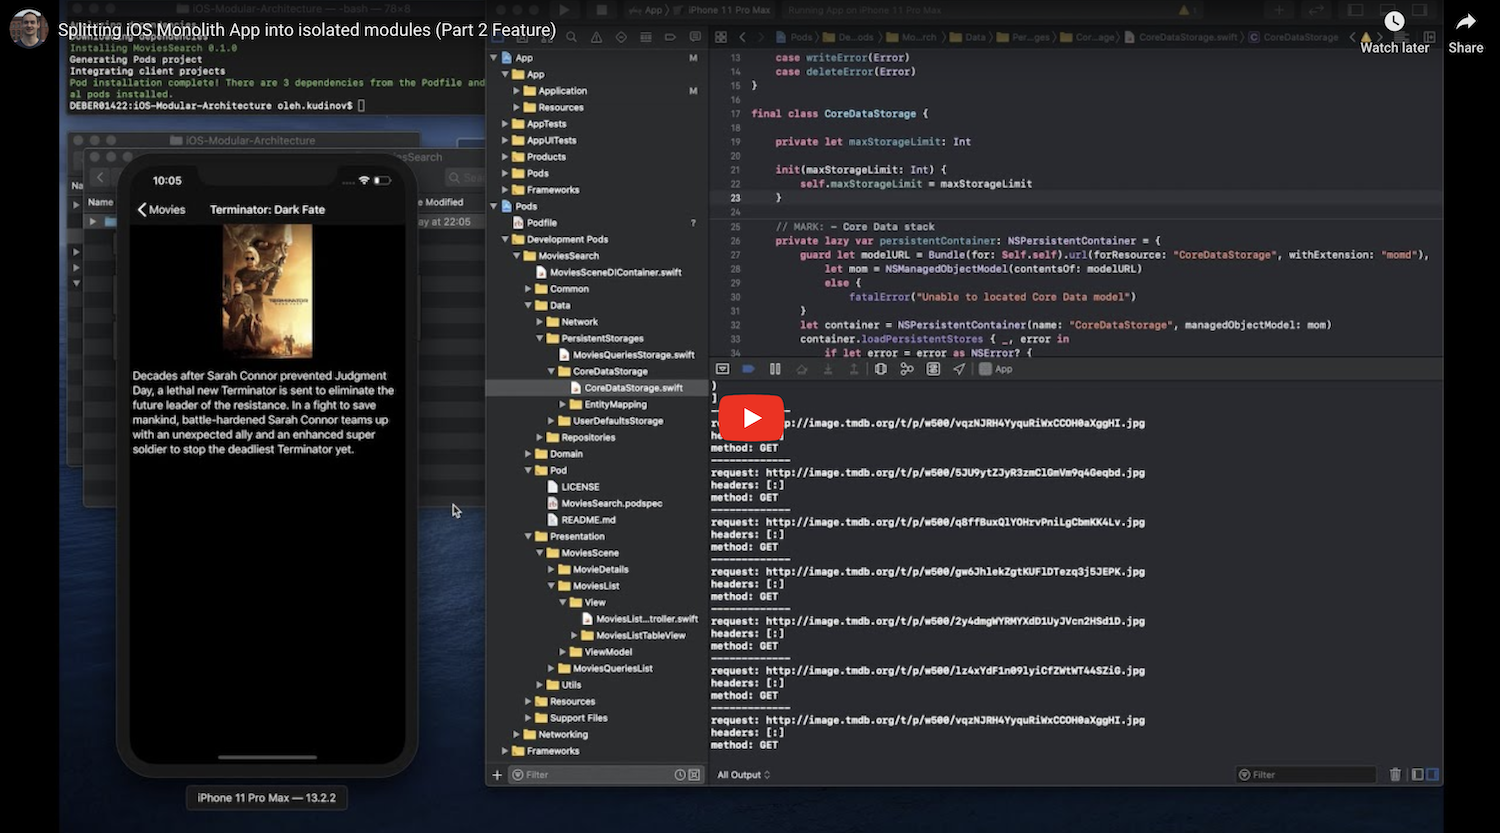
Video 2: Extracting Movies Search Feature Module. see steps
- Xcode Version 11.2.1+ Swift 5.0+ CocoaPods 1.8.4+
-
Step 1. Setup App project with CocoaPods: (Video 1 00:06)
- Open Terminal and change directory
cdto folder with your project App.xcodeproj file, and execute following commands:pod init- inside Podfile
- uncomment
platform :ios, '9.0', and change'9.0'to10.0or11.0 - add line:
workspace 'AppName.xcworkspace' - add line:
project 'AppName.xcodeproj'
- uncomment
pod install
- Open Terminal and change directory
-
Step 2. Create new Module with CocoaPods: (Video 1 00:48)
-
In the same folder from previous step create a new folder with name
DevPods:mkdir DevPods
-
Create New Module inside
DevPodsfolder:cd DevPodspod lib create ModuleName- with Platform:
iOS; Language:Swift; Include a Demo App:Yes; Test framework and view based testing we can skip
Note: To use your own pod-template you can add the parameter
--template-url=URLwhere URL is the git repo containing a compatible template.
-
-
Step 3. The Module's Example Demo project will be opened automatically, we need to update iOS and Swift versions: (Video 1 01:27)
- Select example project and set
In Deployment InfotoiOS 10.0oriOS 11.0 - In Build Settings search for
Swiftand set Swift Language Version toSwift 5. - Remove Test Target and Test folder inside the project
- Close this demo example project (otherwise you will not be able to open it from App.xcworkspace)
- Select example project and set
-
Step 4. Cleaning up
DevPods/ModuleNamefolder: (Video 1 01:48)- Show hidden files with
Cmd + Shift + .and delete files:.git,.gitignoreand.travis.yamls - Delete files:
_Pod.xcodeproj,Example/Podfile,Example/Podfile.lock,Example/Pods,Example/ModuleName.xcworkspace
- Show hidden files with
-
Step 5. Edit Podfile of project located in same folder as app's project App.xcworkspace file: (Video 1 02:10)
-
Add
module_name_podinside Podfile:def module_name_pod pod 'ModuleName', :path => 'DevPods/ModuleName' end
-
Move nested test targets outside target 'App':
 target 'App' do
 ...
 end

 target 'AppTests' do
 	inherit! :search_paths
 end

 target 'AppUITests' do
 end
-
Add module's example target so we can develop this module from same main App's workspace:
 target 'ModuleName_Example' do
 	use_frameworks!
 	project 'DevPods/ModuleName/Example/ModuleName.xcodeproj'

 	module_name_pod
 end
-
-
Step 6. Move files from main App into Module's Pod: (Video 1 03:14)
- Inside
DevPods/ModuleName/ModuleNamefolder removeAssetsandClassesfolders and create folder with nameModule. - Move from main App to the
Modulefolder all module's files (e.g. .swift, .xcassets, .storyboard, .xcdatamodeld...). After moving them from main App do not forget to delete them also from main App's target. For moving files is better to not use Xcode, and do it manually or with terminal.- Edit ModuleName.podspec:
-
Set ios deployment target:
s.ios.deployment_target = '10.0'or11.0 -
Replace
s.source_files = ...to: (Video 1 03:53)s.source_files = 'MoviesSearch/Module/**/*.{swift}' s.resources = "MoviesSearch/Module/**/*.{xcassets,json,storyboard,xib,xcdatamodeld}"
Note: if you have Core Data model with
xcdatamodelextension you will need to convert it intoxcdatamodeldby selecting this file andEditor or Help -> Add Model Version..Note: when you create new Group inside
Development Pods/ModuleNamewith Xcode, it places its folder in wrong place outside ofModule(pod folder). And it needs to be moved manually intoModulefolder using Finder, and thenpod install
-
- Edit ModuleName.podspec:
- Inside
-
Step 7. Add all internal or external dependencies for this module. Add them inside
ModuleName.podspecfile located insideDevPods/ModuleNamefolder: (Video 2 03:33)# internal dependency (module you have created before) s.dependency 'ModuleName2' # external dependency 3rd party framework s.dependency 'PromiseKit'
Note: If you have not yet extracted your dependency and you need it here you can delegate this functionality to main App. Just create interface using protocol and implement it inside your main App. For example if you need to open chat from your module, then create protocol interface inside your module with function openChat(forUserId:inView:) and then implement it inside main App, and it will be injected from main App into DIContainer of the module. Also closures or delegation can be used.
- Step 8. After
pod installand compiling main App we will see some errors that we have to fix: (Video 2 03:45)-
Inside main app, add
import ModuleNamein all files where it is needed -
Change to public all types or functions that needs to be accessed from outside of the module, from main app or other module
-
Change all resources initialisers to initialise them with module's bundle (e.g. images, storyboards, nibs or CoreData models xcdatamodeld): (Video 2 05:15)
// Image load from bundle
UIImage(named: "image_name", in: Bundle(for: Self.self), compatibleWith: nil)
// Image Literal
final class LiteralBundleImage: _ExpressibleByImageLiteral {
	let image: UIImage?
	required init(imageLiteralResourceName name: String) {
		image = UIImage(named: name, in: Bundle(for: Self.self), compatibleWith: nil)
	}
}
let image = (#imageLiteral(resourceName: "image_name") as LiteralBundleImage)

// Storyboards and Nibs load from bundle
UIStoryboard(name: "name", bundle: Bundle(for: Self.self))
UINib(nibName: "name", bundle: Bundle(for: Self.self))

// Core Data model load from bundle
guard let modelURL = Bundle(for: Self.self).url(forResource: "ModelFileName", withExtension: "momd"),
      let mom = NSManagedObjectModel(contentsOf: modelURL)
      else {
            fatalError("Unable to located Core Data model")
}
let container = NSPersistentContainer(name: "Name", managedObjectModel: mom)
Note: the file must have .xcdatamodeld extension, to convert it from xcdatamodel extension just Add Model Version.. -
- Step 9. Move Module's tests from main App into module's Pod: (Video 2 07:20)
-
Crete folder with name
TestsinsideDevPods/ModuleName/ModuleName/ -
Move all files with tests from main App folder to
DevPods/ModuleName/ModuleName/Tests. Note: Move them manually or using terminal, avoid doing it directly with Xcode groups. -
Add to ModuleName.podspec:
s.test_spec 'Tests' do |test_spec|
    test_spec.source_files = 'ModuleName/Tests/**/*.{swift}'
end
-
Add to main App's Podfile module's pod
, :testspecs => ['Tests']def module_name_pod pod 'ModuleName', :path => 'DevPods/ModuleName', :testspecs => ['Tests'] end
- Add to all unit tests files imports:
@testable import ModuleName - Run in terminal
pod installfor main App Podfile - To make our Module's unit test app to run unit test with
Cmd + Ufrom main App schema: - Edit schema
ModuleName-Example, inside Test section, add unit tests from Pod:under Pod -> ModuleName-Unit-Tests
- Add to all unit tests files imports:
-
- Step 10. Fix ModuleName-Example schema used for developing module in isolation: (Video 2 09:45)
- Switch from main App schema to ModuleName-Example schema and try to build
- Note: AppDelegate method will have some warning and error that we have to fix, you can just copy paste it form main App
- Step 11. To make our Module's Example app to run unit test with
Cmd + U, we follow the same step as we did for main App: (Video 2 10:10)- Edit schema
ModuleName-Example, inside Test section, add unit tests from Pod:under Pod -> ModuleName-Unit-Tests
- Edit schema
- Change your modules to be as Static Libraries (We made it as Dynamic Library in previous steps):
-
Remove from main App's Podfile:
use_frameworks! -
Replace
s.resourceswiths.resource_bundlesin all modules' .podspec files (ModuleName.podspec):
Note:resource_bundleshas different structure:'ModuleName' => [ ... ], where'ModuleName'is bundle name:s.resources = 'ModuleName/Module/**/*.{xcassets,json,storyboard,xib,xcdatamodeld}'
Replace
s.resourceswith:s.resource_bundles = { 'ModuleName' => ['ModuleName/Module/**/*.{xcassets,json,storyboard,xib,xcdatamodeld}'] }
-
Replace all
Bundle(for: Self.self)appearances with call to extension:Bundle(for: Self.self).resourceextension Bundle { var resource: Bundle { return Bundle(url: resourceURL!.appendingPathComponent("ModuleName.bundle"))! } }
-
If you have CoreData inside a module then open .xcdatamodeld file and change
CodegentoManual/NoneandCreate NSManagedObject Subclass..for all entities
-
-
To keep always our modules buildable we need to build and run tests for each module on our Pipeline in CI. As example we can use Fastlane and Travis CI:
-
 lane :test do |options|

   # Check if all modules are buildable
   all_modules_schemes.each do |s|
     UI.message "Testing if module #{s} is buildable"
     scan(
       scheme: s,
       device: simulator,
       build_for_testing: true,
     )
   end

   # Run all unit and UI tests, and test if App is buildable
   scan(
     scheme: "App",
     device: simulator,
   )

 end
-
 os: osx
 osx_image: xcode11.2
 language: swift
 script:
 - fastlane test
-
Check medium post for more information: Medium Post
