Reddo is a fun project to make the most out of your Raspberry PI + matrix display.
With Reddo you will be able to show any messages you want in your LED matrix, from programmed messages to GitHub updates.
To start using reddo you will need to first set up your components. Take your Raspberry Pi and your matrix display and let us get started!
You will need to connect your Raspberry to your display, you can use one of the multiple tutorials available on the internet [1][2]. In case you are feeling lazy, we have written yet another basic guide with the minimum steps needed to wire up your components.
- LED matrix panel
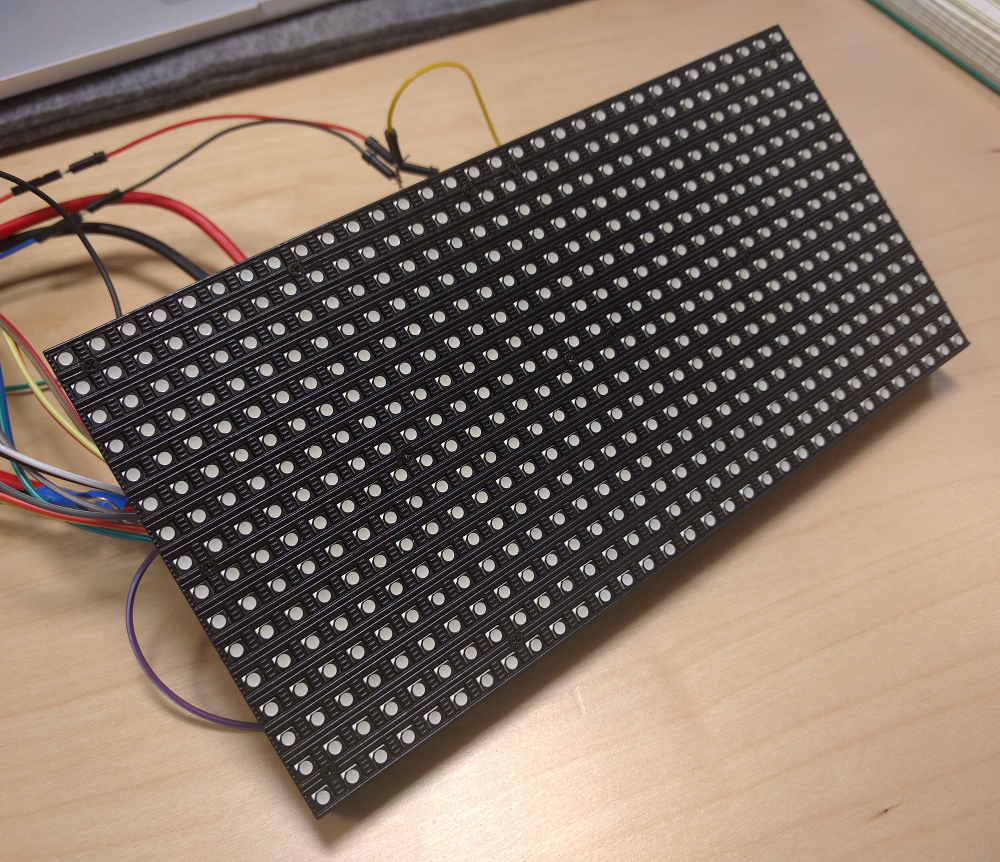
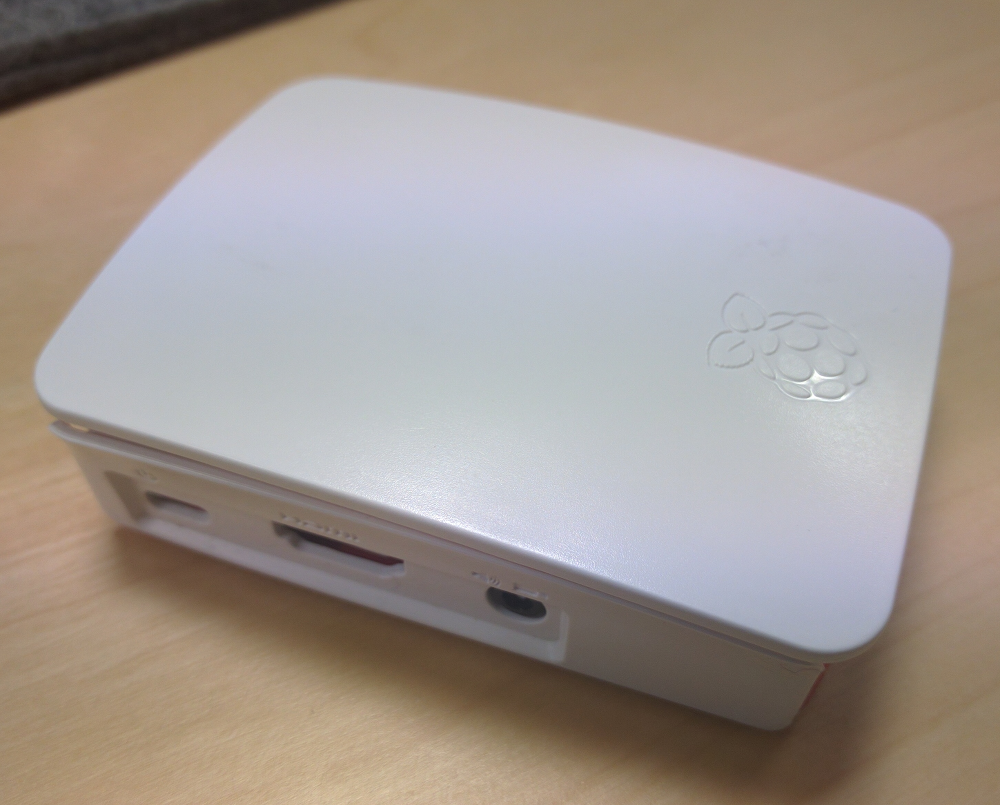
- Raspberry Pi 2
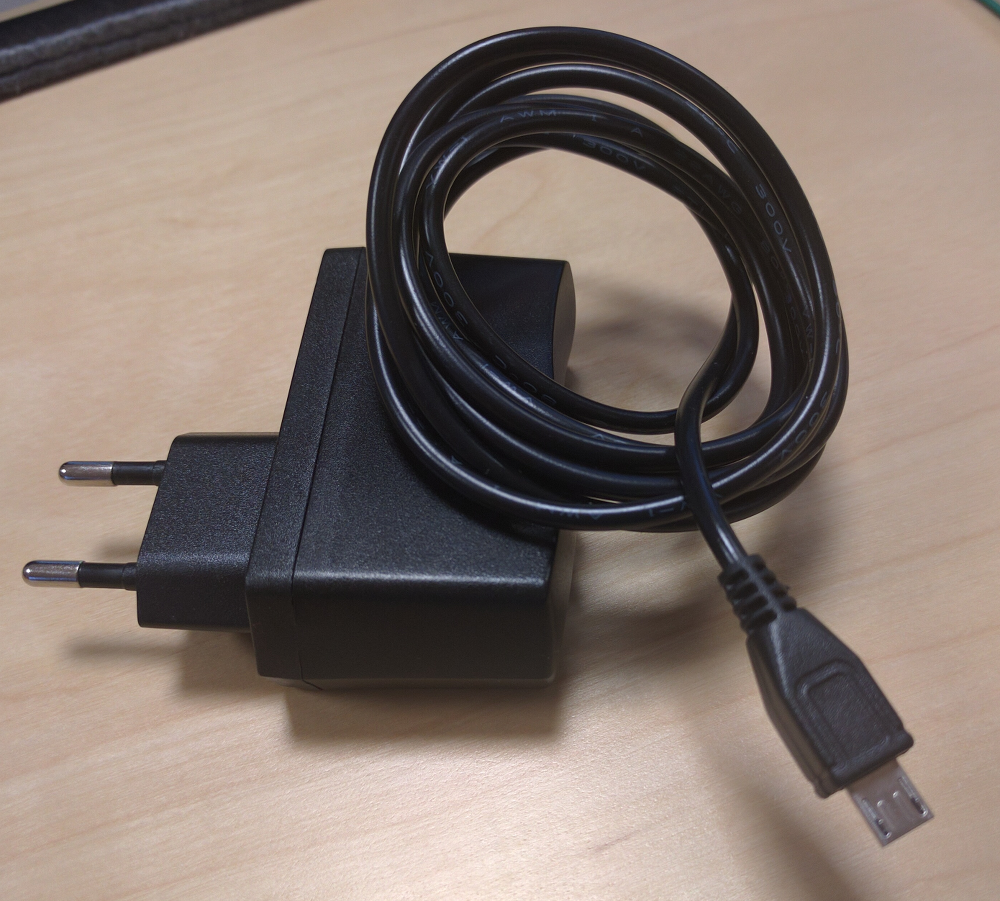
- Power supply for your Raspberry
- Lots of wires
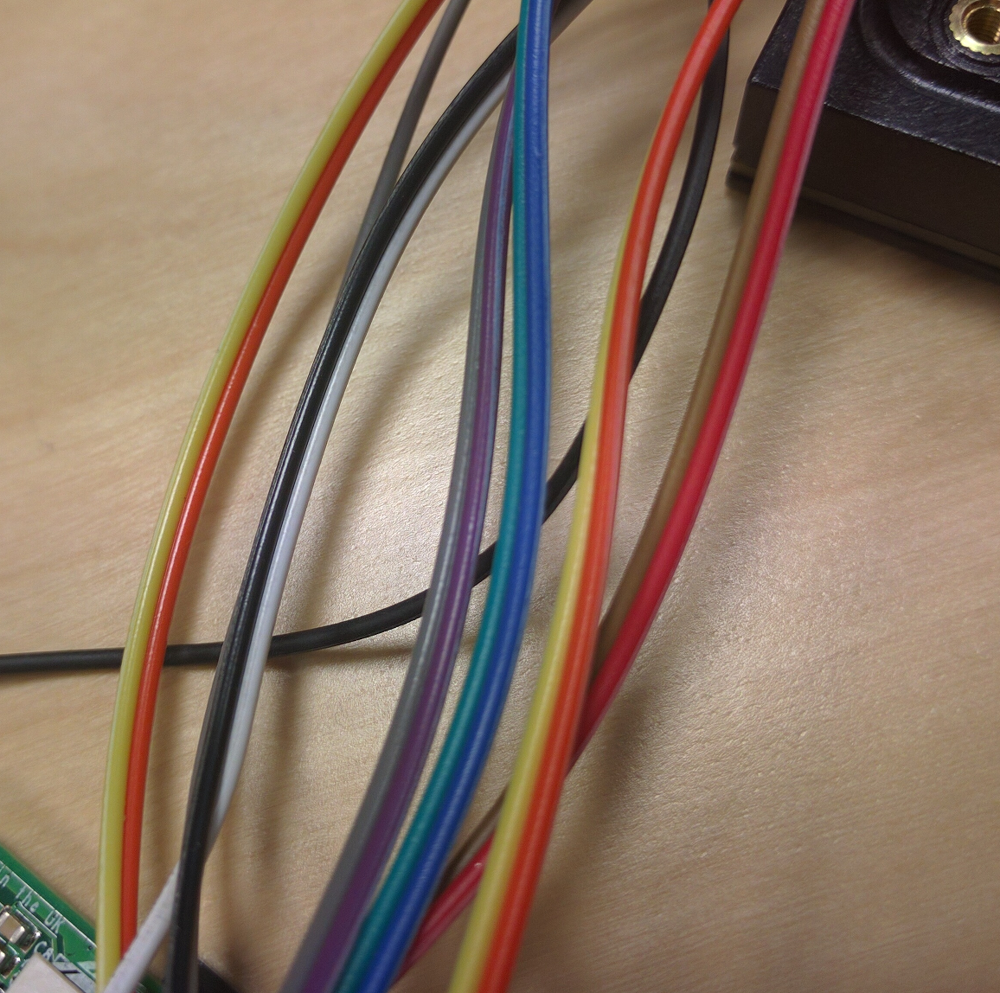
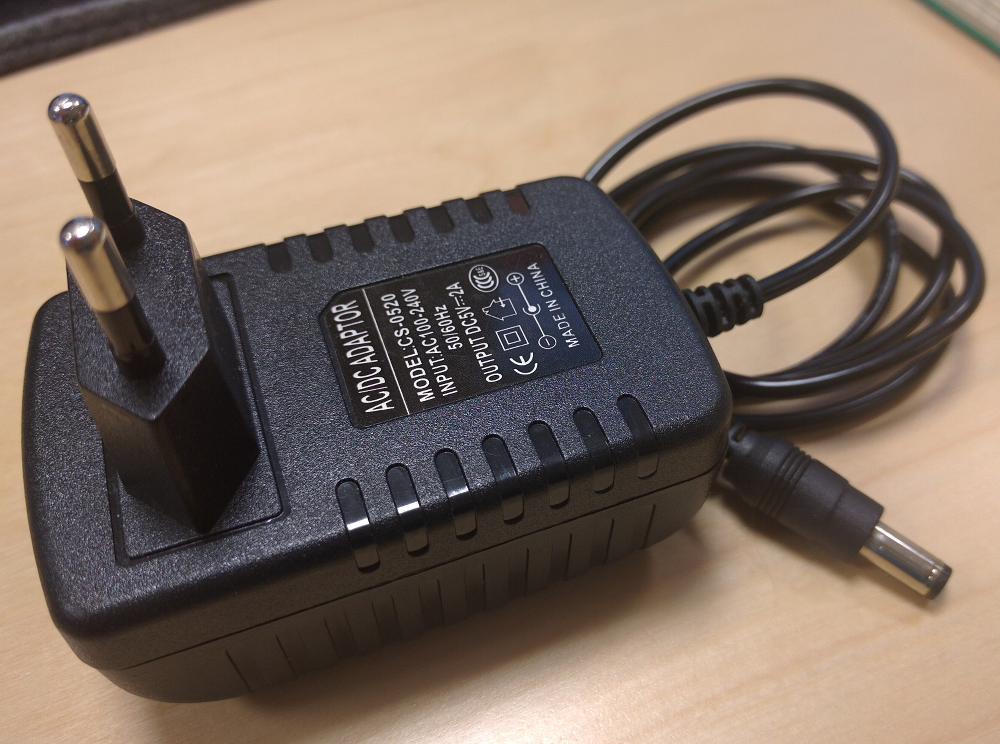
- DC power supply of 5V/2A
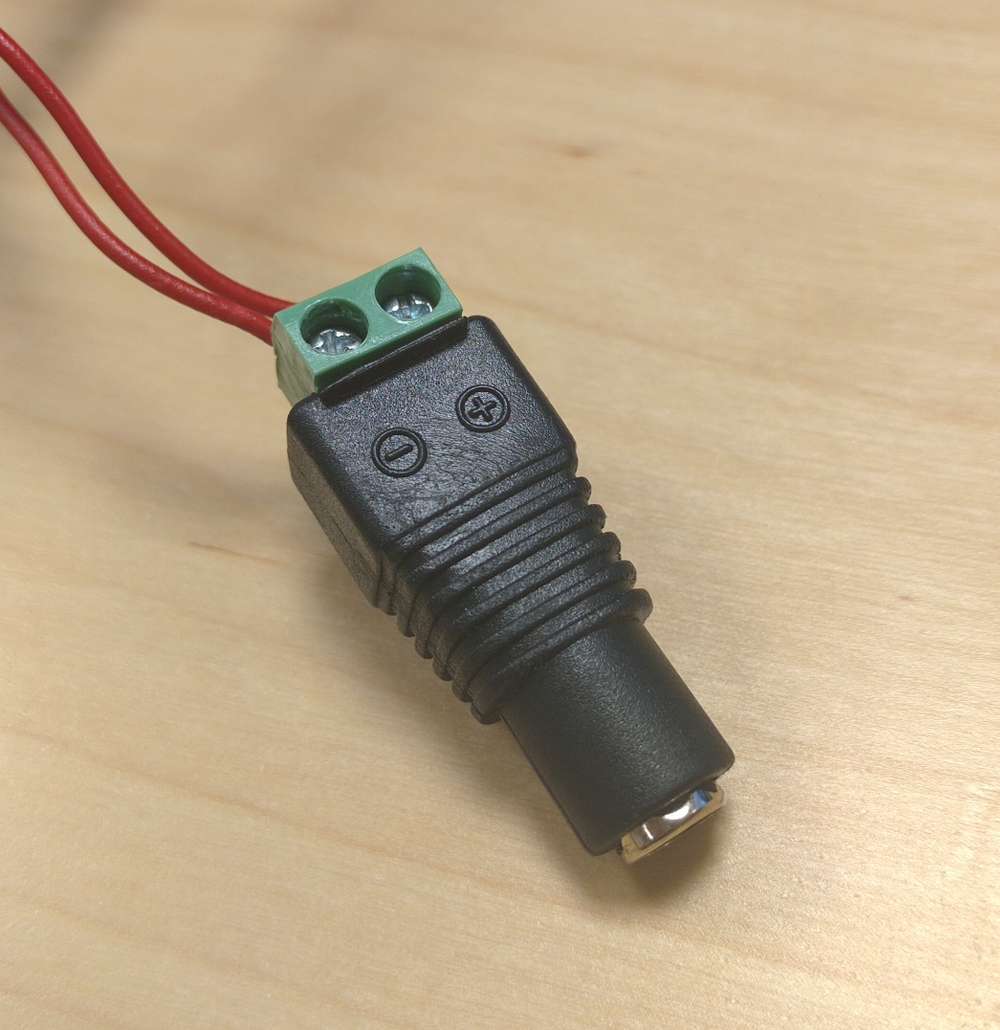
- Jack adapter
Connect the raspberry with your display following these diagrams (for clarity reasons, we have separated the connections in 4 sections but keep in mind that they represent the same components!):
I |
|---|
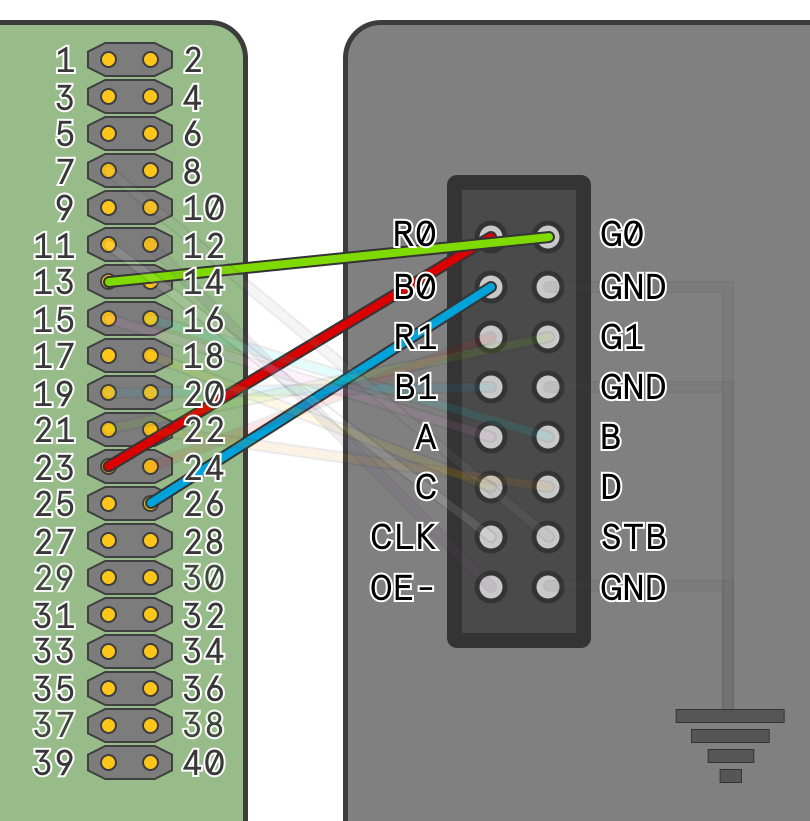 |
R0 -> 23 |
G0 -> 13 |
B0 -> 26 |
II |
|---|
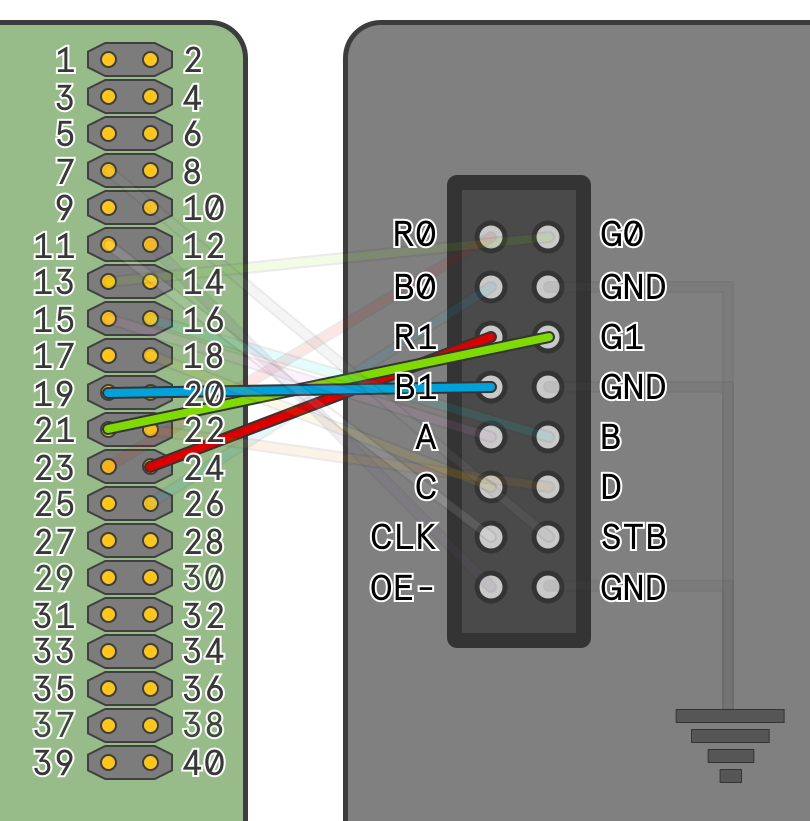 |
R1 -> 24 |
G1 -> 21 |
B1 -> 19 |
III |
|---|
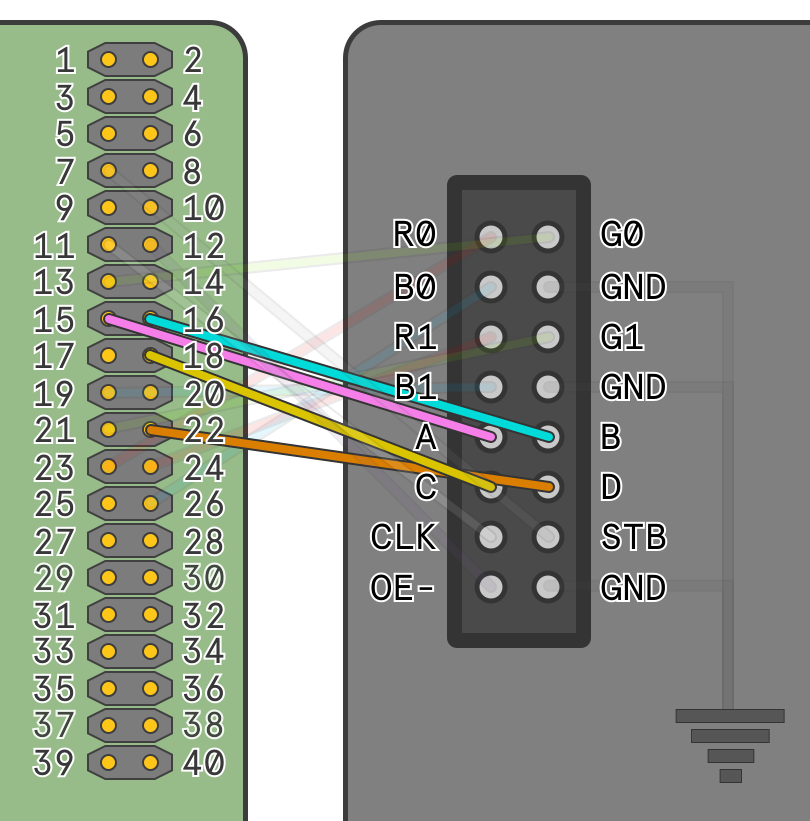 |
A -> 15 |
B -> 16 |
C -> 18 |
D -> 22 |
IV |
|---|
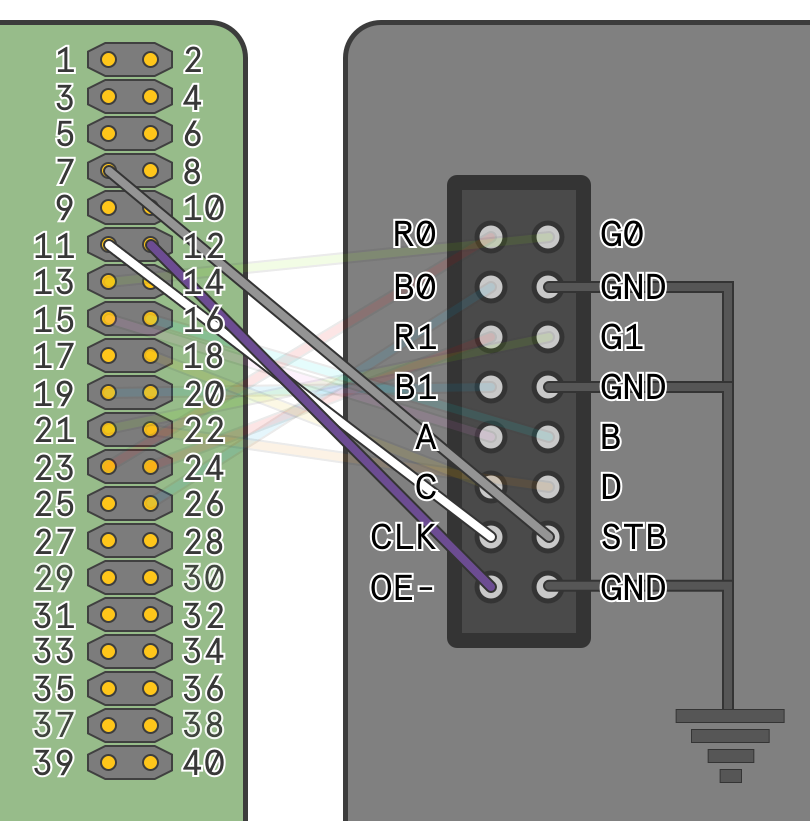 |
CLK -> 11 |
STB -> 7 |
OE- -> 12 |
3 x GND -> GND |
Double check your wiring, 99% of the problems you encounter are caused by a wire connected to the wrong pin.
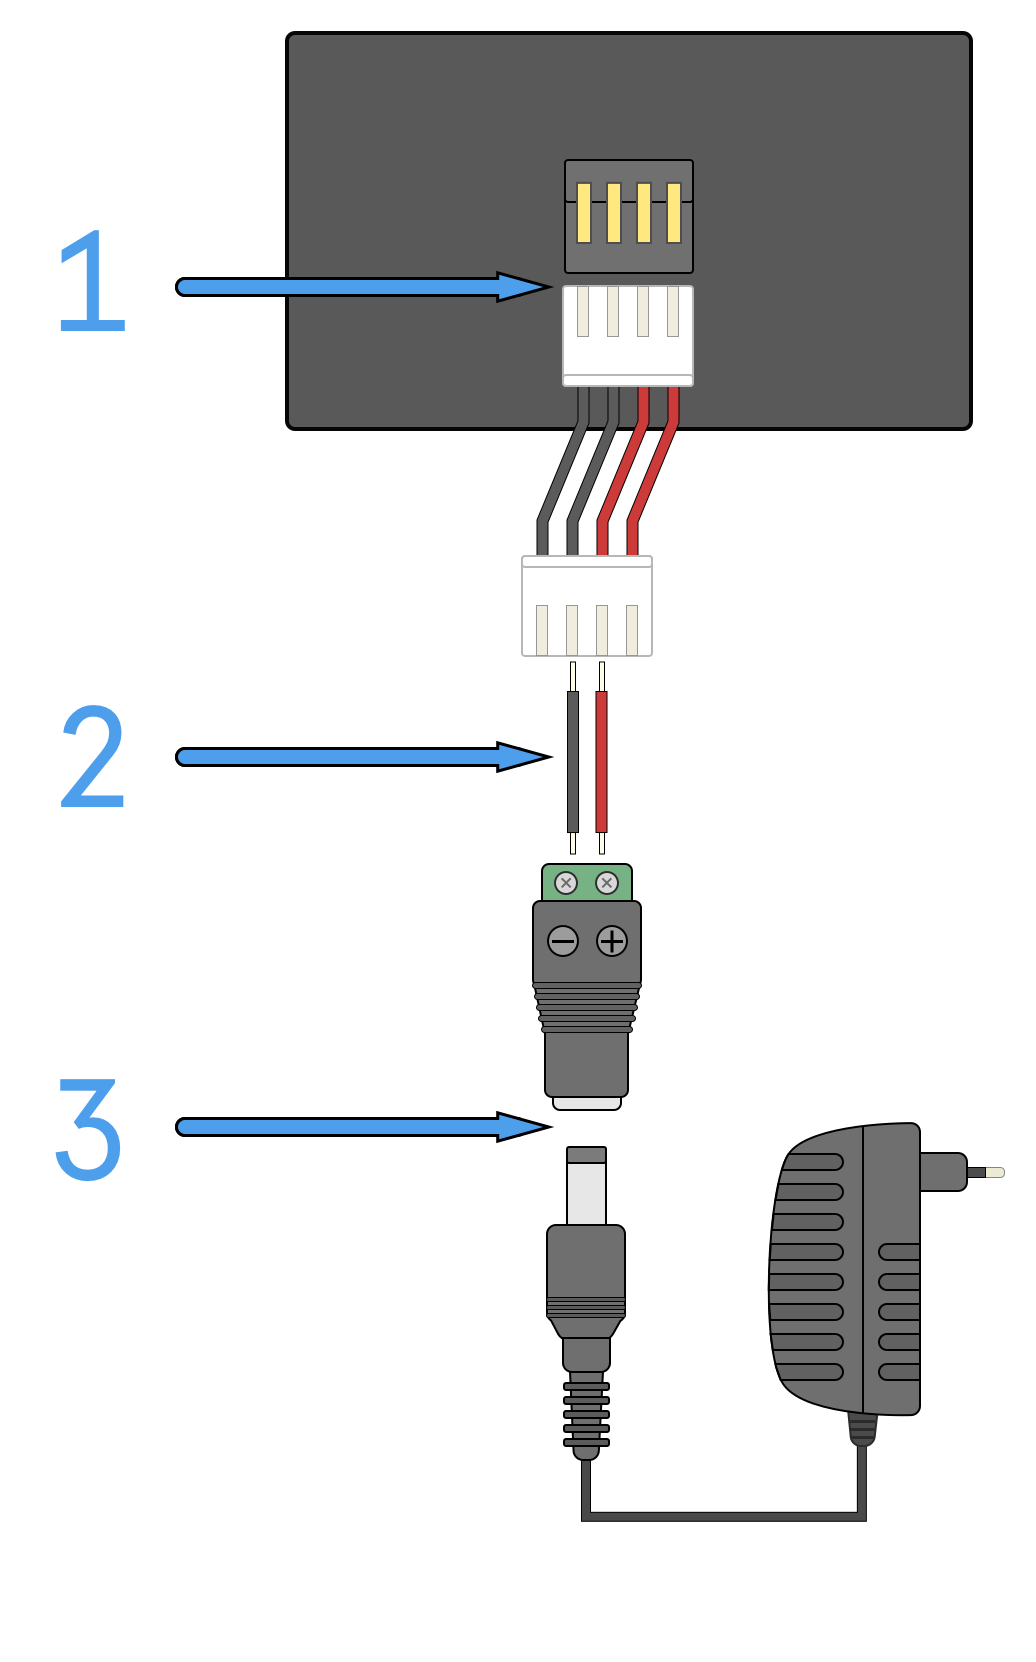
Connect your display to the power using the jack adapter as indicated in the following diagram:
The configuration file is written in plain JSON and is the only file you will need to modify to get your Reddo working. You can configure all the tasks you want to execute like the GitHub repositories you want to watch or the predefined messages you want to show. Here is an example of a configuration file:
{
  "fps" : 60,
  "output" : "led",
  "connection" : {
    "remoteIp" : "127.0.0.1",
    "remotePort" : 9001
  },
  "gitHubOauthToken" : "",
  "messages" : [
    "Welcome to Reddo!"
  ],
  "gitHubRepositories" : [
    "Karumi/Dexter",
    "Karumi/Rosie",
    "Karumi/BothamUI",
    "Karumi/BothamNetworking",
    "Karumi/ExpandableSelector",
    "Karumi/HeaderRecyclerView",
    "Karumi/Reddo"
  ],
  "gitHubUsers" : [
    "karumi"
  ]
}
The configuration file has to at the same place you are executing the Reddo binary.
Now that everything is connected and configured is time to let your LEDs shine!
First off you will need to compile your project, we highly recommend doing it on your own computer as gradle uses too much memory and can fail if ran on your Raspberry.
- Install the awesome rpi-rgb-led-matrix library on your raspberry.
- Download this repository and build it with the command
./gradlew build - Copy the file named
build/distributions/reddo-$VERSION.zipto your Raspberry. - Unzip the compressed file and run
./run.sh - ???
- Profit
¯\(ツ)/¯ we had some free time!
Be creative and feel free to add any useful feature/integration to the project, we can't wait to see your ideas!
Keep in mind that your PRs must be validated in Travis-CI. Please, run a local build with ./gradlew build before submiting your code.
Thanks to hzeller for his impressive work and specially for his project rpi-rgb-led-matrix


