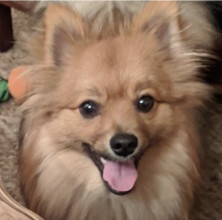
Simba; Photo Credit: Chris Piech
Simba Friends Bot was inspired by Simba, the adorable Stanford Code in Place dog. Using Python programming language and Requests, Pillow, and Twython libraries, I created a program that downloads a random pet photo from the Unsplash curated "Personable Pets" collection, modifies it with a randomly chosen image filter algorithm, and tweets the image on the Simba Friends Bot Twitter account.
Initially, I got the bot working locally. But my stretch goal was to figure out how to run the bot solely via GitHub Actions. I wasn't sure if this was even possible, because a photo would need to be downloaded, modified, saved, and tweeted via a GitHub Actions $GITHUB_WORKSPACE for all of this to work. Amazingly, I was able to create a successful proof of concept!
- Demo Videos
- Image Filter Algorithm Examples
- My Favorite Example So Far
- How The Program and GitHub Actions Workflow Work
- Dependencies
- Local Environment Versus GitHub Actions Environment
- Project Set Up
- Milestones
- Video Agenda
- Possible Enhancements
- Code of Conduct
- Copyright
A 2 minute project demo video submitted to Stanford Code in Place as part of course requirement. A 16 minute project demo video that I made for personal use to explain the project in greater detail.
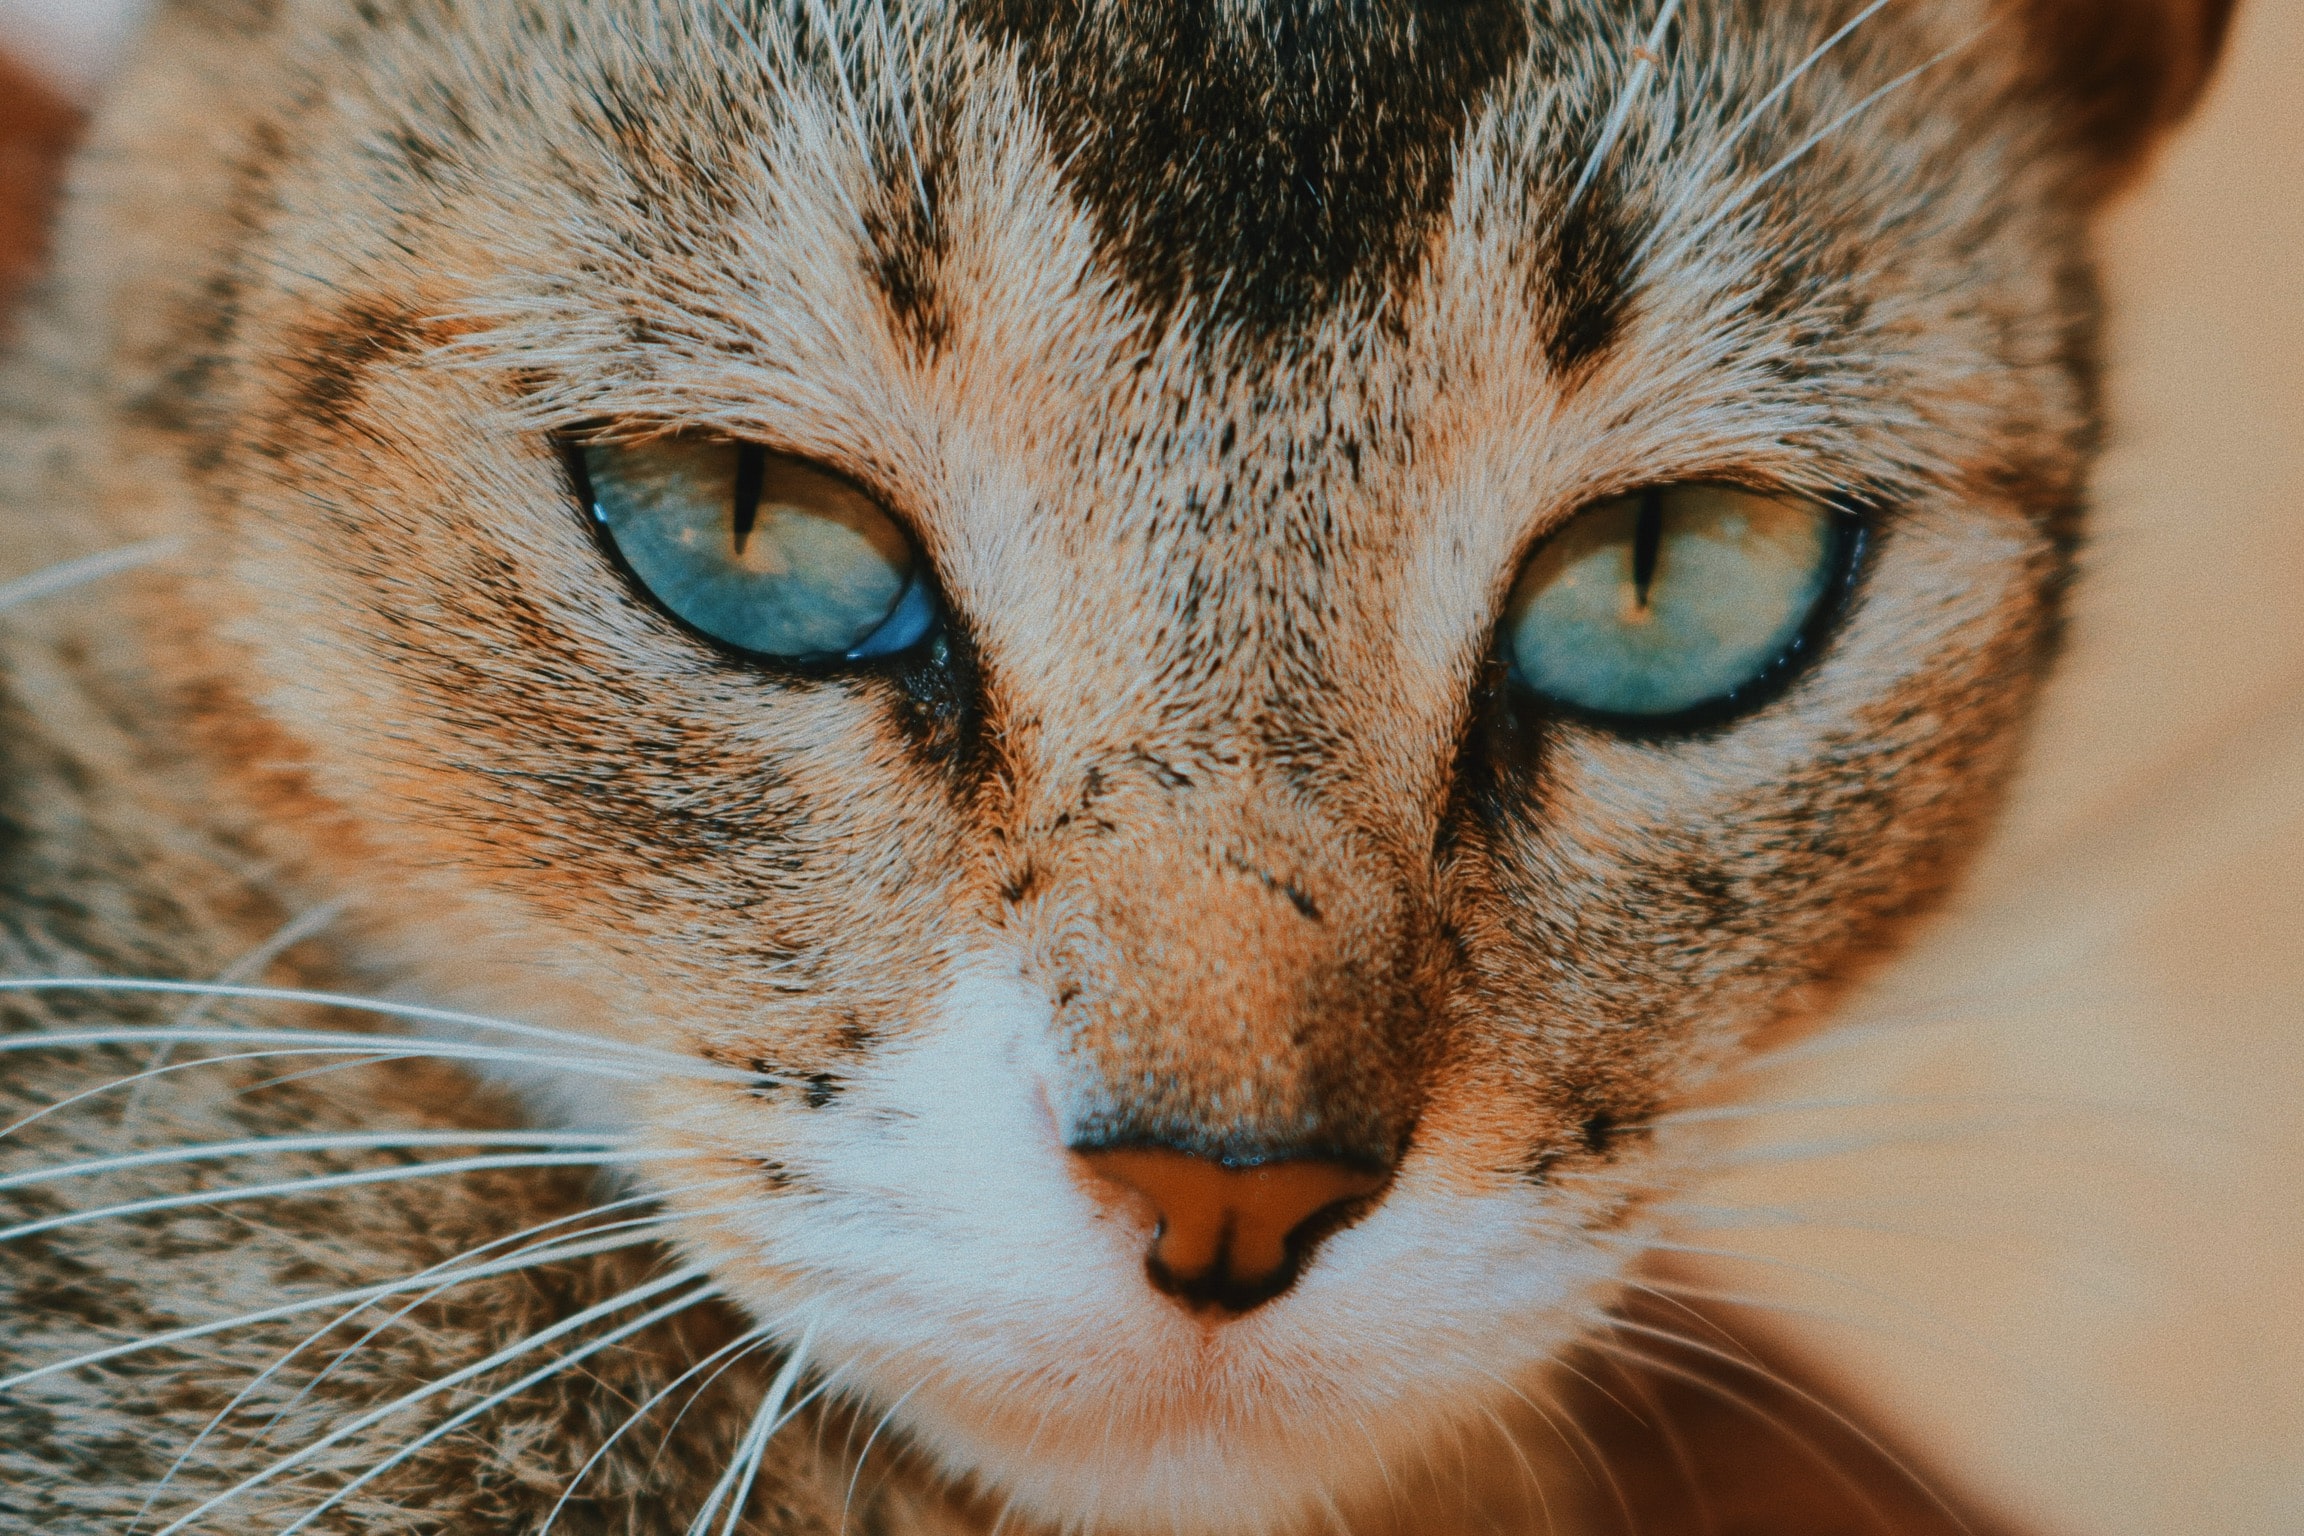
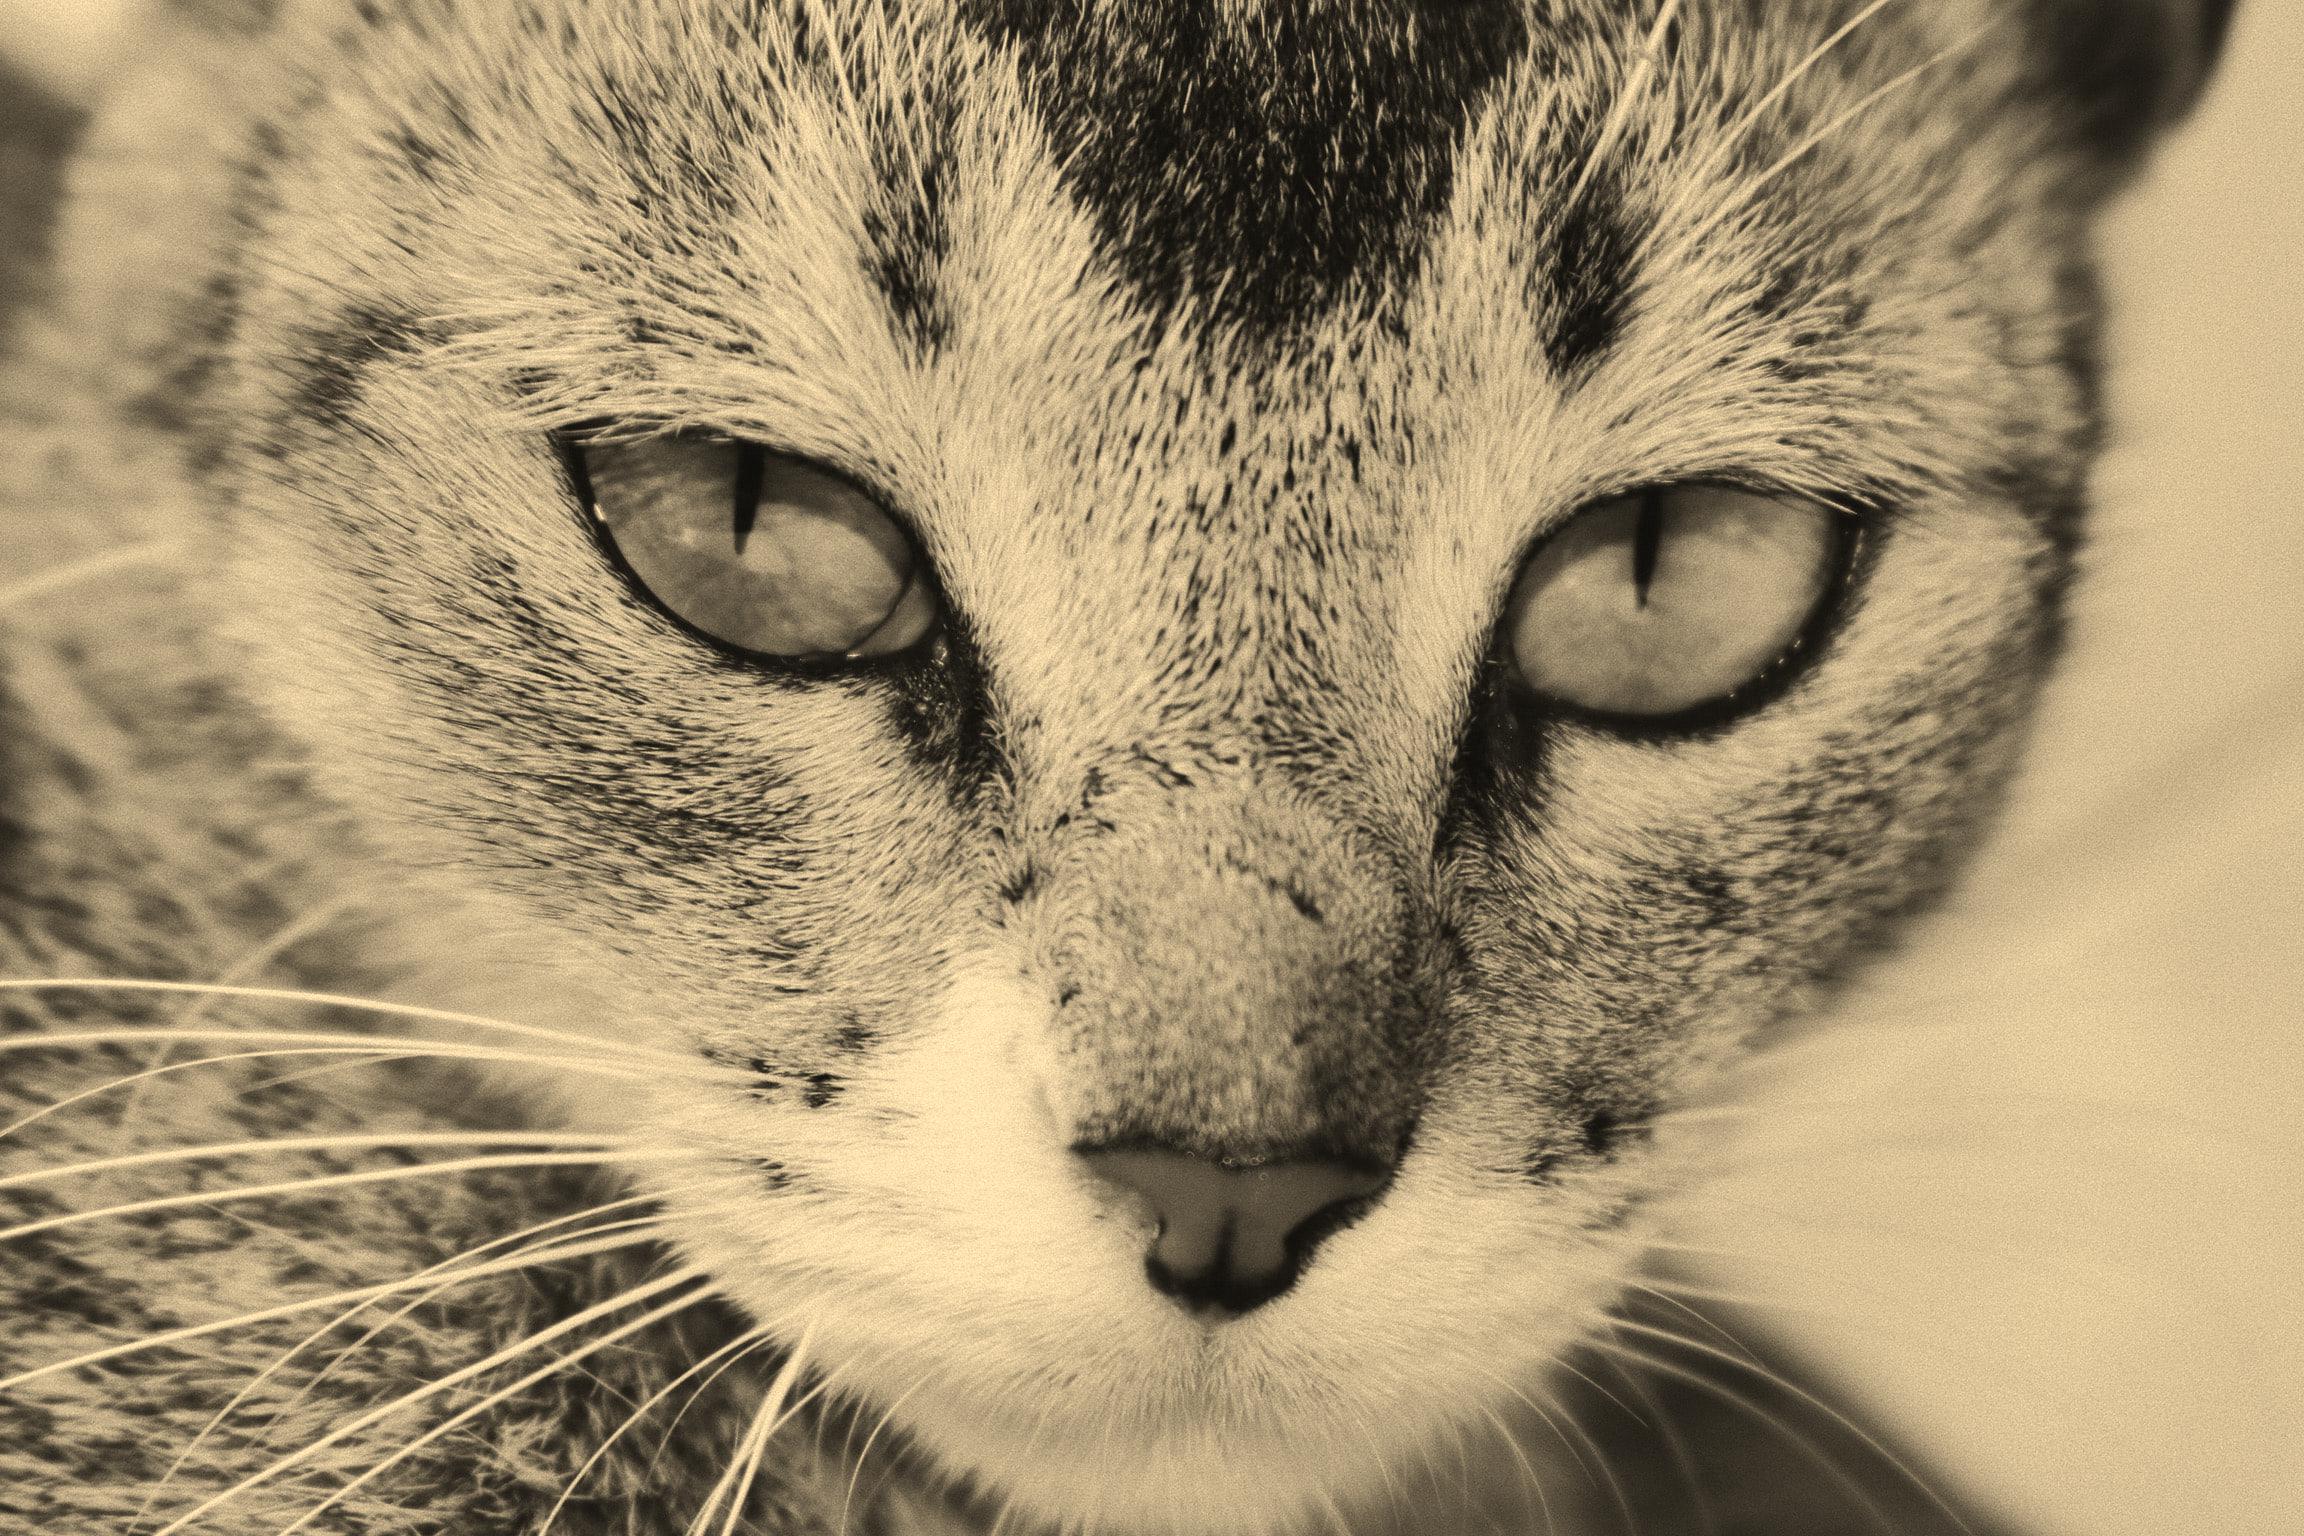
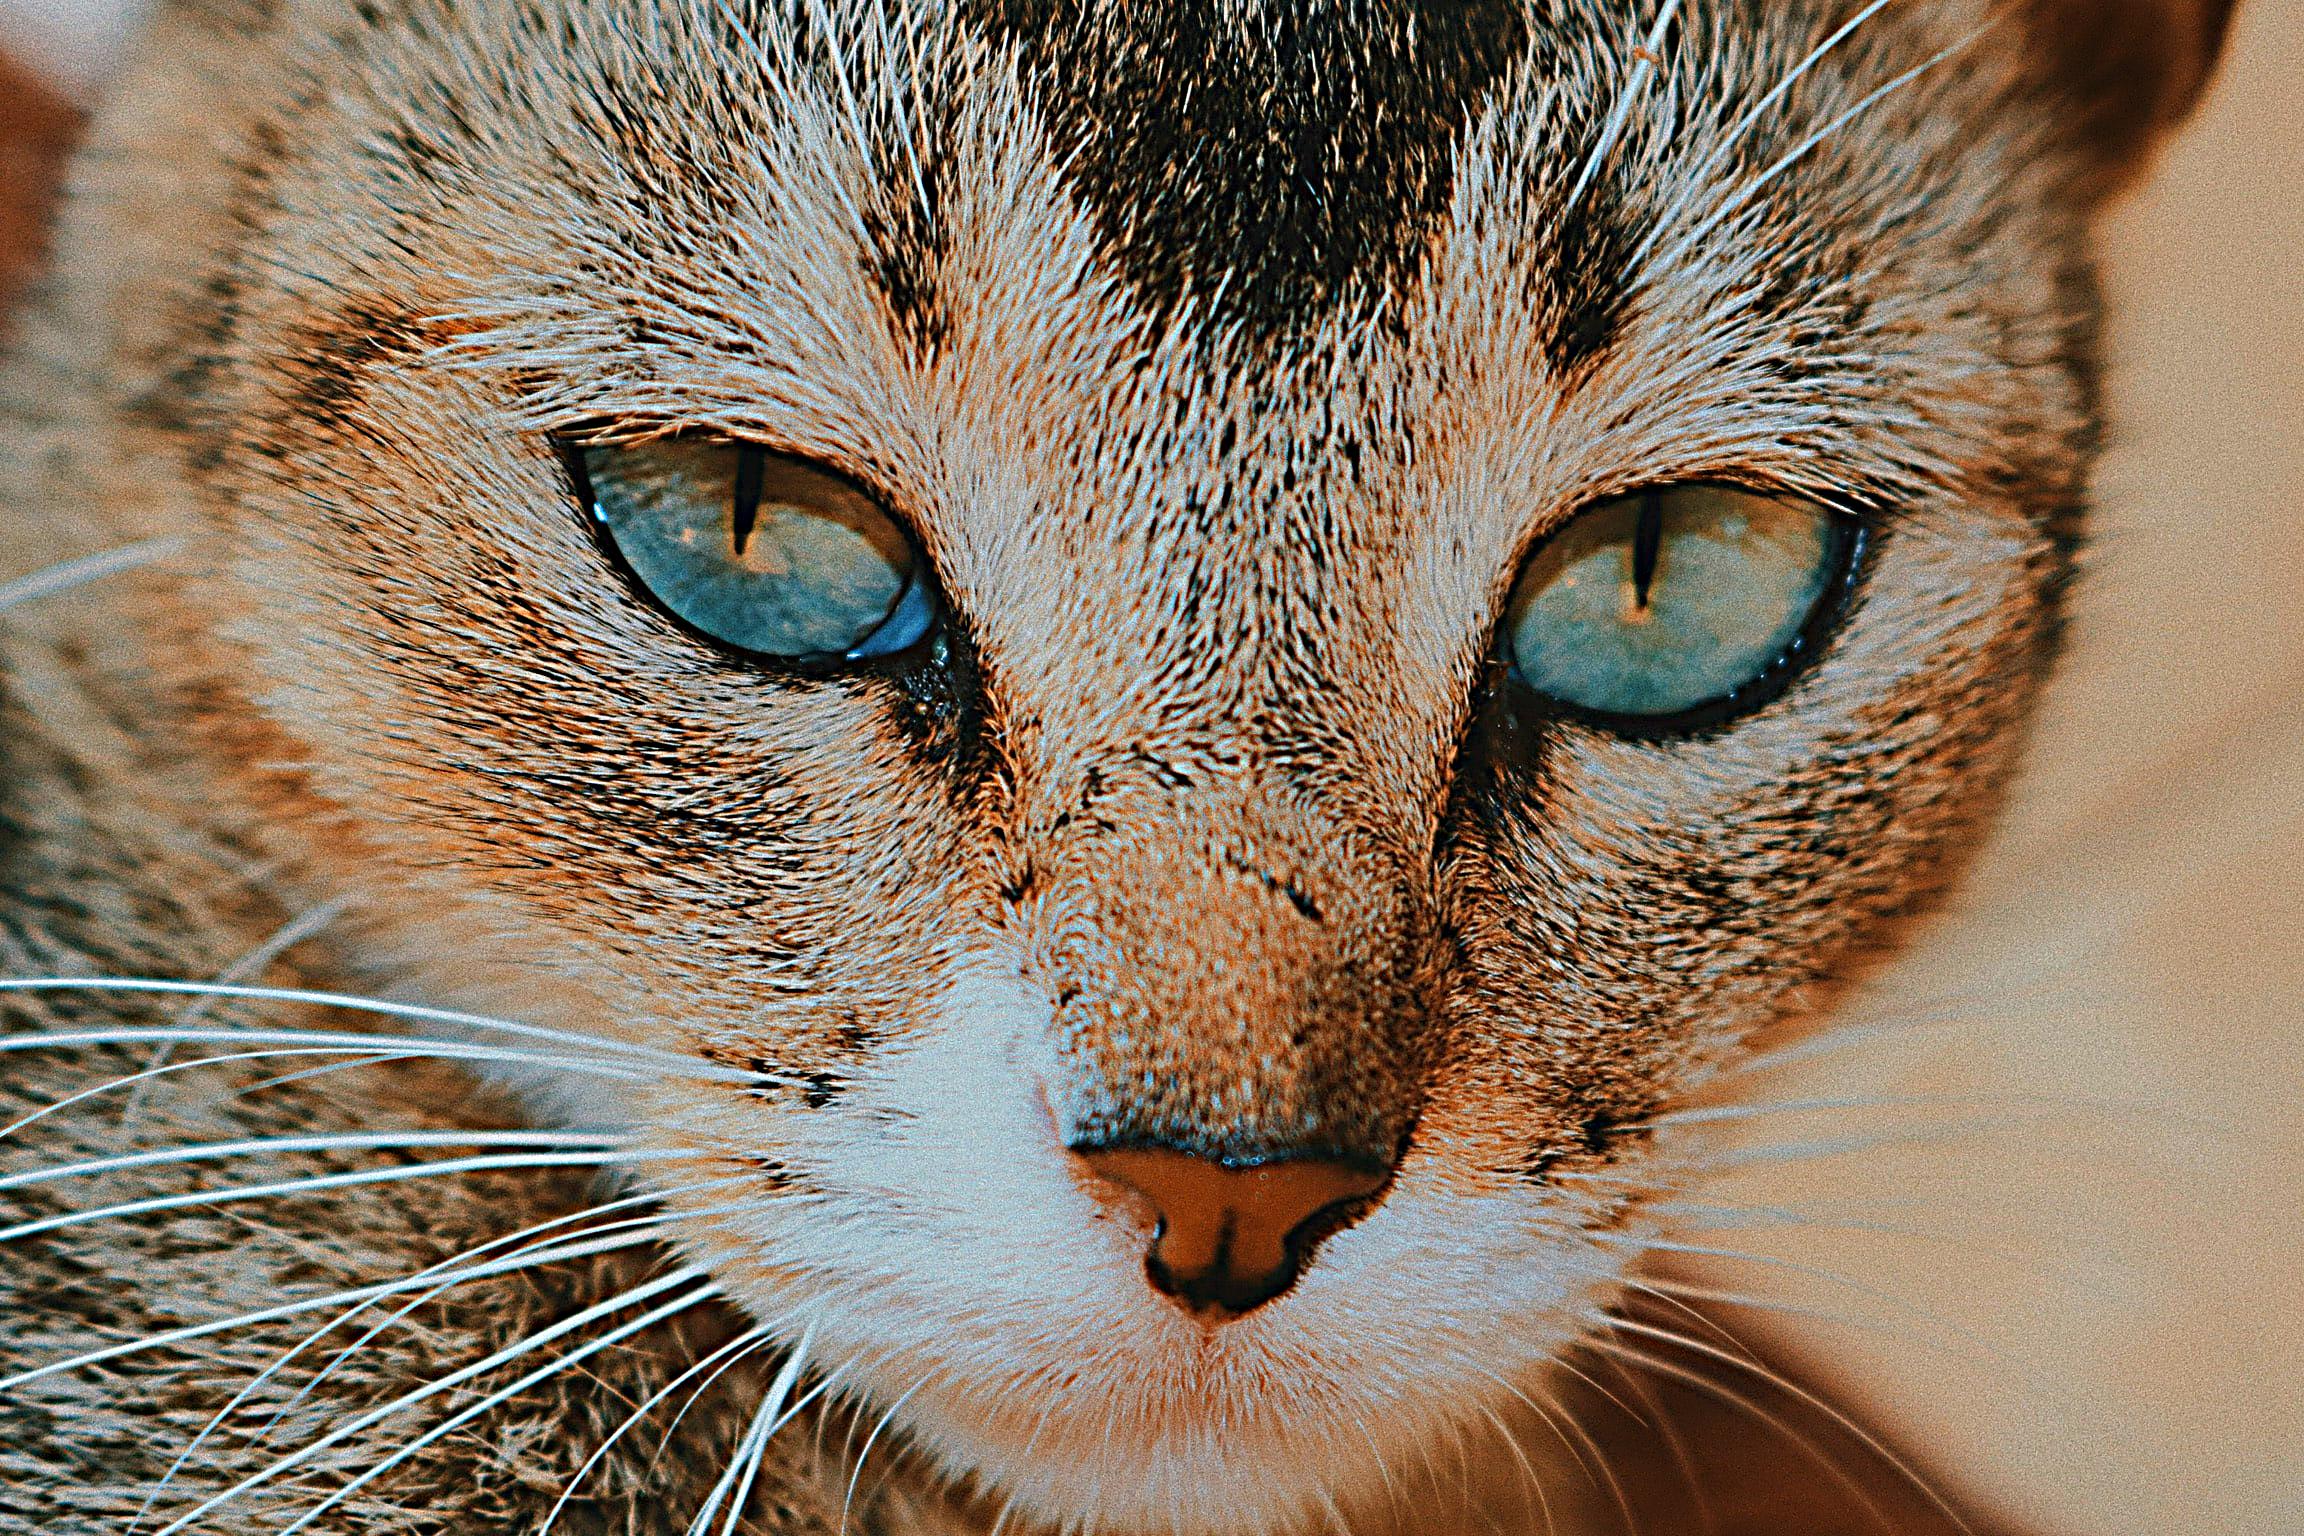
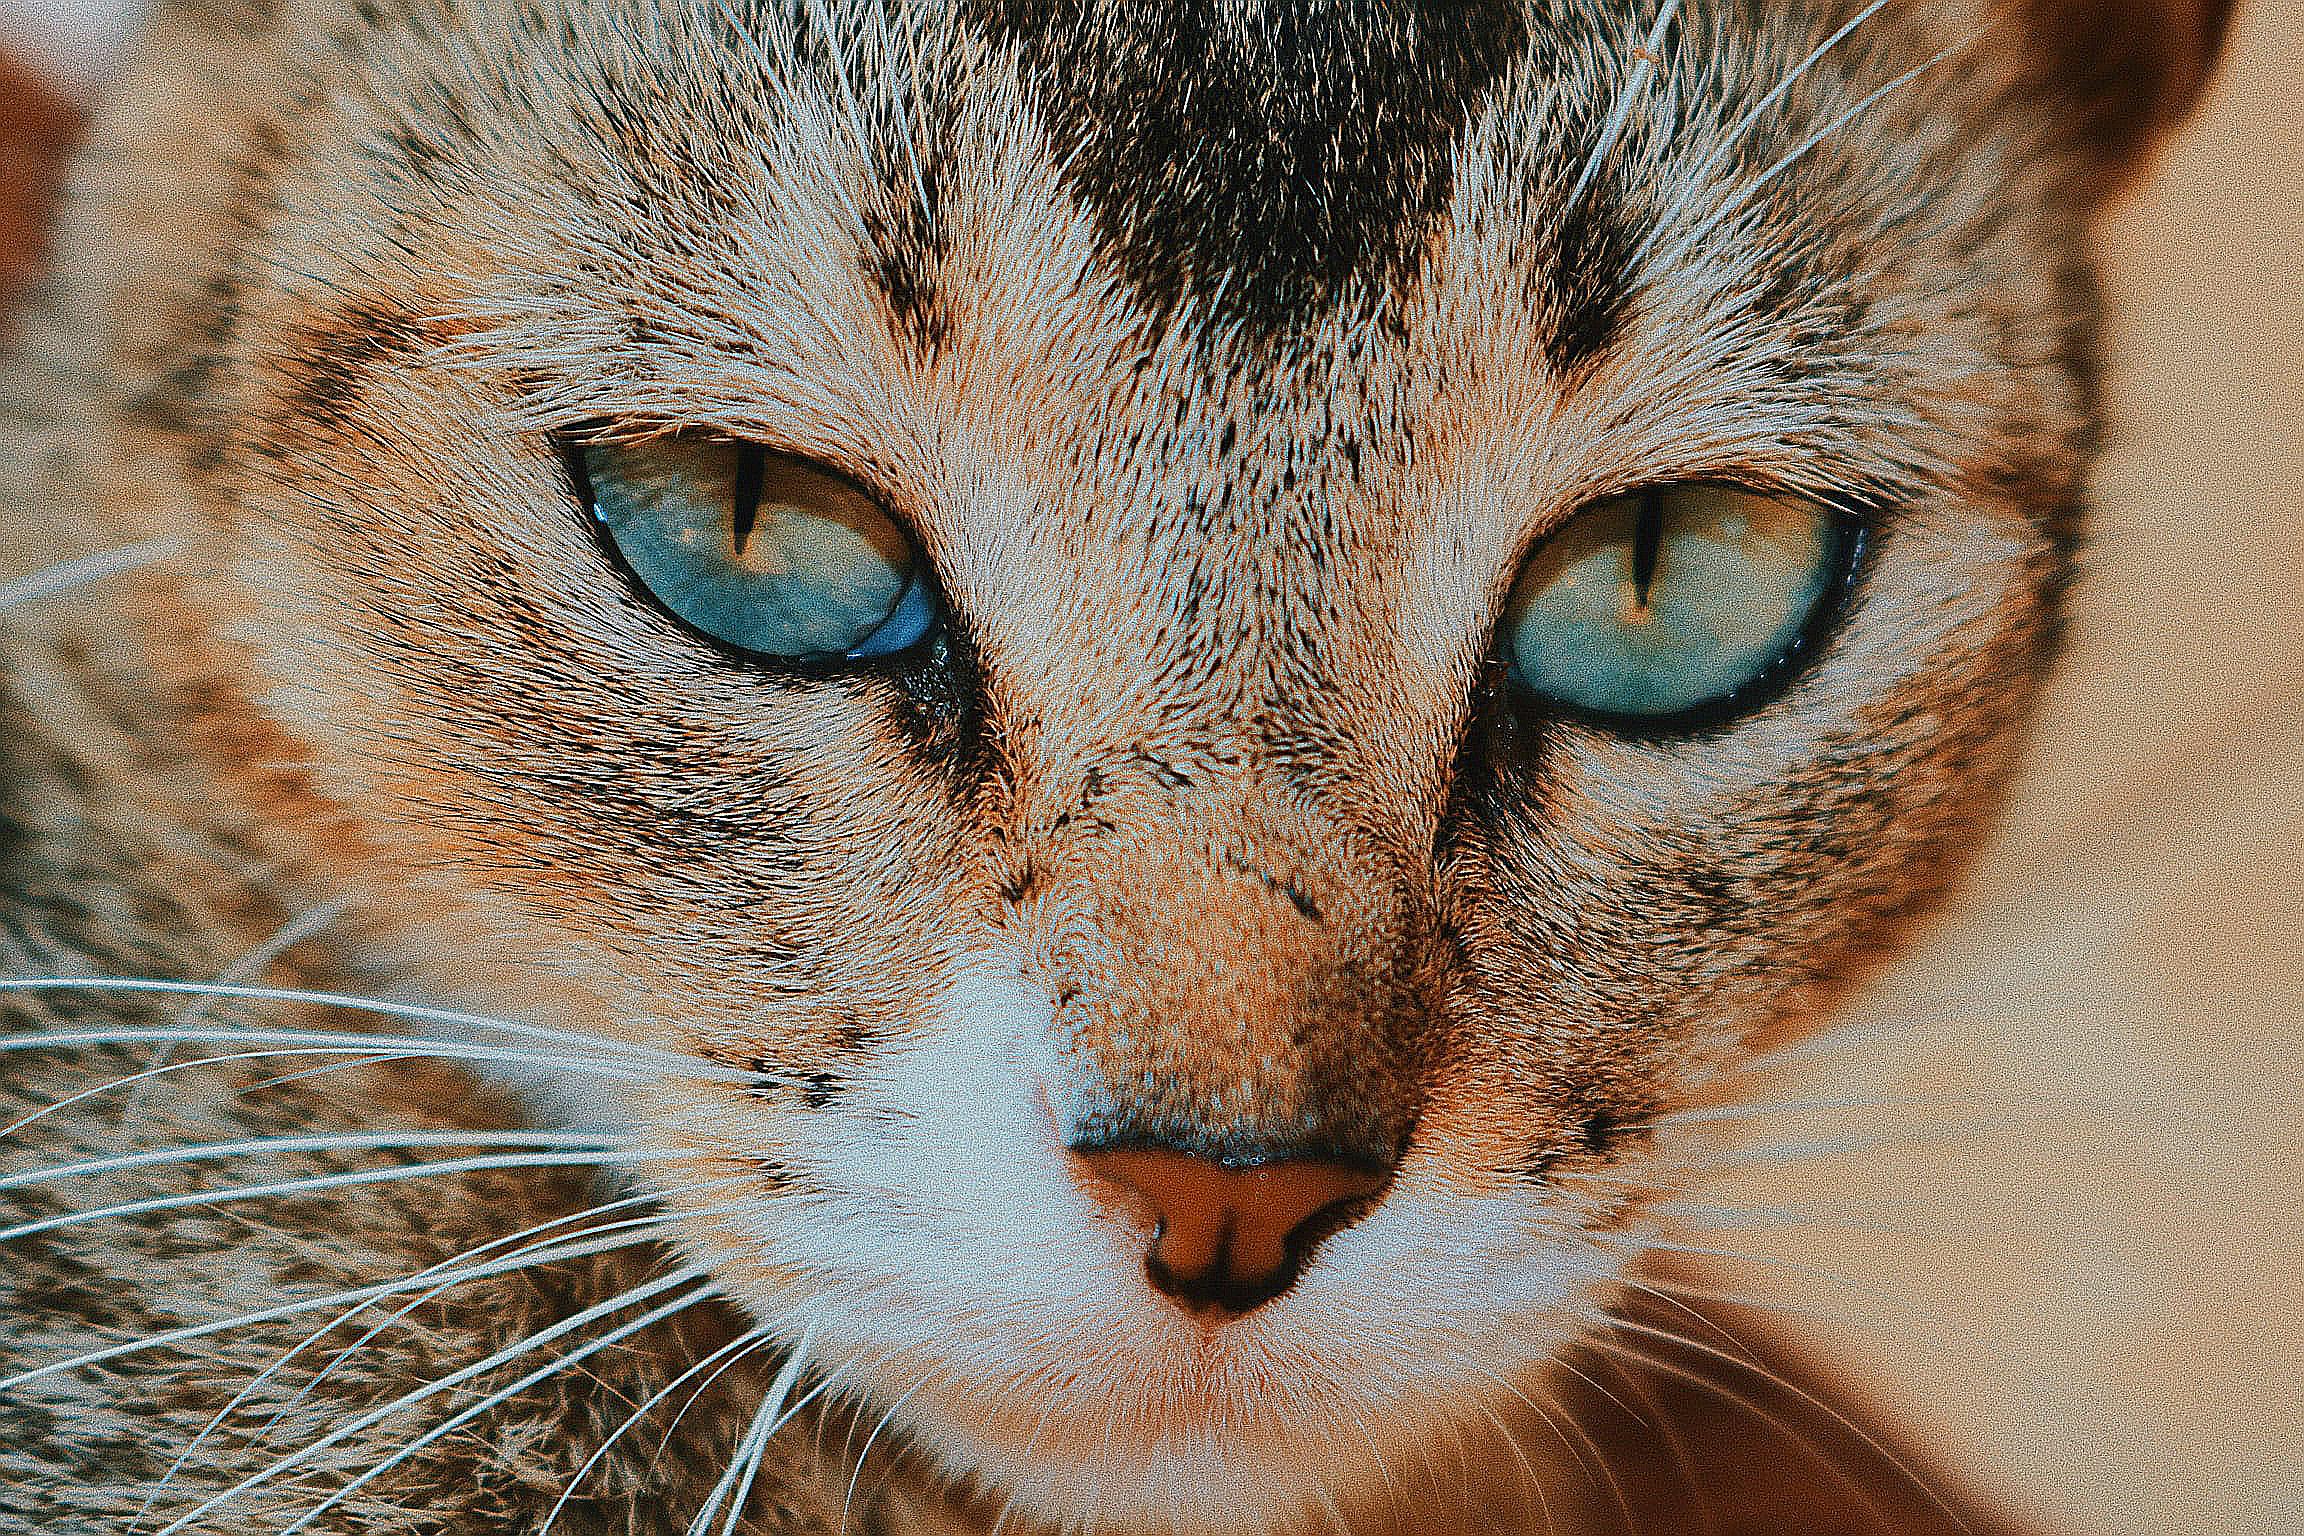
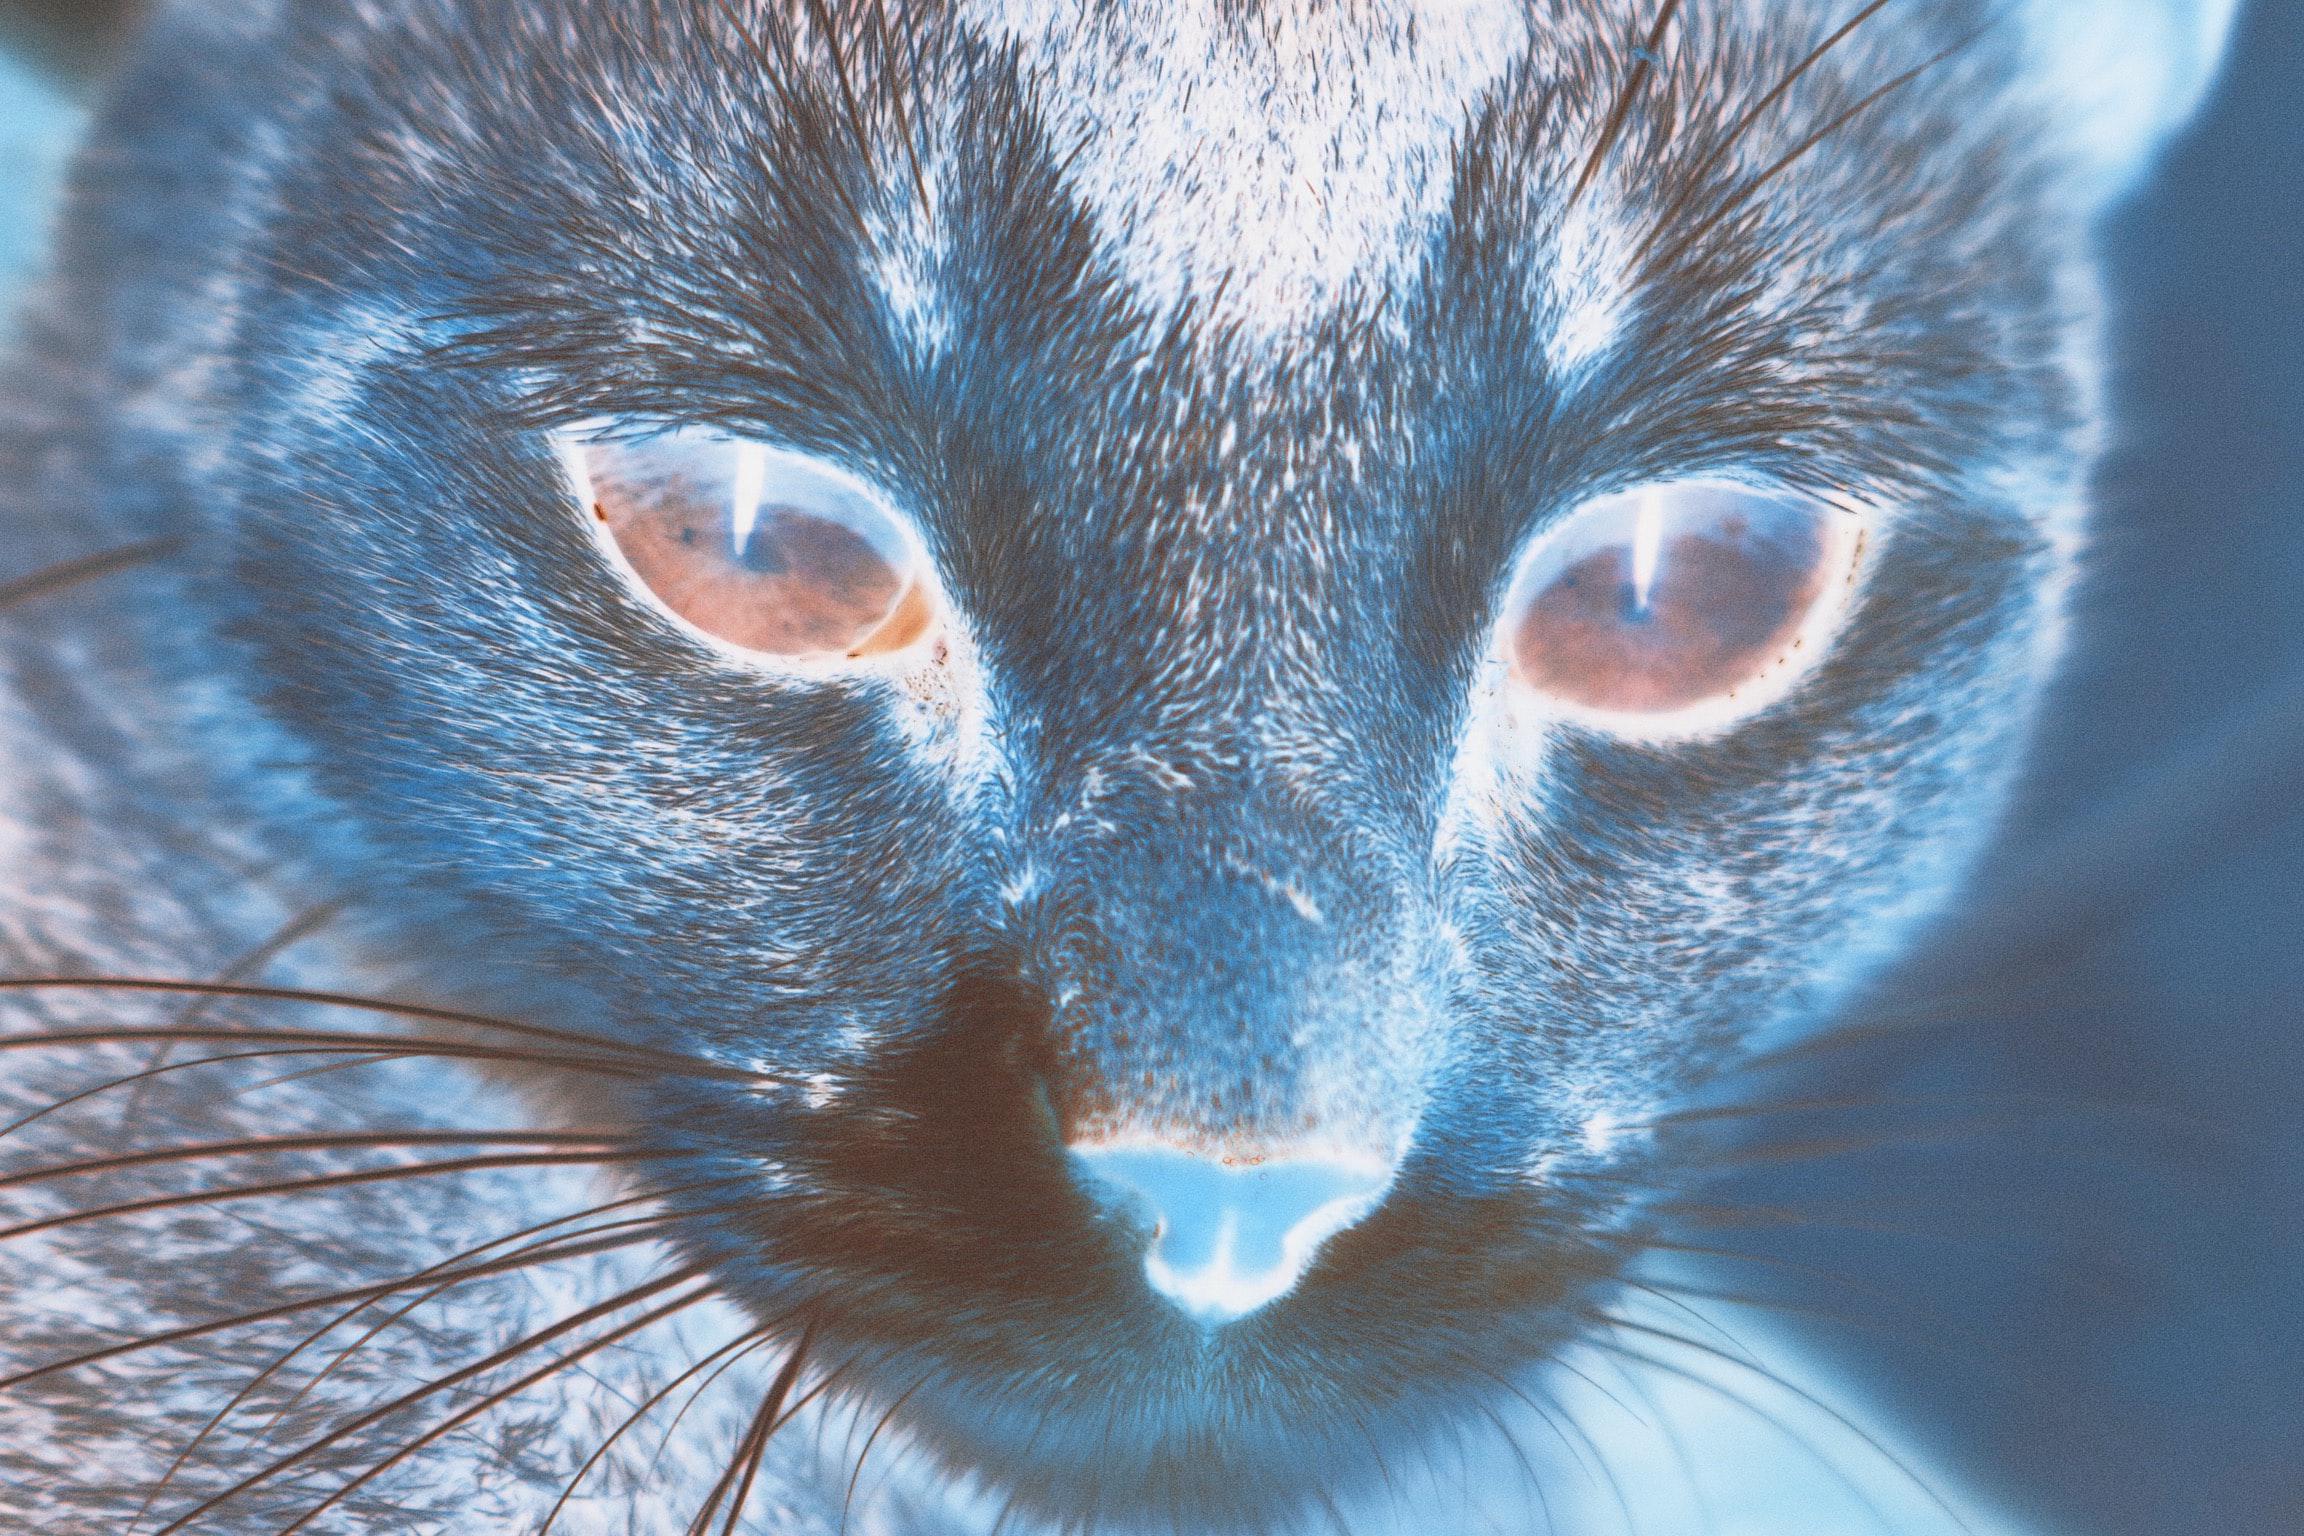
Here is an example photo by Jalitha Hewage with all of the filters applied.
radius set to 2
radius set to 4
radius set to 6
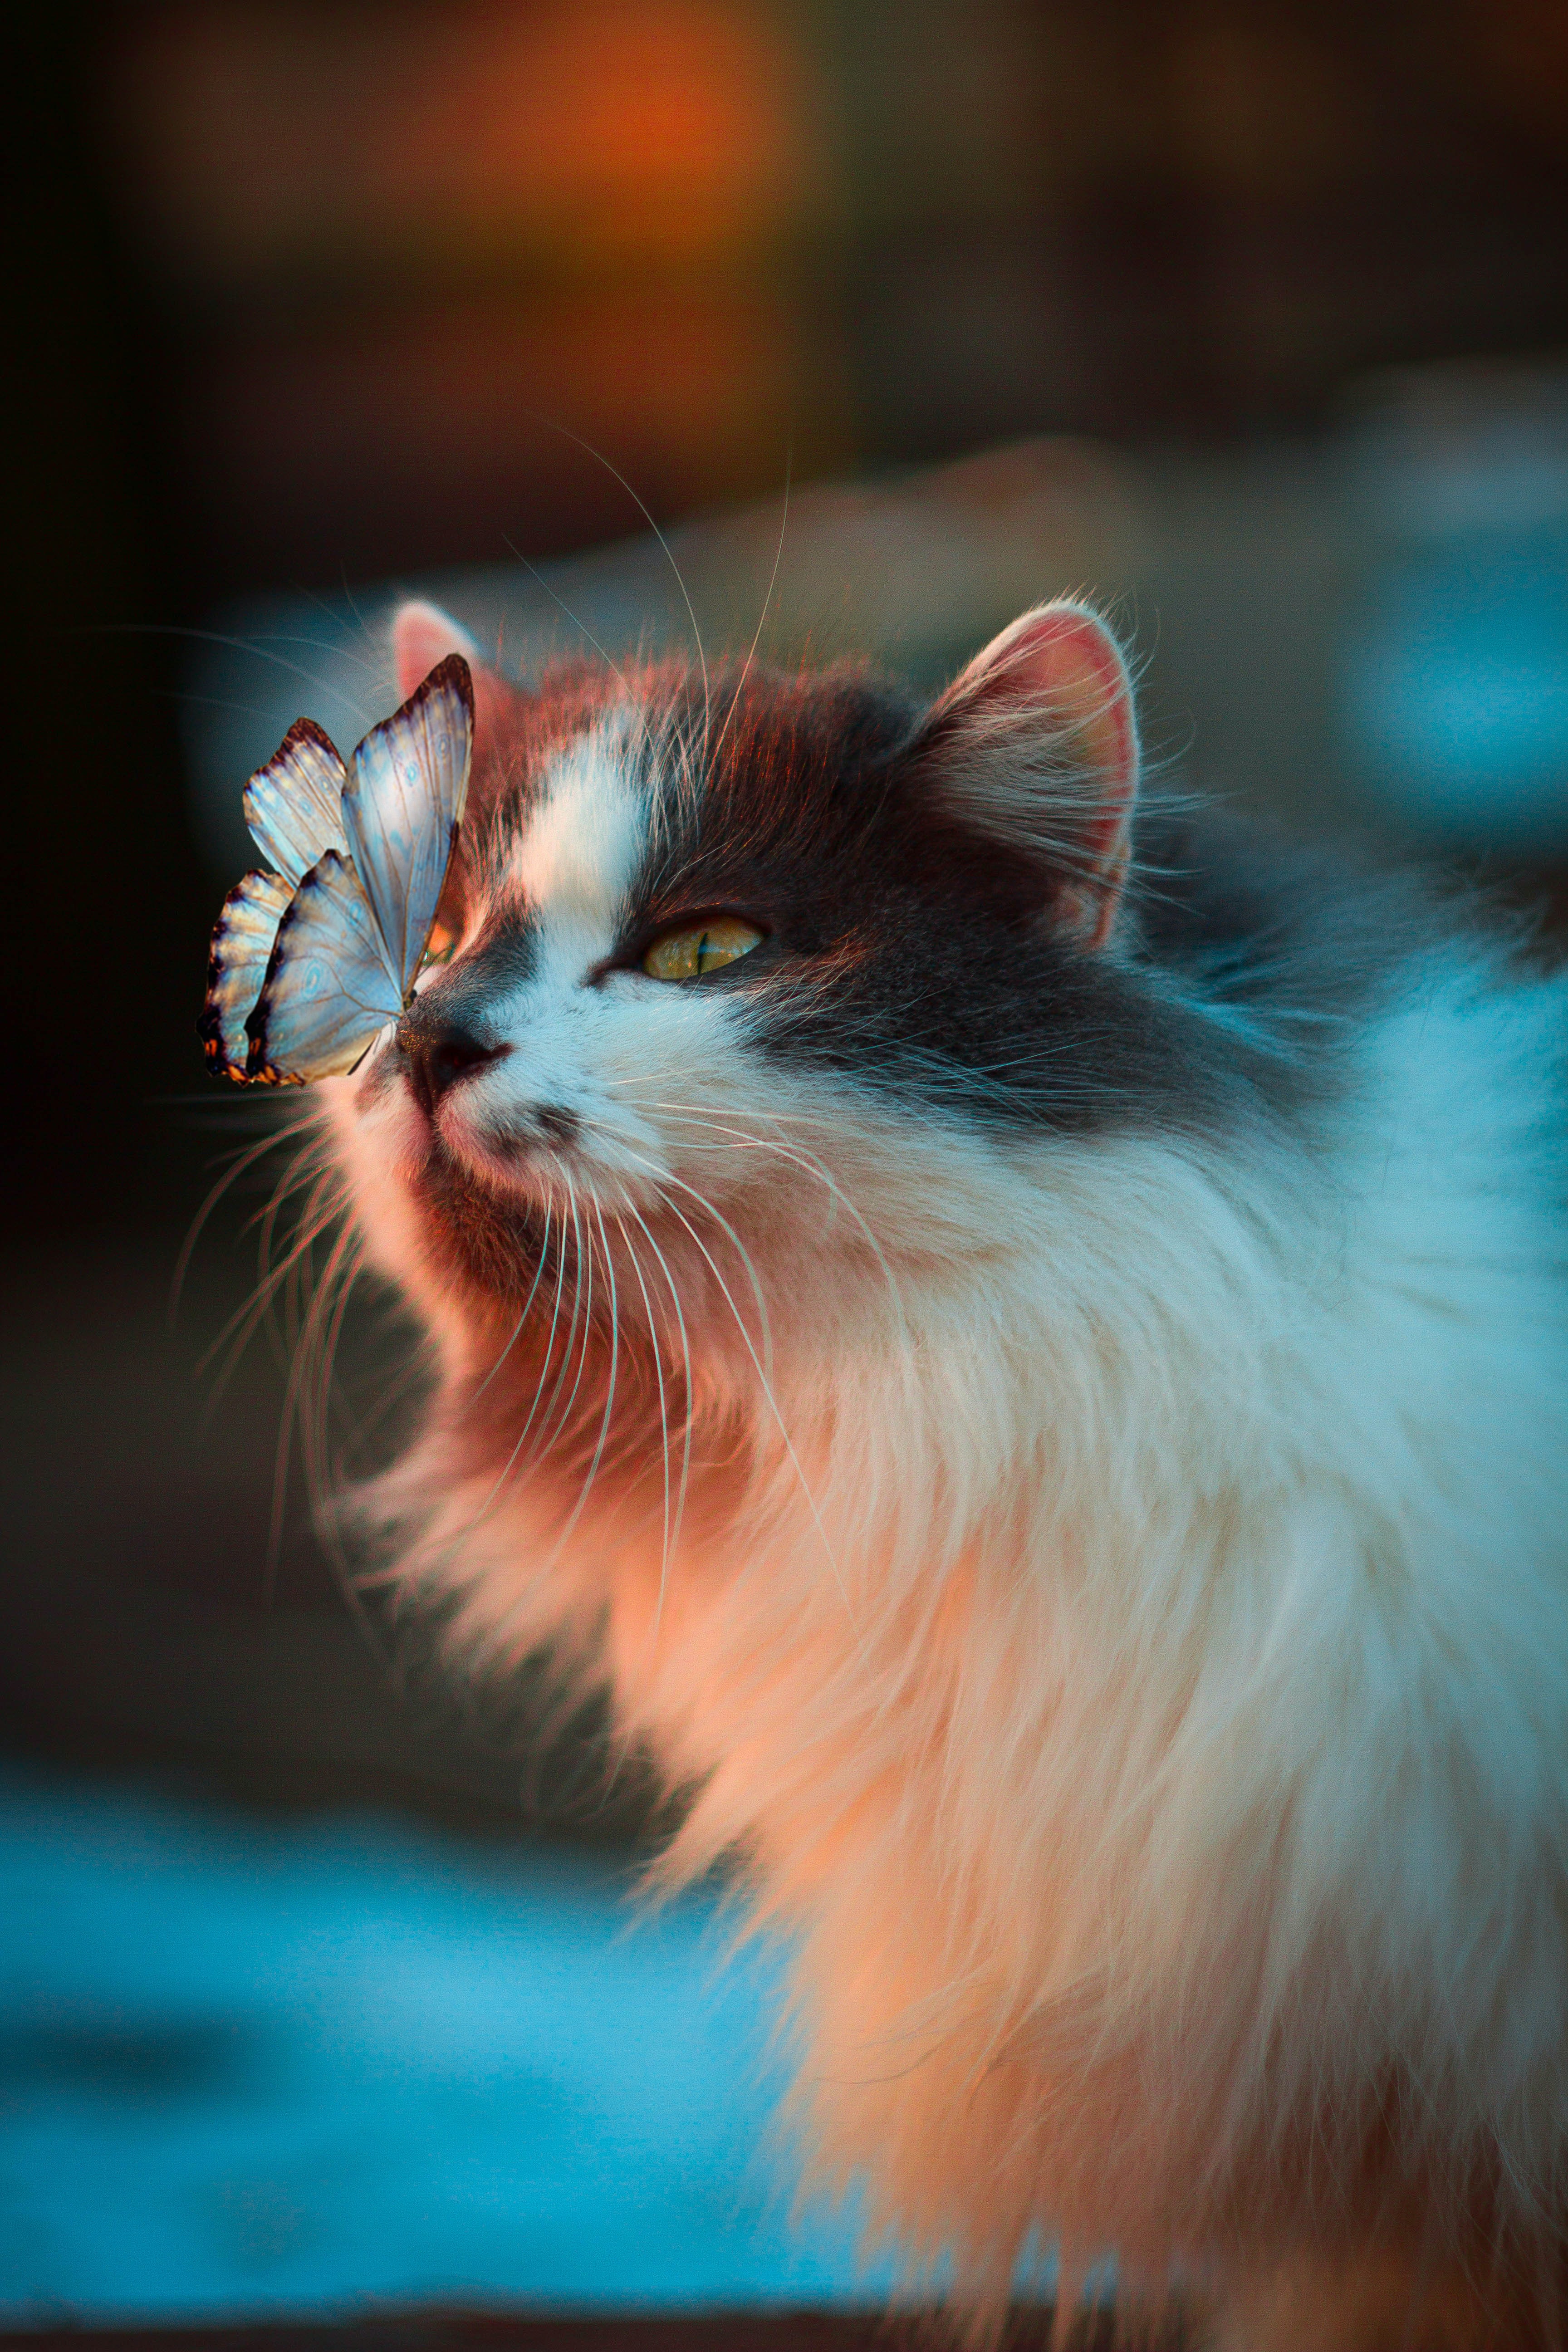
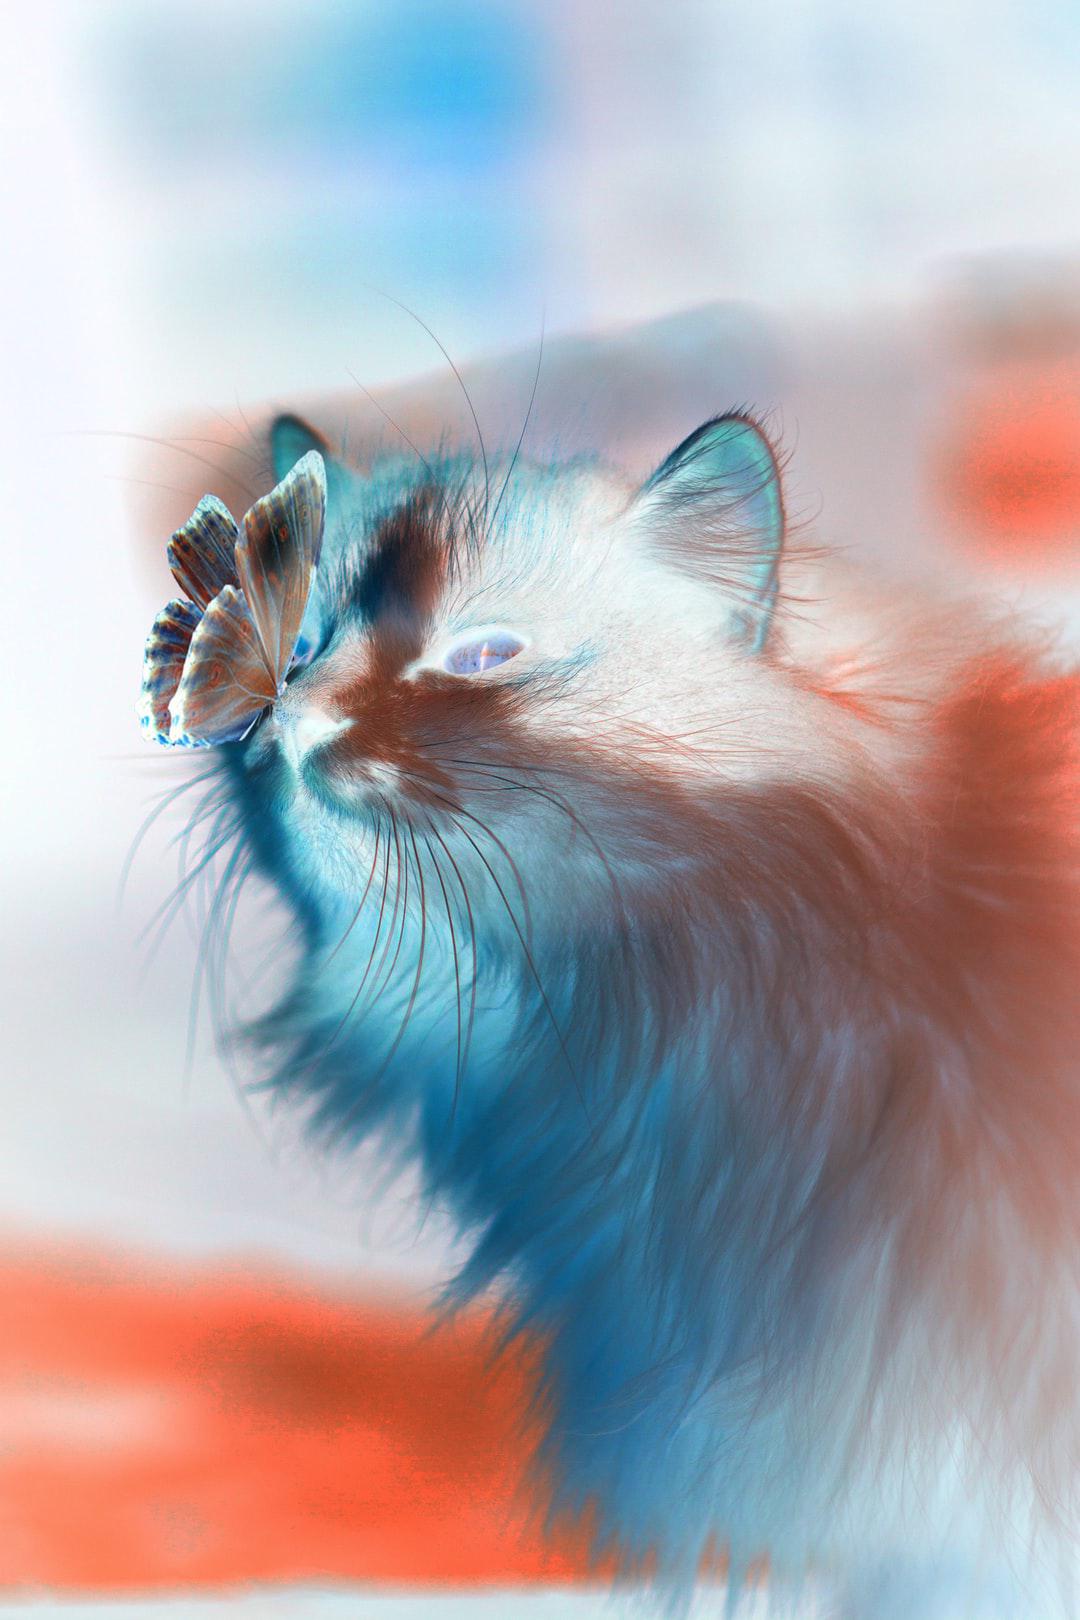
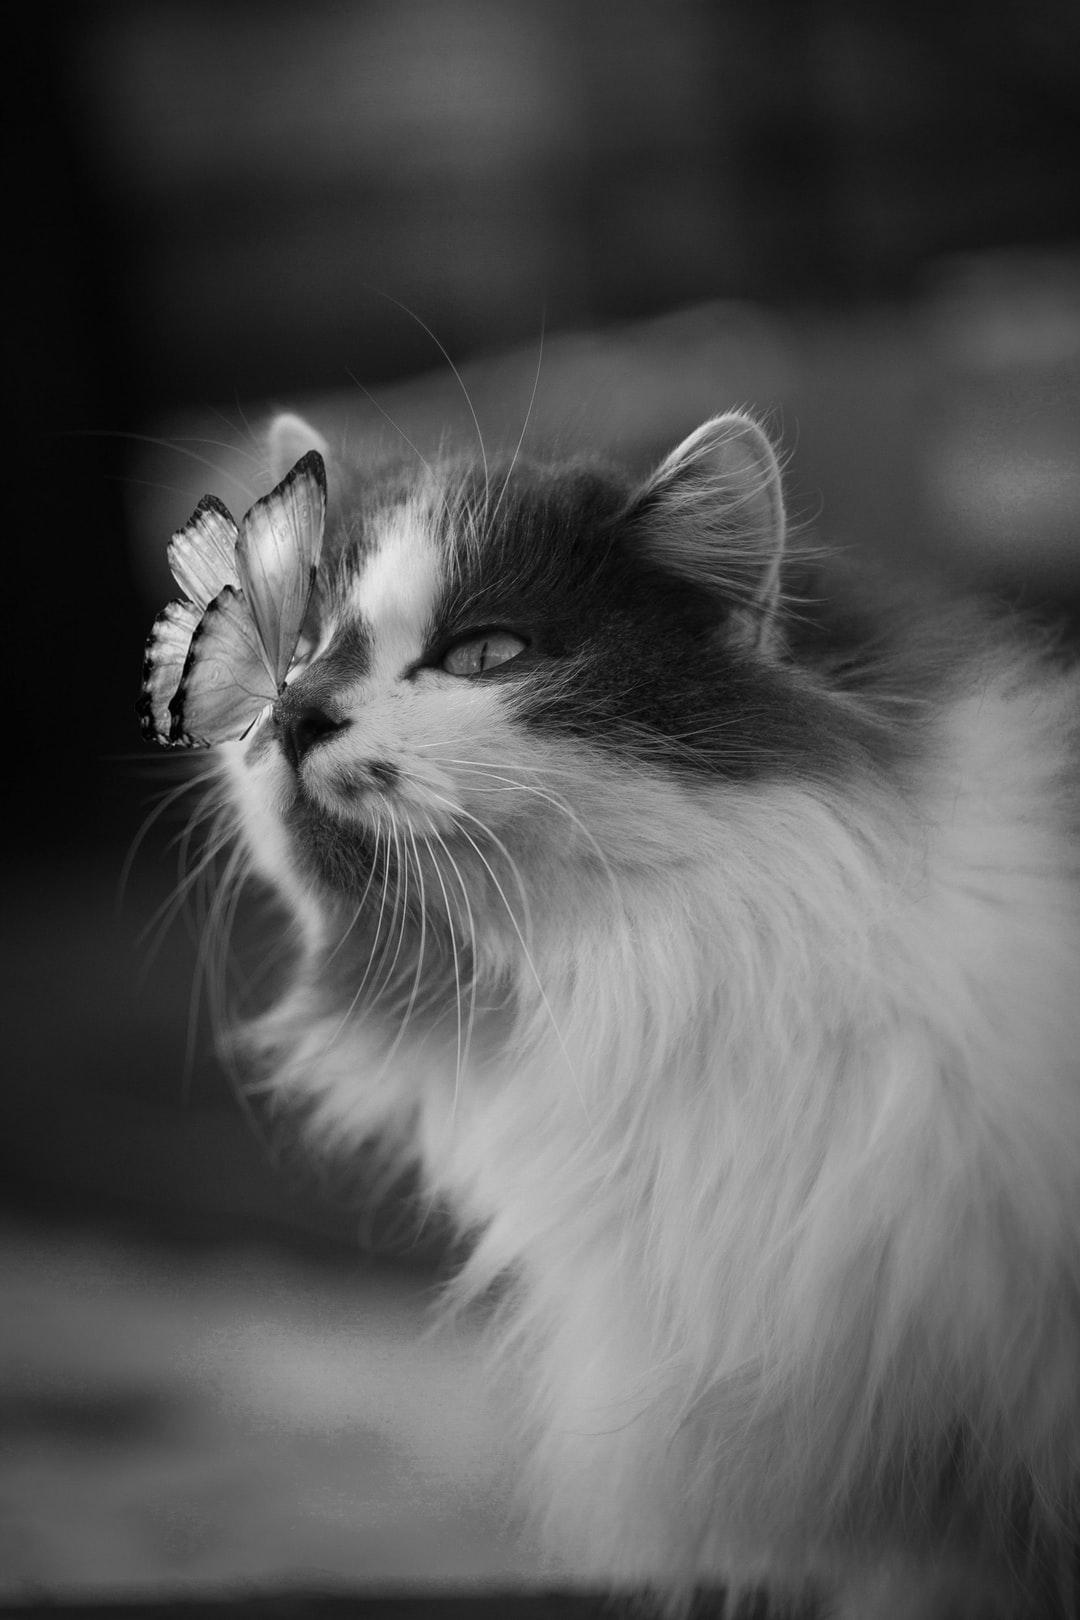
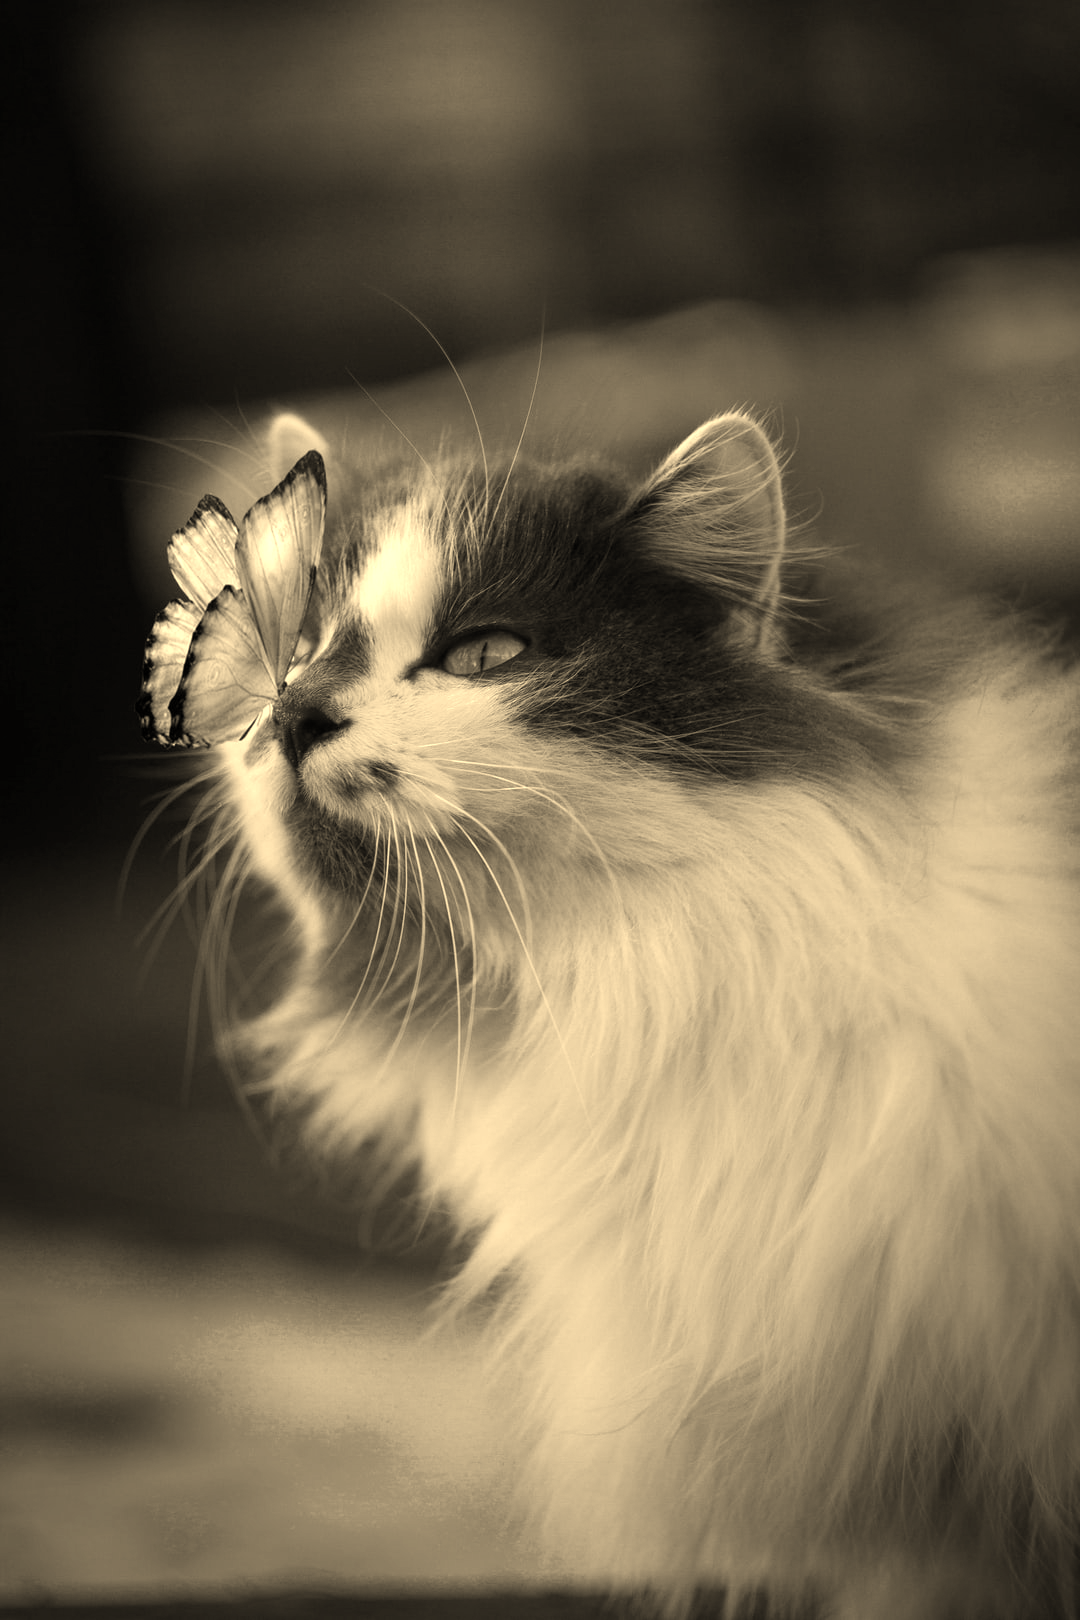
As I've been watching the Simba Friends Bot Twitter account tweet images, one photo in particular has been my absolute favorite so far. While most of the other photos modified by the negative_algorithm() have been downright creepy, the negative version of this Karina Vorozheeva photo is breathtaking. It's one of the most beautiful images I've ever seen.
Original photo
Negative version that was tweeted
Black and white version that was tweeted
Sepia version that was tweeted
To better understand how the program works, read the comments in the program or read the Milestones section. To better understand how the GitHub Actions "Process Photo" workflow works, read the comments in the workflow file.
Critical
Code Formatting
Regardless of whether the program is run locally or via GitHub Actions, a development environment needs to exist that has all of the software installed that is needed to run the program.
Something I learned from working through this project is that a GitHub Actions development environment can replicate a local development environment.
In both my local development environment and GitHub Actions development environment, Python 3.8 is used by default, pip is installed, and the Requests, Pillow, and Twython libraries are installed as dependencies used by the project. The repo master branch is accessed, the environment variables are available, and the program is run by calling python photo.py.
The Python and third-party libraries required to run the program are imported, the environment variables are passed into Twython, and Python 3.8 interprets the photo.py file.
After running the program both locally and via GitHub Actions, I prefer using GitHub Actions. Although a major GitHub Actions outage occurred while I was working on this project, GitHub Actions is improving over time. It feels like a luxury to avoid setting up and managing a longterm project in a local environment.
There are a couple important set up steps to make this project work:
- Create a Twitter Developer account, create an app in the account, and obtain the app "secrets" needed to use the Twitter API to programatically authenticate into Twitter and tweet from the account
- Designate an event or cron schedule as a trigger for the program to be run
Following the instructions of the Twitter Developer docs, I created the Simba Friends Bot Twitter account, including verifying a phone number. Using that account, I created a Twitter Developer account under the "Hobbyist" category, choosing "Making a bot" as my task.
In my "Simba and Friends Bot" app, I clicked on the "Keys and tokens" tab. Here I obtained the secrets that would need to be passed into Twython as environment variables.
- API key a.k.a
APP_KEY - API secret key a.k.a.
APP_SECRET - Access token a.k.a
OAUTH_TOKEN - Access token secret a.k.a
OAUTH_TOKEN_SECRET
There are two steps to setting Simba Friends Bot up in a GitHub repo:
The secrets can be stored in the repo settings as encrypted secrets and made available to the program by variables in the GitHub Actions workflow file. Click on the "Settings" tab, then "Secrets". Click on "New secret", entering the environment variable name and value, then "Add secret". Do this four times, once for each secret.
An event needs to happen to trigger the GitHub Action workflow to run the program. The Simba Friends Bot GitHub Action workflow is set up to trigger after a "push" to the GitHub branch, or based on a cron schedule that causes the GitHub Action to be run at certain times of day. Whichever one is not being used can be commented out.
on:
  push:
    branches: [ master ]

on:
  schedule:
    # This line can be altered to change the schedule; in this example, the cron job will run every 10 minutes
- cron: '*/10 * * * *'For local setup, I cloned the repository, changed directory into it, and created a virtual environment. I then used the terminal to export the environment variables, so they could be accessed by the program.
$ export APP_KEY="<app-key>"
$ export APP_SECRET="<app-secret>"
$ export OAUTH_TOKEN="<oauth-token>"
$ export OAUTH_TOKEN_SECRET="<oauth-token-secret>"
I ran the program via the terminal and used the error info to debug. Once the program was working properly, I pushed the code back to GitHub and used GitHub Actions. Had GitHub Actions not worked, I would have created a local cron job to run the program on a schedule.
In our assignment instructions, it was suggested that we use milestones. These were my project milestones:
- At this time, the "Personable Pets" collection contains 278 images
- An individual image in the collection can be identified using the collection ID and file number
- Use
randrange()function to choose a randomfile_numberbetween 1 and 278, inclusive - Create a string using the collection URL and ID and insert the
file_numberat the end - Use the Requests library to download the image (optionally, use a
photos/directory) - Open the image using the Pillow library and show the image locally before transformation
- Unfortunately, Twython, Pillow, and SimpleImage were not compatible, so I used Pillow directly
- Pass a list of image filter algorithms into
random.choice()to randomly choose an algorithm - The chosen image filter algorithm function will be called, passing in the
new_imageandfile_path - After the algorithm is applied,
save_image()function will be called to save and return the modified image - Optionally, uncomment
modified_image.show()to show the image locally after transformation
- Open the modified image
- Using Twython, upload and tweet the modified image, optionally with a
statusmessage - Call the
remove_file()function to delete the image - Check your terminal and the associated Twitter account to verify tweet posted!
- Create a GitHub Action that can run the program solely via GitHub
- Create a README.md with instructions for how to use the code
- Create a blog post for fun, explaining how to set up this bot
- Share my project with friends, family, and colleagues :)
- Make assignment video and submit assignment :)
- Sit back, drink some tea, and enjoy some cute pet photos at Simba Friends Bot Twitter account.
- Introduction (what project is about)
- Explain how
photo.pyfile works - Run local development example
- Show tweet posted to Twitter account
- Show GitHub Action workflow file and Actions tab build info
- Introduction (what project is about)
- Show image filter algorithm examples and favorite example so far
- Explain how
photo.pyfile works - Explain how GitHub Action workflow file works (preferred method)
- Show local development example in comparison
- Show Actions tab build info
- Show Twitter account
- Check out
actto see if it would be helpful: https://github.com/nektos/act - Suggestion by Michael Herman: "Make the unsplash collection dynamic and add the bot to the GitHub marketplace: https://github.com/marketplace?type=actions"
- Add PyPI packaging configurations to the GitHub repo where the code is hosted
- Create a GitHub Action that can auto-publish the package when a release is tagged on GitHub; tag the release and verify published to PyPI
- Create the option to publish to the PyPI test instance first
- Add a proper Change Log
- Add a photographer credit (not required by Unsplash) as the status update
- Add additional image filter algorithms (ex. blue or red filter)
- Create an
ifelsestatement to check if a photo exists before downloading (in case of an error that caused a photo to be downloaded, but not deleted); this might be irrelevant for GitHub Actions, if the workspace is destroyed after it runs
Those who engage with this project are expected to follow my Code of Conduct.
© 2020-Present Katherine Michel. All Rights Reserved.
