Skeleton is a boilerplate, RESTful generator based on Bima
Check the video
-
Go 1.16 or above
-
Git
-
RDBMS (by default only supports
mysqlandpostgresql) or MongoDB for database storage -
Elasticsearch (Optional)
-
RabbitMQ (Optional)
-
Download using skeleton using git by running
git clone https://github.com/KejawenLab/skeleton.git -
Download dependencies using
task cleancommand -
Copy
env.exampleto.env -
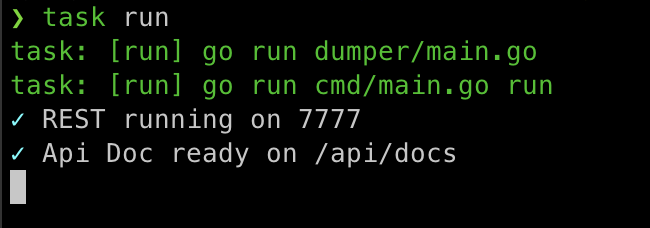
Run using
task run
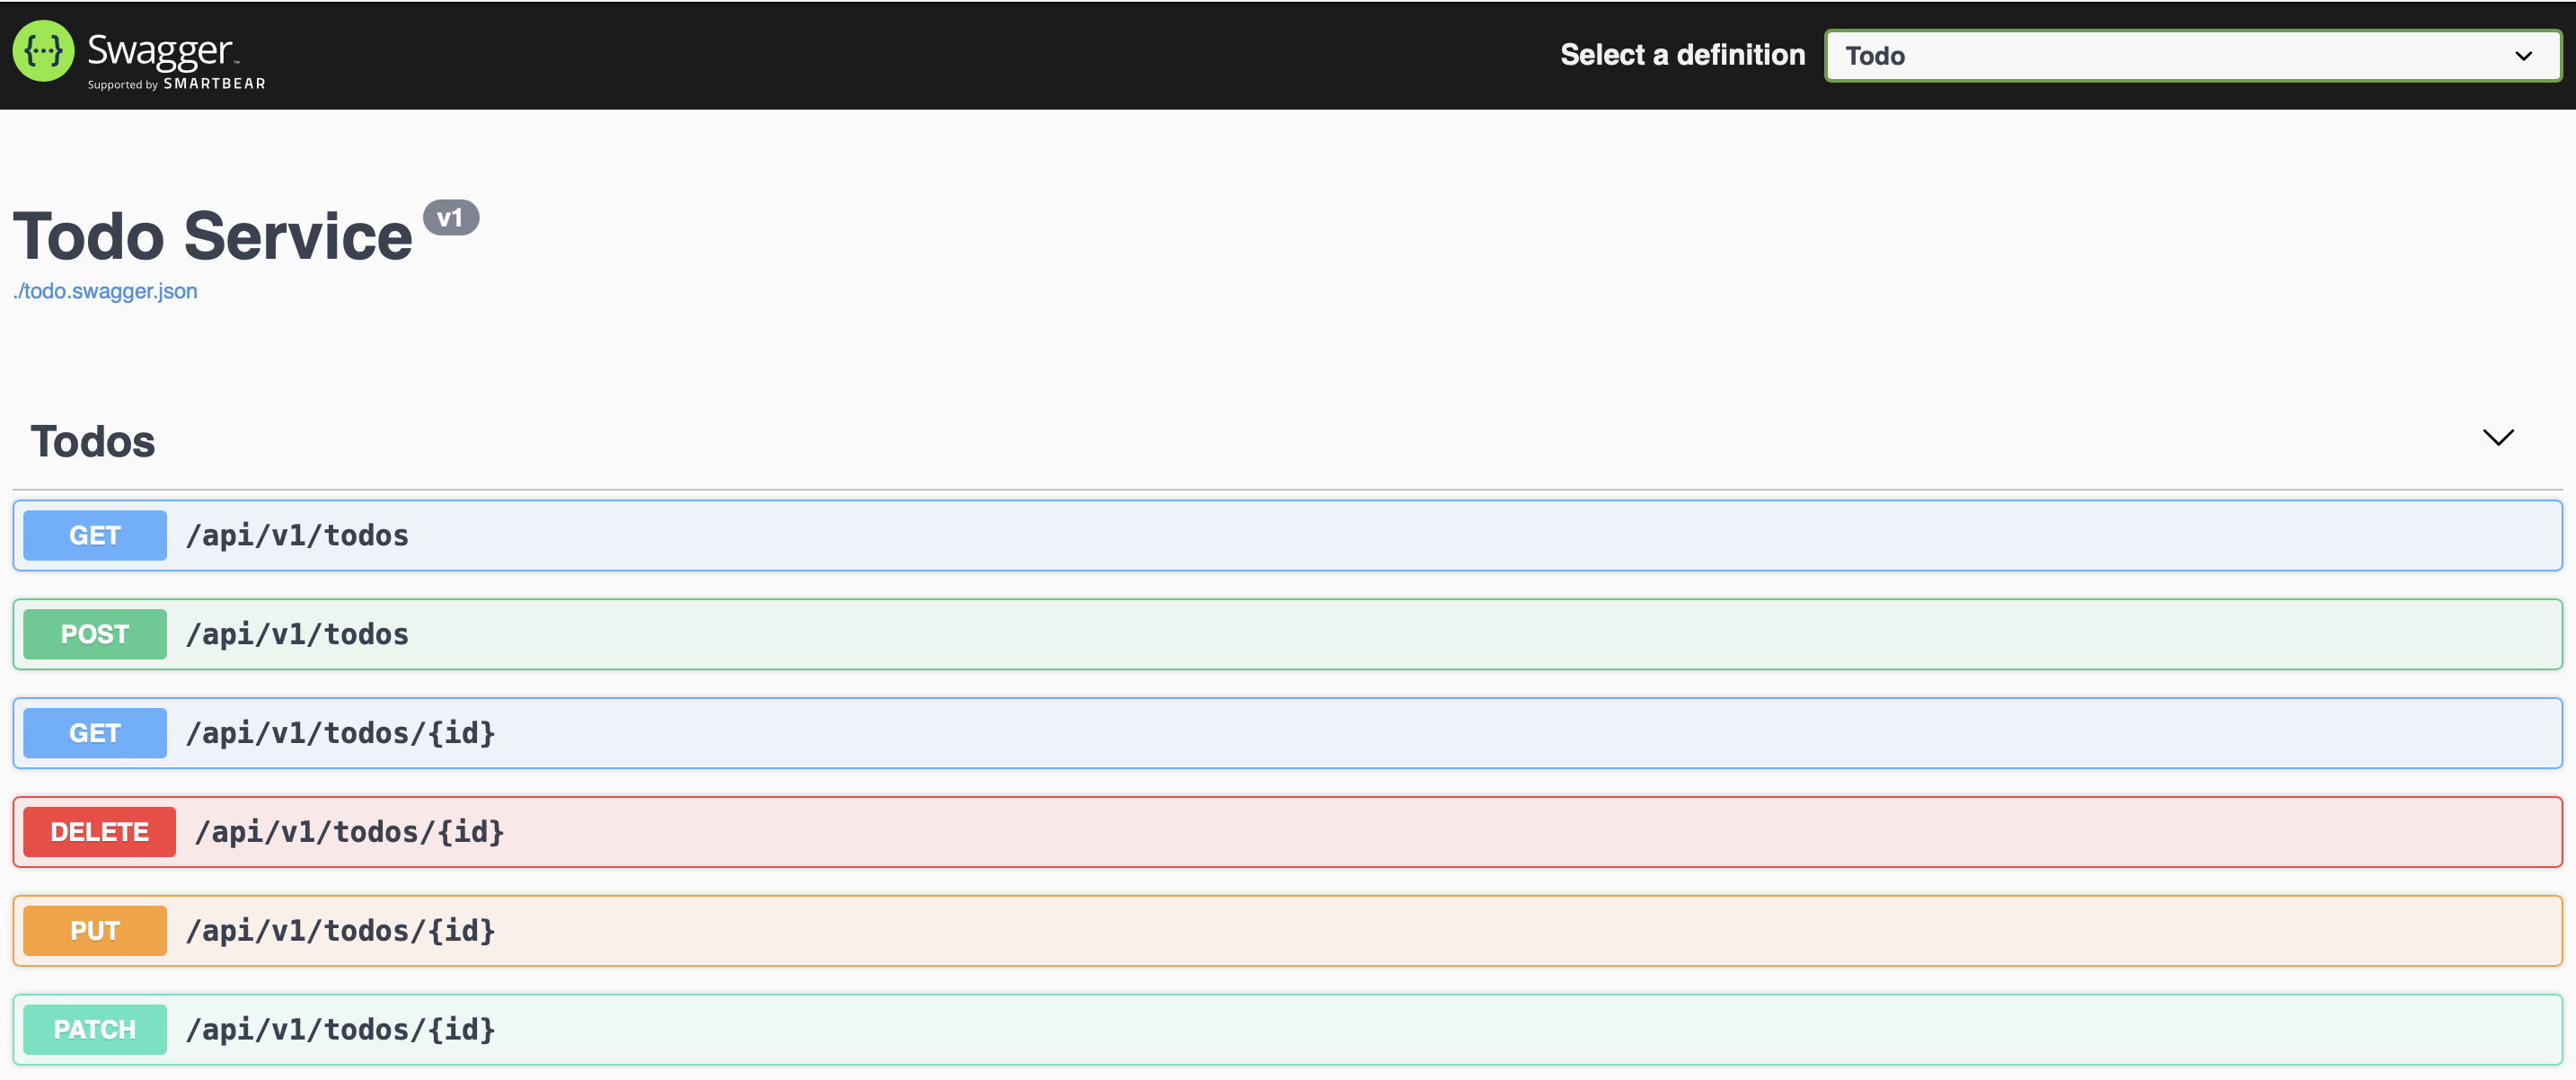
- Open your browser and open
http://localhost:7777/api/docsor port assigned by you
I assume you use mysql as driver
-
Create
bima_skeletondatabase -
Add
DB_DRIVER,DB_HOST,DB_PORT,DB_NAME,DB_USER, andDB_PASSWORDto.env
DB_DRIVER=mysql
DB_HOST=localhost
DB_PORT=3306
DB_NAME=bima_skeleton
DB_USER=root
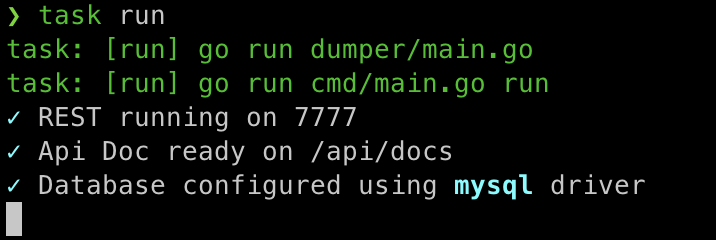
DB_PASSWORD=aden- Rerun your service using
task runand you got new messageDatabase configured using mysql driverlike below
-
Add
API_VERSION=v1to.env -
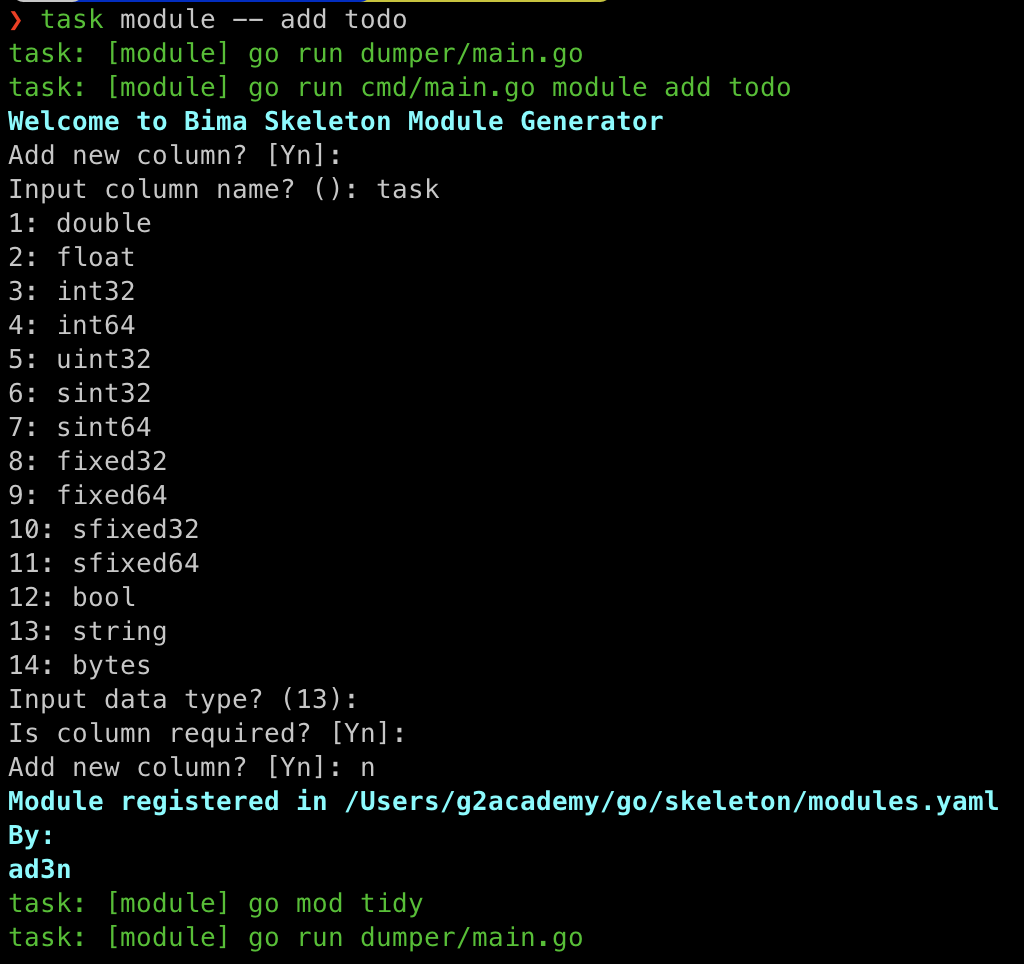
Run
task module -- add <name> -
Follow the instructions
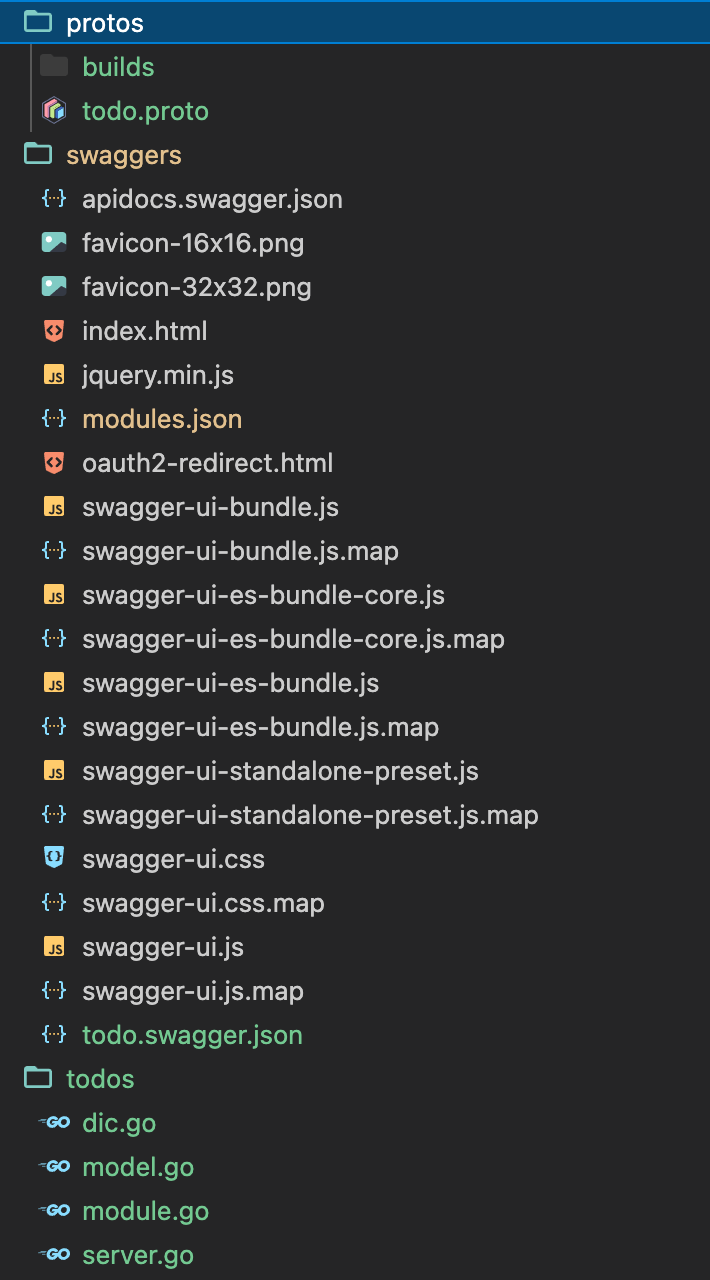
- Bima will generate
todosfolder as your module space, creatingprotos/todo.proto, register your module inconfigs/modules.yamland register your Dependency Injection defined indic.gointoconfigs/provider.go
- Run
task runand refresh your browser
Now you can test your module directly from swagger.
By default, get by ID (single) result is cached by Bima and invalidate using PUT or DELETE when ID matches. By default, cache lifetime is 0 (no cache), you can easly adjust by adding CACHE_LIFETIME to your .env
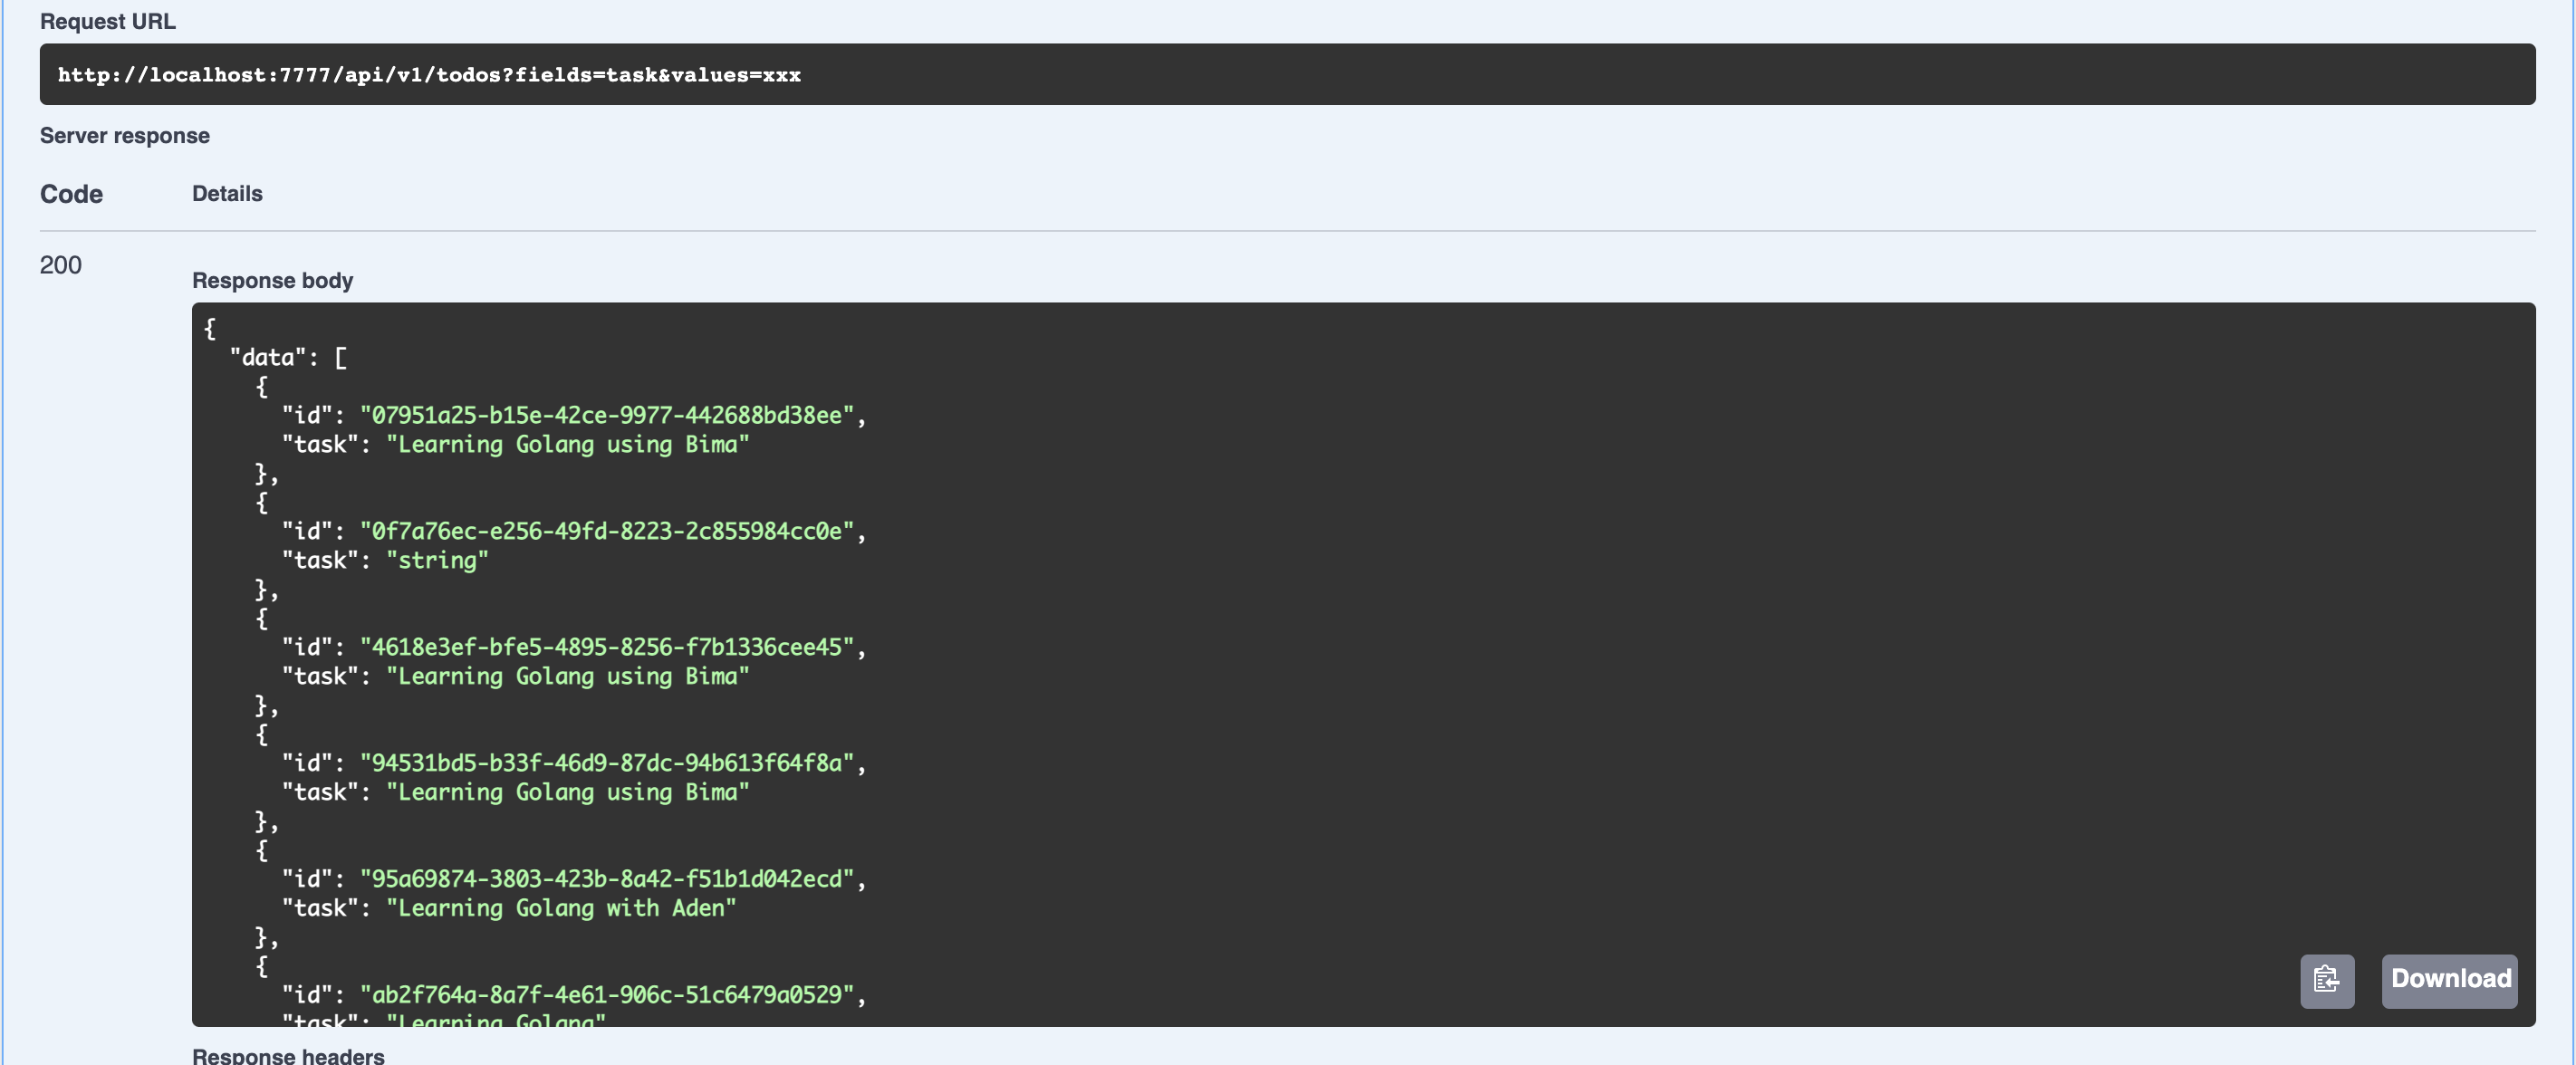
CACHE_LIFETIME=1020Try to call /api/v1/todos?fields=task&values=xxx and do not effect like below
Because by default skeleton doesn't provide filter. To apply request filter, you need to register your own filter or just use filter that provided by bima.
First, i assume you are use mysql or postgresql as driver, you need to add code below into your todos/dic.go
// import "github.com/KejawenLab/bima/v4/listeners/paginations"
{
    Name:  "bima:listener:filter:gorm",
    Scope: bima.Application,
    Build: (*paginations.GormFilter)(nil),
},
We use Dingo to manage dependencies, you can refer to dedicated documentation to learn about Dependency Injectin using Dingo. Then you need to register the bima:listener:filter:gorm to your configs/listeners.yaml
listeners:
    - filter:gorm # `bima:listener:` prefix is reserved by skeleton
Now, you can rerun using task run and try /api/v1/todos?fields=task&values=xxx and then the result like below
You can easy to create your own filter by implement Listener interface
Listener interface {
    Handle(event interface{}) interface{}
    Listen() string
    Priority() int
}
The available events are below
PaginationEvent   = Event("pagination")
BeforeCreateEvent = Event("before_create")
BeforeUpdateEvent = Event("before_update")
BeforeDeleteEvent = Event("before_delete")
AfterCreateEvent  = Event("after_create")
AfterUpdateEvent  = Event("after_update")
AfterDeleteEvent  = Event("after_delete")
You can refer default listeners in listeners for example
When you call /api/v1/todos you get response header like below
For example, you want to add X-Middleware to your response header, first step, create file middleware.go in your todos folder and paste codes below
package todos

import (
	"net/http"
)

type Middleware struct {
}

func (a *Middleware) Attach(_ *http.Request, response http.ResponseWriter) bool {
	response.Header().Add("X-Middleware", "My first middleware")

	return false
}

func (a *Middleware) Priority() int {
	return 0
}
And then, register your middleware into todos/dic.go
{
    Name:  "bima:middleware:todo",
    Scope: bima.Application,
    Build: (*Middleware)(nil),
},
Last, register your middleware to configs/middlewares.yaml
middlewares:
    - todo
Now, you can rerun using task run and try /api/v1/todos and then the result like below
Very easy, right? You can create anything by implement Middleware interface below
Middleware interface {
    Attach(request *http.Request, response http.ResponseWriter) bool
    Priority() int
}For example, you want to add new page /api/v1/todos/hello/{name} that response Hello <name> string, first add route.go to your todos folder
package todos

import (
	"bytes"
	"net/http"

	"github.com/KejawenLab/bima/v4/middlewares"
	"google.golang.org/grpc"
)

type HelloWorld struct {
}

func (a *HelloWorld) Path() string {
	return "/api/v1/todos/hello/{name}"
}

func (a *HelloWorld) Method() string {
	return http.MethodGet
}

func (a *HelloWorld) SetClient(client *grpc.ClientConn) {}

func (a *HelloWorld) Middlewares() []middlewares.Middleware {
	return nil
}

func (a *HelloWorld) Handle(w http.ResponseWriter, r *http.Request, params map[string]string) {
	w.Write([]byte("Hello " + params["name"]))
}
And then, register your middleware into todos/dic.go
{
    Name:  "bima:route:hello",
    Scope: bima.Application,
    Build: (*HelloWorld)(nil),
},
Last, register your middleware to configs/routes.yaml
routes:
    - hello
Rerun using task run and open /api/v1/todos/hello/bima and then the result like below
Now, try to remove todo from configs/middlewares.yaml so your response header will be back like below
And then change your route.go to
func (a *HelloWorld) Middlewares() []middlewares.Middleware {
	return []middlewares.Middleware{&Middleware{}}
}
Rerun again and open /api/v1/todos/hello/bima and your middleware is there
But when you open /api/v1/todos or any page others, your middleware is not exists. Yes, your can also add middleware for specific route with easy.
By default, your custom route is not automatically added to swagger, you need to add manually. Open todo.swagger.json in swaggers folder using Swagger Editor add this lines
"/api/v1/todos/hello/{name}": {
    "get": {
    "operationId": "Todos_Hello_World",
    "responses": {
        "200": {
        "description": "A successful response.",
            "schema": {
                "type": "string"
            }
        },
        "default": {
            "description": "An unexpected error response.",
            "schema": {
                "$ref": "#/definitions/rpcStatus"
            }
        }
    },
    "parameters": [
        {
            "name": "name",
            "in": "path",
            "required": true,
            "type": "string"
        }
    ],
    "tags": [
            "Todos"
        ]
    }
}
Rerun again and open /api/docs and your custom route is already there
By default, skeleton configured for RDBMS that defined in dics/container.go using bima:repository:gorm, you can just change to bima:repository:mongo when you want to change to MongoDB. You need to change DB_DRIVER, DB_HOST, DB_PORT, DB_NAME, DB_USER, and DB_PASSWORD values depend on your setting
DB_DRIVER=mongo
DB_HOST=localhost
DB_PORT=27017
DB_NAME=bima_skeleton
DB_USER=mongo
DB_PASSWORD=s3cr3tFor example, you want to add Elasticsearch Hook, just add code below to dics/container.go
{
    Name: "bima:logger:extension:elasticsearch",
    Scope: bima.Application,
    Build: func(client *elastic.Client) (*elogrus.ElasticHook, error) {
        return elogrus.NewAsyncElasticHook(client, "localhost", logrus.DebugLevel, "mylog")
    },
    Params: dingo.Params{
        "0": dingo.Service("bima:elasticsearch:client"),
    },
},
And then register your extension to configs/loggers.yaml
loggers:
    - elasticsearch
Don't forget to add ELASTICSEARCH_HOST and ELASTICSEARCH_PORT to your .env
To run application using yaml or json config, you can run using task run -- <file>.<ext>
To remove module, just run task module -- remove <name>
