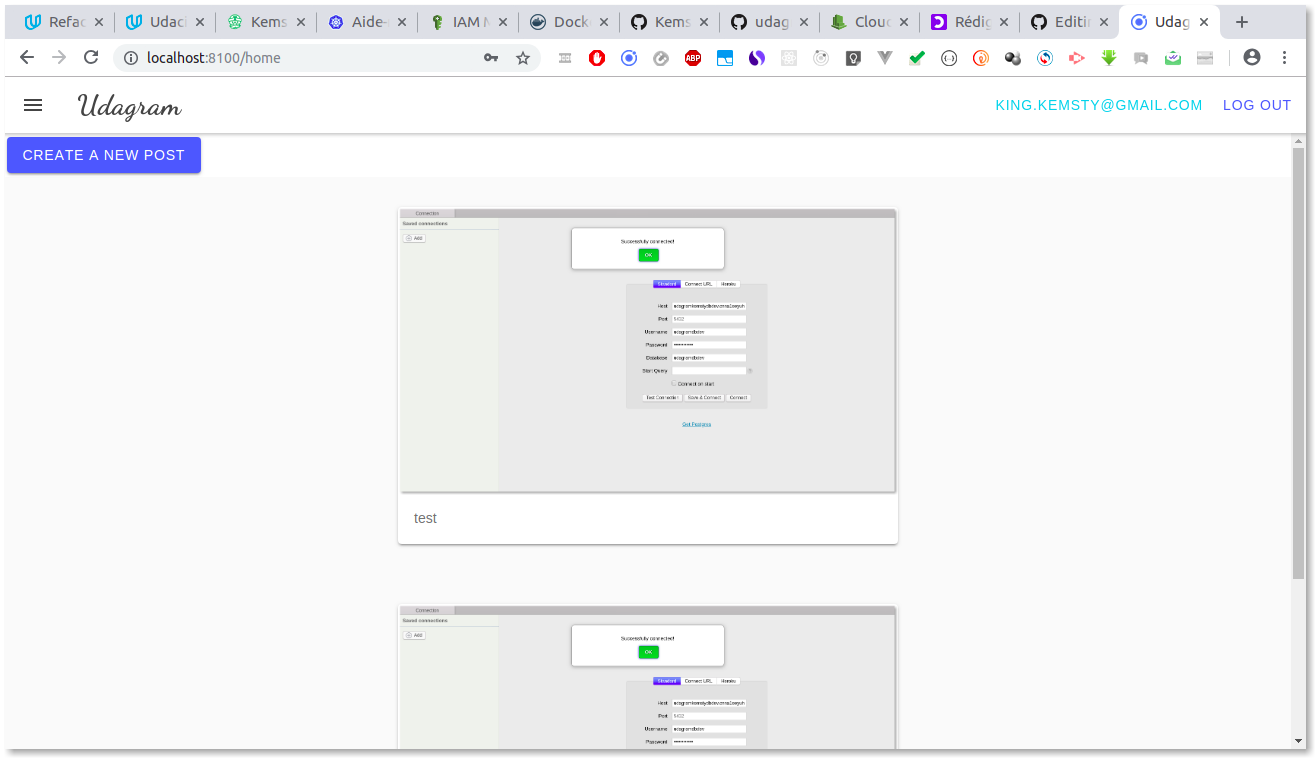
Udagram is a cloud based application build along the Cloud Developer For Enterprise NanoDegree. It allow user to :
- Sign in and Connect to a web based application.
- Post Picture with Caption to S3 Bucket
- Process Picture using Image Filtering build alongside
Cloud Service
- Amazon Web Services S3 - Resource hosting and deployments
- AWS RDS - Relational Database
- AWS CLI - AWS Command line interface
- AWS IAM - AWS Identity Access Management Service
Performance Tool and DevOps Tools
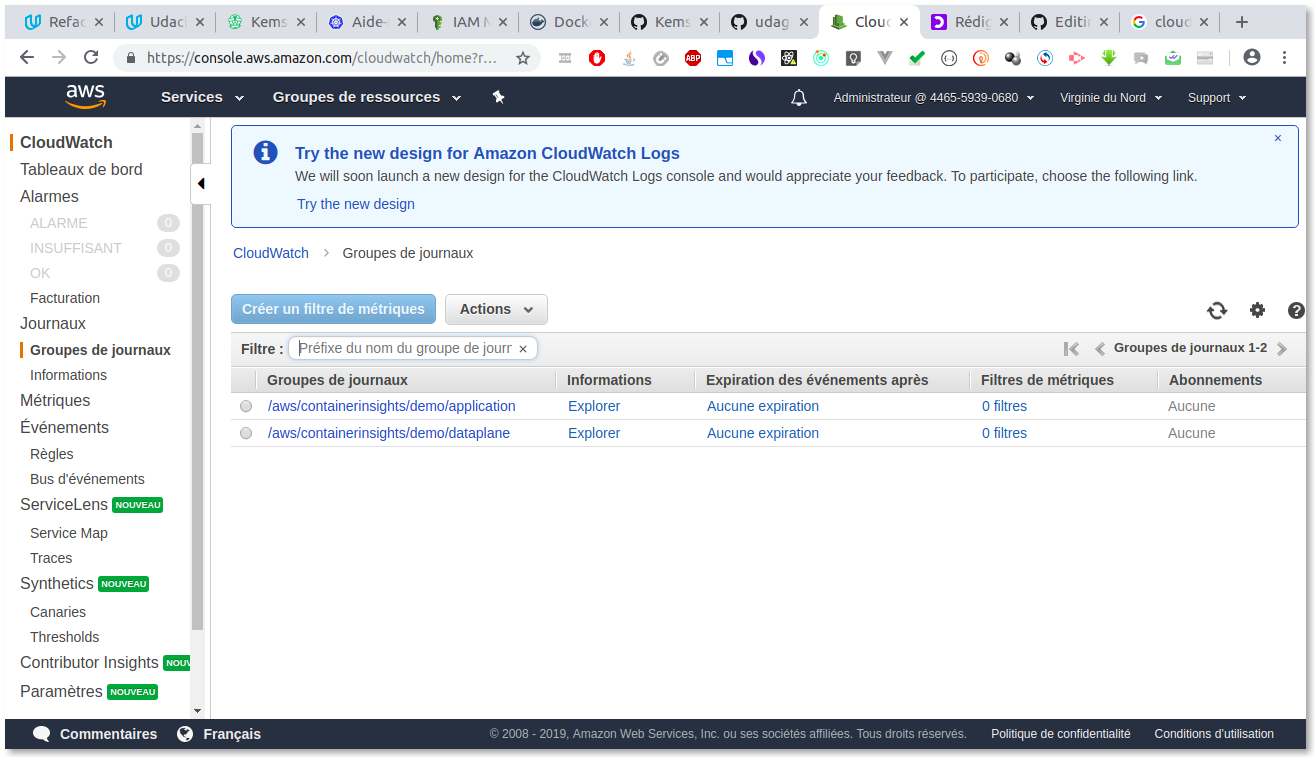
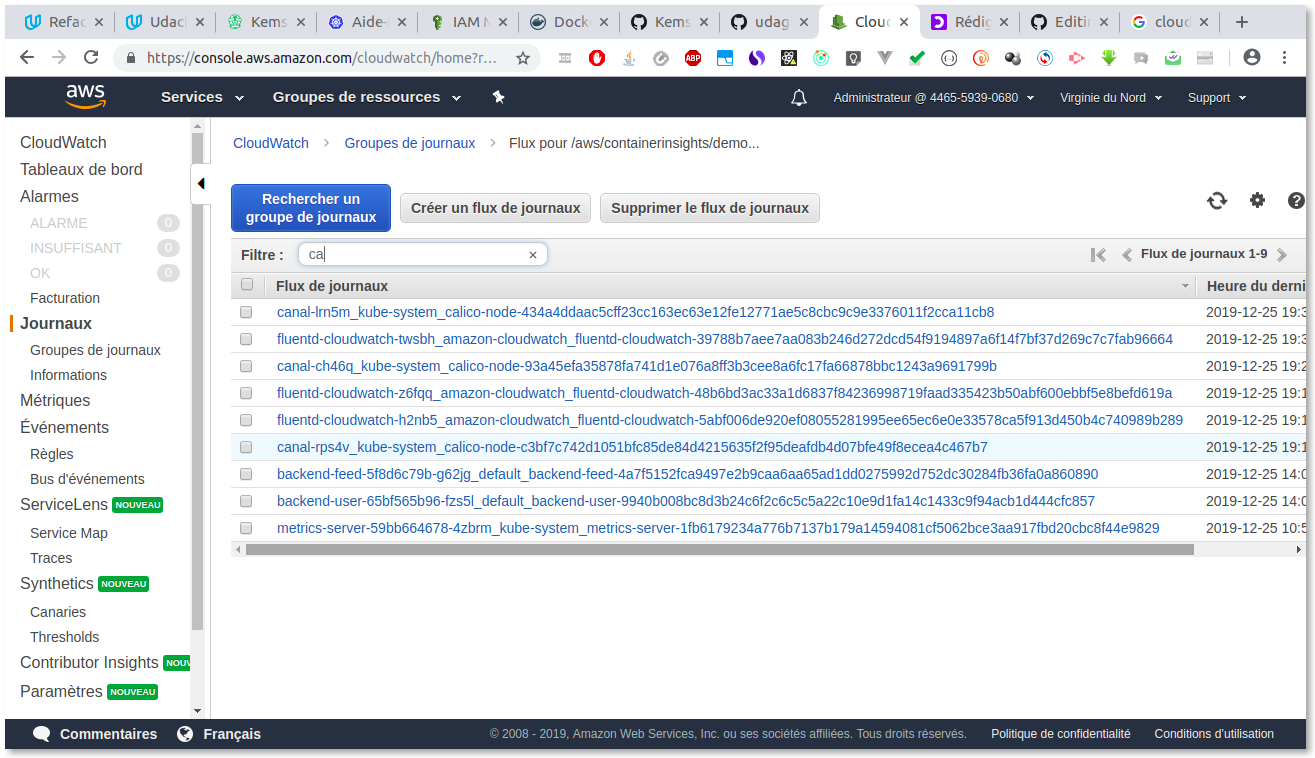
- AWS CloudWatch - Performance and Health checks
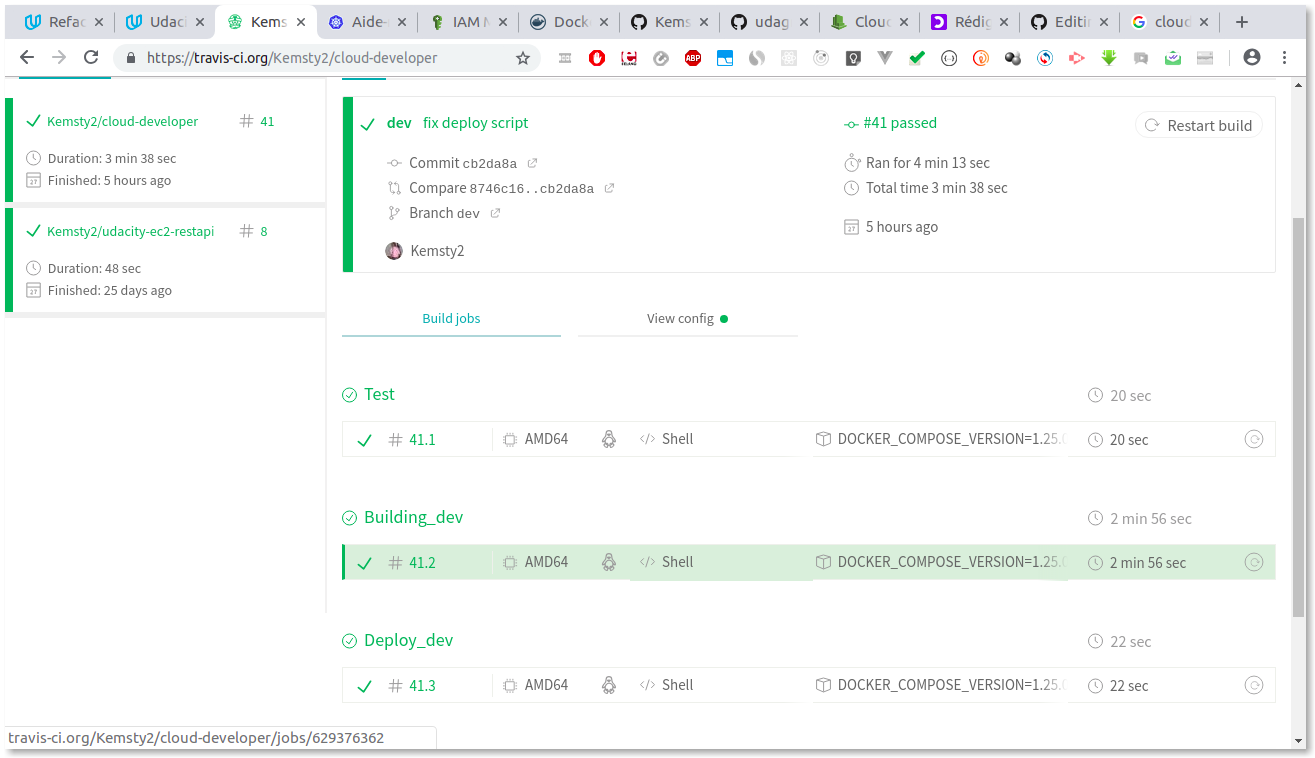
- Travis (CI/CD) - Continious Integration and Continuous Development Tools
Kubernetes Lifecycle Management Tools
- Kubeone - Lifecycle management tools for HA k8s Cluster
IaAs Tools
- Terraform - Open Source IaAs Software Tools
Container Management Tools
- Docker - Open Source container management tools
- Docker-compose - Open source container orchestration tools
To deploy this app on a cluster kubernetes, you need to have an :
- Amazon Web Services account
- DockerHub account
git clone https://github.com/Kemsty2/cloud-developer.gitAfter cloning the application, go to here, to create S3 Bucket.
.The application uses an S3 bucket to store the images so an AWS S3 Bucket needs to be created.
Follow the steps of this article to create the bucket.
Save the following policy in the Bucket policy editor:
{
 "Version": "2012-10-17",
 "Id": "Policy1565786082197",
 "Statement": [
 {
    "Sid": "Stmt1565786073670",
    "Effect": "Allow",
    "Principal": {
    "AWS": "__YOUR_USER_ARN__"
 },
 "Action": [
    "s3:GetObject",
    "s3:PutObject"
 ],
 "Resource": "__YOUR_BUCKET_ARN__/*"
 }
 ]
}
NB: Modify the variables
__YOUR_USER_ARN__and__YOUR_BUCKET_ARN__by your own data.
Save the following configuration in the CORS configuration Editor:
<?xml version="1.0" encoding="UTF-8"?>
 <CORSConfiguration xmlns="http://s3.amazonaws.com/doc/2006-03-01/">
 <CORSRule>
 <AllowedOrigin>*</AllowedOrigin>
 <AllowedMethod>GET</AllowedMethod>
 <AllowedMethod>POST</AllowedMethod>
 <AllowedMethod>DELETE</AllowedMethod>
 <AllowedMethod>PUT</AllowedMethod>
 <MaxAgeSeconds>3000</MaxAgeSeconds>
 <AllowedHeader>Authorization</AllowedHeader>
 <AllowedHeader>Content-Type</AllowedHeader>
 </CORSRule>
</CORSConfiguration>The application uses an RDS Postgres Instance to persist the data of the application. Follow the steps of this article to create a rds postgres database.
NB : Make sure your rds database has public access
For demo use you can use the administrator iam user. To create IAM user, follow the step of this article.
- Go to infrastructure folder
cd course-03/exercices/udacity-deployment/infrastructure-
Run the command above to download additional plugin, for Terraform to handle aws provider
terraform init
-
In the
infrastructure foldermodify the file and add your own paramatercluster_name = "demo" aws_region = "__YOUR_DEFAULT_AWS_REGION" worker_os = "ubuntu" ssh_public_key_file = "~/.ssh/id_rsa.pub" -
Now that you configured Terraform you can use the
plancommand to see what changes will be made:terraform apply
-
Finally, if you agree with changes you can proceed and provision the infrastructure:
terraform apply
Shortly after you'll be asked to enter
yesto confirm your intention to provision the infrastructure.
Infrastructure provisioning takes around 5 minutes.
-
Run the command above to create
config.yamlfile, which contains the reference configuration ofversion 1.14.1of Kubernetes.kubeone config print > config.yamlOpen the
config.yamlfile and remplace the version by1.16.1apiVersion: kubeone.io/v1alpha1 kind: KubeOneCluster versions: kubernetes: '1.16.1' cloudProvider: name: 'aws'
-
Installing Kubernetes by running this command
kubeone install config.yaml --tfjson . -
he installation process takes some time, usually 5-10 minutes. The output should look like the following one:
time="11:59:19 UTC" level=info msg="Installing prerequisites…"
time="11:59:20 UTC" level=info msg="Determine operating system…" node=157.230.114.40
time="11:59:20 UTC" level=info msg="Determine operating system…" node=157.230.114.39
time="11:59:20 UTC" level=info msg="Determine operating system…" node=157.230.114.42
time="11:59:21 UTC" level=info msg="Determine hostname…" node=157.230.114.40
time="11:59:21 UTC" level=info msg="Creating environment file…" node=157.230.114.40
time="11:59:21 UTC" level=info msg="Installing kubeadm…" node=157.230.114.40 os=ubuntu
time="11:59:21 UTC" level=info msg="Determine hostname…" node=157.230.114.39
time="11:59:21 UTC" level=info msg="Creating environment file…" node=157.230.114.39
time="11:59:21 UTC" level=info msg="Installing kubeadm…" node=157.230.114.39 os=ubuntu
time="11:59:22 UTC" level=info msg="Determine hostname…" node=157.230.114.42
time="11:59:22 UTC" level=info msg="Creating environment file…" node=157.230.114.42
time="11:59:22 UTC" level=info msg="Installing kubeadm…" node=157.230.114.42 os=ubuntu
time="11:59:59 UTC" level=info msg="Deploying configuration files…" node=157.230.114.39 os=ubuntu
time="12:00:03 UTC" level=info msg="Deploying configuration files…" node=157.230.114.42 os=ubuntu
time="12:00:04 UTC" level=info msg="Deploying configuration files…" node=157.230.114.40 os=ubuntu
time="12:00:05 UTC" level=info msg="Generating kubeadm config file…"
time="12:00:06 UTC" level=info msg="Configuring certs and etcd on first controller…"
time="12:00:06 UTC" level=info msg="Ensuring Certificates…" node=157.230.114.39
time="12:00:09 UTC" level=info msg="Generating PKI…"
time="12:00:09 UTC" level=info msg="Running kubeadm…" node=157.230.114.39
time="12:00:09 UTC" level=info msg="Downloading PKI files…" node=157.230.114.39
time="12:00:10 UTC" level=info msg="Creating local backup…" node=157.230.114.39
time="12:00:10 UTC" level=info msg="Deploying PKI…"
time="12:00:10 UTC" level=info msg="Uploading files…" node=157.230.114.42
time="12:00:10 UTC" level=info msg="Uploading files…" node=157.230.114.40
time="12:00:13 UTC" level=info msg="Configuring certs and etcd on consecutive controller…"
time="12:00:13 UTC" level=info msg="Ensuring Certificates…" node=157.230.114.40
time="12:00:13 UTC" level=info msg="Ensuring Certificates…" node=157.230.114.42
time="12:00:15 UTC" level=info msg="Initializing Kubernetes on leader…"
time="12:00:15 UTC" level=info msg="Running kubeadm…" node=157.230.114.39
time="12:01:47 UTC" level=info msg="Joining controlplane node…"
time="12:03:01 UTC" level=info msg="Copying Kubeconfig to home directory…" node=157.230.114.39
time="12:03:01 UTC" level=info msg="Copying Kubeconfig to home directory…" node=157.230.114.40
time="12:03:01 UTC" level=info msg="Copying Kubeconfig to home directory…" node=157.230.114.42
time="12:03:03 UTC" level=info msg="Building Kubernetes clientset…"
time="12:03:04 UTC" level=info msg="Applying canal CNI plugin…"
time="12:03:06 UTC" level=info msg="Installing machine-controller…"
time="12:03:28 UTC" level=info msg="Installing machine-controller webhooks…"
time="12:03:28 UTC" level=info msg="Waiting for machine-controller to come up…"
time="12:04:08 UTC" level=info msg="Creating worker machines…"
time="12:04:10 UTC" level=info msg="Skipping Ark deployment because no backup provider was configured."
KubeOne automatically downloads the Kubeconfig file for the cluster. It's named as <cluster_name>-kubeconfig, where <cluster_name> is the name from your configuration. You can use it with kubectl such as
Run the command above to copy the Kubeconfig file to your .kube folder.
mkdir ~/.kube && cp demo-config ~/.kube/config
- Go to
configMap folder - Open
env-configMap.yamland configure the fileapiVersion: v1 kind: ConfigMap metadata: name: env-config data: AWS_BUCKET: {{AWS_BUCKET}} AWS_PROFILE: {{AWS_PROFILE}} AWS_REGION: {{AWS_REGION}} JWT_SECRET: {{JWT_SECRET}} POSTGRESS_DB: {{POSTGRESS_DB}} POSTGRESS_HOST: {{POSTGRESS_HOST}} URL: http://localhost:8100
- After that run that comant to the deploy the configmap
kubeclt apply -f env-configMap.yaml
- Go to
secrets folder - Open
env-secret.yamland configure the fileRemplaceapiVersion: v1 kind: Secret metadata: name: env-secret type: Opaque stringData: POSTGRESS_USERNAME: {{POSTGRESS_USERNAME}} POSTGRESS_PASSWORD: {{POSTGRESS_PASSWORD}}
POSTGRESS_USERNAMEandPOSTGRESS_PASSWORDby string value - After that run that comant to the deploy the configmap
kubeclt apply -f env-secret.yaml
- Go to
secrets folder - Open
env-secret.yamland configure the fileRemplaceapiVersion: v1 kind: Secret metadata: name: aws-secret type: Opaque data: credentials: {{credentials}}
credentialby the value obtain after encode your aws credential file in base64. To do that run this commandbase64 ~/.aws/credentials - After that run that comant to the deploy the configmap
kubeclt apply -f aws-secret.yaml
- Go to
services folder - Open
rds-service.yamland configure the fileRemplaceapiVersion: v1 kind: Service metadata: name: mysql spec: type: ExternalName externalName: {{POSTGRESS_HOST}
POSTGRESS_HOSTby your POSTGRES RDS Database HOST. - After that run that comant to the deploy the configmap
kubeclt apply -f rds-service.yaml
Now on this step you will deploy udagram app on Kubernetes
- Go to
scripts folder - Run the script
./deploy_dev.sh#!/bin/bash set -ev # Create service object kubectl apply -f $PWD/course-03/exercises/udacity-deployment/k8s services/dev # Create deployment object kubectl apply -f $PWD/course-03/exercises/udacity-deployment/k8s/deployments/dev
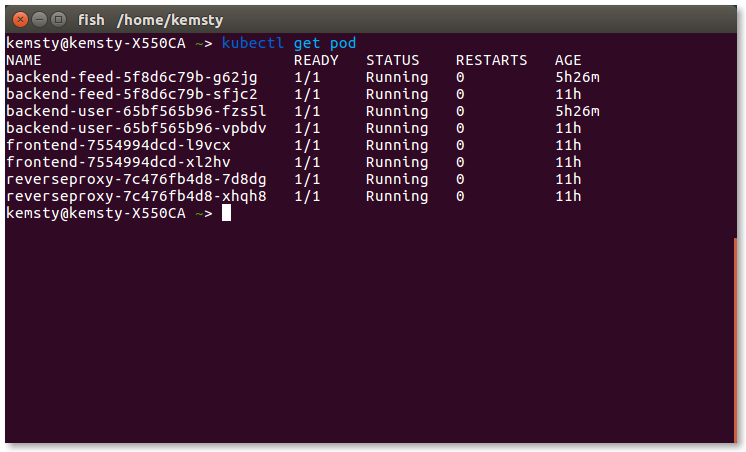
- After that you can run that command to see the pod in state
runnnigkubect get pod
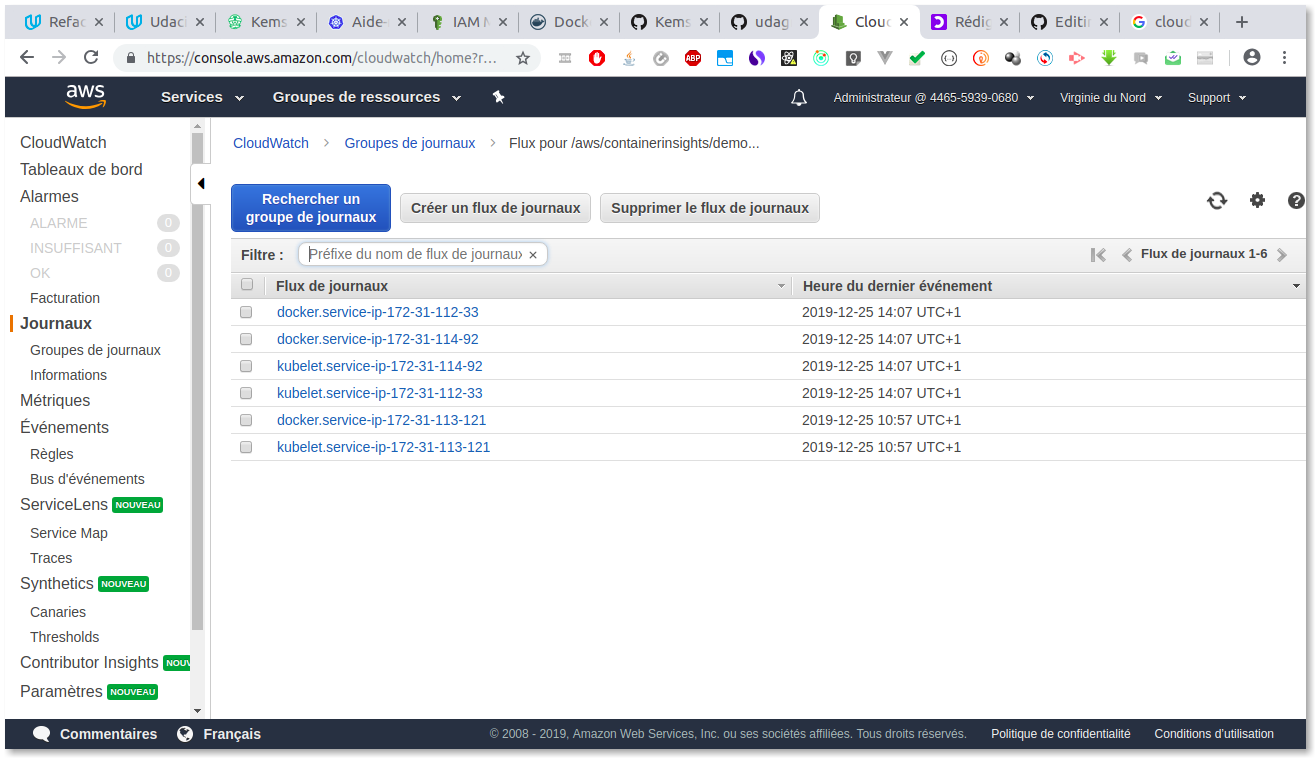
To configure cloudwatch to monitore and logging the cluster follow this article
