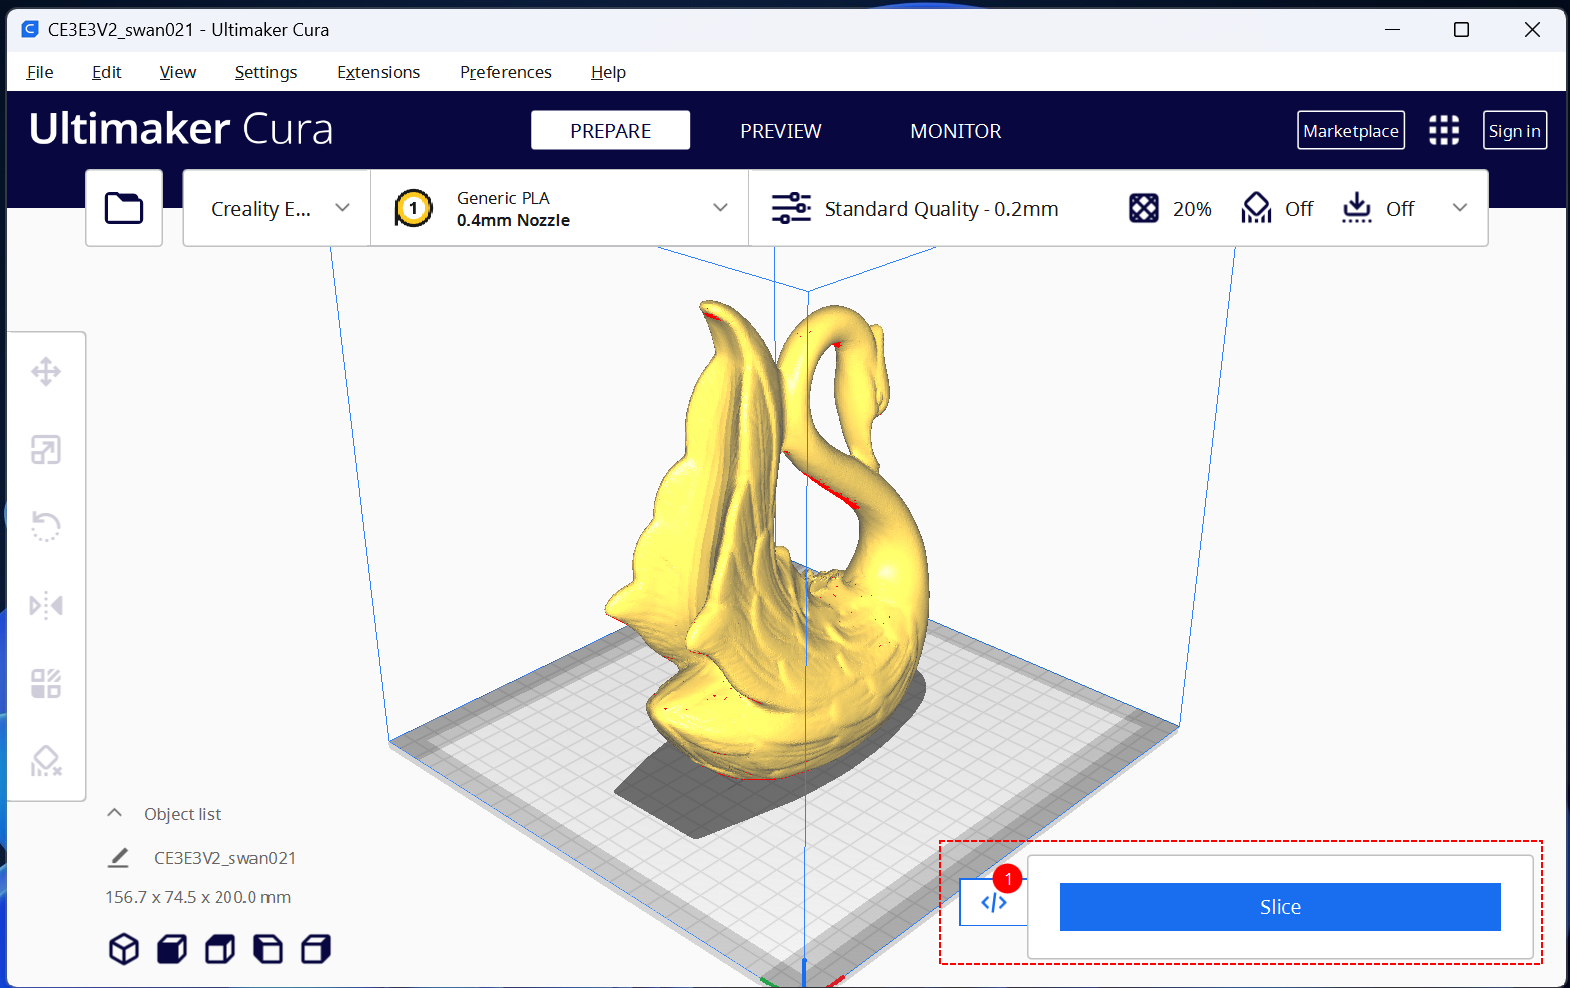
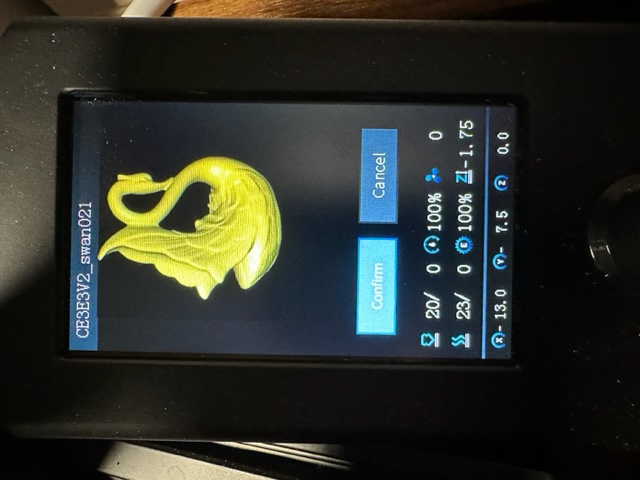
Many 3D printers have firmware that supports displaying an image embedded in gcode files. Unfortunately there isn't a standard format for these embedded images. Different printer models expect different image formats within gcode files. Because of this, there are a handful of scripts that generate these embedded images.
This script works with the Ender-3 V2 Neo, but it may work with other printer models. If it works with your printer, send me a message and I will document it here so others will be aware.
Note: This script only works with the Cura and Creality slicers version 4 or newer.
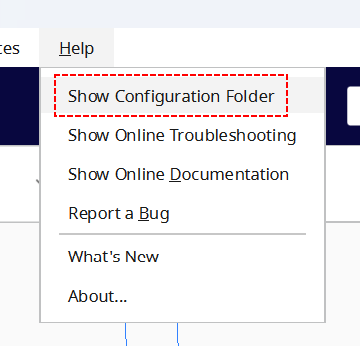
Start Cura and choose the Help -> Show Configuration Folder menu.
This menu item will launch a file browser showing a directory that has a scripts subdirectory.
Note the location of the scripts directory. The directory path will vary based on your windows user id and the version of Cura that you are running. As an example, for me the path is C:\Users\huffm\AppData\Roaming\cura\5.2\scripts.
This script will be placed in that directory.
If Cura is running, exit the program. Configuration changes will not take affect while the program is running.
Download the script from here. Use right-click on the link and select Save link as.... When prompted for the download directory, choose the scripts directory noted above.
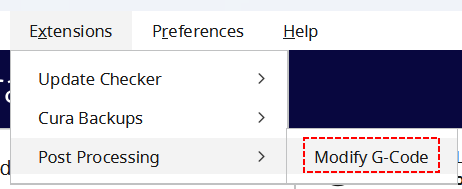
Launch Cura again, and choose Extensions -> Post Processing -> Modify G-Code
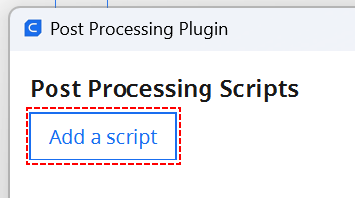
On the Post Processing Plugin dialog, select the Add a script button.
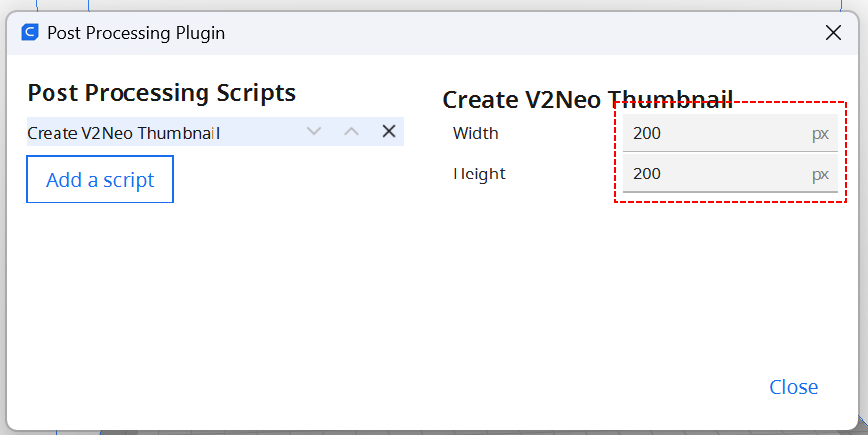
From the pop up a list of available plugins, select Create V2Neo Thumbnail. On the right half of that dialog, specify 200 for both the Width and Height values.
Finally close the dialog.
Slice your object and save to SD card.
Then print from your printer's user interface
-
This works with firmware that ships with the Ender-3 V2 Neo. Custom firmware may require a different script to generate the image.
-
Make sure you are running the Cura or Creality slicer. This does not work with the Prusa/Super slicer.
-
The file in the
scriptsdirectory should have a.pyextension when you save it, not.py.txt. If you are not sure, you can right-click on the downloaded file and view its Properties which will show its extension. -
Make sure the thumbnail size on the
Post Processing Pluginis 200x200. -
If you have other plugins that modify g-code, you might try removing them (at least temporarily). The Creality firmware is very picky about where the image is placed in the gcode file and multiple plugins may move the embedded image.
-
Check the
cura.logfile in Cura's installation directory. Search forBegin loading of script: CreateV2NeoThumbnail -
Look at the gcode file generated, the first should be a line should look like (the numbers may be different):
; jpg begin 200*200 3486 3 197 500
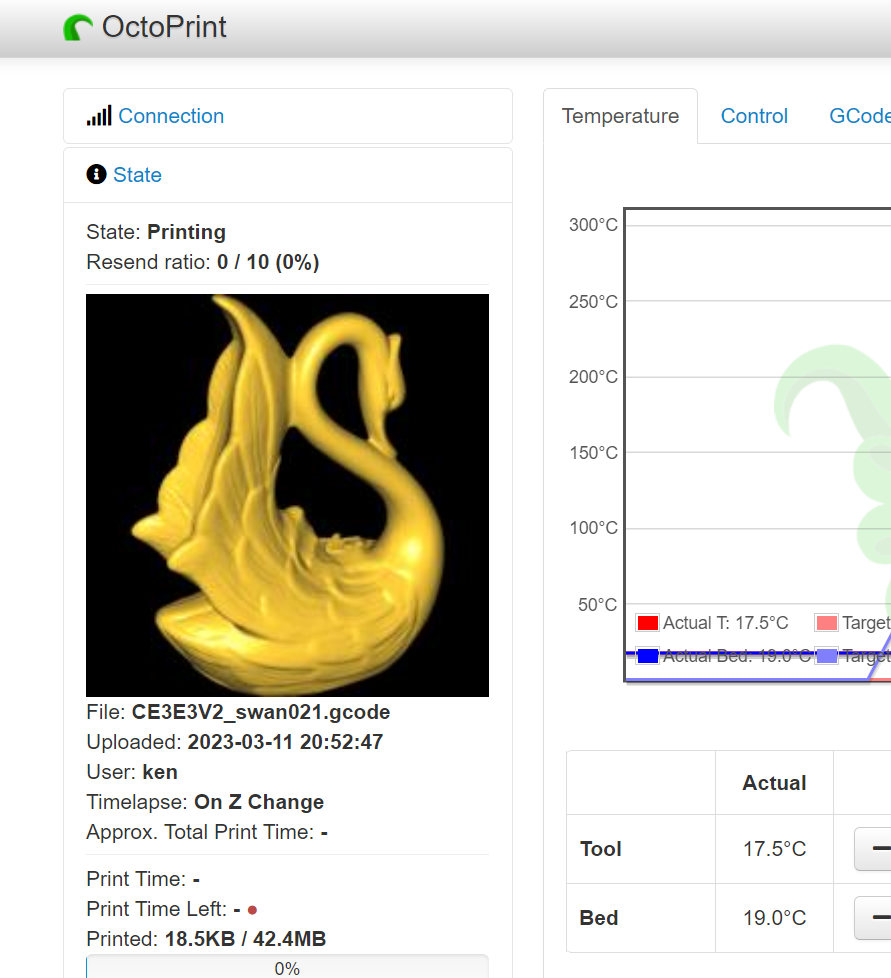
If you use OctoPrint you can use the Slicer Thumbnails plugin to display these embedded images as well.
