- Hardware Availability: Open Source, Keycapsss
- QMK firmware page
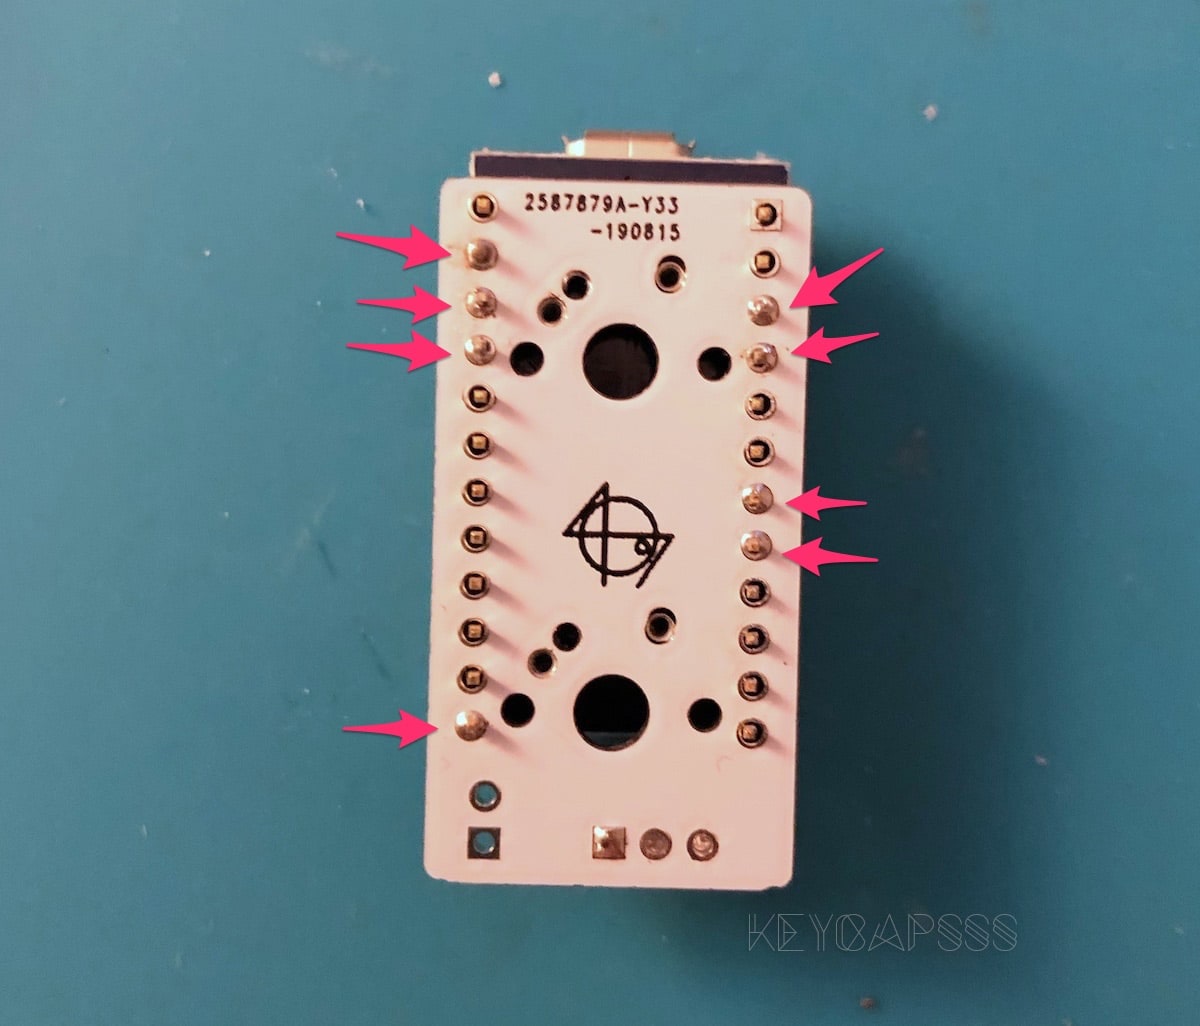
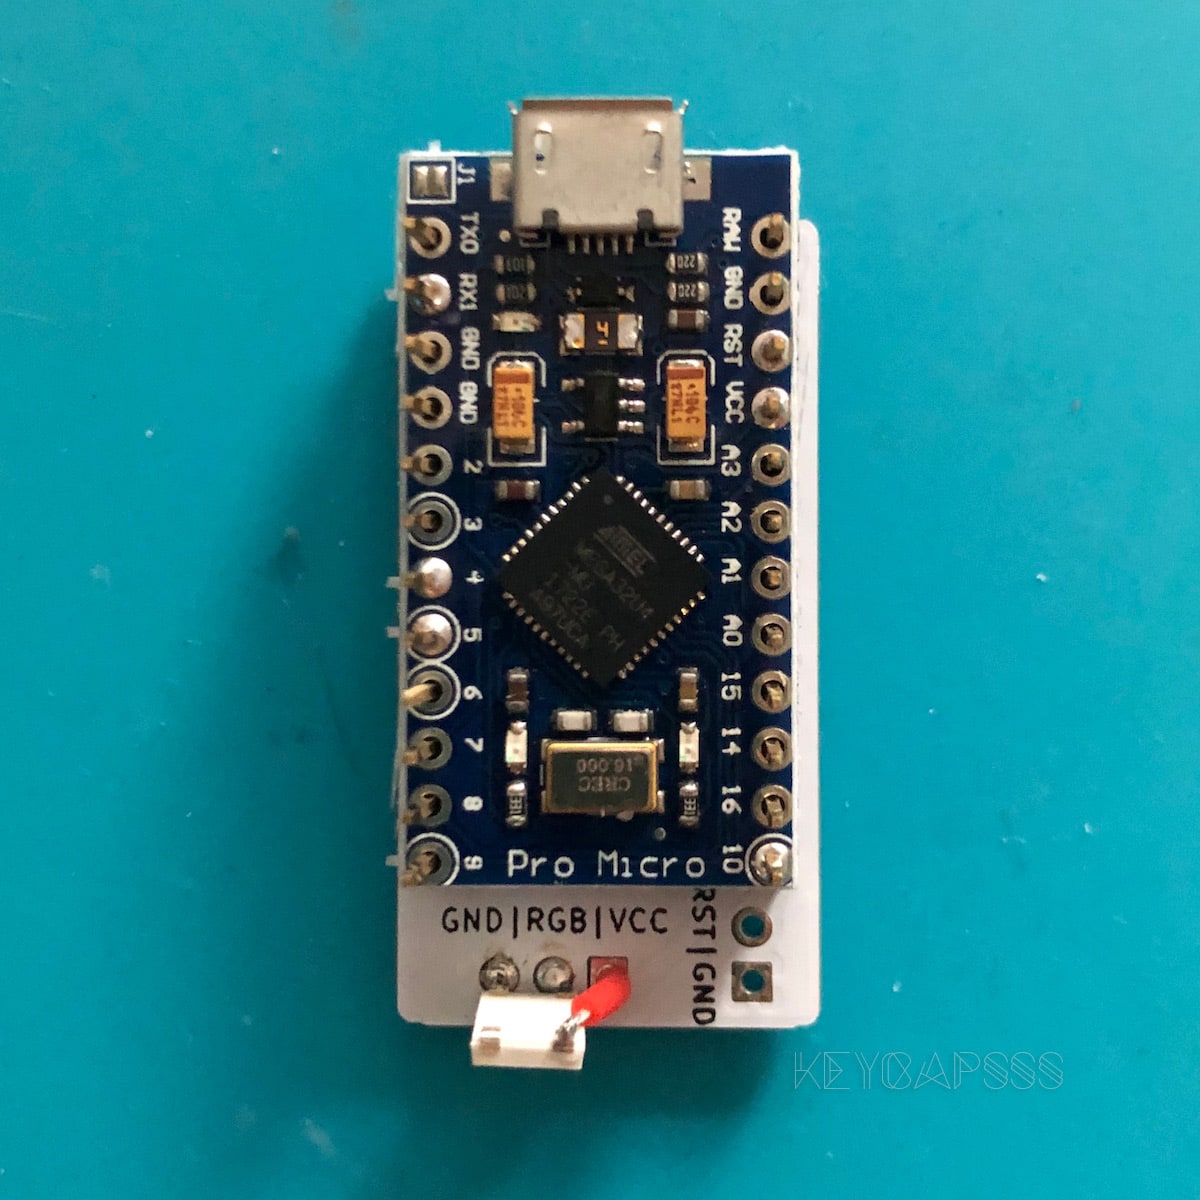
It's not necessary to solder all pins.
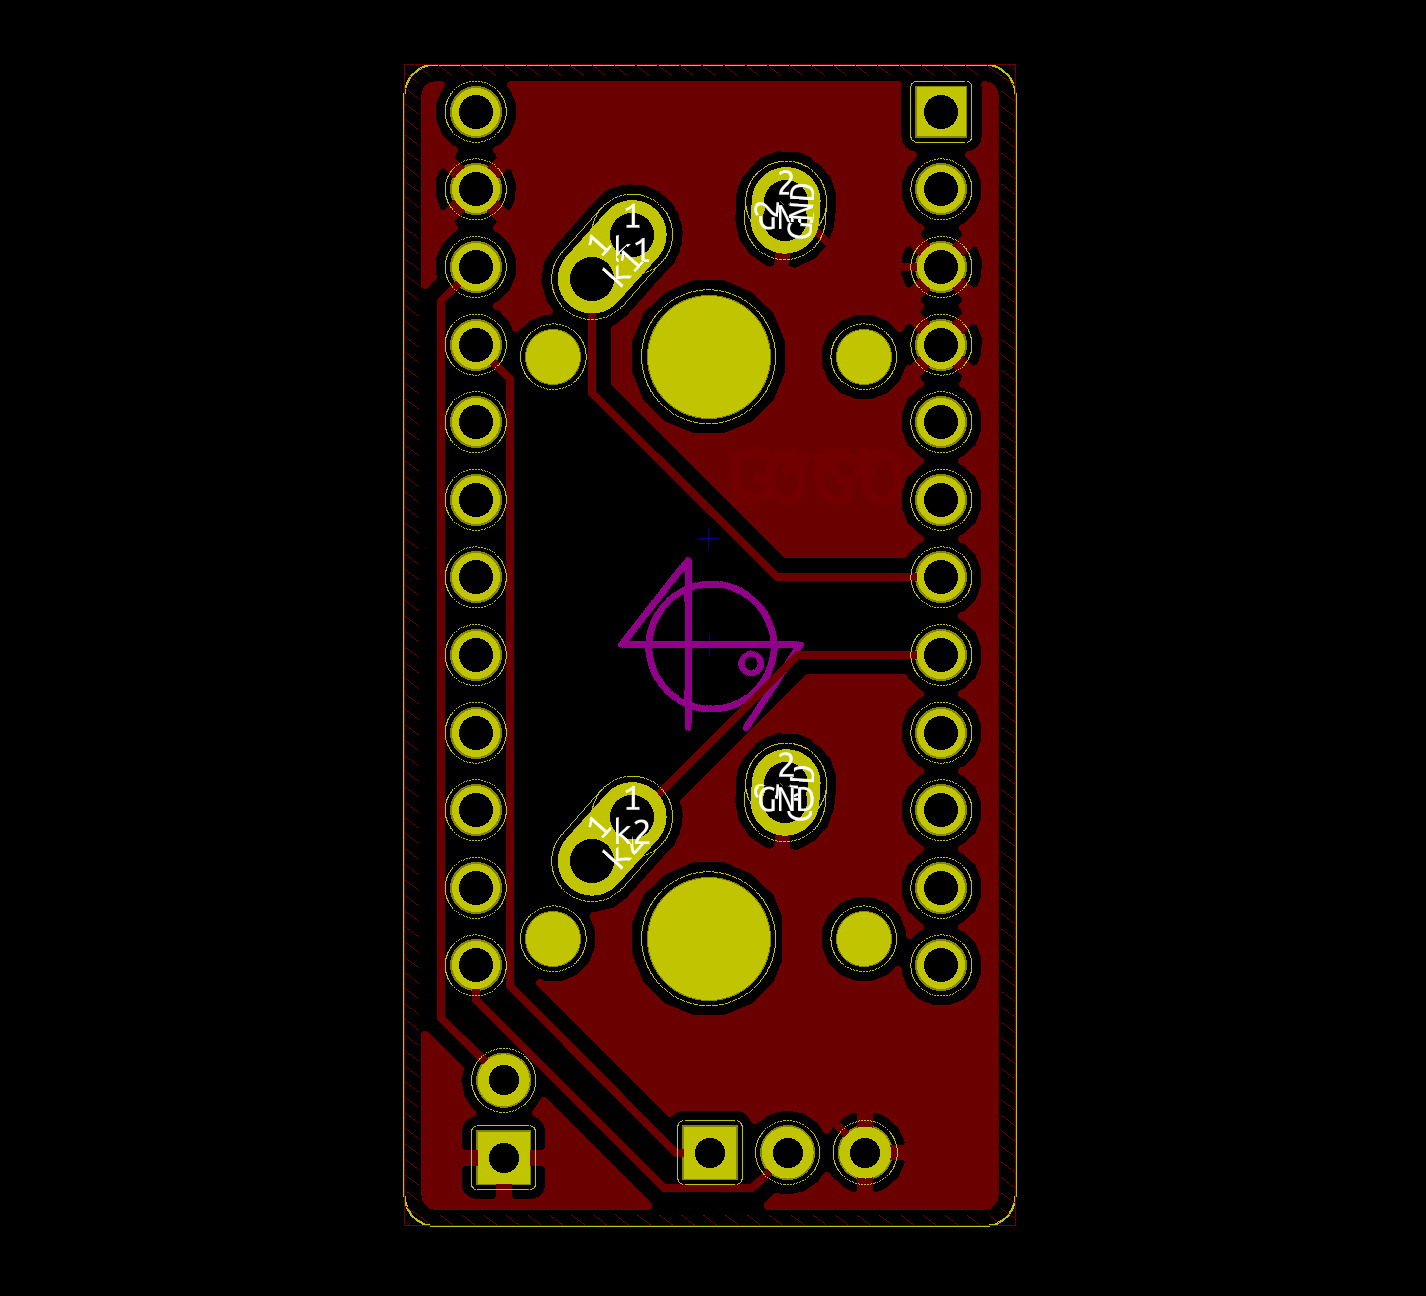
The marked pins are used by the milk pcb.
Make example for this keyboard (after setting up your build environment):
make spaceman/2_milk:defaultor
qmk compile -kb spaceman/2_milk -km defaultThen use QMK Toolbox to flash the firmware on the Pro Micro.
Before connect RST and GND pins with a paper clip or tweezers, to bring the Pro Micro into the Bootloader Mode.
See the build environment setup and the make instructions for more information. Brand new to QMK? Start with our Complete Newbs Guide.
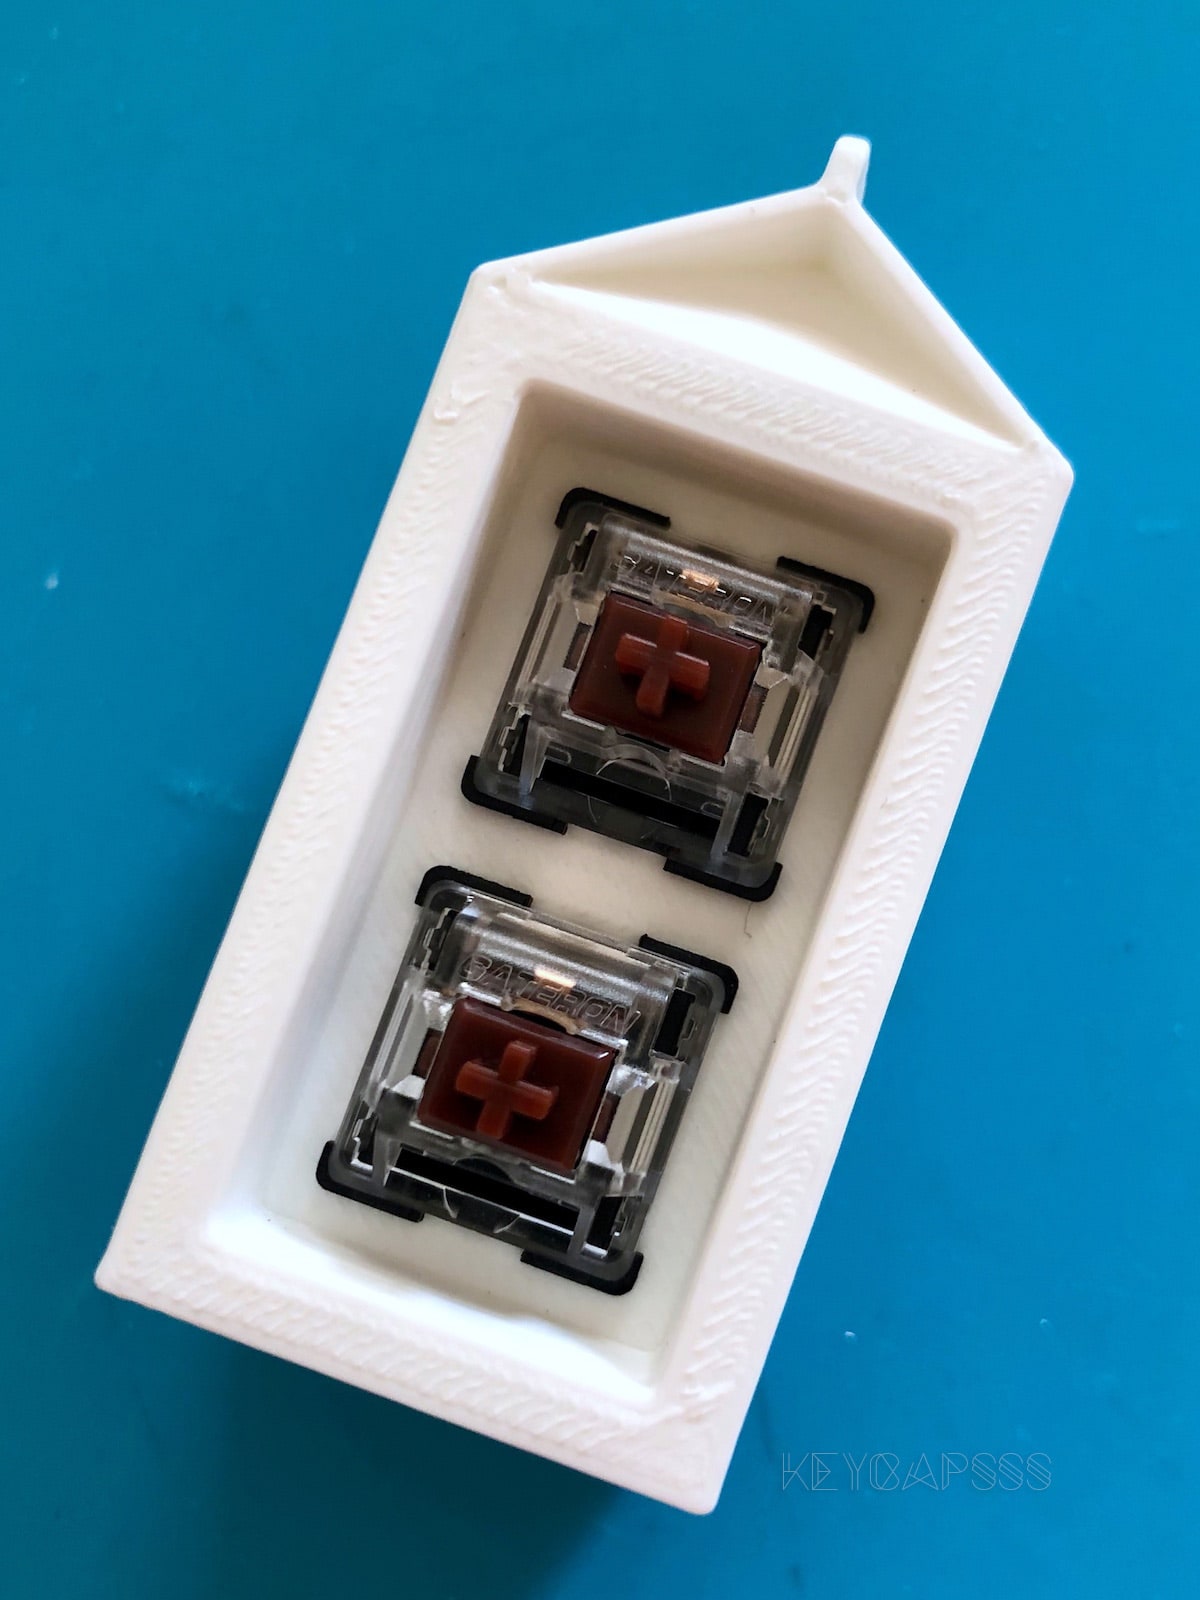
- Case made by Soft
- PCB made by PyroL

