This project shows the necessary process to use a Raspberry PI 3 as a ChromeCast + Spotify client.
- RaspiCast
- [OMXV](git clone https://github.com/HaarigerHarald/omxiv)
- Raspotify
- Just donwnload the already baked SD Card image in: link
- Download ETCHER to burn de image into SD Card: link
- Burn the image into SD Card.
- Connect the Raspberry to TV via HDMI and to network via Ethernet Cable.
- The RapotifyCast should be accesible via ssh by doing: 'ssh pi@raspofifycast.local' (password: "raspberry")
Still under work.
-
Download Raspbian-Stretch with Desktop Image: Raspbian-Stretch
-
Download ETCHER to burn de image into SD Card: link
-
Burn the image into SD Card.
-
Open the SD Card in your machine and open Boot partition.
-
Add an empty file called ssh and save it.
-
Download the file wpa_supplicant.conf.
-
Edit wpa_supplicant.conf setting your WIFI network parameters 'SSID_NAME" and "PASSWORD" and save it in Boot partition.
-
Extract securely SD Card, insert it into your Raspberry and power it on.
-
Connect to Raspberry via SSH. Open a terminal and enter: 'ssh pi@raspberrypi.local"
-
Type: sudo apt-get update sudo apt-get upgrade sudo apt-get dist-upgrade
-
Change Raspberry settings via Raspi-Config. Type: 'sudo raspi-config'.
a. Change Localization settings to your country.
b. Change Boot settings to "Desktop with autologin".
c. Enter in advance settings and expand filesystem to the whole SD Card.
d. Enter in network options and change "Hostname" to **RaspotifyCast".
-
Reboot. Type 'sudo reboot'.
-
Wait for 1 minute and try to connect again, this time typing: ssh pi@raspotifycast.local
-
Install Raspotify: 'curl -sL https://dtcooper.github.io/raspotify/install.sh | sh'
-
Install Git: 'sudo apt-get install git'
-
Clone OpenMAX Image Viewer: 'cd ~ && git clone https://github.com/HaarigerHarald/omxiv.git'
-
Install necessary packages: 'sudo apt-get install libjpeg8-dev libpng12-dev'
-
Build & Install it: 'cd omxiv && make ilclient && make && sudo make install'
-
Install "FEH" if you want to have a pictures slideshow. 'sudo apt-get install feh'
-
Install "Screensaver": 'sudo apt-get install xscreensaver'
-
Run the slideshow stored in "media" folder: 'feh -Y -x -q -D 5 -B black -F -Z -z -r /media/'
-
Reboot & Ready!!
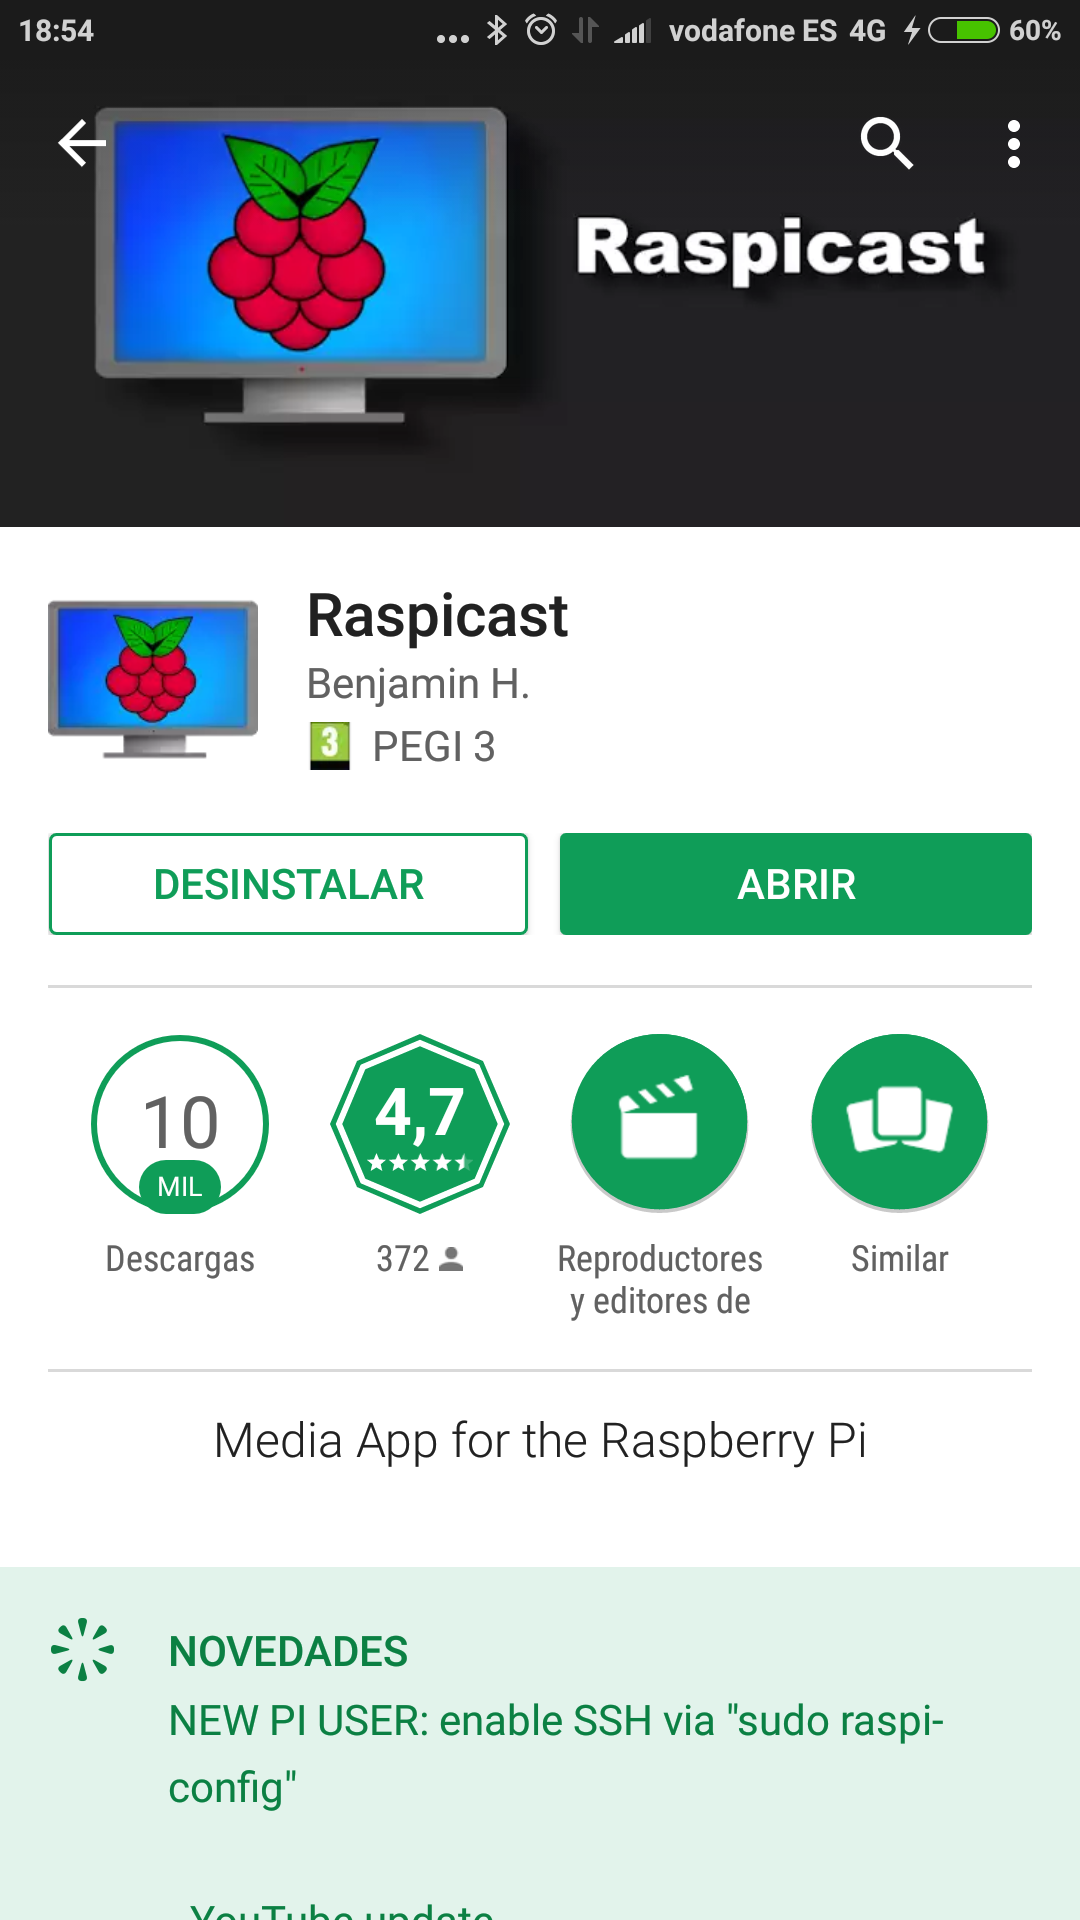
- Go to Google Play Store and download RaspiCast
-
Open it.
-
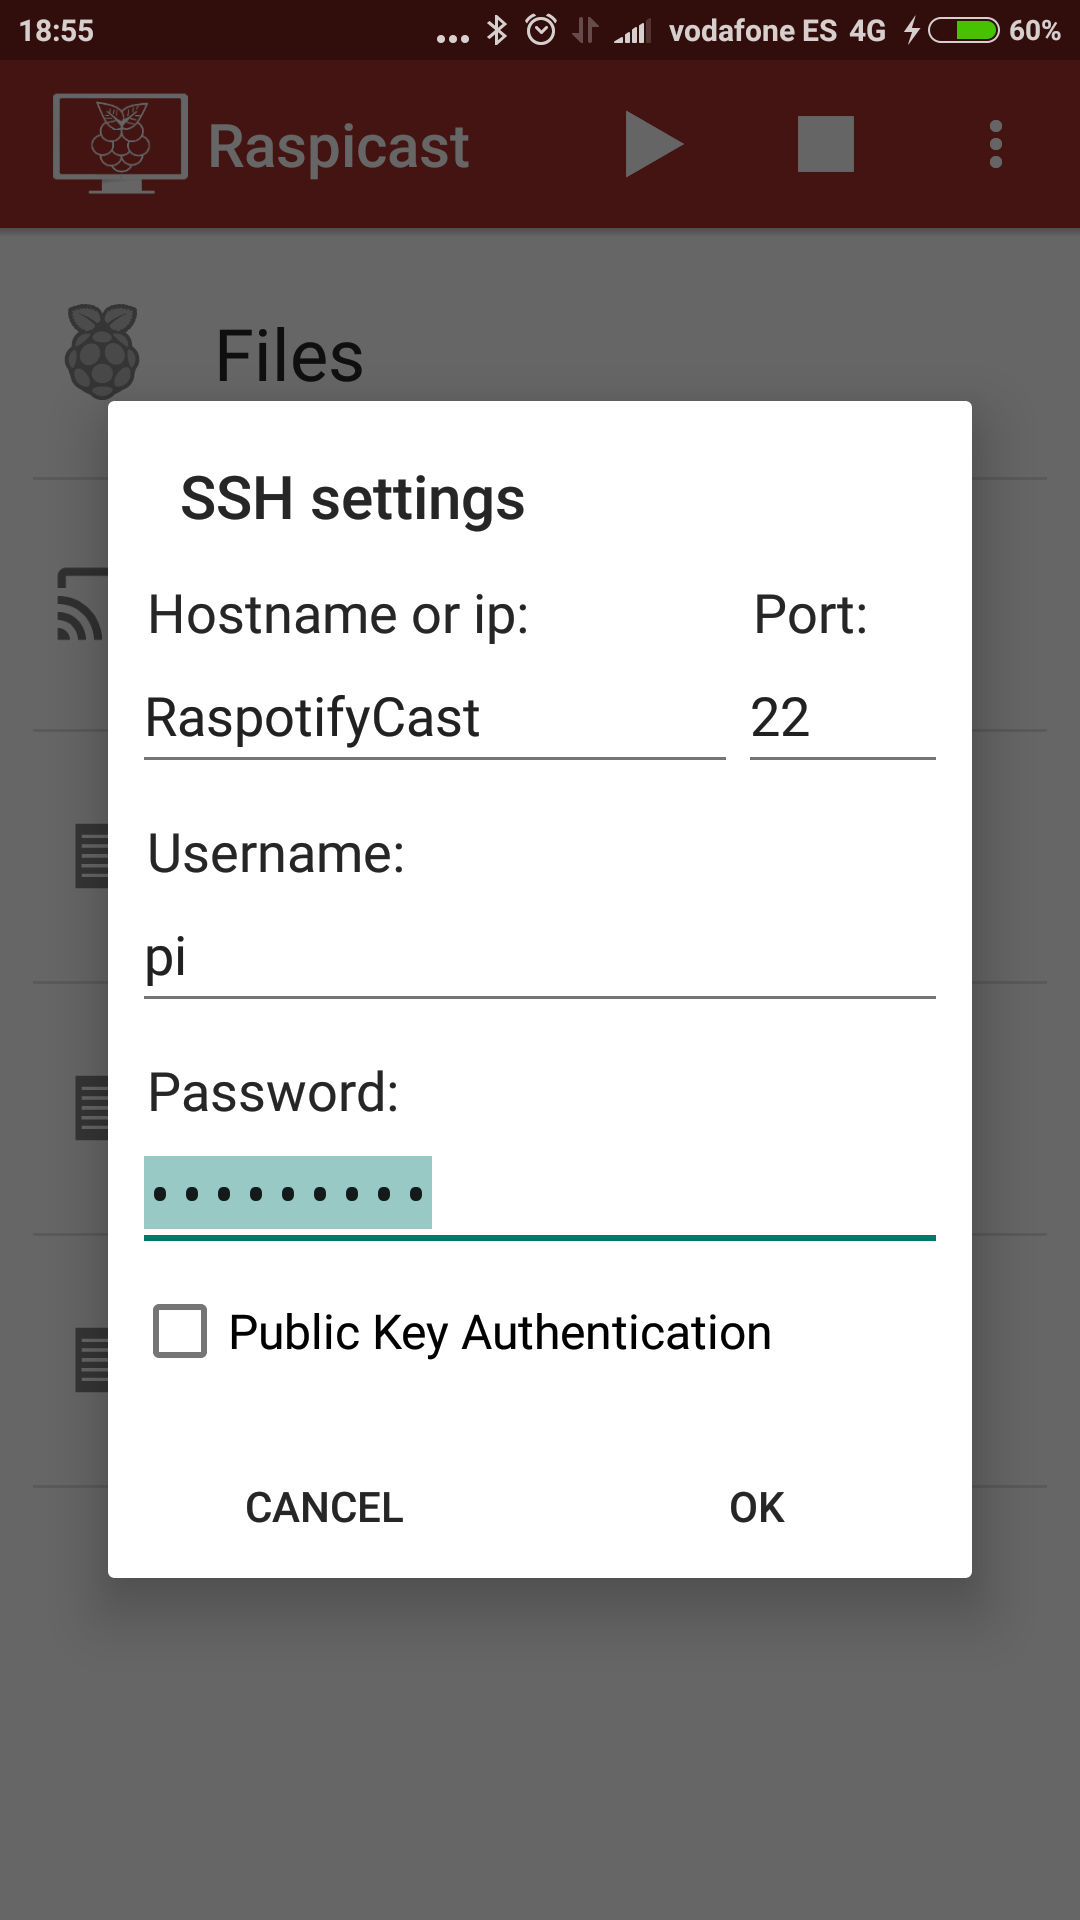
Go to Settings and set following parameters:
- You should be able to send content to your TV via RaspotifyCast!


