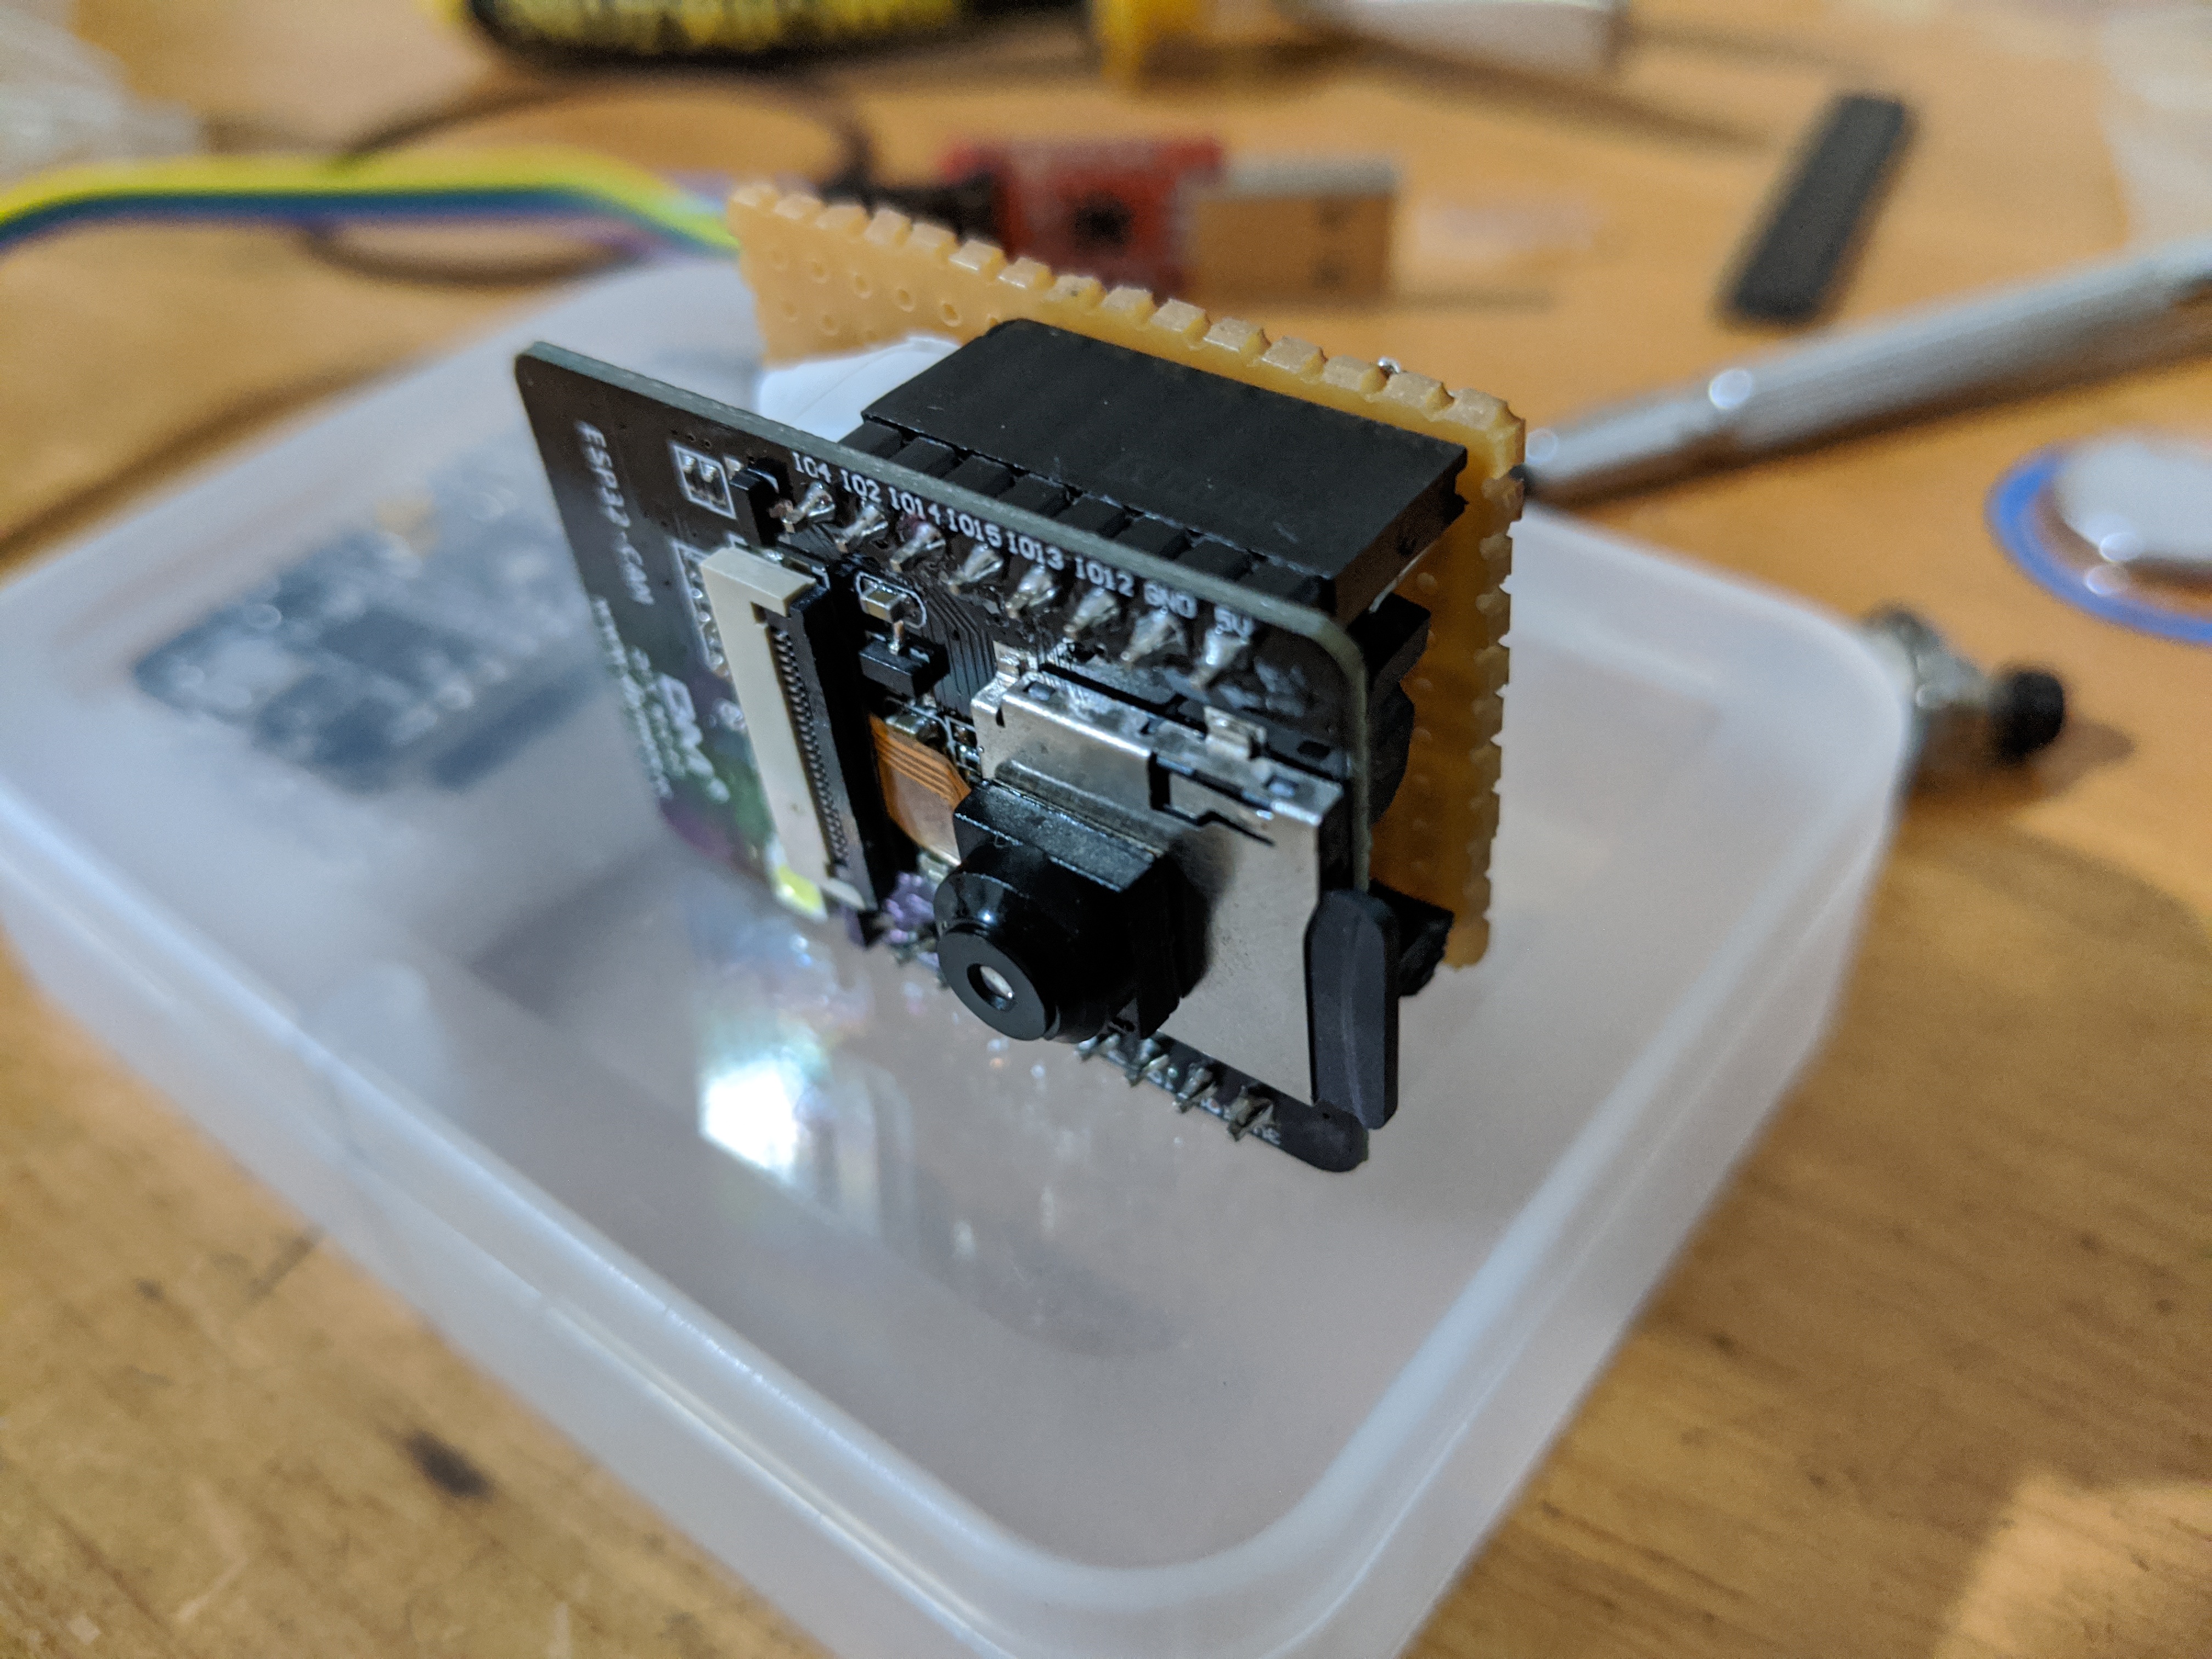
This tutorial gives step by step instructions on how to set up MicroPython on the ESP32-CAM development board and turn it into a small digital camera that can take photos and save them on a SD card. The ESP32-CAM development board is a breakout board for the ESP32 that come with an SD card slot capable of up to 4 GB, OV2640 camera and a very bright led making it perfect for this project.
I found that the best version of the firmware is maintained by shariltumin and can be found here to download. Be sure that you check out his blog where he discusses the progress of his Micropython webcam project.
Once the firmware is downloaded, you need to install the esptool:
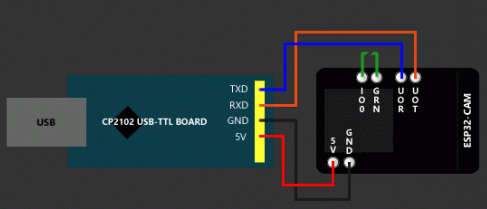
pip install esptoolConnect your USB to TTL UART Serial Converter to the ESP32-CAM board and put it in bootloader mode by connecting the IO0 pin to ground (shown in green).
press RST button
Then, erase the flash one the ESP32:
esptool.py --port /dev/ttyUSB0 erase_flashcd into the directory that you put the firmware in and:
press RST button
esptool.py --chip esp32 --port /dev/ttyUSB0 --baud 460800 write_flash -z 0x1000 ESP32CAM_firmware.binNow you have microython on the ESP32-CAM board!
Disconnect the IO0 pin from ground then press RST button
Install ampy
pip install adafruit-ampyClone Micro-Camera code:
git clone https://github.com/KipCrossing/Micro-CameraGo into the Micro-camera directory:
cd Micro-CameraAnd put the code on the board
ampy --port /dev/ttyUSB0 put boot.py
ampy --port /dev/ttyUSB0 put main.py
Insert an SD card, press RST button and see the camera flash and take a photo.
import camera

# Setup camera perams
camera.framesize(12) # between 0 and 13
camera.quality(63) # between 9 and 64
camera.contrast(0) # between -3 and 3
camera.saturation(0) # between -3 and 3
camera.brightness(0) # between -3 and 3
camera.speffect(3) # between 0 and  7
camera.whitebalance(2) # between 0 and 5
camera.agcgain(0) # between 0 and 30
camera.aelavels(0) # between -3 and 3
camera.aecvalue(100) # between 0 and 1200
camera.pixformat(0) # 0 for JPEG, 1 for YUV422 and 2 for RGB

# take Photo
camera.init()
buf = camera.capture()
camera.deinit()The flash led is controlled by pin 4
import machine
import time

led = machine.Pin(4, machine.Pin.OUT)
led.on()
time.sleep(0.2)
led.off()import uos
import machine
uos.mount(machine.SDCard(), "/sd")
# Open file in SD
f = open("sd/" + tfile, 'wb')This is an example showing the quality of the image (Flash on)


