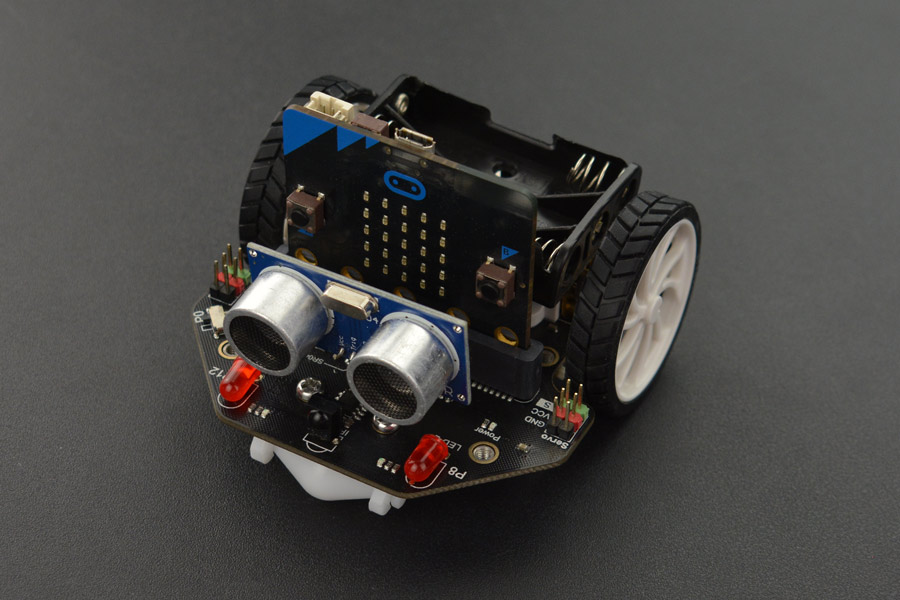
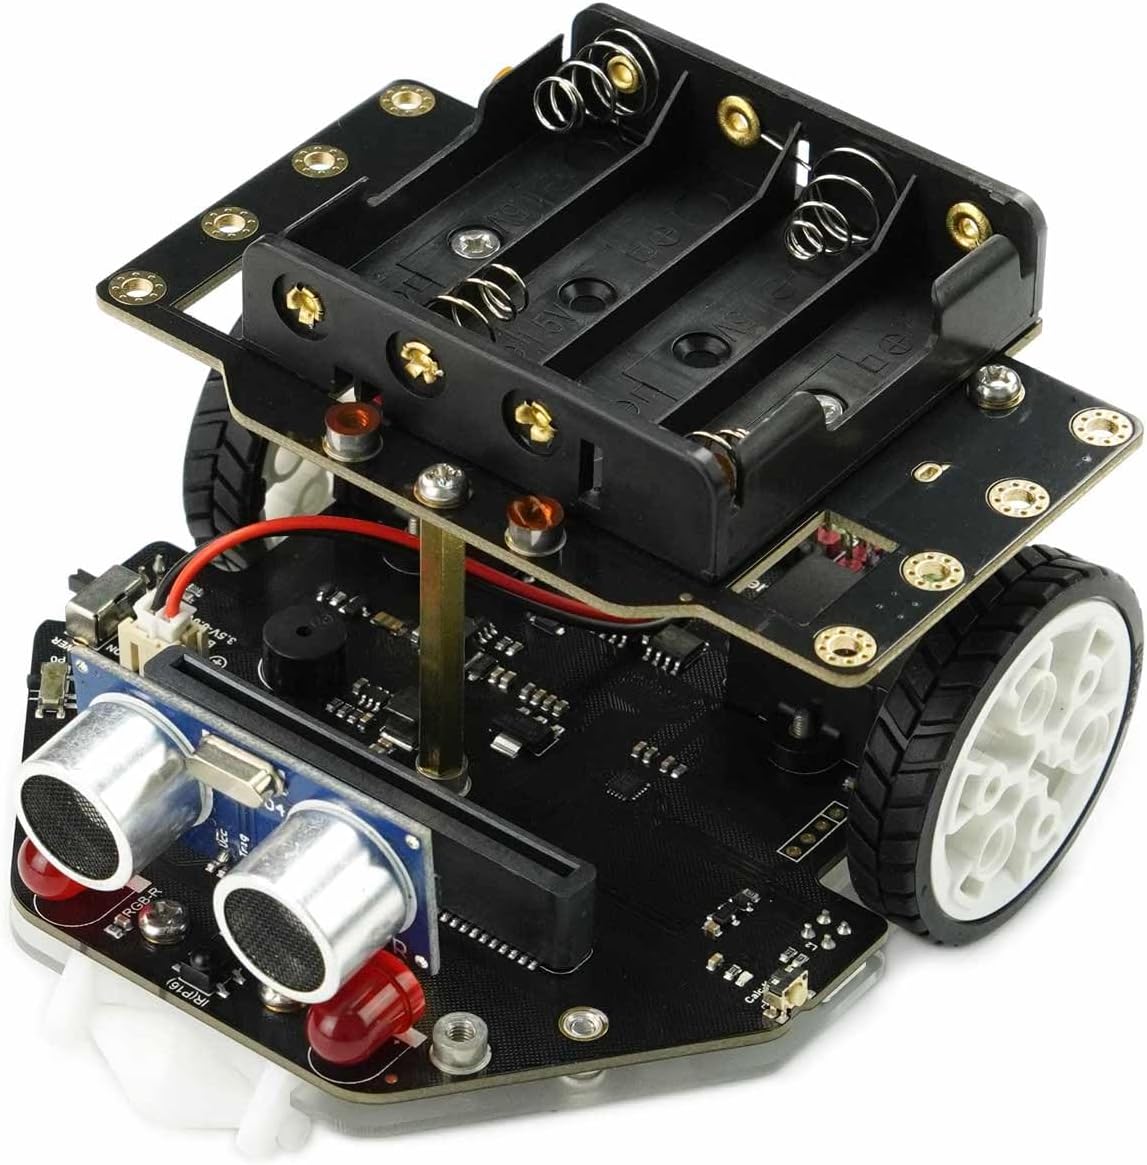
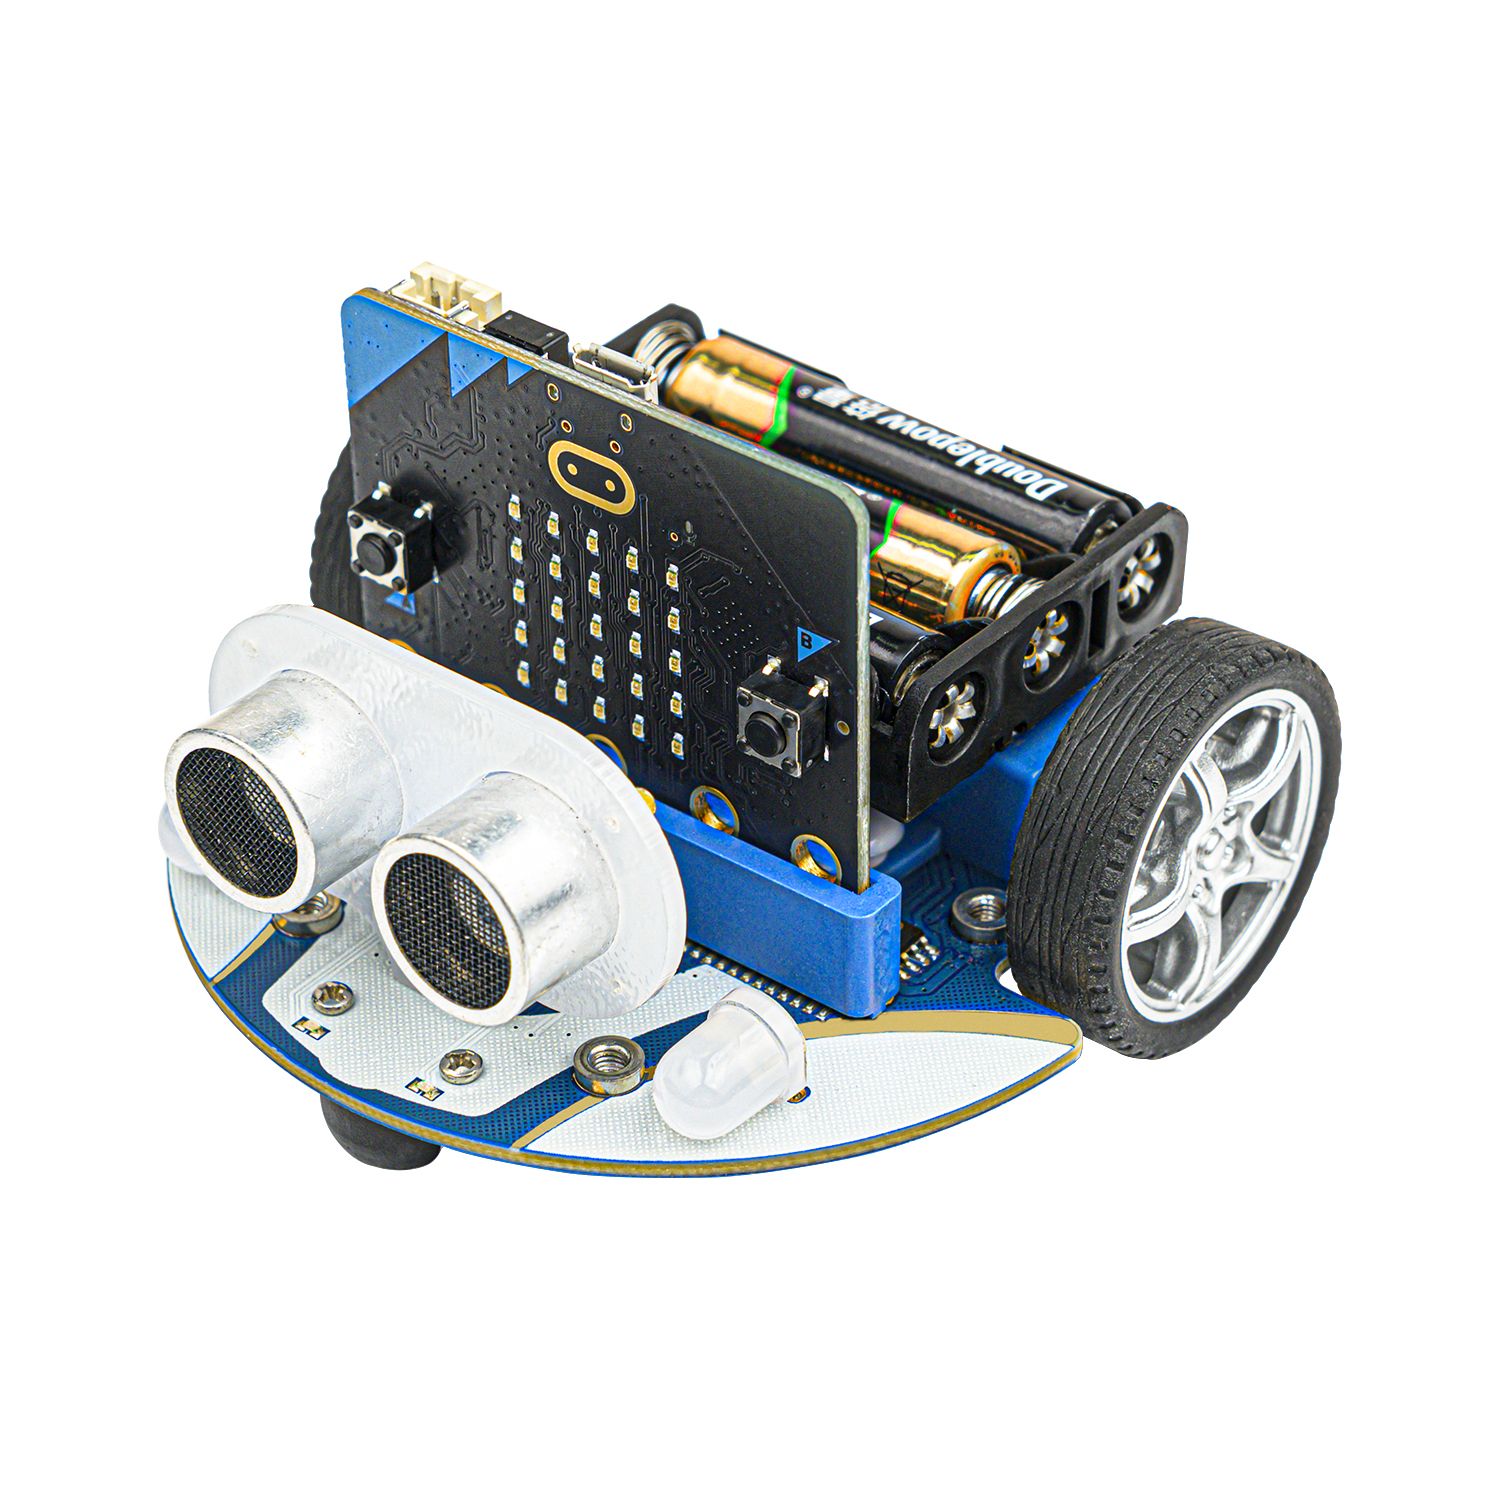
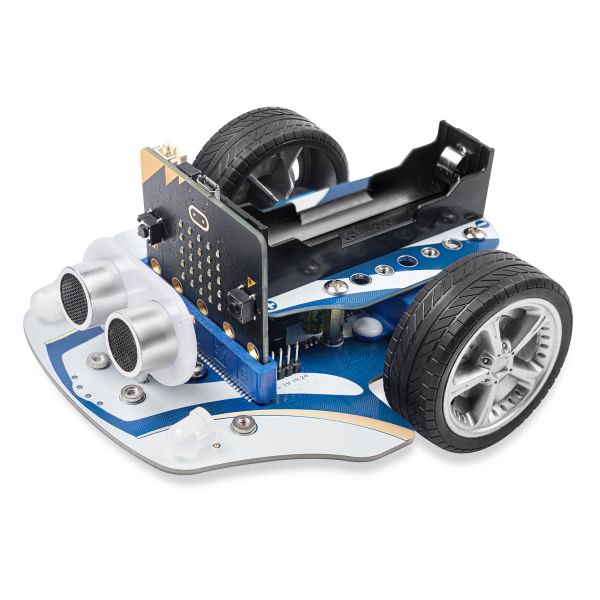
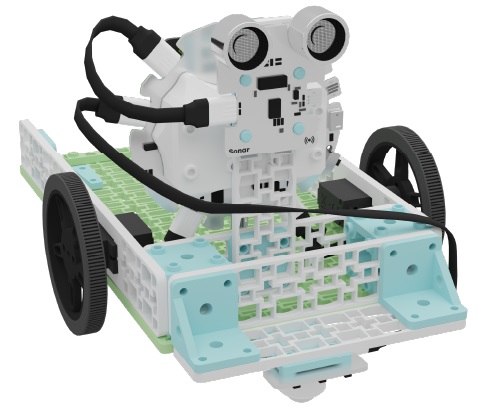
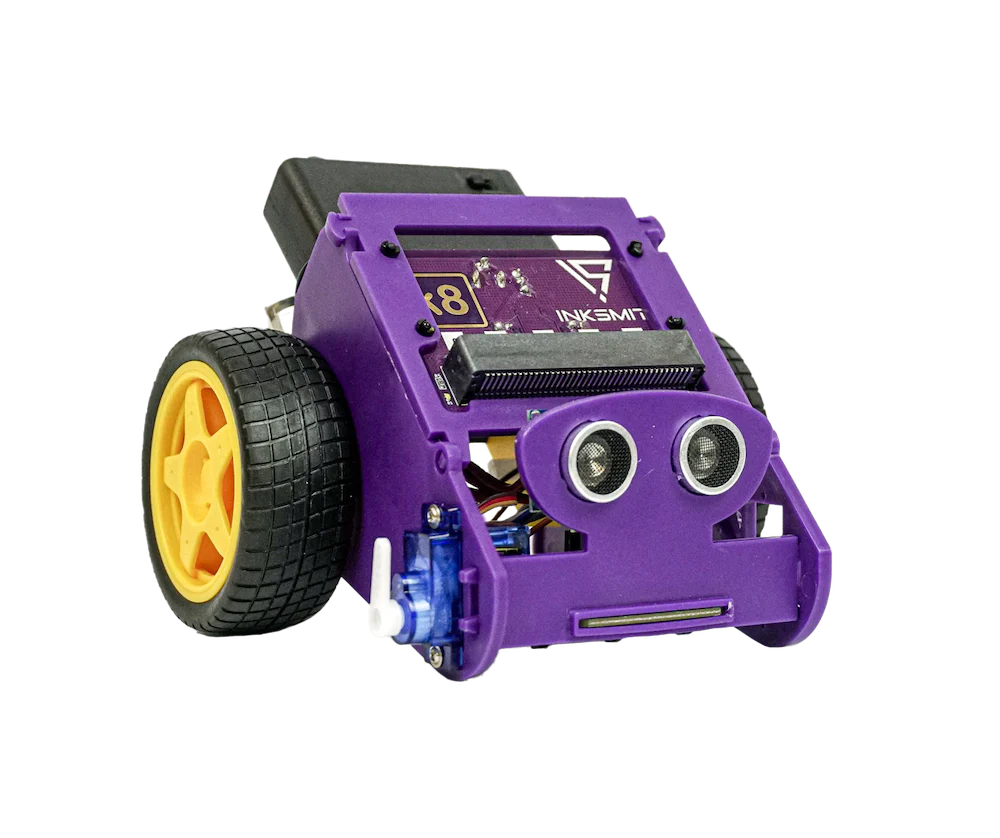
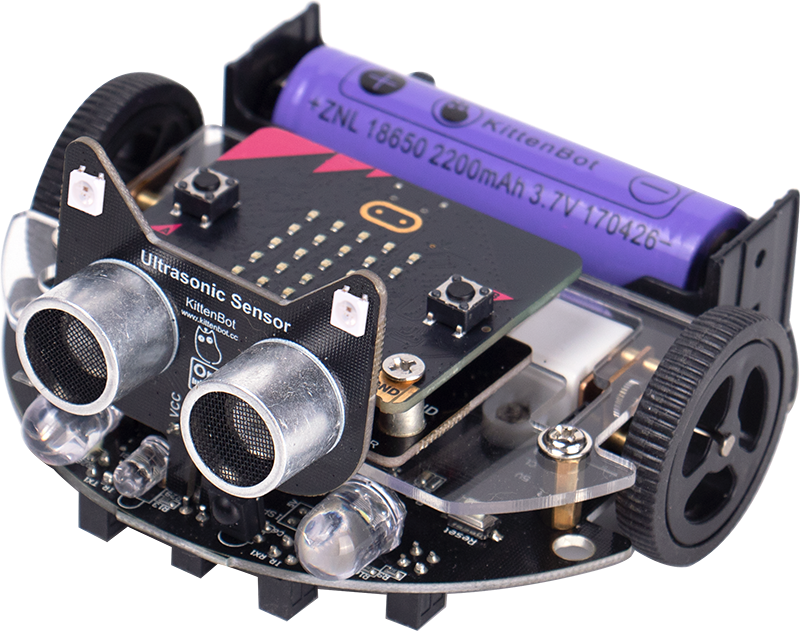
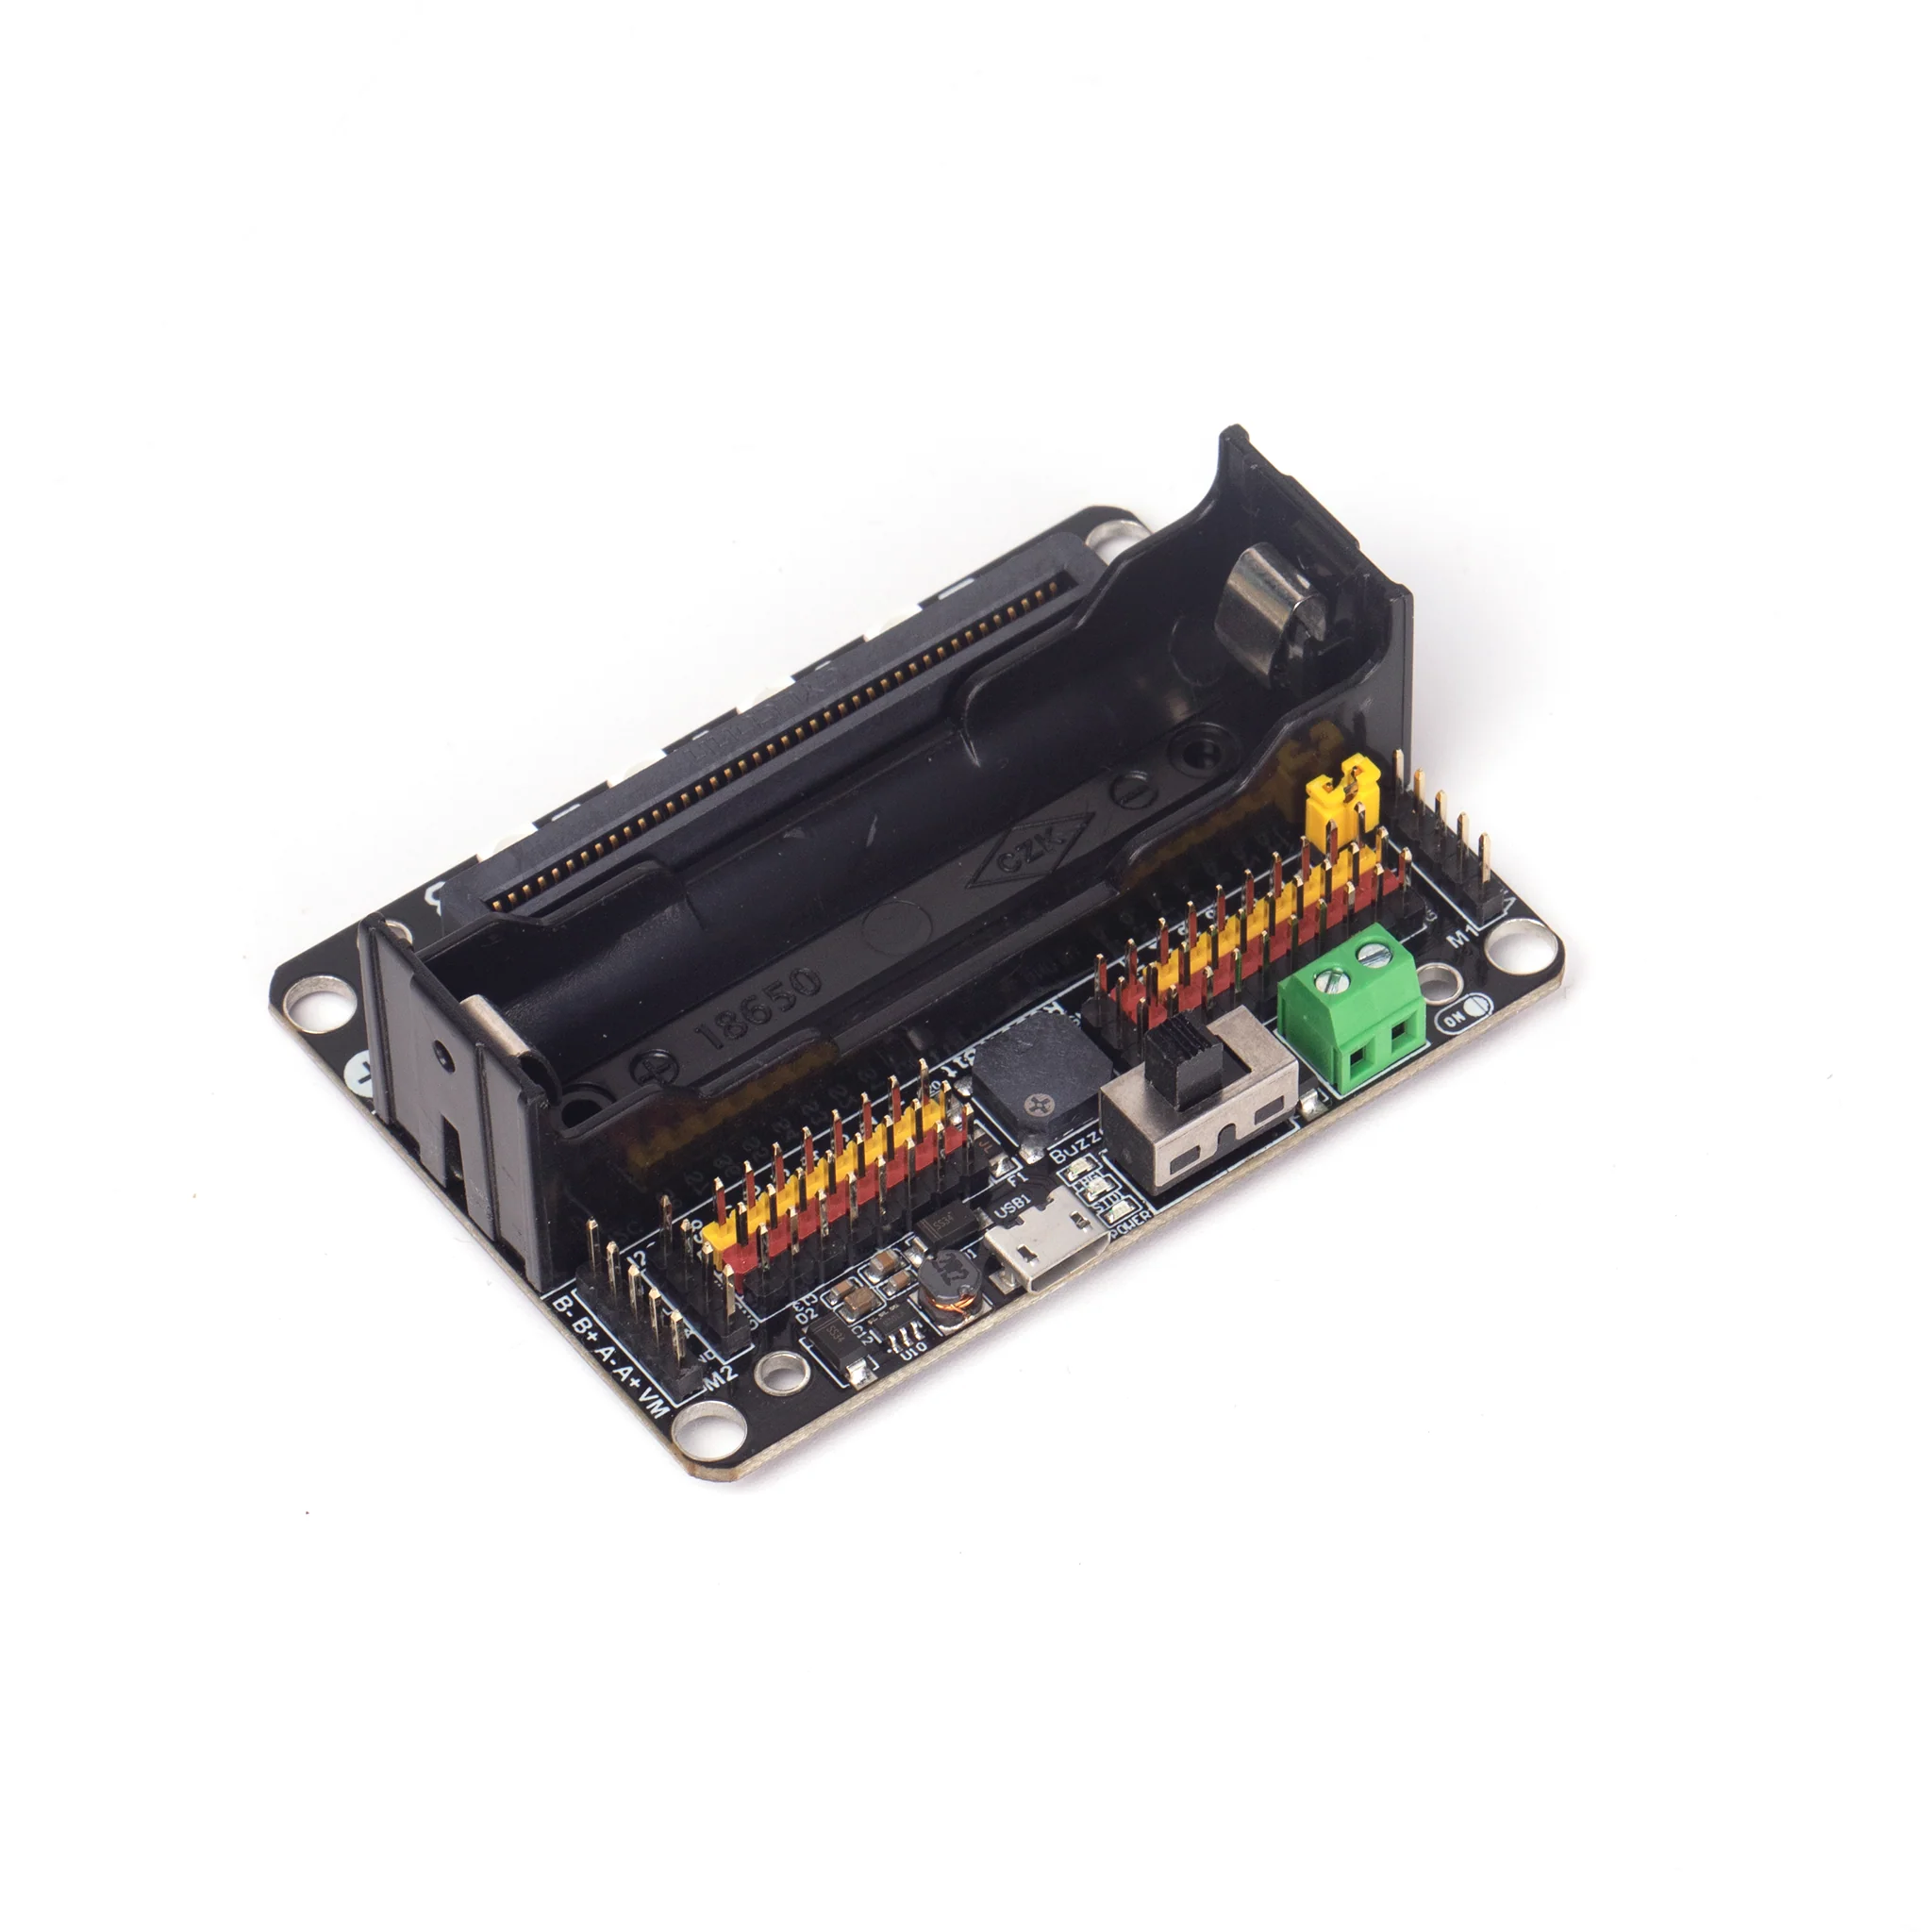
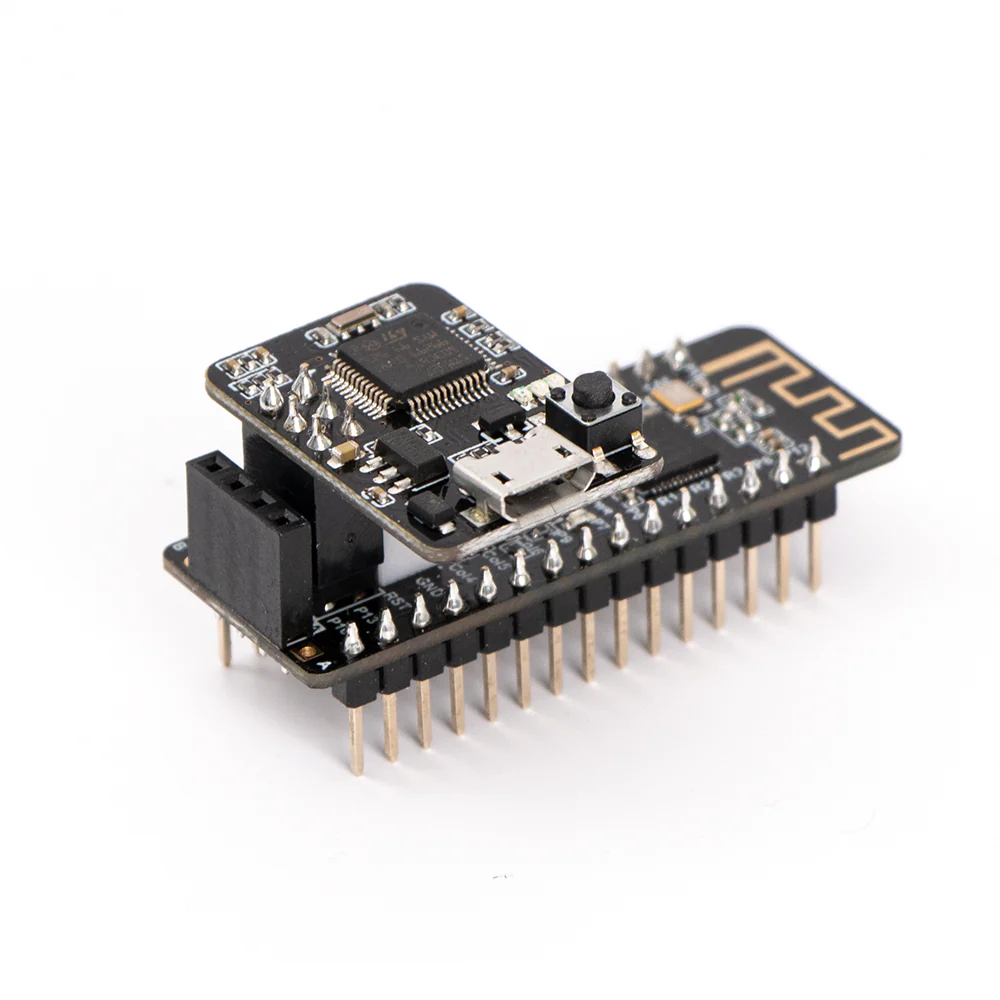
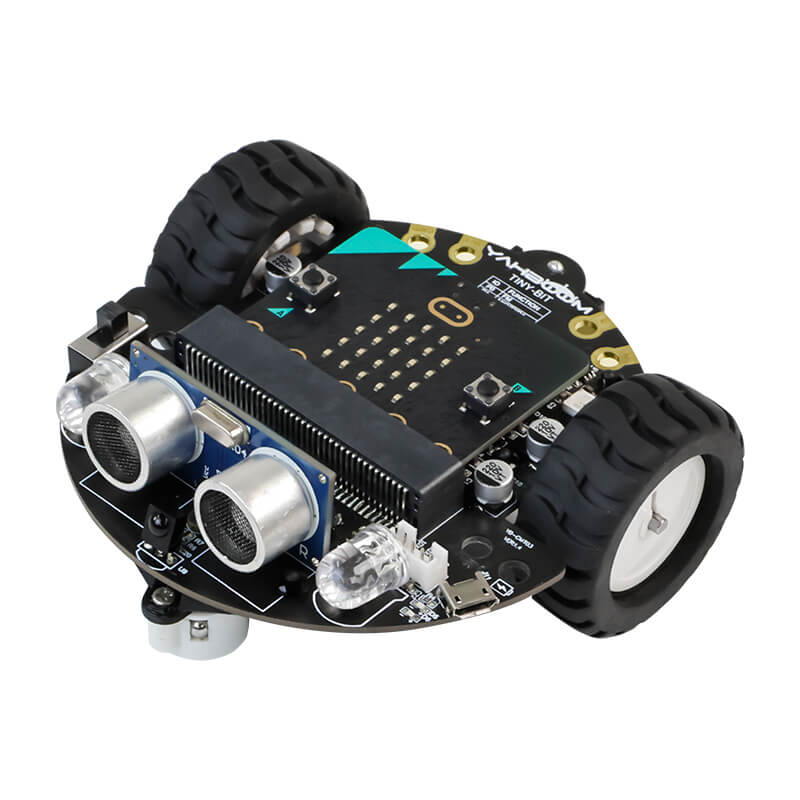
This extension contains blocks for most 2 wheeled robots available for the micro:bit and a web simulator. This library is compatible with micro:bit V2 and V1. However, the code space in V1 is limited and you may need to remove some features to fit your program.
The library is still in beta and is subject to changes.
- DFRobot Maqueen
- DFRobot Maqueen Plus
- Elecfreaks Cutebot
- Elecfreaks Cutebot PRO
- Forward Educations Smart Vehicle Kit
- InkSmith K8
- KeyStudio KS0426 Mini Smart Robot
- KittenBot Tabbybot
- KittenBot MiniLFR
- KittenBot Robotbit
- KittenBot Nanobit
- Yahboom Tiny:bit
The firmware is designed for popular rover robots found in the micro:bit ecosystem (and more can be added):
- 2 motors that can be forward, backward, left, right turns. Precise detection of distance is not needed.
- 2 or more line sensors
- a distance sensor, typically an ultrasonic sensor
The following features are found often those robots:
- one or more servo connectors
- Buzzer
- RGB LEDs (headlights)
- Programmable LED strip (undercarriage)
- Open https://makecode.microbit.org
- Add this extension to your project by adding url https://github.com/microsoft/microbit-robot
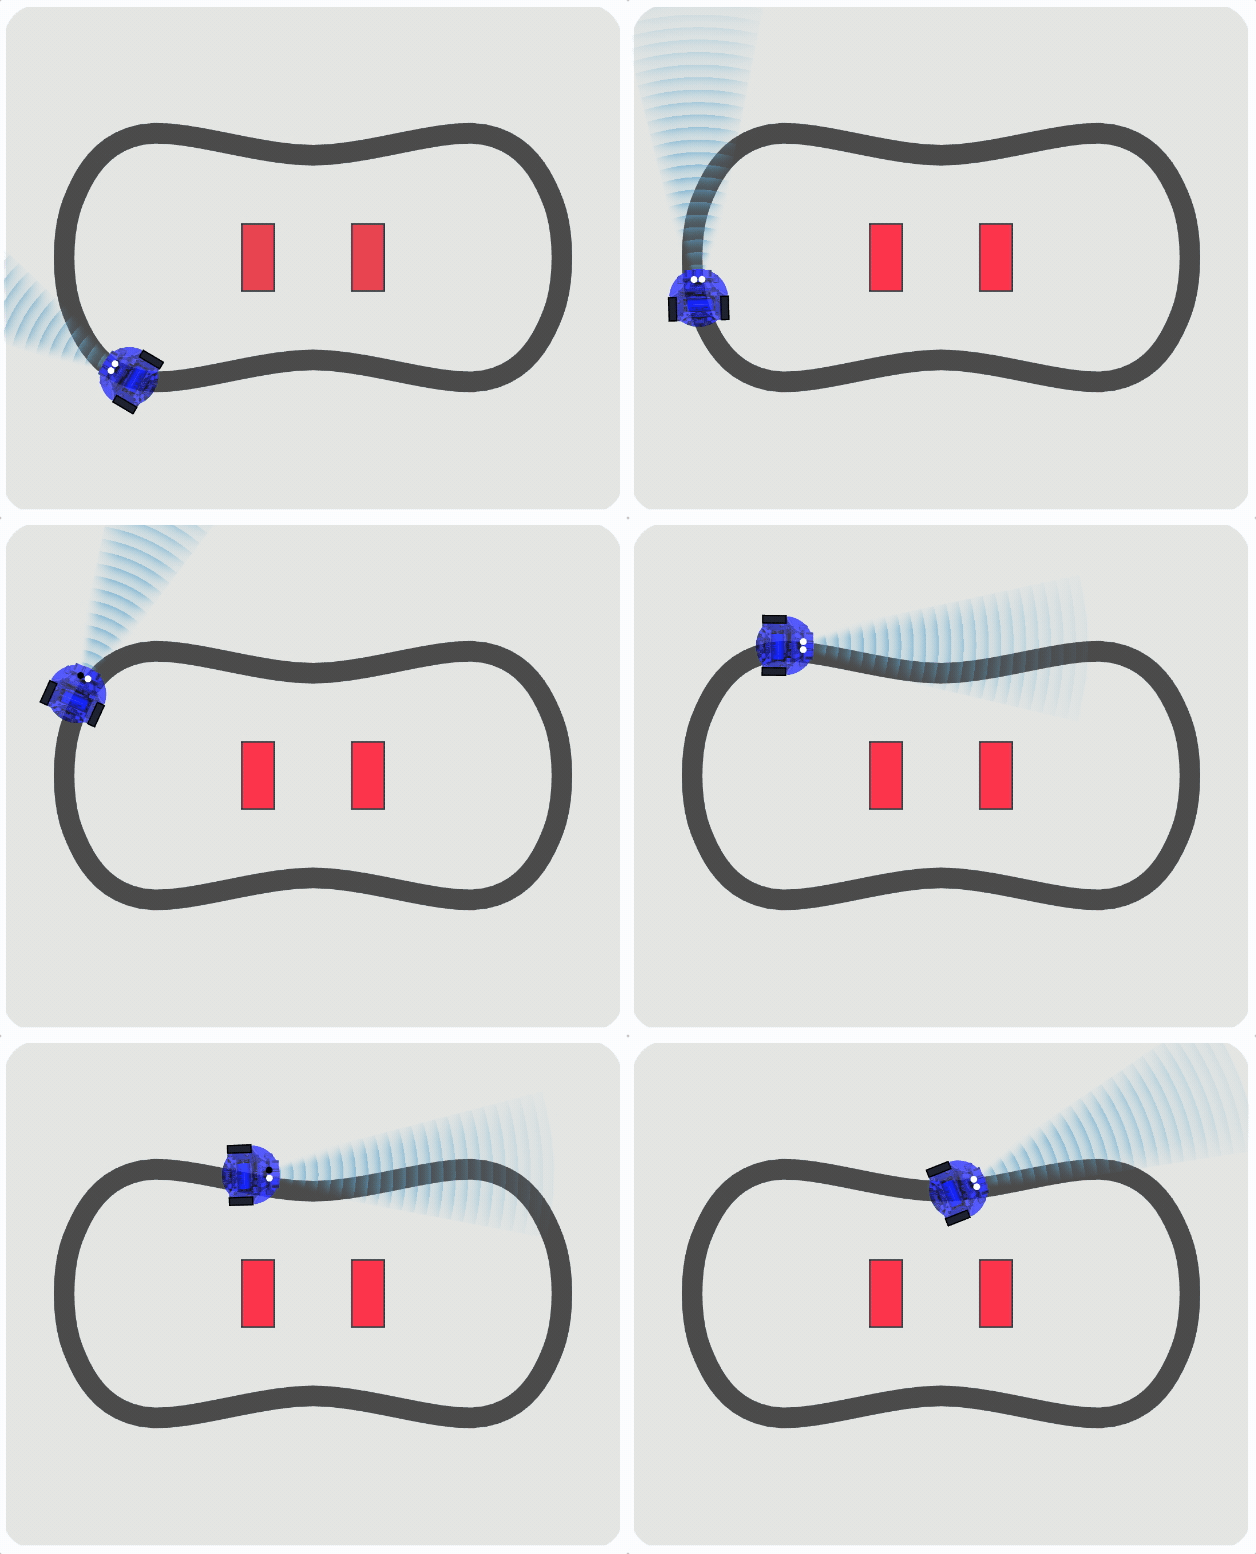
The simulator will load automatically in MakeCode once you use a robot block. It is designed to help programming this kind of robot.
- The simulator supports the line sensors and obstacle detectors.
- You can drag the robot using the mouse to reset the movements.
- If you use radio, you will see a single simulator with multiple robots.
- On a small screen, click on the full screen icon to show the simulator.
- Remember that the simulation is not perfect. It does not capture all the subtle imperfections of the physical robot (motor wear, battery level, weight distribution, ground friction, ...).
The extension uses the 5x5 screen to show the state of the robot (you can turn off this behavior see configuration). This is particularly useful to debug your robot program.
- left and right LED column show the line detector state
- center column shows the obstacle distance in multiple of 5cm
- 2nd and 4th column show the motor throttle
At the start of any robot program, you need add the block to select the robot model you will be using.
This should be done before using any other blocks.
robot.elecfreaksCuteBot.start()
This is the only code that is specific to the robot you are using. The rest of the blocks are the same for all robots.
There are two ways to control the motor: tank or steer.
The tank block takes the left and right motor
speed between -100% and 100% and an optional duration in milliseconds.
The block will pause for the duration before continuing to the next block (it does not stop
at the end of the duration).
input.onButtonPressed(Button.A, () => {
    robot.motorTank(50, 50, 1000)
})
Most micro:bit robots do not have sensors to measure the rotation of the wheels, so it is not possible to compute rotation angles or distances. The only known value is that amount of power sent to the robot.
The steer block takes a steering and speedparameters.
Thesteeringcontrols how much "turn",speed controls the throttle on the motors.
The optional duration is in milliseconds.
input.onButtonPressed(Button.A, () => {
    robot.motorSteer(0, 100, 1000)
})
This block stops the robot.
input.onButtonPressed(Button.B, () => {
    robot.motorStop()
})
Some robot support one or more servo attachments. These are called arms in the library. Open a claw/arm (some robots support one or more servos)
input.onButtonPressed(Button.B, () => {
    robot.armOpen(0, 50)
})
- set LED and headlights color
input.onButtonPressed(Button.A, function () {
    robot.setColor(0xff0000)
})
- play tone
input.onButtonPressed(Button.A, function () {
    robot.playTone(262, music.beat(BeatFraction.Whole))
})
- detect when an obstacle is changing and read the current distance (in cm)
let dist = 0
robot.onObstacleDistanceChanged(function () {
    dist = robot.obstacleDistance()
})
- detect line changes or read line state
let left = false
robot.onLineDetected(function () {
    left = robot.detectLine(RobotLineDetector.Left)
})
- turn off robot screen
robot.setAssist(RobotAssist.Display, false)
- configure the motor drift
robot.setMotorDrift(10)
- disable or enable line assist
robot.setAssist(RobotAssist.LineFollowing, false)
- disable or speed smoothing assist
robot.setAssist(RobotAssist.Speed, false)
Use micro:code to remote control a robot using this library.
- for PXT/microbit
- for PXT/calliope
Note that the Kitronik motor driver v2 is discontinued.
MIT
- Anthony Jacques for a suggestions on the motor block API design.
This project welcomes contributions and suggestions. Most contributions require you to agree to a Contributor License Agreement (CLA) declaring that you have the right to, and actually do, grant us the rights to use your contribution. For details, visit https://cla.opensource.microsoft.com.
When you submit a pull request, a CLA bot will automatically determine whether you need to provide a CLA and decorate the PR appropriately (e.g., status check, comment). Simply follow the instructions provided by the bot. You will only need to do this once across all repos using our CLA.
This project has adopted the Microsoft Open Source Code of Conduct. For more information see the Code of Conduct FAQ or contact opencode@microsoft.com with any additional questions or comments.
To add a new robot to the list, prepare a pull request in microsoft/microbit-robot with:
- a new class extending
Robotand configuring the hardware (see other robots) - a global field instance instantiating the robot (see other robots)
- a URL in the jsdocs of the class pointing to the robot homepage
- add
main{company}{productname}.tsfile that starts the robot - add
pxt-{company}{productname}.jsonfile that overrides the test files to loadmain{company}{productname}.ts - add call to
mkc -c pxt-{company}{productname}.jsonin.github/workflows/makecode.yml - add image under
assets
Make sure to test and tune the configuration options in the robot class for your particular chassis/motor/line detectors. You may want to tweak some of the constants in the robot class to optimize the behavior of the robot.
This project may contain trademarks or logos for projects, products, or services. Authorized use of Microsoft trademarks or logos is subject to and must follow Microsoft's Trademark & Brand Guidelines. Use of Microsoft trademarks or logos in modified versions of this project must not cause confusion or imply Microsoft sponsorship. Any use of third-party trademarks or logos are subject to those third-party's policies.
<script src="https://makecode.com/gh-pages-embed.js"></script><script>makeCodeRender("{{ site.makecode.home_url }}", "{{ site.github.owner_name }}/{{ site.github.repository_name }}");</script
