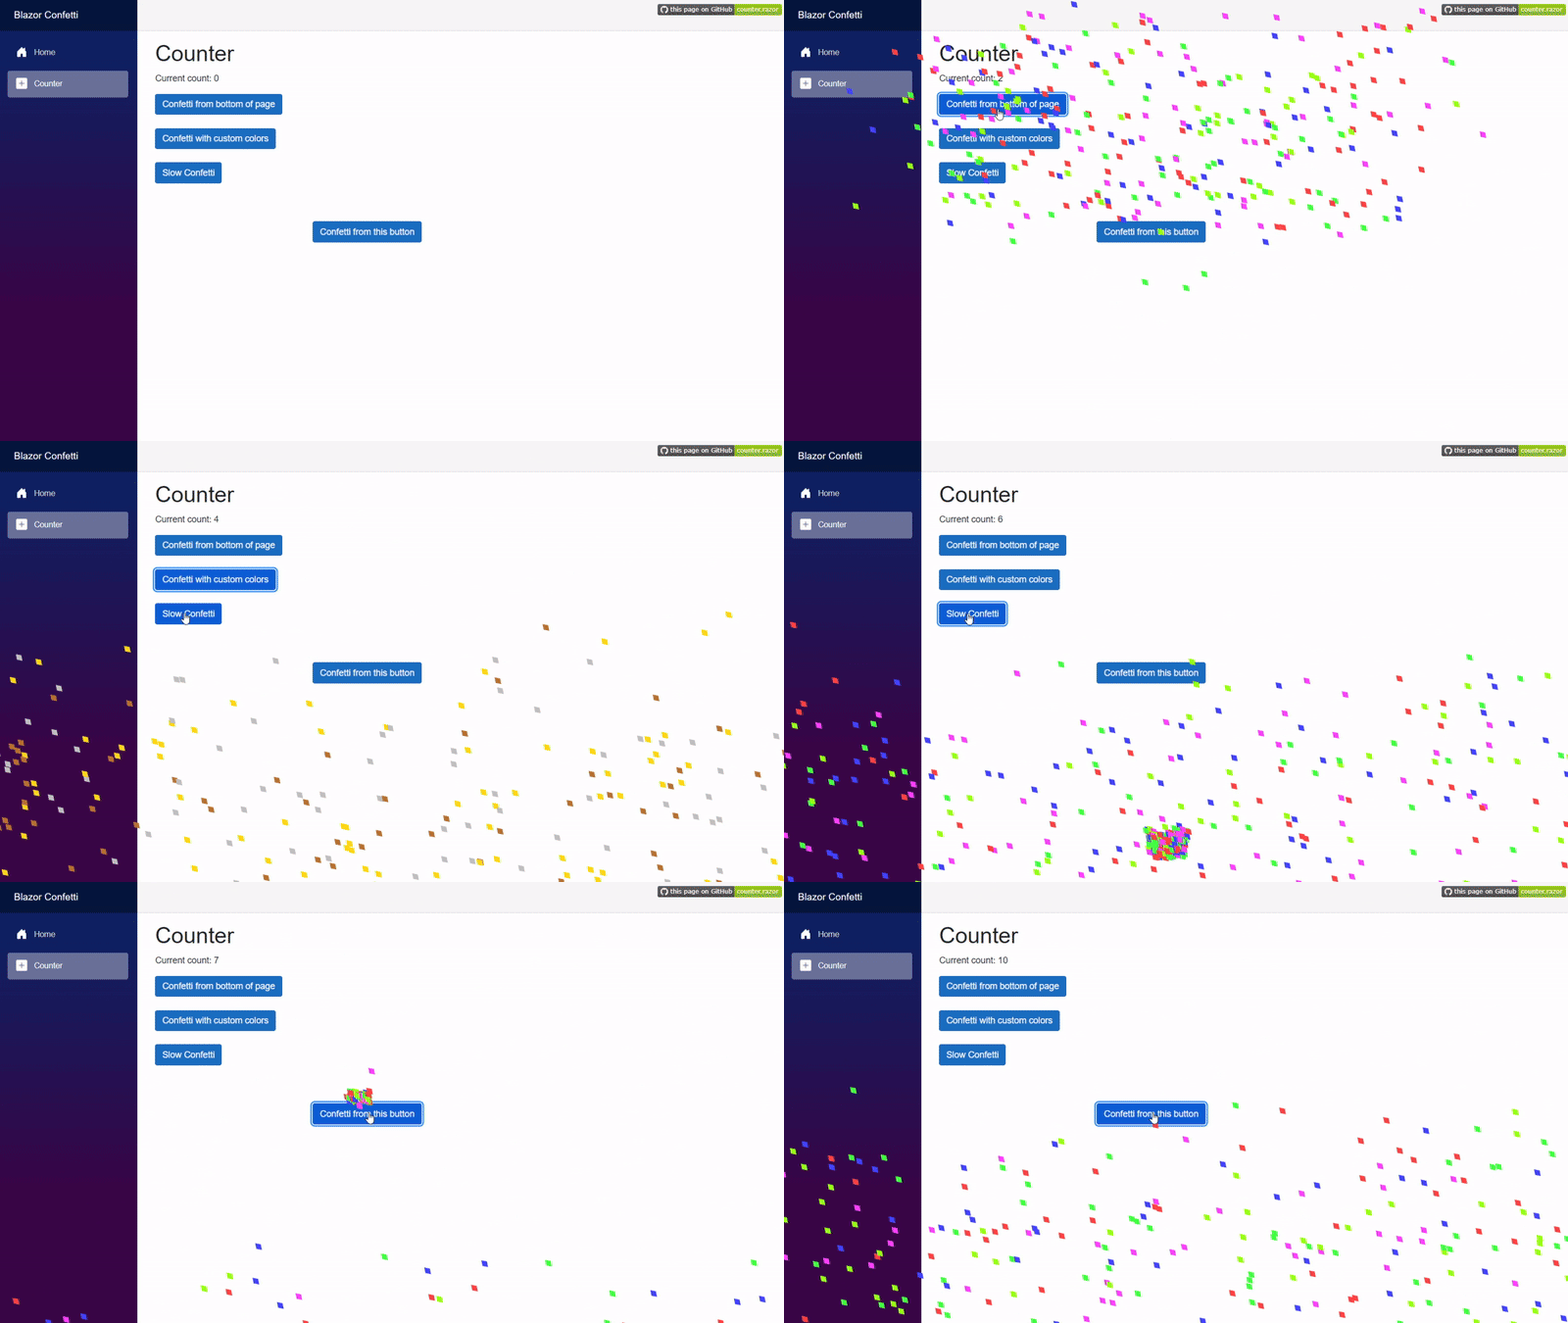
A small service that can make confetti in your Blazor application. Works for both WASM and Server render mode.
The sample project can be demoed at https://kristofferstrube.github.io/Blazor.Confetti/
On each page, you can find the corresponding code for the example in the top right corner.
You need to install .NET 8.0 or newer to use the library.
You can install the package via NuGet with the Package Manager in your IDE or alternatively using the command line:
dotnet add package KristofferStrube.Blazor.ConfettiThe package can be used in Blazor WebAssembly, Blazor Server, and Blazor WebApp projects both with interactive WASM and Server render modes.
You need to reference the package in order to use it in your pages. This can be done in _Import.razor by adding the following.
@using KristofferStrube.Blazor.ConfettiThe library has one service which is the ConfettiService which can be used to start a confetti animation. An easy way to make the service available on all your pages is by registering it in the IServiceCollection so that it can be dependency injected in the pages that need it. This is done in Program.cs by using our extension AddConfettiService() before you build the host like we do in the following code block.
using KristofferStrube.Blazor.Confetti;

WebApplicationBuilder builder = WebApplication.CreateBuilder(args);

// Adding other services

// Adding our service
builder.Services.AddConfettiService();

WebApplication app = builder.Build();

// Configure middleware

app.Run();For the confetti to appear somewhere we also need to place a component at the root of our application which will work as the drawing space for the confetti animation. A good place to do this could be in MainLayout.razor after all other markup. If you are creating a Blazor WebApp you might need to add the attribute @rendermode="InteractiveServer" to the Confetti component to make it interactive.
@inherits LayoutComponentBase
<div class="page">
    <div class="sidebar">
        <NavMenu />
    </div>

    <main>
        <div class="top-row px-4">
            <a href="https://learn.microsoft.com/aspnet/core/" target="_blank">About</a>
        </div>

        <article class="content px-4">
            @Body
        </article>
    </main>
</div>

<!-- This is the part that we add. -->
<Confetti />Now we are ready to inject the ConfettiService in one of our pages or components to make some confetti.
@inject ConfettiService ConfettiService

<button class="btn btn-primary" @onclick="Activate">Celebration 🎉</button>

@code {
    private void Activate()
    {
        ConfettiService.Activate(new());
    }
}
With the above we create confetti from the bottom of the page with all the default settings. We can further customize the confetti colors, amount, origin, speed, and speed variation.
@inject ConfettiService ConfettiService

<button @ref=button class="btn btn-primary" @onclick="Activate">Celebration 🎉</button>

@code {
    private ElementReference button;

    private void Activate()
    {
        ConfettiOptions options = new()
            {
                Colors = ["silver", "gold", "#B87333"],
                Pieces = 500,
                Mode = ConfettiOriginMode.FromElement,
                Origin = button,
                Milliseconds = 2000,
                VariationInMilliseconds = 500
            };

        ConfettiService.Activate(options);
    }
}The library uses the following other packages to support its features:
- https://github.com/KristofferStrube/Blazor.SVGAnimation (To start and stop SVG animations)
This repository was built with inspiration and help from the following series of articles:


