Hubitat on Apple Menubar (https://raw.githubusercontent.com/KurtSanders/Hubitat-Xbar/main/Images/macos_logo.jpg))
--
- Designed only for use with xbar, Hubitat Elevation® Hub, Apple® MacOS and Python3.
- Quickly view and control various Hubitat® Elevation:
- Devices & Sensors
- Hub Modes
- Hubitat Safety Monitor (HSM)
- Access from Home Network or Anywhere API strings
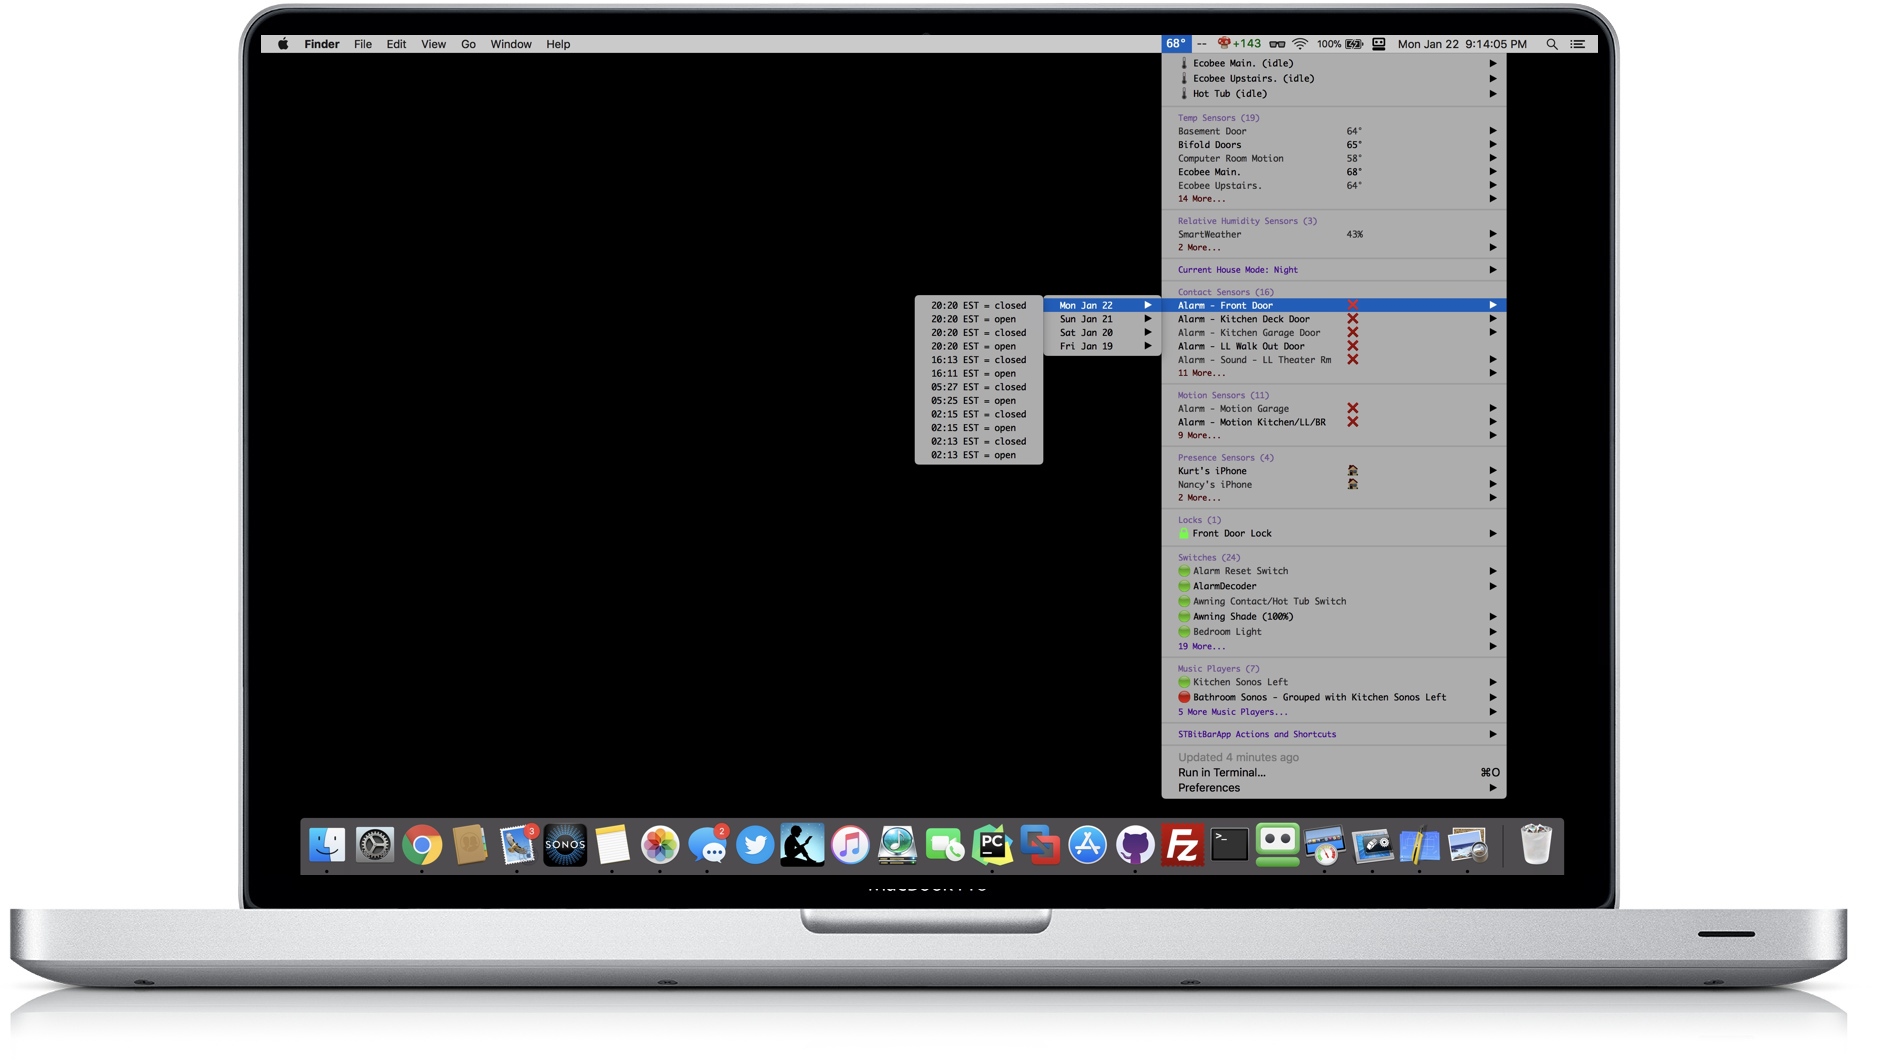
Monitor and control Hubitat™ devices, sensors, Hubitat® Safety Monitor, Modes from the Apple MacOS Menu Bar. This application is controlled via the Hubitat user app named 'Hubitat → XBar App'. A Python3 script file is installed locally on the Apple Mac in the Xbar's Application plugin folder (~/Library/Application\ Support/xbar/plugins) and configured with your Hubitat OAuth application string.
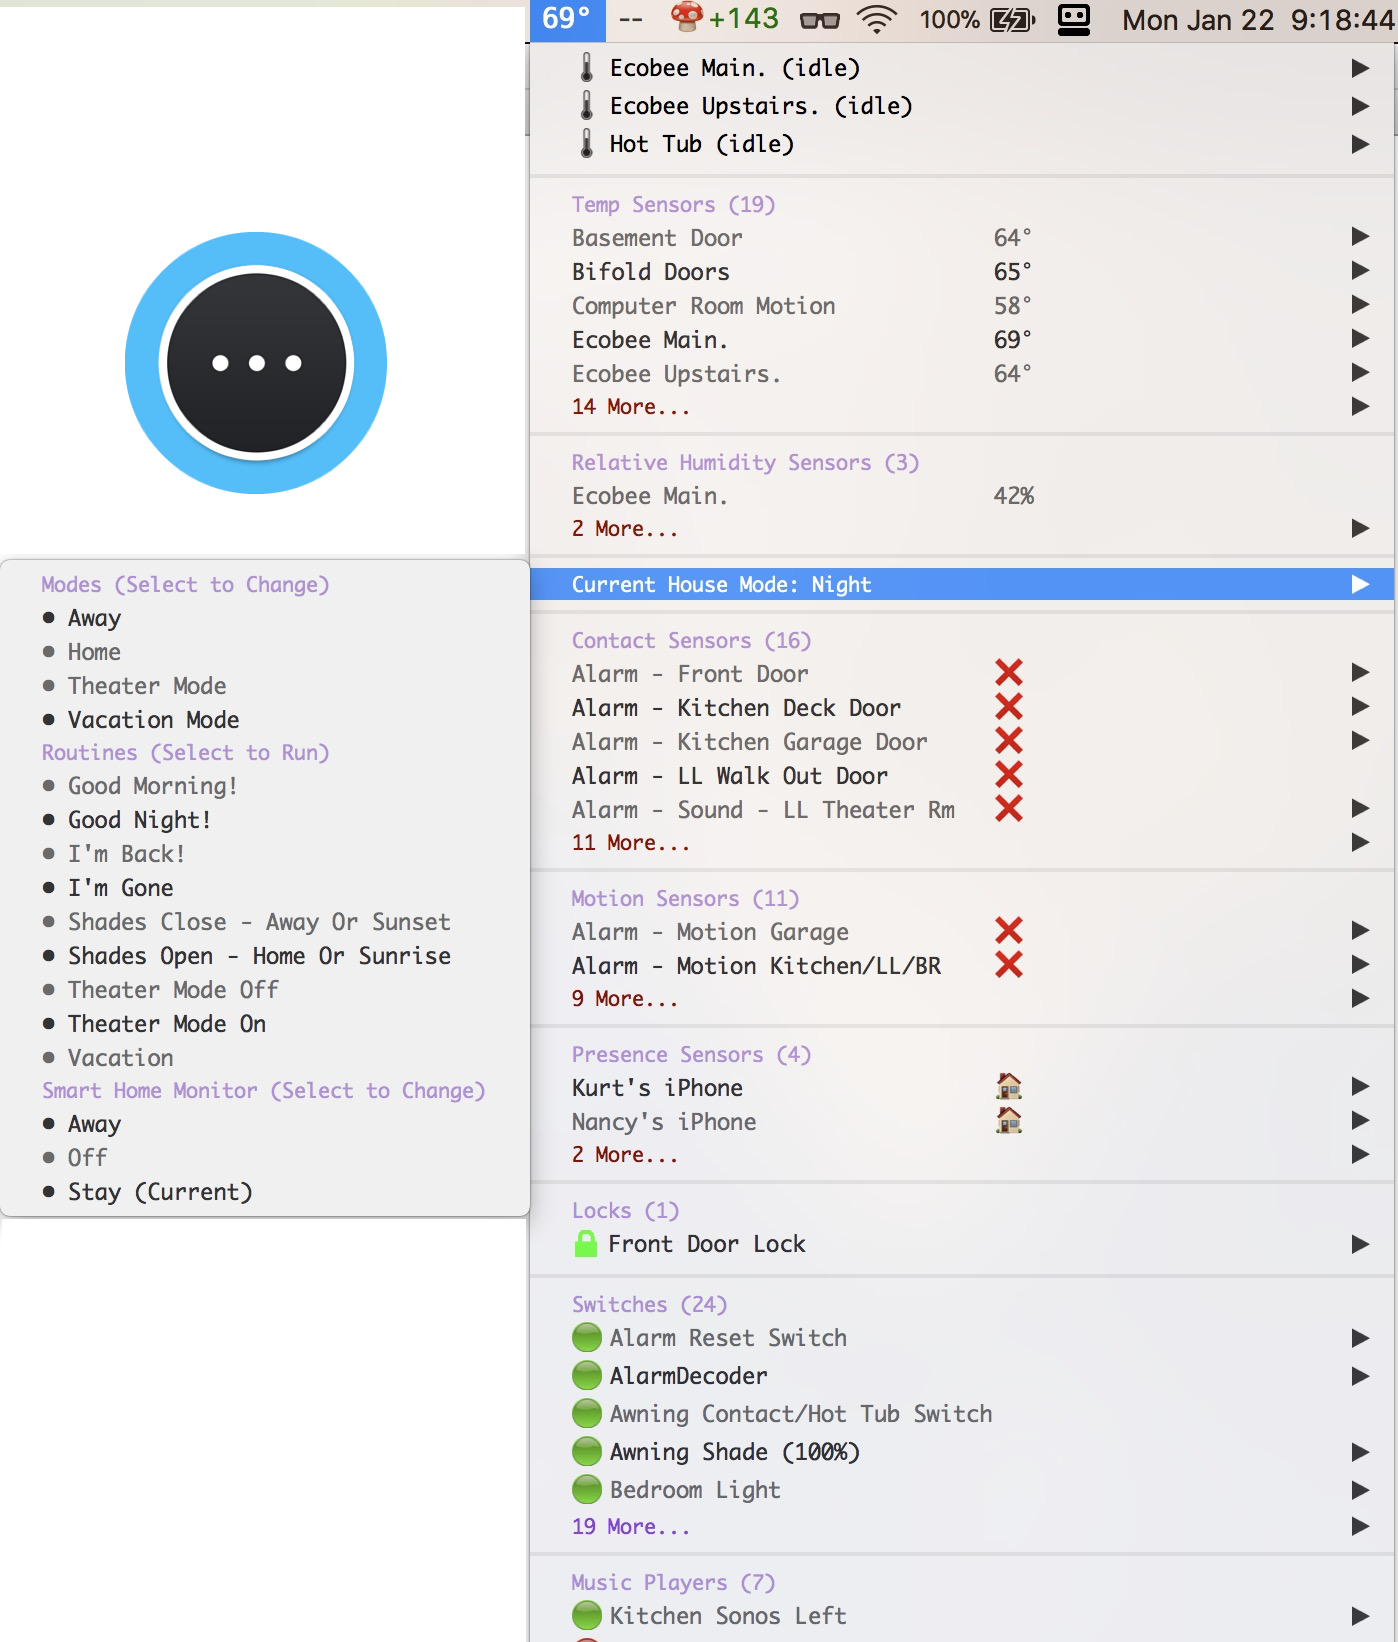
The Hubitat → Xbar application works with the Xbar as a custom XBar Plugin and is controlled via the Hubitat → Xbar App. Hubitat → Xbar App displays thermostat information, temperature, relative humidity, event-log statistics, contacts, music players, presence devices, locks, lights, and motion sensors. It can also control color control (RGB) device levels, switch/dimmer level devices, locks and also thermostat control via the MacOS menubar. The Mac menubar icon can be a thermostat reading, contact sensor, lock sensor or switch sensor and upon clicking the displayed state icon, renders more detailed information on all the sensors selected in the App's GUI.
One can click on any controllable Hubitat device, mode or routine in the Mac's Hubitat → Xbar display to invoke the default action for that device, mode or routine. Non-controllable devices (eg. presence sensors, motion sensors, temperature sensors) can show their event history.
Sensor battery levels can be displayed for devices that have a battery capability by depressing the Apple {option + R} keys as the Hubitat → Xbar menu is activated {being displayed}.
- Apple Mac
- macOS 13.x+ (Ventura is recommended)
- Python 3.11+ Freeware
- Use of Apple Terminal App (/System/Applications/Utilities/Terminal.app)
- Knowledge of installing and configuring software on macOS
- xbar (Freeware)
- Hubitat Elevation Hub
- Knowledge of adding/configuring Hubitat User Apps
- Use of Hubitat Package Manager to install/update user apps
- Member of the Hubitat Community for support and new release information.
-
Hubitat© Elevation Steps
- Install 'Hubitat → Xbar App' via Hubitat Package Manager (HPM).
-
Launch HPM
-
Select Install
-
Search for 'Xbar'
-
Press 'Next'
-
Wait for HPM download and install to complete and 'Hubitat → Xbar App' should automatically launch for configuration.
-
Enable/Authorize OAuth API String in 'Hubitat → Xbar App'
-
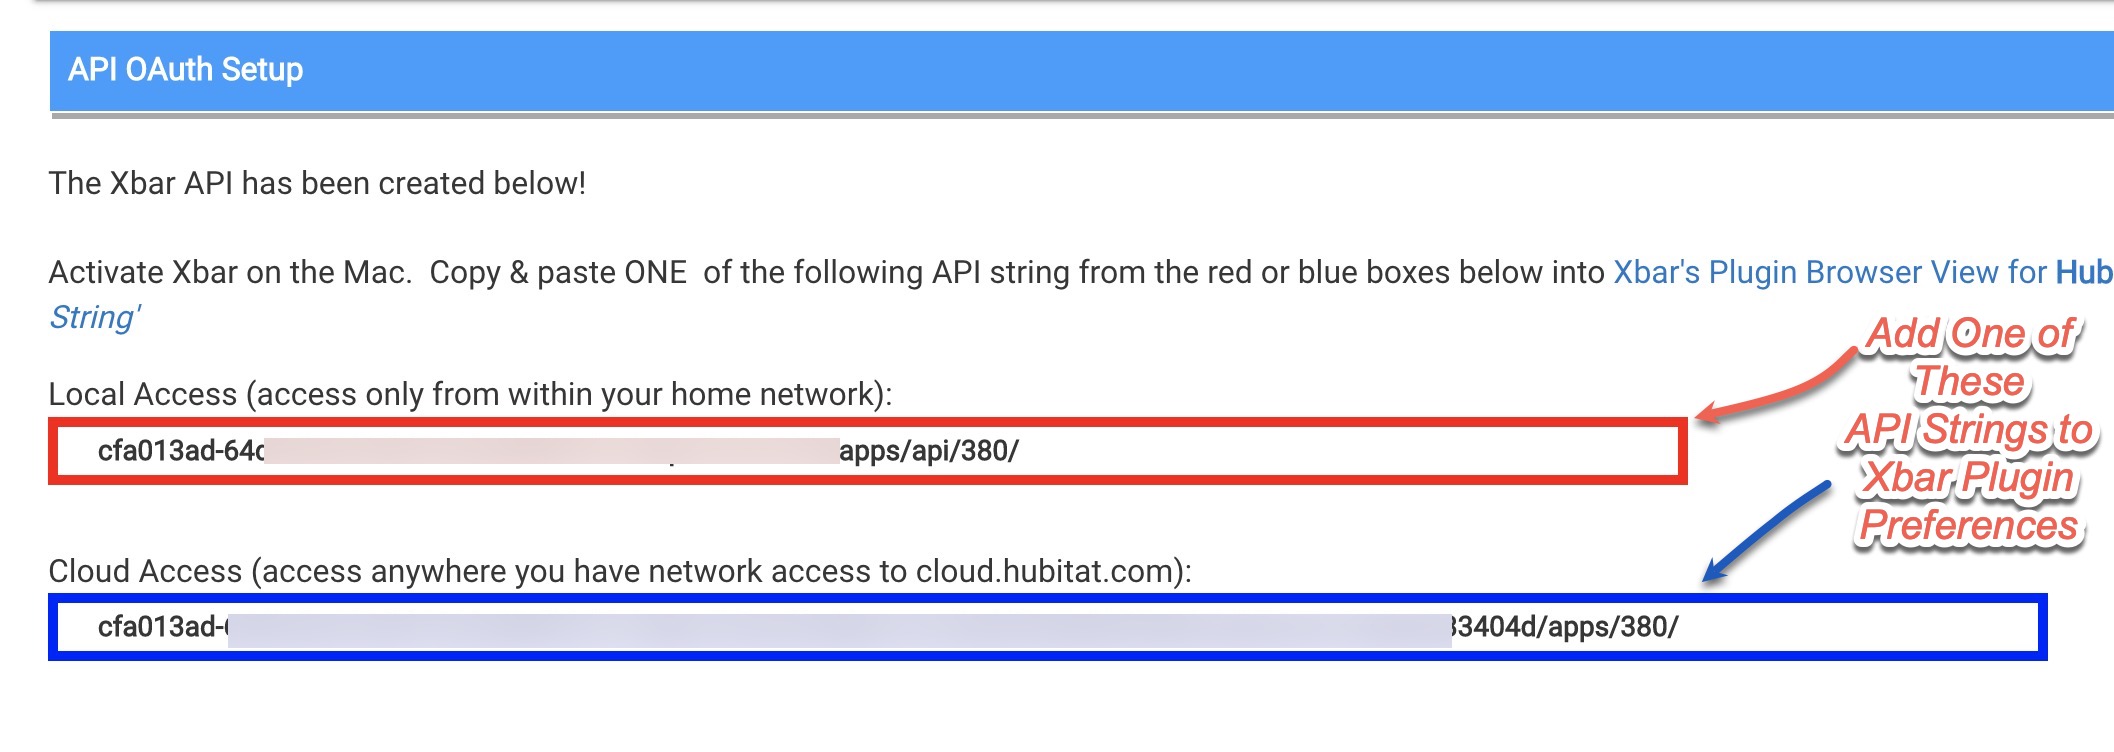
Select ONE of the generated OAuth API strings from the screen and (⌘-C) copy it (format xxx-xxx~http://xxx) from the screen.
The local API access string allows access when your Apple computer is connected to your Home Network (same as Hubitat Elevation Hub). The cloud API access string allows 'anywhere' access from both Home and outside your Home Network (anywhere your computer has network access. Please ensure you have strong security controls on your computer to prevent unwanted access to your Hubitat devices.
-
- Install 'Hubitat → Xbar App' via Hubitat Package Manager (HPM).
-
Apple© Computer macOS Steps
- Install the Xbar application base software by clicking here to download and install XBar application
- Install the Xbar Python Script Hubitat_XBar.5m.py to your Xbar plugin script file folder ("~/Library/Application\ Support/xbar/plugins") using the Apple Terminal shell commands below.
- Launch the Apple 'Terminal' App located in your Apple Applications folder under 'Utilities' sub-folder.
- Highlight and copy (⌘-C) each of the following Apple Terminal commands below and paste (⌘-V) each into the Terminal screen and press Enter so they execute individually:
 cd ~/Library/Application\ Support/xbar/plugins
 curl -s -O -J -L "https://raw.githubusercontent.com/KurtSanders/Hubitat-Xbar/main/Hubitat_XBar.5m.py"
 sudo chmod +x ~/Library/Application\ Support/xbar/plugins/Hubitat_XBar.5m.py
 exit
- Xbar Plugin Configuration Steps
-
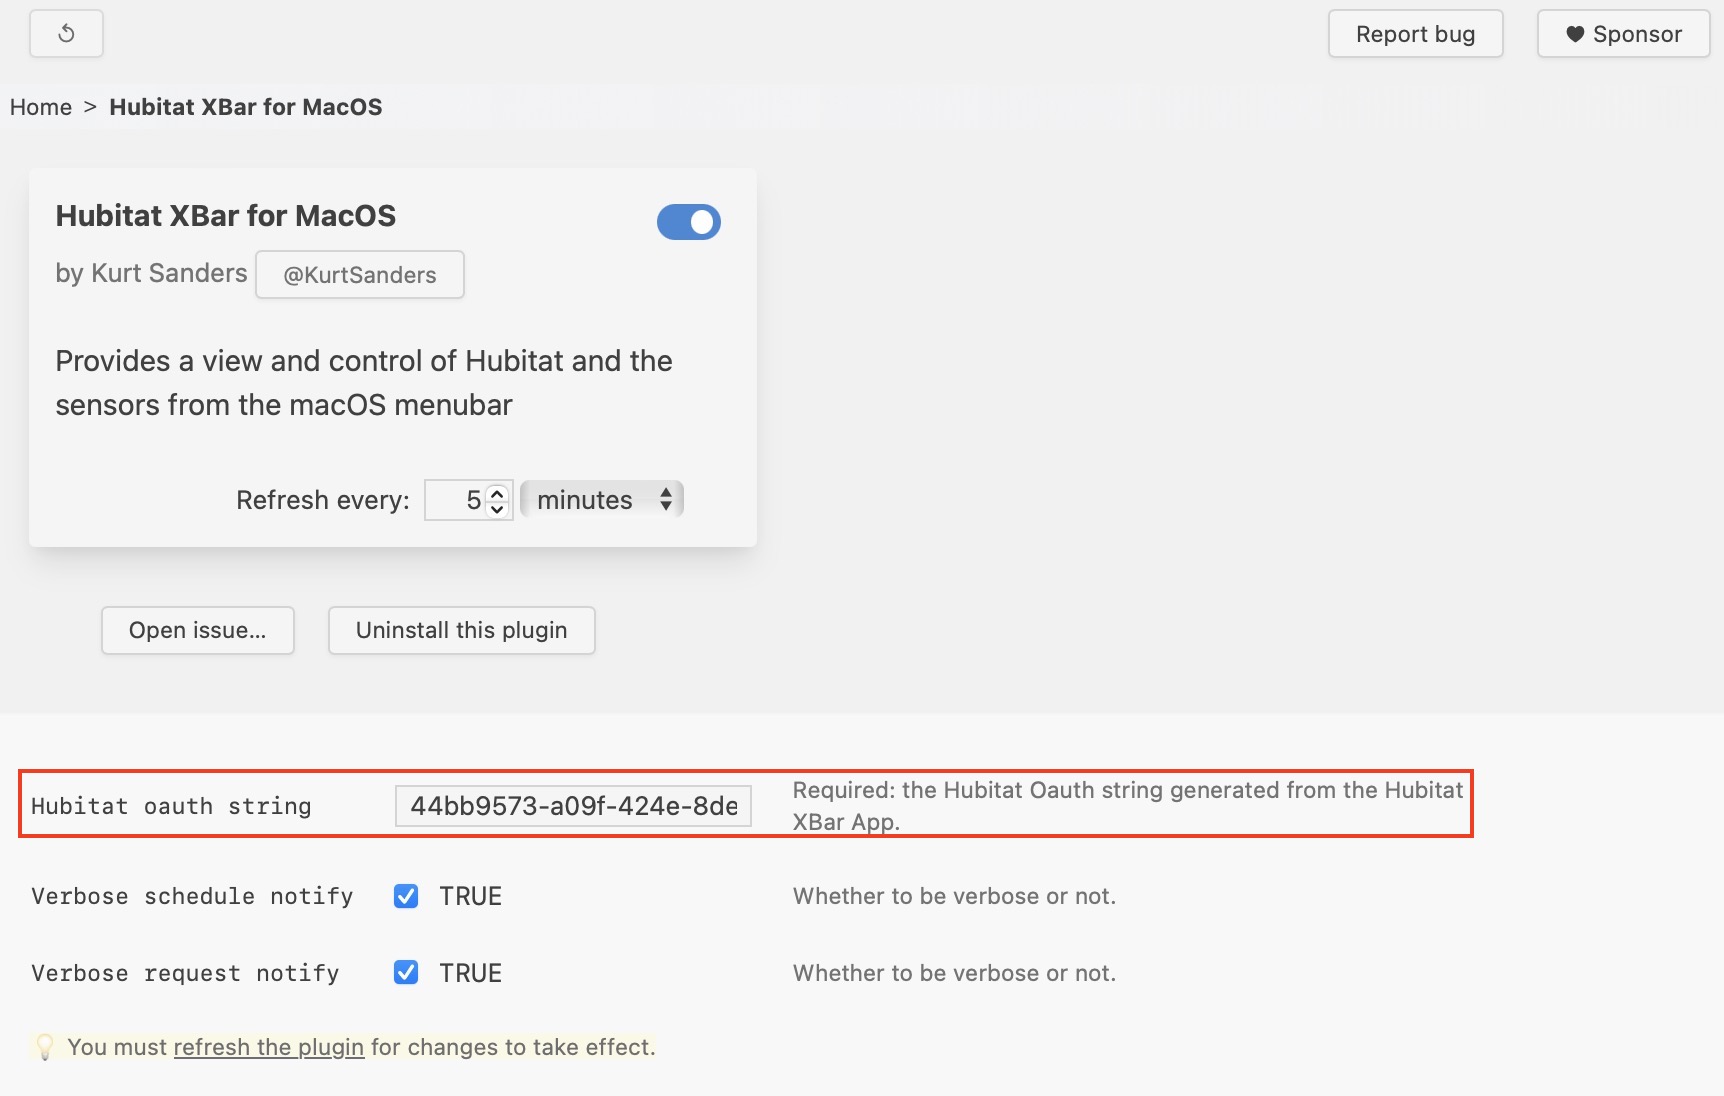
Configure the required OAuth API (format xxx-xxx~http://xxx) string in the Xbar 'Hubitat_XBar.5m.py' plugin preferences screen.
The local API access string allows access when your Apple computer is connected to your Home Network (same as Hubitat Elevation Hub). The cloud API access string allows 'anywhere' access from both Home and outside your Home Network (anywhere your computer has network access. Please ensure you have strong security controls on your computer to prevent unwanted access to your Hubitat devices.
-
Add the Oauth API Access String from the Hubitat → Xbar app.
-
Choose ONE of the following:
-
Click here to activate the Xbar app GUI. Then click the the Hubitat_XBar.5m.py plugin to highlight it. If this option works for you, skip the next option 2 below.
-
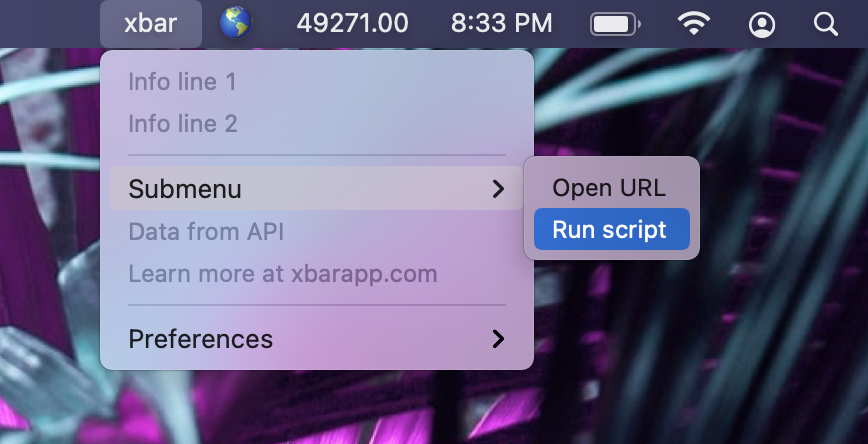
Click on the Xbar Icon in the top Mac menubar to activate the Xbar GUI. Then select the 'xbar >' choice option at the bottom of the Xbar menu. Select 'Open Plugin' from xbar> submenu or Press ⌘+E key while xbar is in focus. Click the Hubitat_XBar.5m.py plugin to highlight it.
-
-
Paste (⌘-V) your Hubitat's OAuth API string in the 'Hubitat OAuth string' variable field
-
-
-
Hubitat© Elevation Hub Steps
- Launch the 'Hubitat → Xbar App' on your Hubitat Elevation Hub.
- Configure other 'Hubitat → Xbar App' user preferences to select sensors, devices, and various display options.
- Press 'Done' to save your user preferences changes.
- Select Xbar in the Apple menubar to refresh the Xbar (⌘-R) display to see these changes.
-
Xbar's Hubitat_XBar.5m.py plugin
- The Xbar's Hubitat_XBar.5m.py plugin is set to automatically refresh Hubitat© sensor values every 5 minutes as the default. More frequent polling (less than 5 minutes) may adversely impact your Hubitat© hub's performance. You may wish to change Xbar's Hubitat_XBar.5m.py plugin polling frequency in the Xbar's Hubitat_XBar.5m.py plugin options screen (⌘-E). This will change the name of the Hubitat_XBar.5m.py plugin file to Hubitat_XBar.ZY.py where Z is a positive numeric integer and Y is 'm' for minutes or 'h' for hours (default ZY is '5m' for running the plugin (polling the Hubitat Hub) every 5 minutes).
- The xbar Apple menubar screen display can be refreshed manually by clicking on the xbar logo or displayed sensor icon/value in the Apple menubar, and pressing (⌘-R).
- Hubitat© sensors/devices which can be instructed to change their state, Hub mode and HPM states can be highlighted and clicked in the Xbar's screen display to change their state. Xbar will automatically refresh the display screen after a few seconds to reflect the new selected sensor states.
- Some Hubitat© sensors/devices may not display a state accurately if they are slow to reflect their state change on the Hubitat© hub. These sluggish sensors/devices will eventually reflect their correct state in the Xbar display when they are eventually updated on the Hubitat© hub.
-
This application requires two applications:
- The Hubitat_XBar.5m.py plugin developed in Python3 language and located in the xbar plugin directory on the Apple computer.
- The Hubitat → Xbar Hubitat application developed in Groovy language and installed from HPM on your Hubitat Elevation Hub.
-
You must use HPM for all app code updates to the Hubitat → Xbar app installed to your Hubitat Elevation Hub. This is easy and semi-automatic when HPM notifies you of an upgrade.
-
Immediately after an HPM update of the Hubitat → Xbar app, you must highlight and copy (⌘-C) each of the following Apple Terminal commands below and paste (⌘-V) each into the Apple Terminal screen and press Enter so they execute individually:
Please note that if you have chosen a different 'run every frequency' of other than the default of '5' (every 5 minutes), you will need to first change the run every frequency value back to to '5' (every 5 minutes) which will rename the xbar plugin back to Hubitat_XBar.5m.py. After the new Hubitat_XBar.5m.py is downloaded to the xbar plugin folder, and you have confirmed that the application is working as expected, you may change the xbar run every frequency value.
 cd ~/Library/Application\ Support/xbar/plugins
 curl -s -O -J -L "https://raw.githubusercontent.com/KurtSanders/Hubitat-Xbar/main/Hubitat_XBar.5m.py"
 sudo chmod +x ~/Library/Application\ Support/xbar/plugins/Hubitat_XBar.5m.py
 exit
-
These Apple terminal steps above will download the latest version of Hubitat_XBar.5m.py plugin and install this file to your xbar plugin directory. It also makes sure that the Hubitat_XBar.5m.py file permission for execution is set properly.
- Hubitat Safety Monitor
- "armedAway" : ['emoji':"👀", 'color':'red']
- "armedHome" : ['emoji':"🏡", 'color':'red']
- "armedNight" : ['emoji':"💤", 'color':'red']
- "disarmed" : ['emoji':"✅", 'color':'green']
- Devices/Sensors
- "locked" : ['emoji':"🔒", 'color':'green']
- "unlocked" : ['emoji':"🔓", 'color':'red']
- "closed" : ['emoji':"📕", 'color':'green']
- "open" : ['emoji':"📖", 'color':'red']
- "off" : ['emoji':"🟢", 'color':'green']
- "on" : ['emoji':"🔴", 'color':'red']
- The Hubitat → Xbar App is capable of cycling through multiple status bar items. However, this Hubitat → Xbar Plugin is designed to only display a ** temperature sensor, contact sensor, lock status, or switch sensor** at the top with the rest of the sensors displayed in the dropdown.
- The Hubitat → Xbar app only allows a selection of one temp, lock, contact or switch sensor or a default 'Hubitat → Xbar ' title. It is not recommended to use the full sensor name since menubar real estate is top dollar.
- There is no horizontal alignment supported by Hubitat → Xbar so it’s all done by character spacing, which means using Apple system monospace fonts for data content. Menlo is the default font, but feel free to change it in the ST Hubitat → Xbar App in the mobile client Display Options.
- Selection of a proportional spaced font, pitch and color can be used for all other text areas of the display, like the ST Categories and the ...more... sections. Be aware that some fonts, colors and sizes may cause the menu to become illegible. Blank field defaults in the options fields will return the display to normal.
- Most areas of the menu will accomodate extended ascii character sets, but there might be areas that cannot. If so, please rename these devices with US ascii characters and send a PM to me on the Hubitat Community Forum.
- Be mindful of the # of devices selected, event history days/number settings as the Hubitat Hub can be affected by a performance slowdown.
- Hold the Apple ⌥ Option key while the Hubitat → Xbar menu is open to display battery information for devices that can report battery level status.
- The max items per sensor category can be set in Hubitat → Xbar Output SmartApp Menu Options (if you want to save space but still have access to the sensors)
- Use Apple ⌘R Command-R key sequence while viewing the Hubitat → Xbar App menu to Refresh Xbar's Hubitat sensors and devices, otherwise Xbar will automatically refresh every 5 minutes (default).
- Use Hubitat Package Manager to keep the Hubitat → Xbar application code current. You must manually download the latest version of the Xbar's python plugin code Hubitat_XBar.5m.py following the steps in the Installation section above.
- Emoji short-names are special graphical icons that can be displayed for custom device status. Please note that these short naming convention is ':xxxxx:' and the name must be entered exactly as they are named on the Emoji Website Valid Names List
- Many other display options are provided and activated in the Hubitat → Xbar App and are either optional or required.
