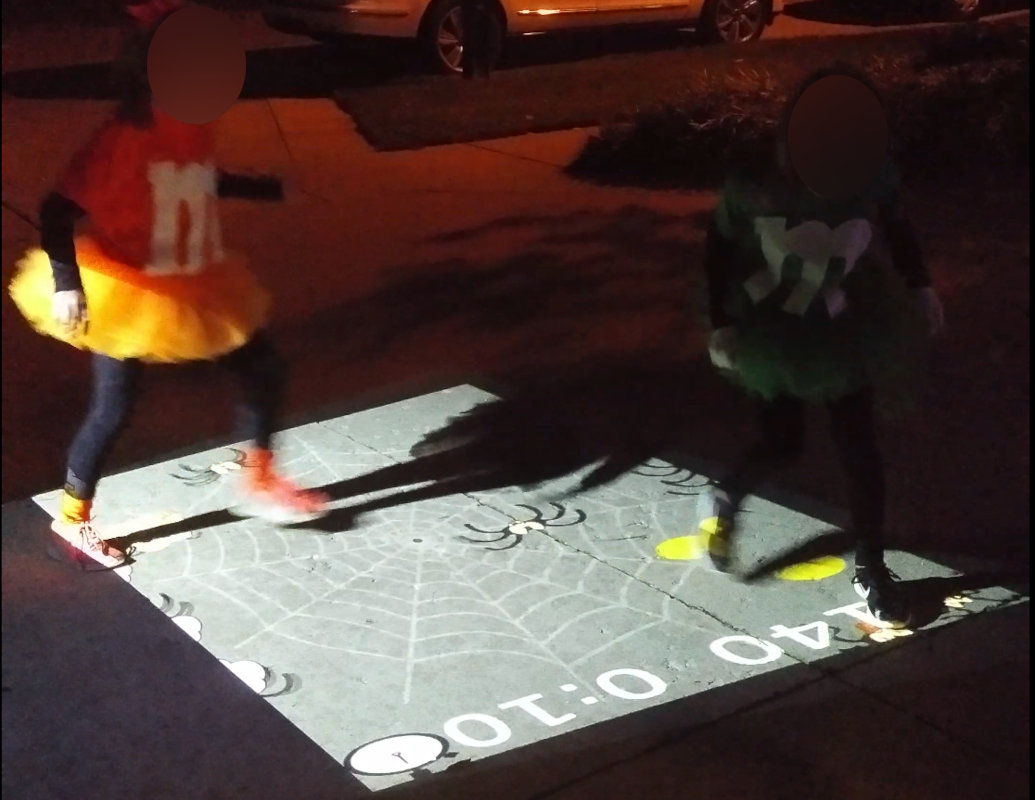
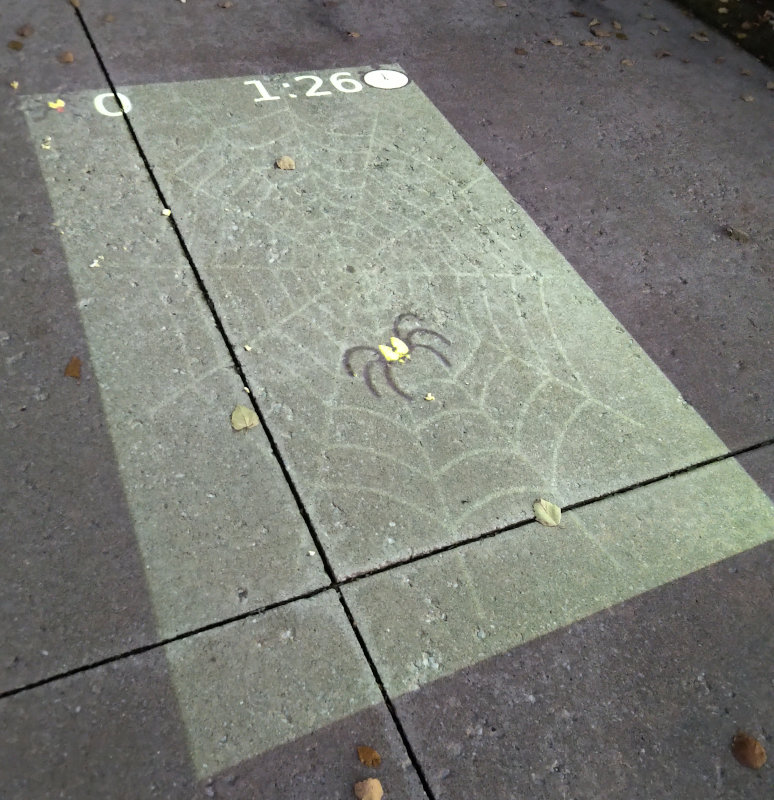
This game is a Halloween decoration, originally designed back in 2018, which is run using a projector and 3D scanner. It scans for players' feet and maps that into projection space to allow players to try to stomp on as many cartoon spiders as they can within the allotted time.
To run this game, you will need the following hardware:
-
Reasonably hefty computing device. A Raspberry Pi is unlikely to have enough horsepower for it.
-
3D scanner which is compatible with OpenNI. I used a Structure sensor, but a Microsoft Kinect should work just fine as well.
-
Projector which has a wide enough field of view to form a decent-sized play area.
-
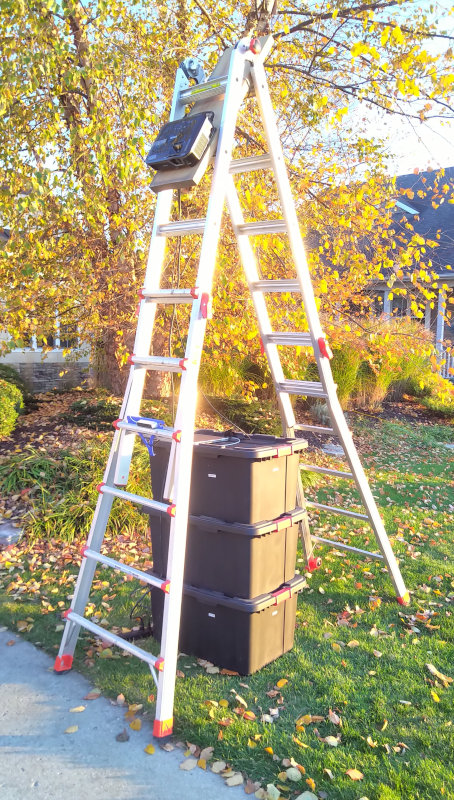
Ladder and some means of fastening the projector and 3D scanner. The taller the ladder, the more flexibility you have in positioning the projector for a workable play area size.
-
Light-colored driveway or other flat floor surface. Dark-colored asphalt driveways will not give you a good projection surface. Concrete driveways work well.
As for software, you will need:
-
Processing 3
-
OpenNI, which as of 2020 I no longer remember how to set up, so you're on your own
-
Processing audio library
-
Set up the ladder to one side of the driveway with steps pointing toward the driveway.
-
Attach the 3D scanner to the ladder pointing roughly straight horizontally out toward the driveway. Make sure that the play area you want is within the 3D scanner's field of view.
-
Attach a board or something to the ladder, near the top on an angle pointing downward toward the driveway, so you have something to attach the projector to.
-
Attach the projector to the board.
-
Connect projector and 3D scanner to the computer and power everything on.
-
Set up the projector as a second monitor on the computer.
-
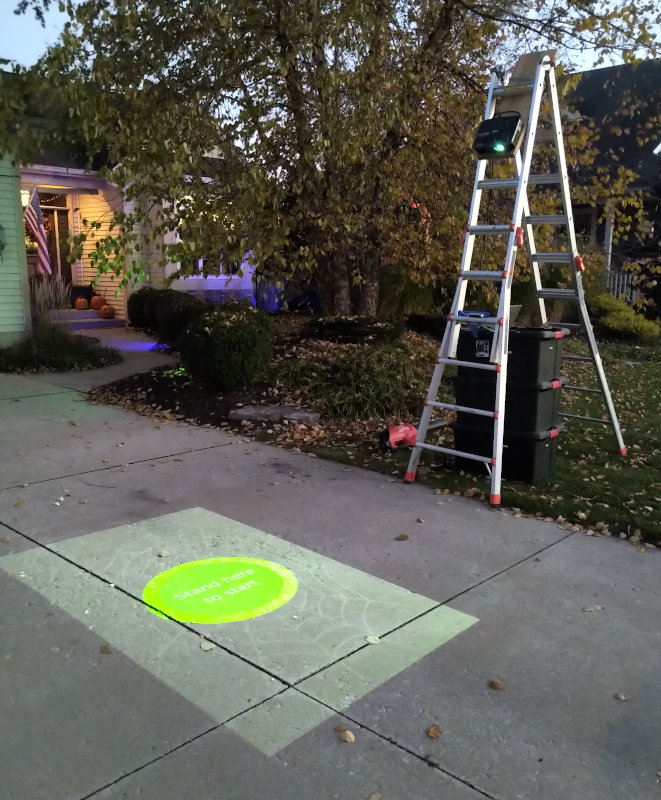
Adjust the projector so that the playfield is roughly rectangular on the driveway. It also needs to be relatively large - 8-10 feet long is a good size to aim for. The larger you make the playfield, the more exercise the players will get and the harder the game is. Larger playfields also accommodate multiple players better.
-
Due to the way OpenNI works, I have to launch Processing as the root user.
-
Run the sketch. It will launch two windows. The one on the second screen (the projector) will be the actual game. The first screen should have a diagnostic window showing various information overlayed onto a preview of what the 3D scanner sees.
-
The game will initially start in calibration mode, to account for differences in setup of where the projector and 3D scanner are aligned. To calibrate, make sure the 3D scanner can only see one person. The game will display an arrow in one corner. Walk over to it and, facing the 3D scanner, place your left foot on the arrow. (For best results, make sure the 3D scanner can also clearly see your right foot, but do not place your right foot on the arrow.) After a few seconds, the game will move the arrow to another corner. Keep walking to the arrow and placing your left foot on it until you have completed all four corners.
-
Once calibration is complete, the game will launch into actual game mode.
-
If you want to quit, stop the sketch.
-
Have player or players stand in the starting circle. The game works well for one to two players, although if your computer is fast enough and your play area is large enough, it seems to work okay up to about four players. All of the players need to have their feet inside of the circle to start the game.
-
Spiders will start randomly floating through the play area. The goal is to stomp on as many spiders as possible within the allotted time period. If even one spider is stomped, you win!
-
Once the game is over, it will reset back to the start mode in step 1. This is a pretty simple game.
-
There is a diagnostic window which runs on screen 1 when the game is running. If you are running the game on a laptop, this should be the laptop's built-in screen. This diagnostic screen shows what the 3D scanner sees. Information is overlayed onto this 3D scanner view to show (in green) where it is detecting feet as well as (in red) where the calibration step has placed the corners of the play area.
-
The projected game displays yellow circles where the 3D scanner sees feet. Whereas the diagnostic image on-screen displays the information in scanner space, the yellow circles show the same data after being mapper to projector space.
-
The 3D scanner will try to detect and map into 3D space every person it sees within its field of view. It will try to track them even if they're outside of the playfield. The more people it tracks, the slower the game runs. So it's best if you limit the number of players playing together to a very small number, depending on how powerful your computer is. My computer can track two players quite well, which works great if you have a couple siblings who want to play together. Or a parent with a small child.
-
If the game is running slow, even with a limited number of players, check to make sure that all spectators are outside of the field of view of the 3D scanner. You can confirm this by looking at the on-screen diagnostic image. You may need to add some festive methods of blocking the field of view (large props, fake castle walls, etc.) since often with this game spectators will get excited and keep advancing closer to cheer on and help the player.
-
Once the game gets to a high enough level and there are too many sounds playing at the same time from a lot of spiders on the playfield, sometimes the sound will glitch out. I have not been able to debug this problem yet. If it happens, the only solution I've got is to restart the game, which will require doing calibration again.
I'm finally getting this thing released after Halloween 2020 is already over. I've tried to include everything in here you need and add some comments to make this reproducible, but unfortunately now that I have time to do this, I've already torn down my setup for the year and can't realistically retest the changes I've made right now. So if you have any issues with this release, please file an issue and let me know!


