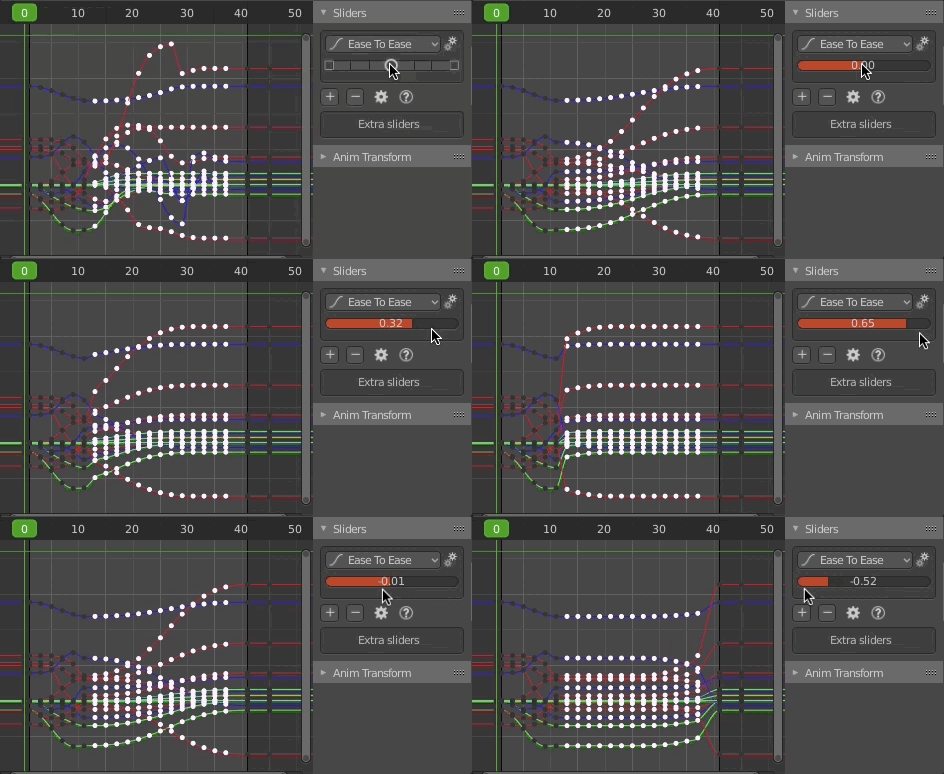
Hello there! This is AnimAide, an addon for Blender that has some helpful tools for animation.
In contrast to modeling, when animating there are not that many options to manipulate the keys on a fcurve like you can with the vertex on a geometry. When modeling there are countless ways to edit geometry, but when it comes to working in the graph editor we are out of luck.
That is where AnimAide comes in. It gives you the ability to simultaneously manipulate a group of keys across multiple fcurves from either animated objects or animated bones in an armature.
There are some Blender options to manipulate keys, but AnimAide open the door to new possibilities. Not only has a wider range of tools but when working with a group of fcurves each one will have their local space.
This kind of tools is standard in the game and film industry.
Go to this online address: https://github.com/aresdevo/animaide
and download the addon to a chosen folder on your computer.
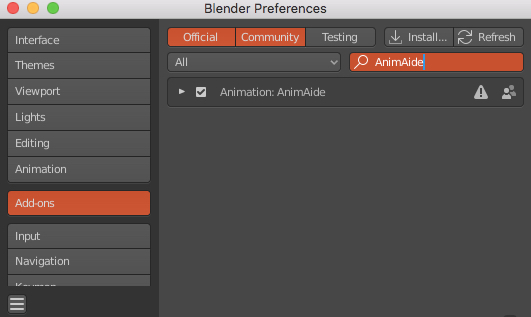
Then in Blender, go to "Add-ons" tab on the preference window. There click on the "Install" button and navigate to the folder where you downloaded the addon. Choose the AnimAide file and it will be installed.
Make sure the addon check-mark is active.
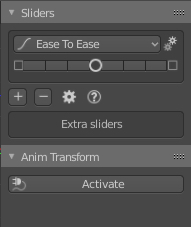
After installed you can find AnimAide panels on a tab in the graph editor sidebar.
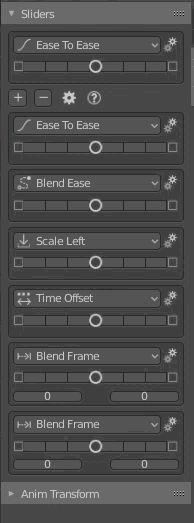
At the moment, Animaide has two main panels: Sliders and AnimTransform.
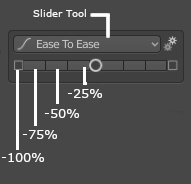
The slider is a series of buttons where the center one activates a slider mode when you click on it (you don't have to keep pressing the mouse). To accept the value of the slider you simply left-click again or right-click to cancel. The buttons at either side of the center circle apply the tool in increments of 25%
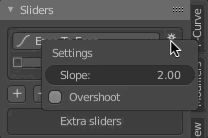
The slider preference menu provides adjustment options to the particular tool selected.
The Slope affects some of the tools making the transition sharper (I still have to take the slope option out of the menu on the tools that are not affected by it).
Overshoot allows a bigger range for the slider
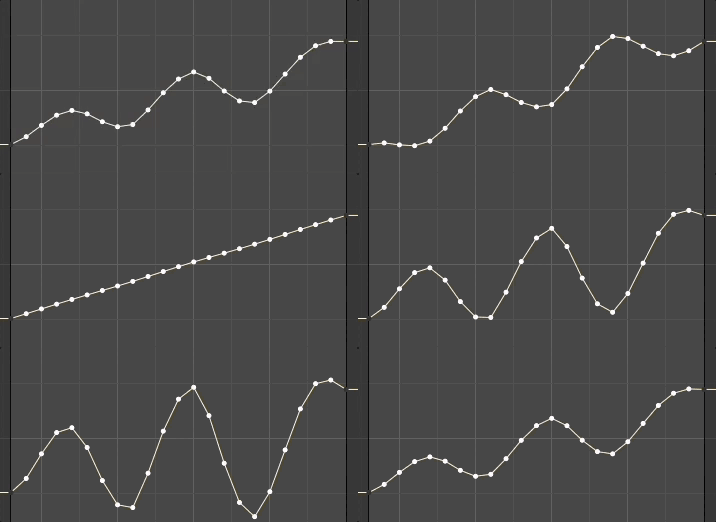
At the moment there are 14 different tools in the slider:
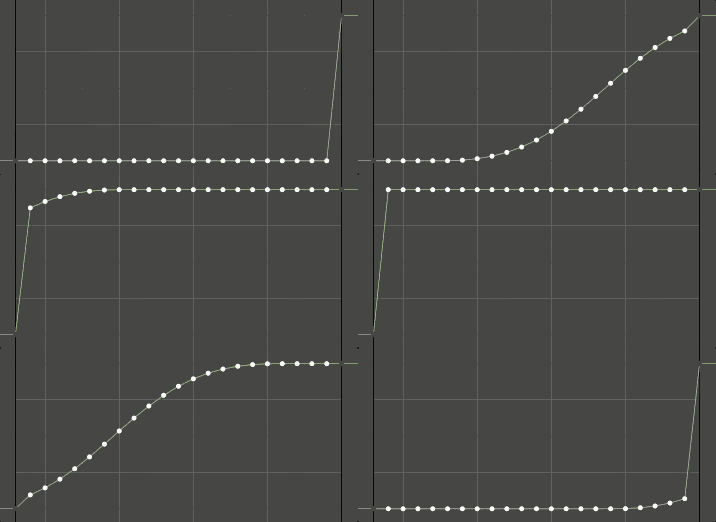
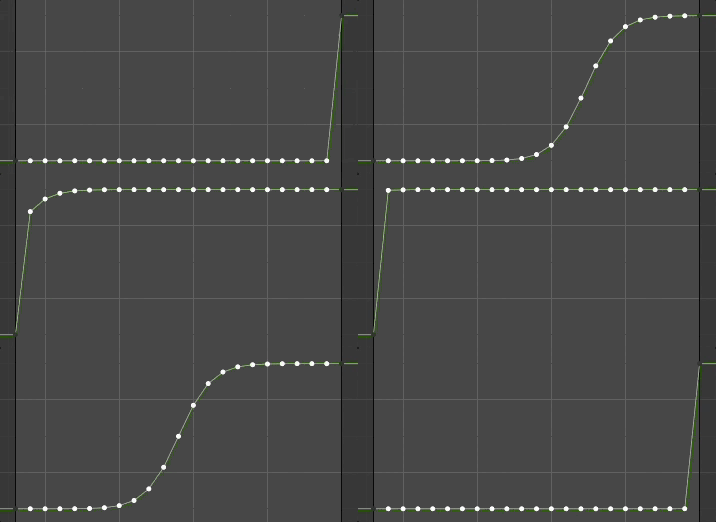
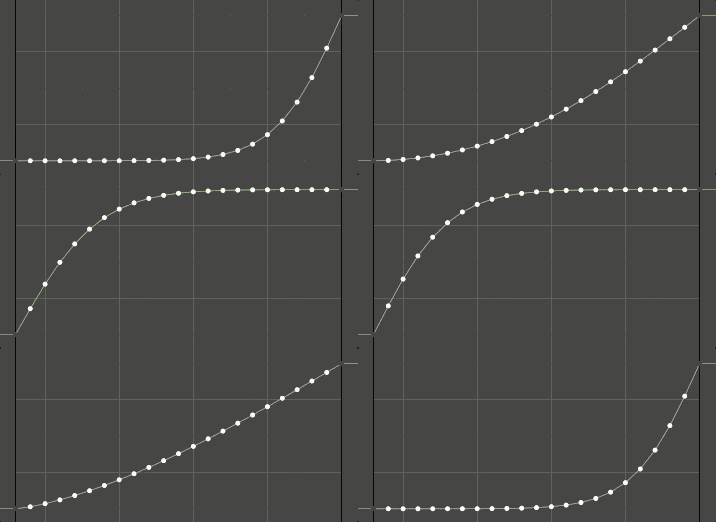
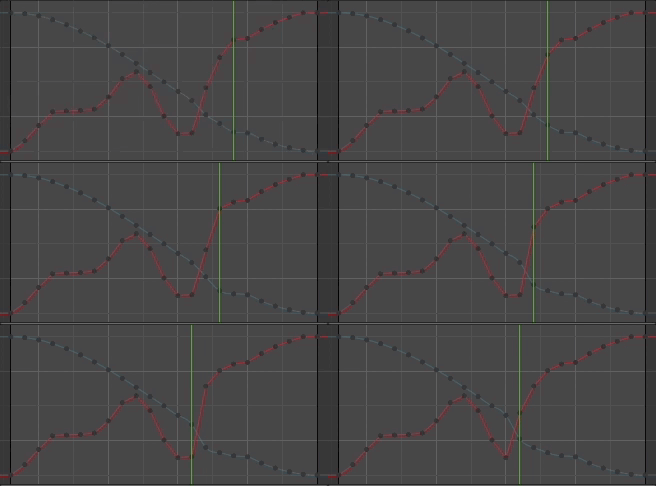
This fcurve adjustment it is very useful because this usually you want a nice transition between to different point in time. It does not remember how the curve was before activating the tool
With a higher slope:
With this one, you just have either an ease-in or an ease-out, but sometimes that is just what you want. It does not remember how the curve was before activating the tool
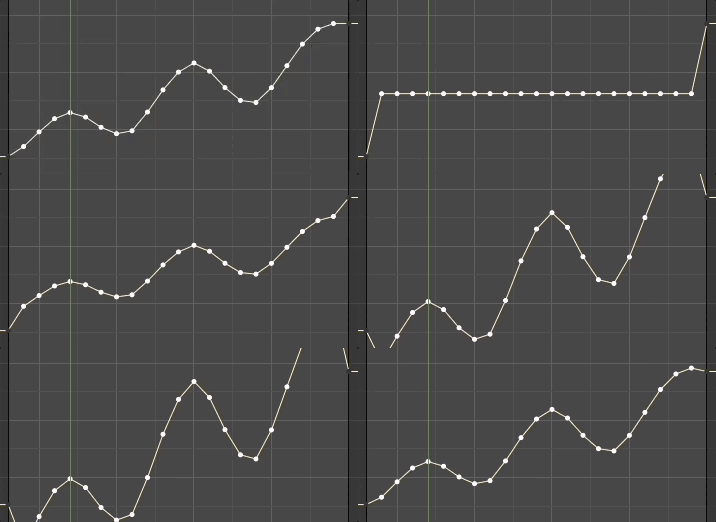
This is similar to "Ease", but it remembers how the curve was before engaging the tool.
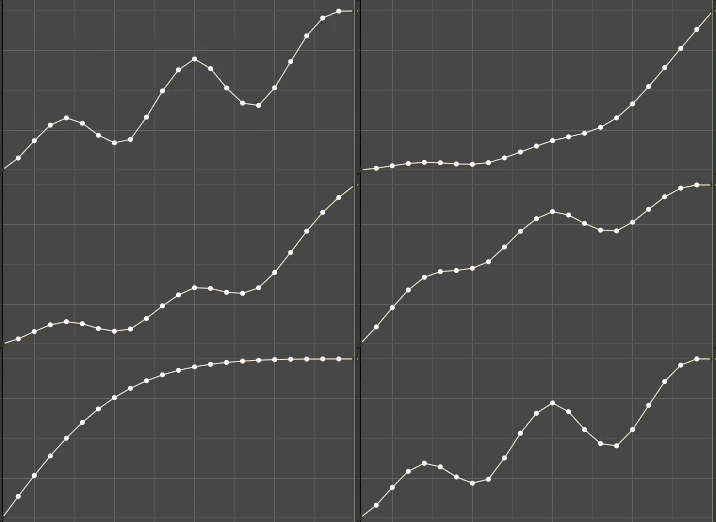
Progressively makes the values of the selected keys match either of the neighboring keys. it remembers how the curve was before engaging the tool.
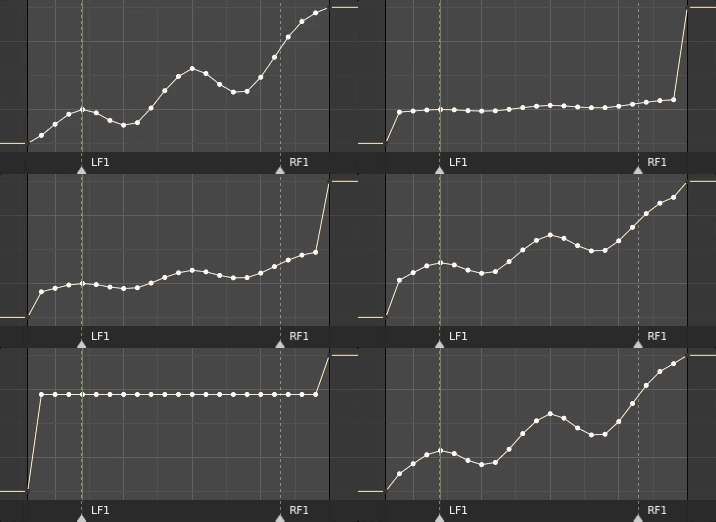
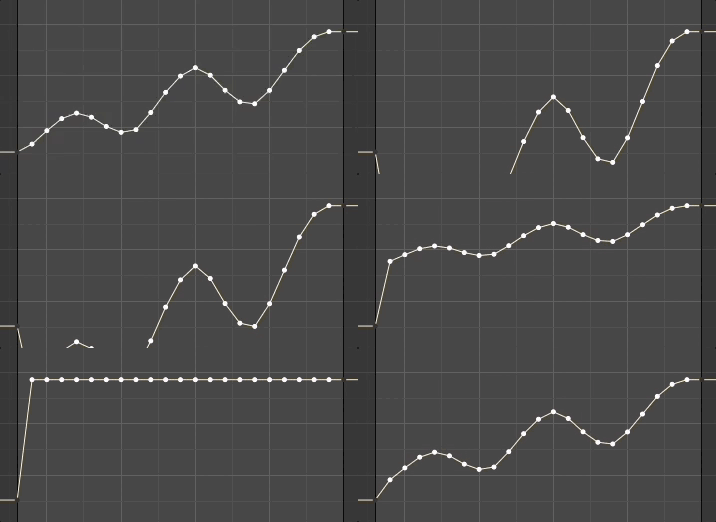
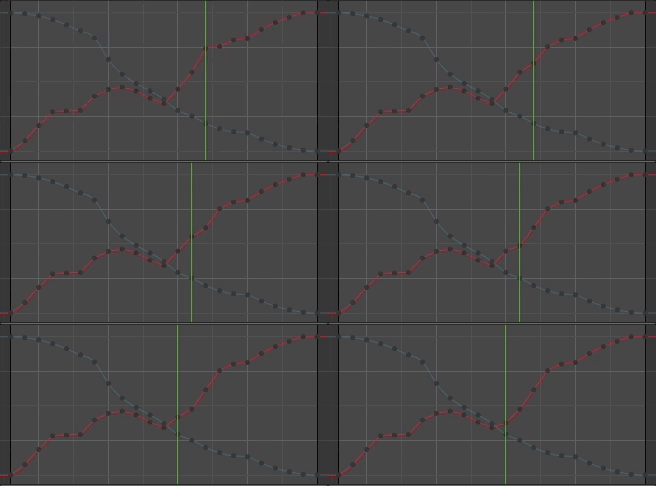
Allows you to use specific frames in the animation as reference for matching the values of the selected keys. It creates markers on the reference frames.
it remembers how the curve was before engaging the tool.
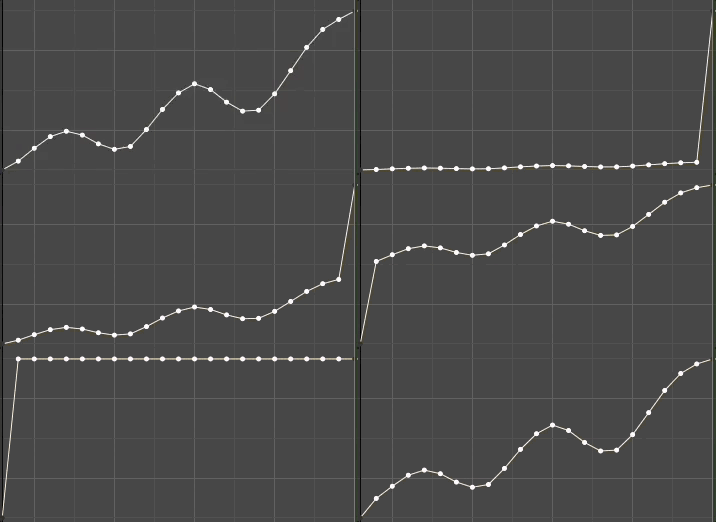
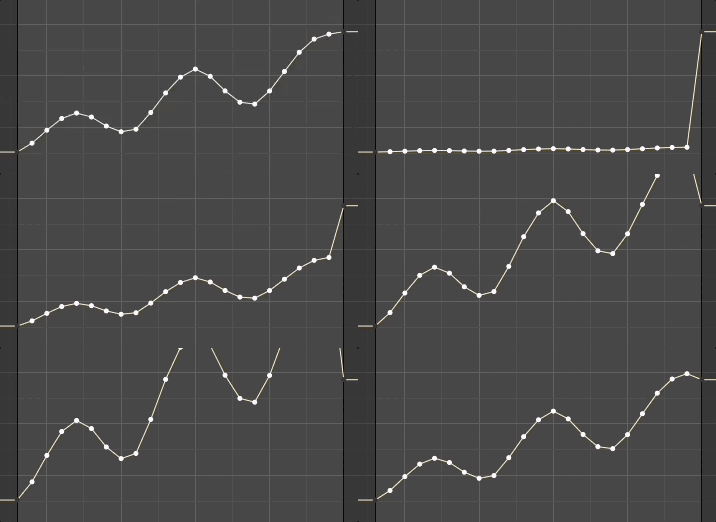
Move the selected keys as a block until it reaches either neighboring key
Exaggerates the values (push) or decreases the intensity of the animation (pull)
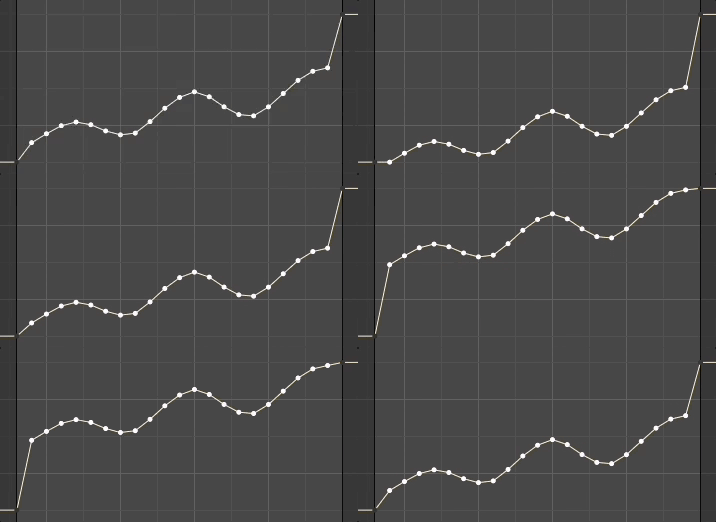
Scale the values of the selected keys using the average of all the values as the anchor.
Scale the values of the selected keys using the left neighboring key as the anchor.
Scale the values of the selected keys using the right neighboring key as the anchor.
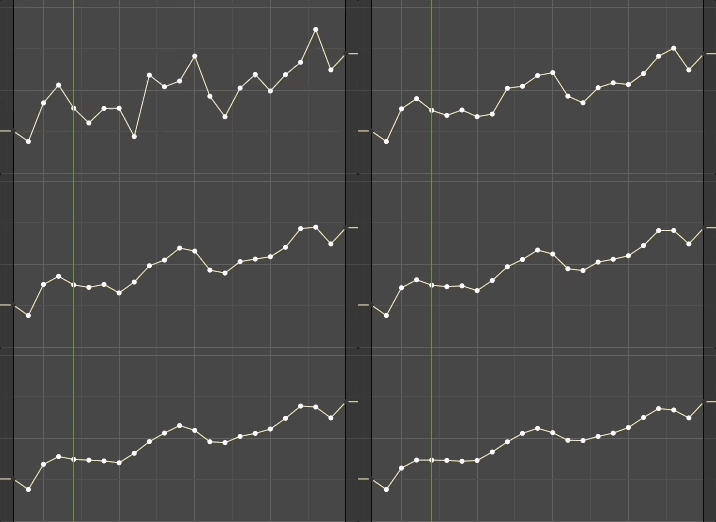
It will try to average the values of the keys to smooth out the fcurve. You might have to run the slider more than once to get a smoother result.
I'm working on a better smoothing method
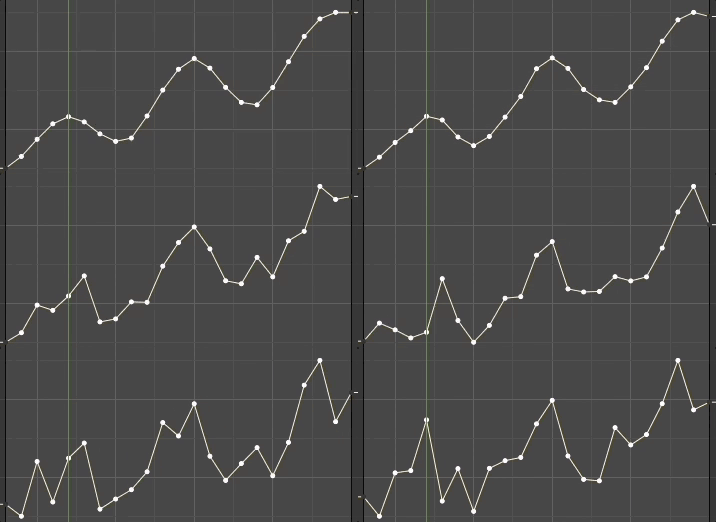
It adds random values to the selected keys. The more you move the slider to the right de more the intensity grows.
I'm working on a better noise method
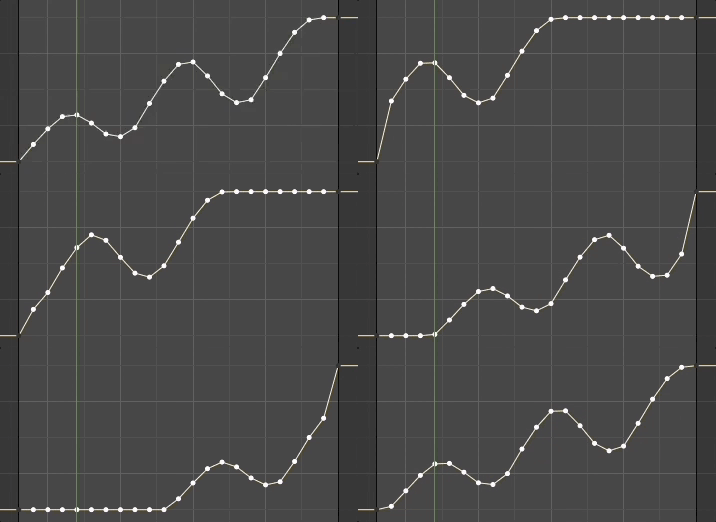
The effect is similar to sliding the keys in time, but with this option, the keys stay in the same frame. It works better when there are a lot of keys.
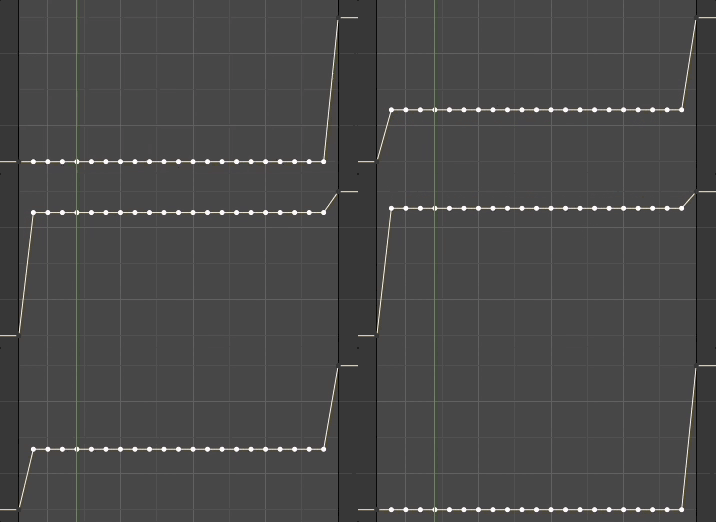
A simple linear transition between the neighboring keys
Aside from accessing those tools using the slider on the panel, you can also use shortcuts for faster workflow. you can see the list on the question icon on the main panel:
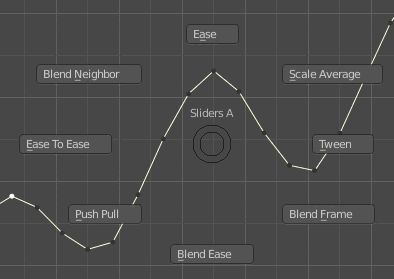
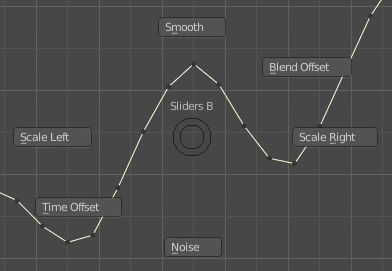
If pie menus are your thing, we have also provided two of them
When you use either pie menus or shortcuts the main slider (that one that always shows) will change to that tool.
But in case you like having the option to interact with different sliders at the same time, we have provided you with that option too. By clicking the plus icon on the main panel you can add extra sliders (with the minus you can remove them). Each extra slider can use any of the tools with the preferences adjusted independently (so you can have the same tools in different sliders with different preferences).
There is another workflow where you can jump from key to key and adjust each one just with the keyboard. For that there are some shortcuts:
Toward the Left Neighboring Key: (-)
Toward the Right Neighboring Key: (+)
Match Left Neigboring Key: (shift -)
Match Right Neigboring Key: (shift +)
For this to work make sure the option "Non-selected keys on frame" is checked in the main panel settings.
If you choose the "Non-selected fcurves" option then you can affect all the keys in the frame even if the fcurve is not selected.
This shortcuts can work on multiple selected keys too, but make sure the "Non-selected keys on frame" is unchecked or you will also modify the keys on the current frame and maybe that is not what you want.
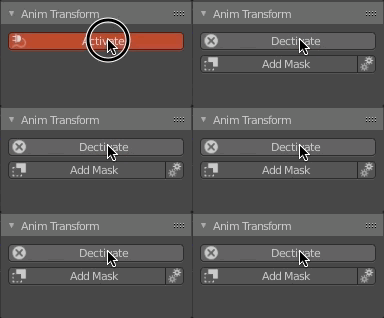
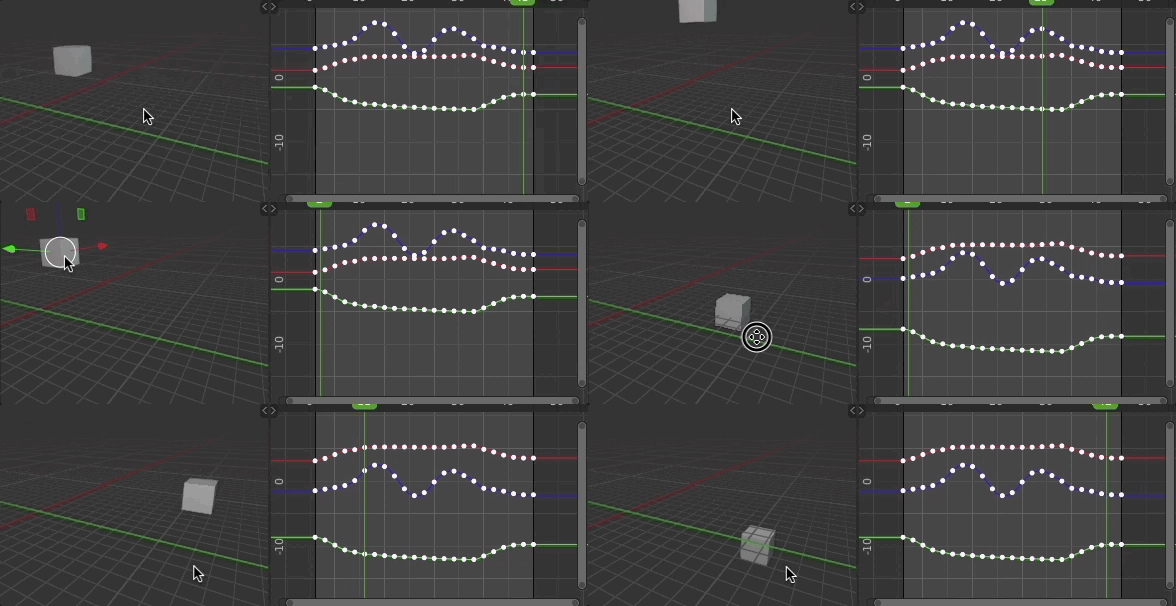
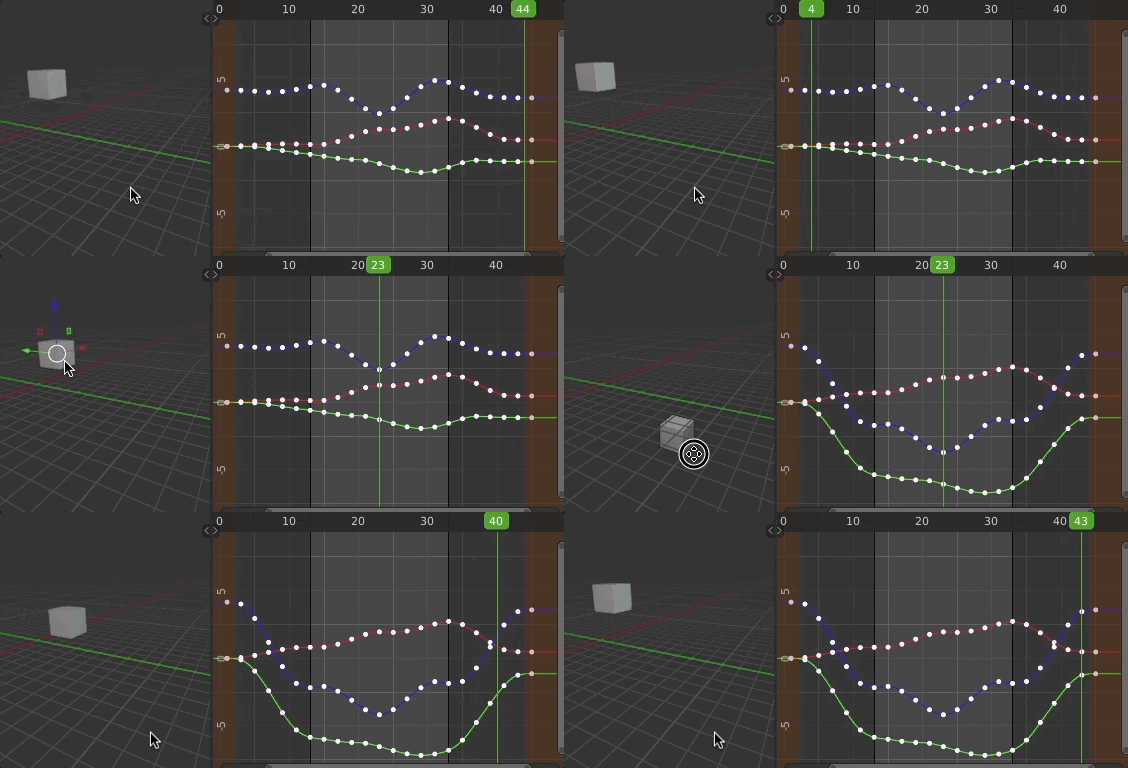
This tool freezes time, so any transformation you do to an animated object or armature affect the entire animation equally
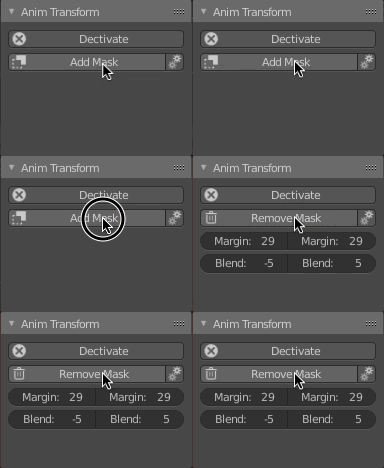
If you add a mask to it just that section will be affected.
The mask has the option of adding a blending border the fades the effect of the tool.
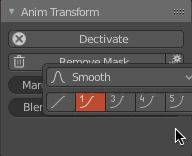
You can control the shape of the blending using the mask option menu
Thanks for the inspiration to all the people that have created similar tools for other software. I wanted to bring the fun to Blender and share it with the community. I hope you find these tools useful

