In Linux pwn, I often need to debug dynamically between chal and exploit script
The steps are:
- Add a
raw_input('>')to exploit python script - Run exploit script
- Find out chal process
pid- Linux
pidof chal
- Windows
- Use tools (e.g. 火絨劍, Process Explorer)
- Linux
- Attach debugger to this process with the
pid- Linux
gdb at $(pidof chal)
- Windows
- Use tools (e.g. WinDbg)
- Linux
- The debugger stops at internal of something like
read()of standard lib- Windows
- There are many threads in process, and debugger may not stop at the thread executing
read() - Switch to this thread with command like
~0s
- There are many threads in process, and debugger may not stop at the thread executing
- Windows
- Input
finish(command of gdb), until the process return to some function likemain()- Windows WinDbg
Shift+F11
- Windows WinDbg
- Check whether my exploit script writes bytes to memeory correctly
- gdb
x/10xg $ebp-0x20
- WinDbg
d @esp-0x20
- gdb
Check out ExploitMe Demo ;)
Version 1909 (OS Build 18363.657)
Basic pwntools for Windows written in python 2.7
- PythonForWindows
git clone https://github.com/hakril/PythonForWindows.git python setup.py install - capstone
pip install capstone
git clone https://github.com/masthoon/pwintools.git
- Revise setup.py from
to
install_requires=[ 'PythonForWindows==0.4', ],install_requires=[ 'PythonForWindows==0.5', ],
python setup.py
Install WinDbg Preview in Microsoft $tore
ncat is part of nmap
Install nmap
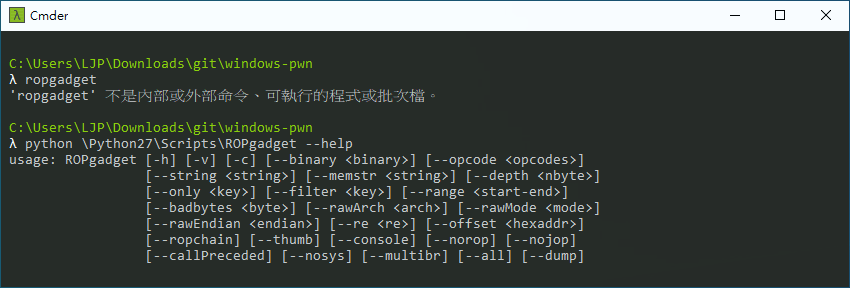
Install ROPgadget
pip install ropgadget
The path is C:\Python27\Scripts\ROPgadget
You can use other process explorer tools as a alter
Install PE-bear
ExploitMe_1.exe is a simple program with buffer overflow vuln
This is a similar example of this book, at page 89
The book also teaches you to build shellcode ;)
- Disable
DEPSet VS2019 project property- Linker
- Advanced
- Data Execution Prevention (DEP): No (/NXCOMPAT:NO)
- Advanced
- Linker
- Disable
GSSet VS2019 project property- Configuration Properties
- C/C++
- Code Generation
- Security Check: Disable Security Check (/GS-)
- Code Generation
- C/C++
- Configuration Properties
- Disable
ASLRRun setting.bat
First, let's disable ASLR
.\setting.bat
-
Attach to this process with WinDbg
- Check
Show processes from all users
- Check
-
Return to main
-
Continue process
-
Use ROPgadget to find gadgets in kernel32.dll
- In this demo we disable ASLR, so we can use gadget in dll
python \Python27\Scripts\ROPgadget --binary \Windows\SysWoW64\kernel32.dll > gadget -
Find
push esp ; ret0x6b86ade5 : push esp ; ret -
Find Image base of
\Windows\SysWoW64\kernel32.dll -
Do the steps of debug to step 5 again
-
- Remember to revise exploit script


