Yet Another Ambilight Clone. Many did it before, many will do it after, this is how I did it
Hardware:
- Ws2812b LED Strip from amazon
- esp8266
The LEDs require 5V DC, using a reasonably sized screen and appropriate brightness a USB3 outlet should be able to power this.
EDIT After changing the LED count from 60 to 144 using USB to power the thing is not possible anymore
Communication is done via UDP over Wifi to avoid using a Serial to USB adapter. The color information is calculated by a python script, applying some smoothing before sending.
The esp is connected to wifi and recieves color information via UDP. UDP avoids any overhead and is fine to use here since robustness is not a big concern. Conveniently rgb values are encoded as a triple of bytes as the individual values range from 0-255 anyway, thus avoiding string encoding overhead.
Screencapture is done using https://pypi.org/project/d3dshot/, a fast screencap library. After screencapture the image is cropped to the borders and filtered. This method achieves ~60 fps.
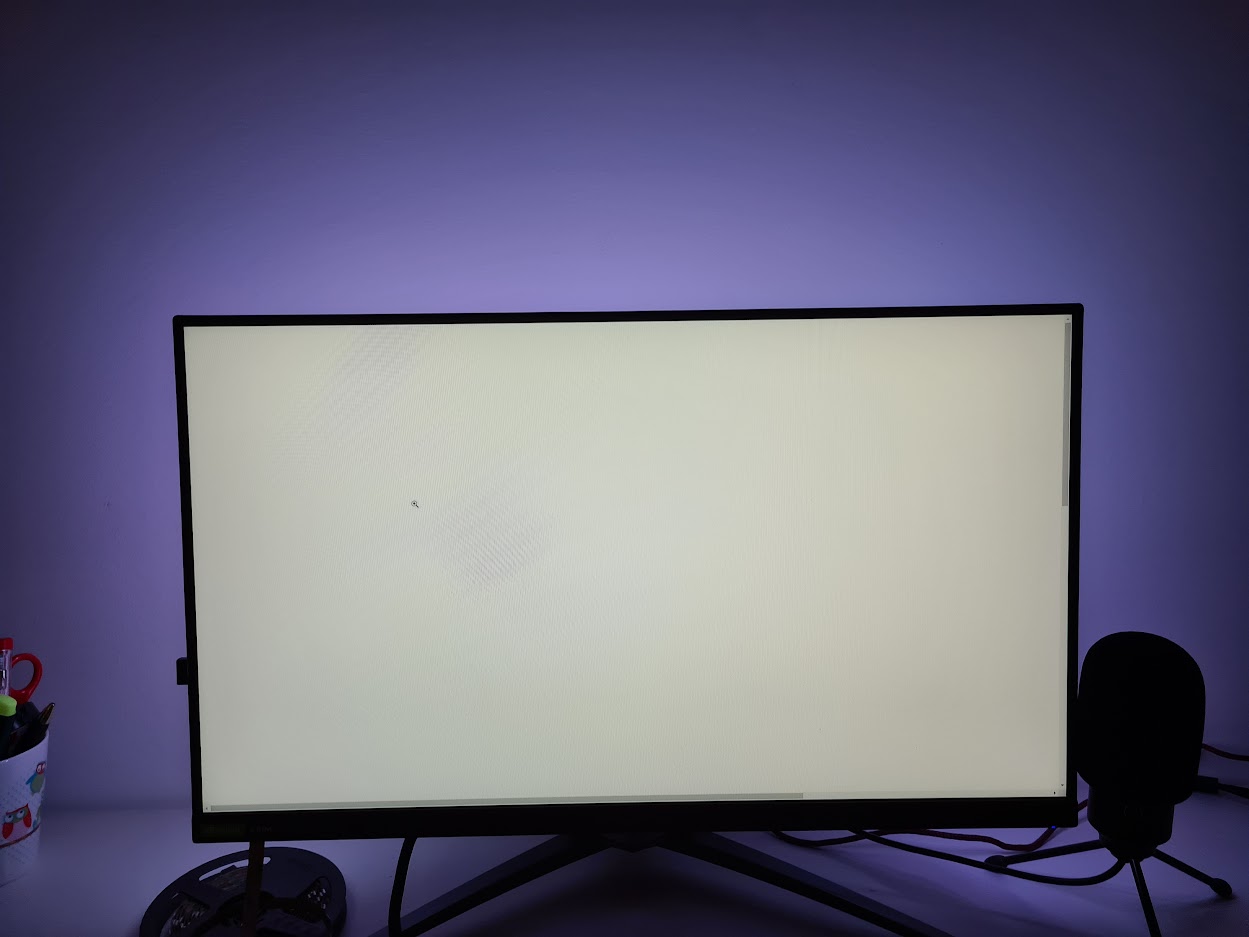
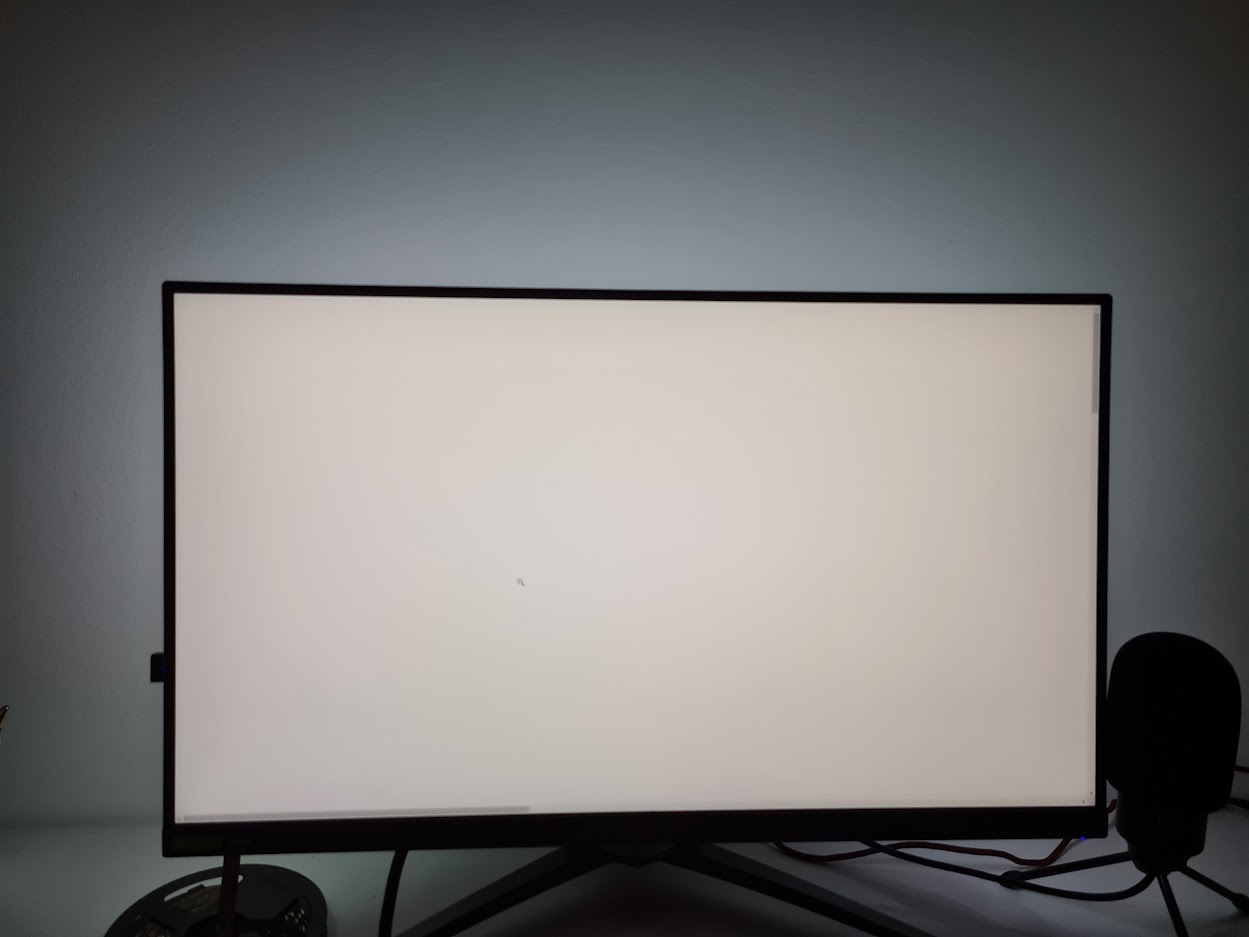
Most RGB strips dont display perfect white at 255 255 255. This needs to be calibrated, for me the best values seem to be 200 255 100. This varies from product to product, adjust the calibration by displaying a white picture on your screen and checking if the backlight matches.
 |
 |
|---|---|
| Before calibration | After calibration |
The MQTT interface makes the devices usable as a normal light source in HomeAssistant. Currently there are 2 modes implemented.
-
RGB Mode: Displays the selected color uniformly
-
Ambient Mode: Listens for UDP messages containing colors
It can be added throught the following addition to the configuration.yaml file:
light:
  - platform: mqtt
    schema: json
    name: mqtt_ambient_1
    state_topic: "light/ambient1"
    command_topic: "light/ambient1/set"
    brightness: true
    rgb: true
    effect: true
    effect_list: ["rgb", "ambient"]