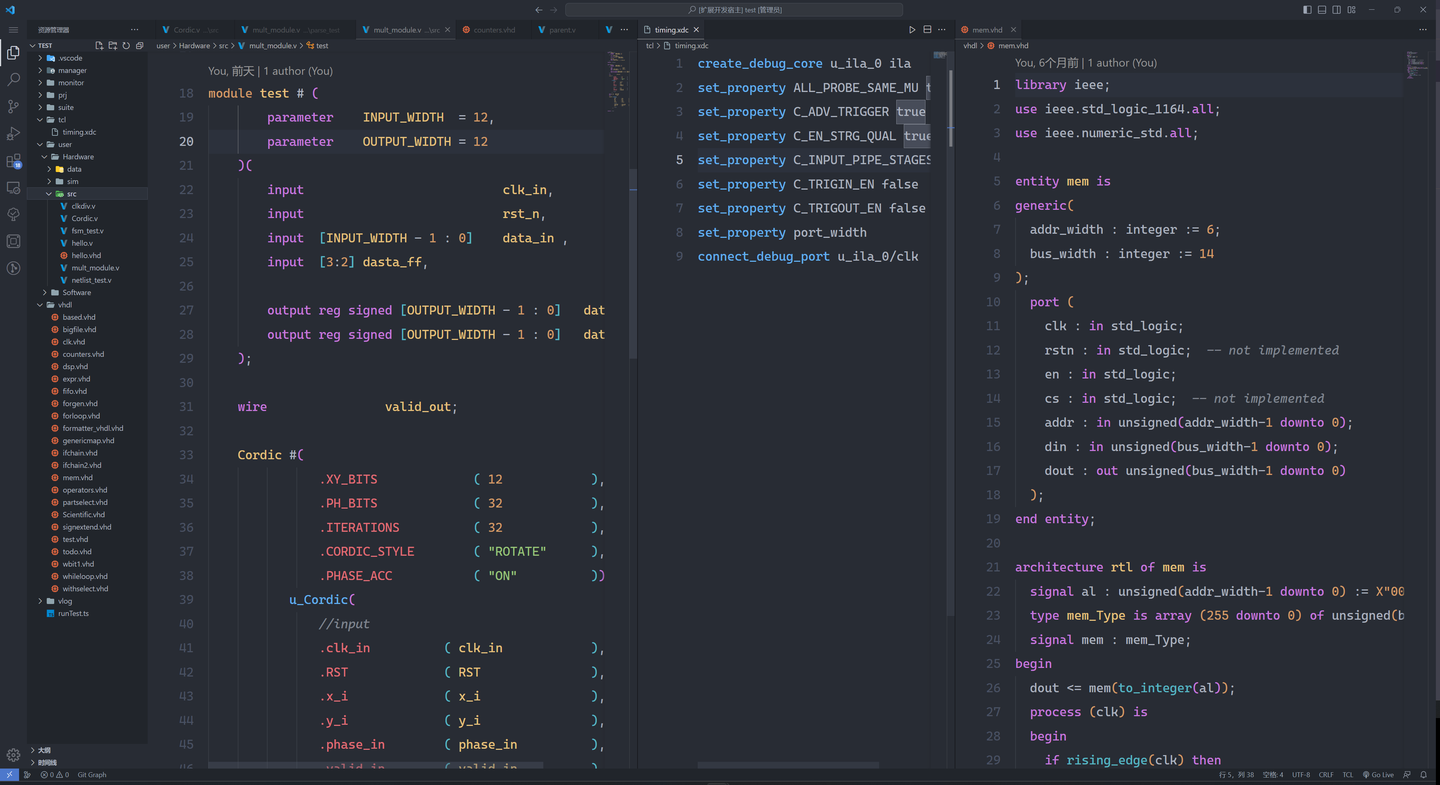
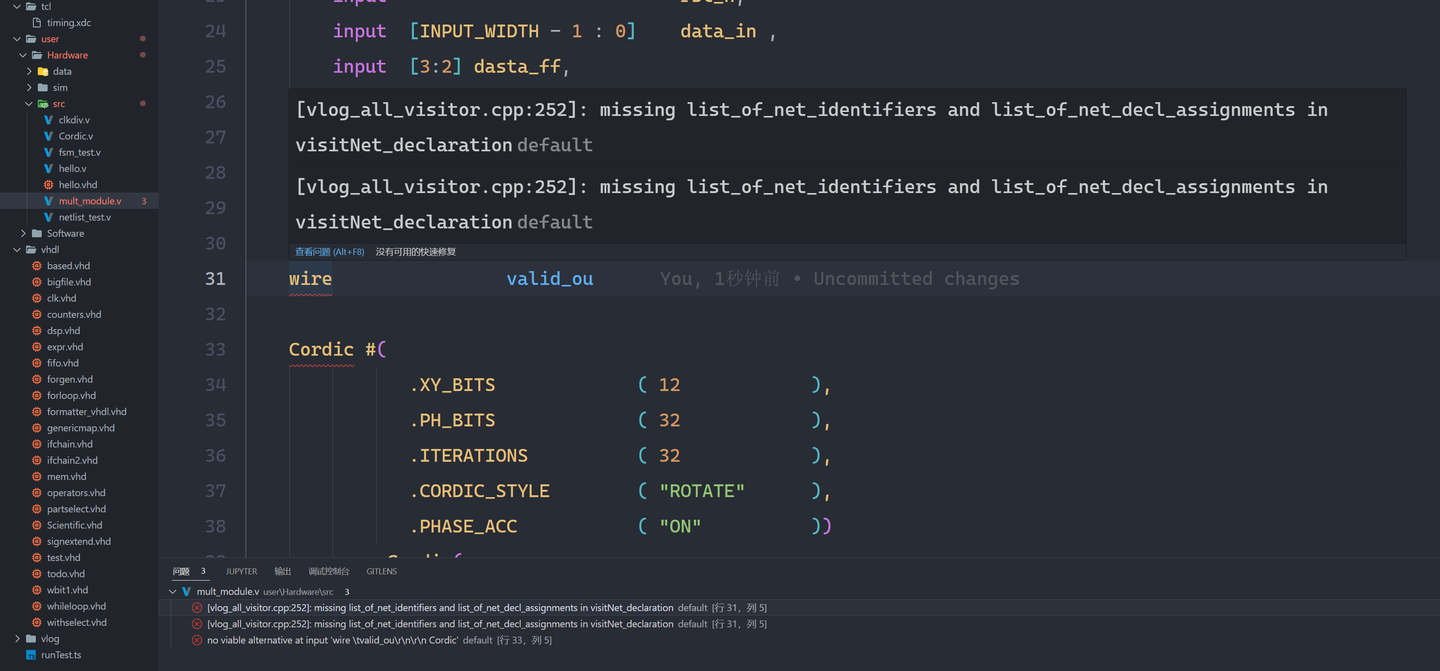
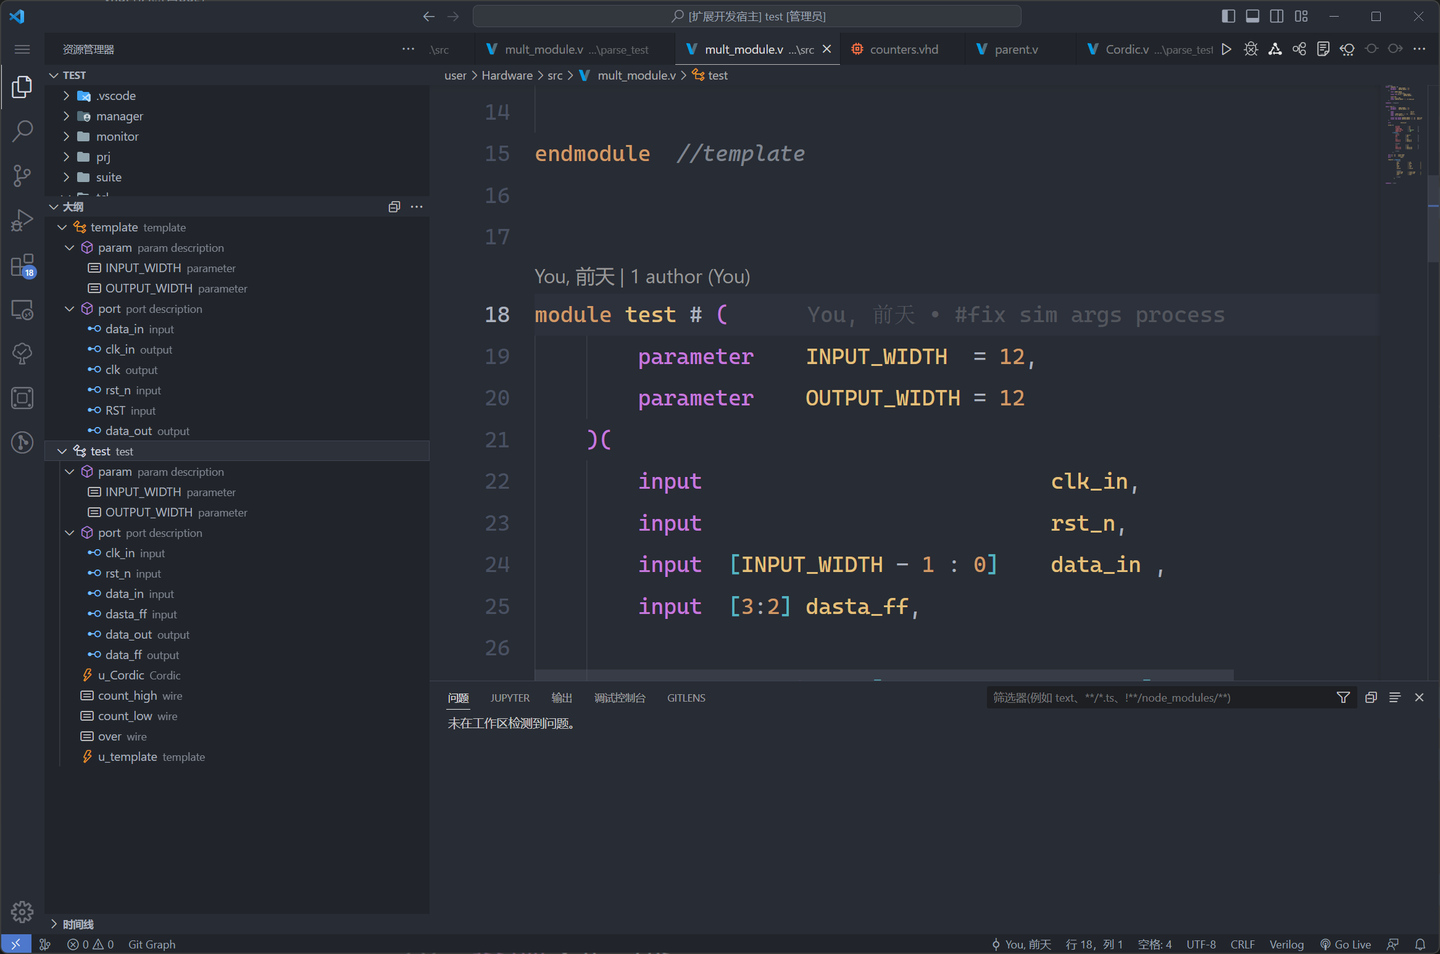
#! https://zhuanlan.zhihu.com/p/365805011
-
Installation address Installation address
-
If you have any questions, please leave a message on the issues
-
If you like it, click on the star
-
email: sterben.nitcloud@gmail.com | zhelonghuang@mail.ustc.edu.cn
-
QQ group No.: 932987873
Any problems you have met during the use, you can contact us in QQ group, and we will reply when I see it.
First of all, thank you for your use and feedback. Any better ideas about this plugin can be published under both Zhihu and github, if it is the use of the problem please move to github instead of Zhihu. Thank you for your cooperation.
In addition, when posting an issue, please provide a detailed description of the problem you are experiencing, focusing on the following sections
-
Operating environment
-
Version used
-
Error message (source: vscode itself and Toggle Developer Tool)
-
The specific problem and the reason for it
-
Please paste the source code if it is a special case (to better reproduce the problem)
-
Please show as many screenshots as possible
-
Embedded VCD waveform display
-
Optimized Yosys integrated interface
-
More friendly finite state machine interface
-
More comprehensive syntax checking
-
Port checking
-
Embedded cross-platform iverilog simulator
Search for “Digital IDE” in the Vscode plugin store and click download.
Note: The plug-in itself has been optimized to a size of 11MB. The plugin is download-to-use, and no environment is required unless other third-party tools (such as: vivado, iverilog, etc.) are needed, which need to be installed by yourself.
This plugin defines the project configuration file as property.json, which is only placed in the .vscode folder.
Use * TOOL: generate property file * to generate the initial property. json template file. The generated file will be placed directly in the .vscode folder.
If you have your own template, you can customize the template file using * TOOL: Overwrite the InitPropertyParam *.
After version 0.3.0, the plugin will automatically ask users whether to create property.json every time it starts.
###Description Of the Project Configuration File
New configuration properties will be used after version 0.3.0
// porperty.json  All attributes explained
{
    // Third-party tool chains currently in use
    "toolChain": "xilinx",

    // Project naming
    // PL : Programming logic design part is FPGA before
    // PL : Processing system design part is the previous SOC
    "prjName": {
        "PL": "template",
        "PS": "template"
    },

    // Custom project structure, without this attribute it is considered as a standard file structure (see below for details)
    // Project path, hardware and software design path
    // All properties support ${workspace}, ${plname}, ${psname}, relative paths
    // ${workspace} : path to the current workspace
    // ${plname}、${psname} :the name of the PL or PS project
    "arch" : {
        "prjPath": "",
        "hardware" : {
            "src"  : "",  // Place the design source file, note: src is one level below IP&bd
            "sim"  : "",  // Place the simulation file, which will be directly reflected in the tree structure
            "data" : ""   // Place constraints and data files, constraints will be automatically added to the vivado project
        },
        "software" : {
            "src"  : "",
            "data" : ""
        }
    },

    // Code library management, support for remote and local two kinds of call (see the following library management for details)
    // Use UI to configure, not recommended for users to change directly
    "library" : {
        "state": "", // local | remote
        "hardware" : {
            "common": [], // Common libraries provided by the plugin
            "custom": []  // User's own design library
        }
    },

    // Xilinx IP repository can be add directly to the IP repo of vivado
    // Only IP repositories of ADI and ARM are supported currently(adi | arm)
    "IP_REPO" : [],

    // When the design uses PL + PS that is SOC development
    // Mixed development when the core is not none
    "soc": {
        "core": "none",
        "bd": "",
        "os": "",
        "app": ""
    },

    // Whether the information is output at the terminal when the project is realized synthetically
    "enableShowLog": false,

    // 设备类型 可以是如下几种:
    // "none",
    // "xc7z020clg400-2",
    // "xc7a35tftg256-1",
    // "xc7a35tcsg324-1",
    // "xc7z035ffg676-2",
    // "xc7z020clg484-1"
    "device": "none"
}
One of the most important attributes is the ARCH attribute, which is considered a user-defined project structure when configured. For user-defined structures, all file changes are managed by the user. When the ARCH attribute is not configured, it is considered to use the standard file structure recommended by the plugin. The description of the standard file structure is as follows.
.vscode
  └── property.json   -- Project configuration file  user-defined (or stored in the root of the workspace)
prj                   -- Store project files
  ├── simulation      -- Store intermediate files for third-party simulation tool runtime
  ├── intel           -- Store intel project files
  └── xilinx          -- Store xilinx project files
user                  -- Store user-designed source files which are user-defined
  ├── ip              -- Store project ip code (managed by vendor tools, but moved to the same level of src by the plugin)
  ├── bd              -- Store the source code of project block designer(managed by vendor tools, but moved to the same level of src by the plugin)
  ├── data            -- mainly for data files and constraint files
  ├── sim             -- Store user's simulation code
  └── src             -- Store user's design source code
       └─ lib         -- Store user's hardware library source code
When the SOC.core in the property.json file is not set to "none" and the configuration file is saved, the file structure will be automatically changed to a hybrid PS+PL design structure. Under this structure the user folder will change to the following structure:
user               -- Store user-designed source files, user-defined
  Hardware         -- mainly for hardware logic design
     ├── ip        -- Store project ip code (managed by vendor tools, but moved by the plugin to the same level directory as src)
     ├── bd        --  Store project block designer source code (managed by vendor tools, but moved to src sibling directory by plugins)
     ├── data      -- mainly for data files and constraint files
     ├── sim       -- Store user's simulation code
     └── src       -- Store user's design source code
          └─ lib   --  Store user's hardware library source code
  Software         -- Store software-driven designs
     ├── data      -- mainly for data files and constraint files
     └── src       -- Store user's project source code
[Note]: When the value of SOC.core is changed from non-none to none, the Software folder is not needed by default and will be deleted (the plugin will also give a prompt accordingly), so please make a backup. Also, IP and bd design will be placed to the directory above src, so it is better not to set src as the root path of the workspace.
In addition, if the path configured by the user under ARCH is wrong or invalid, the plugin will directly change to the structure path under standard. When the user does not configure the property.json file, the file structure will default to the path of the workspace, and this behavior may cause a lot of performance consumption, please pay attention to it.
Provide the basic language services required for front-end code design
The following languages are now supported for highlighting
- HDL
- verilog
- systemverilog
- VHDL
- TCL
- xdc
- sdc
- fdc (including xdc、sdc、fdc)
After version 0.3.0, the plugin will support a built-in syntax diagnostic tool that does not require downloading any third-party tools. The supported syntax includes:
- verilog
- vhdl (bugs remain)
- systemverilog (developing)
The outline of the current HDL code can be seen on the left side of the workspace to quickly locate the module or variable you need to see.
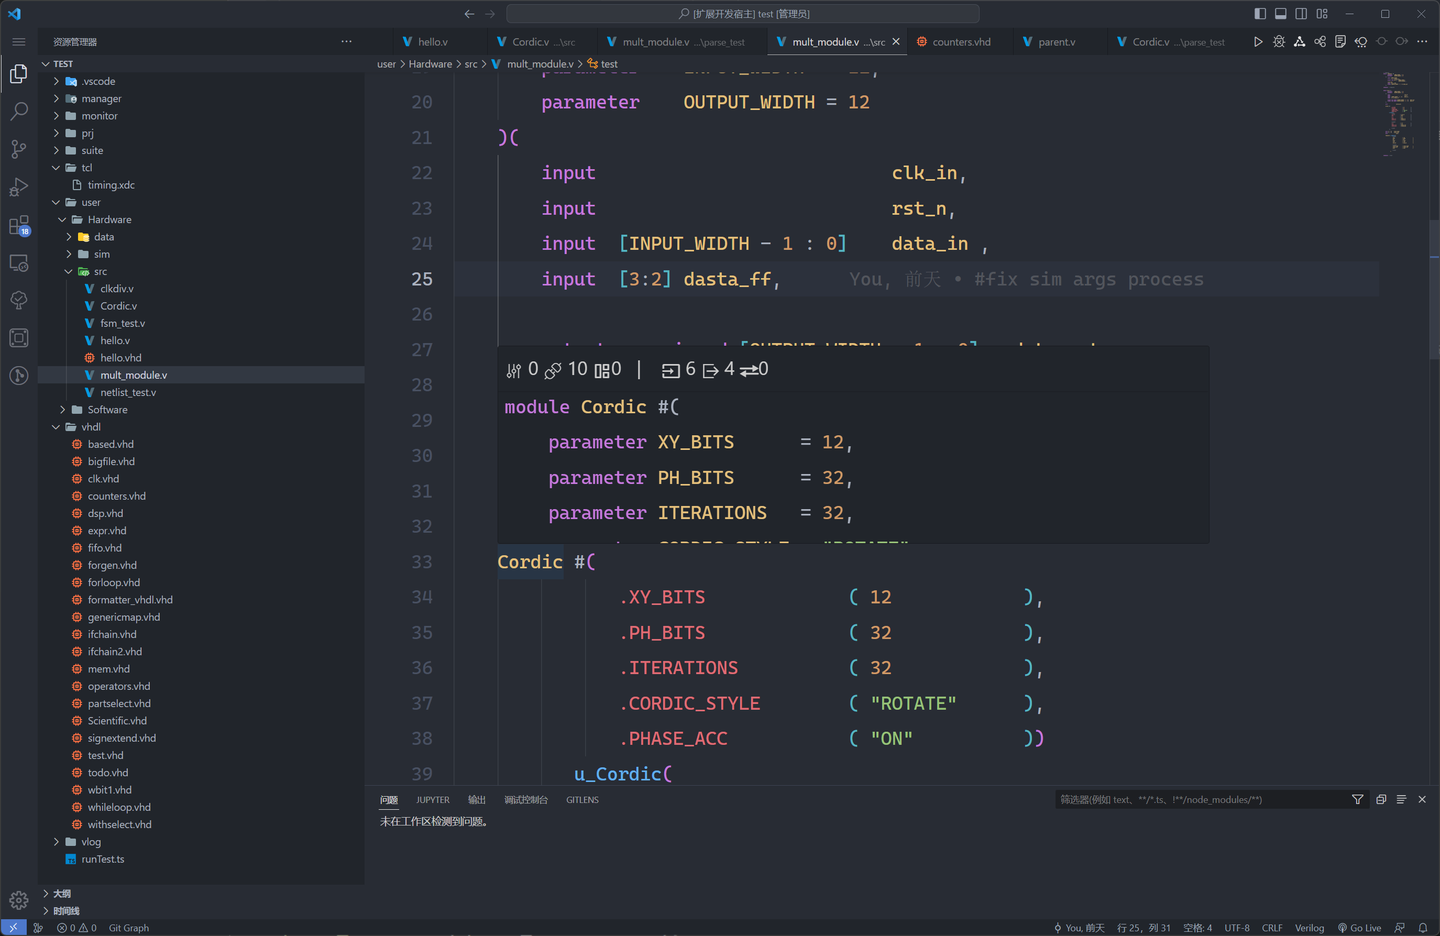
When you move the mouse over a variable, macro, example module, etc. that you want to view, the declaration definition of the current variable is displayed.
If it is a module, information such as the number of ports of each type for the module is also displayed.
The prompts are as follows:
mark corresponding comment+mark corresponding content- binary, hexadecimal -> decimal
where contents of the comment corresponding to the marker are
- line comments after the line where the marker is defined
- line comments and block comments (stopping when a non-commented part is encountered) before the marker is defined
Hover tips use the built-in vlog and vhdl parser, which currently only support simple hover tips
The auto-completion provided by the plugin is divided into two parts:
- snippet file provided by the auto-complete, support for user-added
- keyword triggered auto-completion
.. Keyword triggers the completion of the port or parameter name of the exemplified module.- ``` Keyword triggers the completion of macro definition identifiers.
/key triggers path completion in include.
Currently, auto-completion is only supported in verilog and systemverilog for port parameter routines.
A description of the parameters that can be set for auto-completion:
function.lsp.completion.vlog.autoAddInclude- Whether or not to automatically add an include to the beginning of a file when instantiating a module, default is true.
function.lsp.completion.vlog.completeWholeInstante- Whether or not to complete all parameters and ports needed for the whole instantiation, default is true.
function.instantiation.addComment- Whether to add some comments after the instantiation, default is true.
function.instantiation.autoNetOutputDeclaration- Whether to automatically complete the definition of all output ports after instantiation, default is true.
If the hover tip support is valid, then it can support the definition jump.
However, there are some times when the definition jump cannot be done because the interpreter does not interpret the code correctly, so you can set linter to default and use the interpreter to check the correctness of the code syntax.
You can format the document with selected characters or full text. Vscode comes with shortcuts to open:shift + alt + f. Related setting description:
- verilog and systemverilog
function.lsp.formatter.vlog.default.style- verilog and systemverilog formatting types, supporting three types
kr,ansi,gun
- verilog and systemverilog formatting types, supporting three types
function.lsp.formatter.vlog.default.args- Other parameter inputs and vlog formatting use istyle's webassembly, so please refer to istyle for the parameters to be entered.
This function is based on istyle to achieve, so the full-text formatting is still not perfect, it is recommended to check the always statement block to format, and later will continue to fix related problems.
- vhdl
function.lsp.formatter.vhdl.default.align-comments- whether need to align comments
function.lsp.formatter.vhdl.default.indentation- the number of spaces corresponding to the tab
Currently only vhdl to Verilog translation is supported. If there is no output, it means that the syntax of vhdl is wrong, or there is a syntax that the plugin cannot parse.
Project management mainly needs to realize the following operations:
- Project construction
- project Manager (PS & PL)
- lib Manager (IP & bd)
- Simulation construction
- generate instance & tb file
- fast simulate
- Design support
- [x]tree Structure
- [x]netlist preview
- [x]Code to doc
- [x]fsm preview
- []fsm designer
- []waveform preview
The purpose of project building is to help users quickly build their own third-party projects, especially project Manager is related to third-party tool chain. Currently, the only compatible third-party tool is xilinx's vivado (other third-parties will continue to be supported in the future). However, lib Manager is to avoid repeatedly build a wheel and provide a function to facilitate the user to use some common HDL libraries provided by plugin, but also support the user to accumulate their own library.
Main purposes of the project manager are as follows:
- abstract out the function to reduce the learning cost of other three-party tools
- erase version differences, allowing more focus on the source code design
- Because as long as you have the configuration file and design source, you can restore the project under any vivado version.
[Note]: project Manager is strongly dependent on the property configuration file property.json, if missing, it will directly use the default (template) configuration.
For project management on the PL side, I have abstracted the following functions:
- launch ------ to start the whole project, or create it if there is no project, or open it directly if there is
- refresh ----- to refresh the whole project and update the design of the whole project
- simulate ---- to simulate the whole project, without opening the GUI interface by default `(using the simulator in TOOL_CHAIN)
- simGUI ----- open the GUI interface after successful simulation
- simCLI ----- does not open the GUI interface after successful simulation
- build ------- to build the whole project and finally output the bit stream file
- synth ------ to synthesize the project
- impl ------- to implement the project
- bit -------- to export the project's bitstream file
- program ----- download the bitstream file to the FPGA/zynq board
(download and burn, but not solidify) - gui --------- open the GUI interface of the tool chain
- After opening the GUI, the terminal named
HardWareis not recommended to close by itself.- The whole GUI interface will be closed automatically after direct closure, and if not saved then the design may be lost.
- The plugin will not move your
IP and bd designto the same level ofHardware/src/after closing directly.
- After opening the GUI, the terminal named
- exit -------- Closing the project is only valid under the CLI, after opening the GUI, terminal control is taken over by the GUI.
- After clicking
exitthe plugin will move yourIP and bd designto the same level ofHardware/src/. - If you close the terminal named
HardWaredirectly, the move ofIP and bd designswill not take place. - Note: You can also move your
IP and bd designsto the same level ofHardware/src/when Clean is in the function bar TOOL.
- After clicking
In addition to the above explicit functions, there are two implicit functions each in the architecture column, which are
Set as Top-------------- sets this file as the top-level design module of the current projectSet as Testbench Top---- sets the file as the top-level module of the simulation for the current project
Specially, Zynq devices support mixed PS+PL development. To cope with the mixed development, the plugin gives the soc configuration as follows:
"soc": {
    "core": "ps7_cortexa9_0",
    "bd"  : "zynq_default"
}
Using the configuration plugin as above will automatically build a bd project containing the zynq design to help users quickly build the platform.
Finally, about device selection, it can be configured in the property.json file under the device property.
The following are currently available:
- xc7z020clg400-2
- xc7a35tftg256-1
- xc7a35tcsg324-1
- xc7z035ffg676-2
- xc7z020clg484-1
But the supported devices are not limited to these, theoretically all the devices that vivado can support can be supported. You can write your device directly to the Device attribute, which will give you a warning if the device is not in the database, but will not prevent you from running. To remove the warning you need to add your device to the database with the FPGA:Add devices to the database command. Unneeded devices can also be removed from the database with FPGA:Remove the device from the database.
Related setting
prj.vivado.install.path --- Installation path of vivado
When vivado is installed, you can configure the installation path of vivado directly inside the plugin, or you can add vivado to the environment variables (recommended). If the path is not found by mistake, it is already added to the environment variables by default.
e.g. : D:/APP/vivado_18_3/Vivado/2018.3/bin/
[Note]: Use / to separate the paths and configure them to the bin directory.
prj.xilinx.IP.repo.path ---- User-designed IP libraries from xilinx
After configuring this property, the plugin will automatically add the path to the IP repo of vivado.
e.g. : D:/project/FPGA/.Lib/xIP
prj.xilinx.BD.repo.path ---- User-defined placement path for xilinx block design files
e.g. : D:/project/FPGA/.Lib/xbd
The plugin comes with HDL function library linking function.
The property.json file is configured as follows:
"library" : {
    "state": "", // local | remote(default)
    "hardware" : {
        "common": [],
        "custom": []
    }
},

"IP_REPO": [
    "arm", // including ip CM3DbgAXI & DAPLink_to_Arty_shield
    "adi"  // containing all device ip's under the adi company, with the included absolute paths removed Taken from adi2019_r1
],
It is not recommended that users configure the library properties in the property.json file by themselves. It is recommended to use the import library command, or the icon activation command in the following figure to do so.
The state represents whether the library file is loaded into the local workspace, or linked as a remote.
remoterepresents virtual inclusion from a remote (anything not under the workspace is considered remote, not remote on the network).- remote library files can be opened and changed (
Note:If the next import after the change is the code after the change) .
- remote library files can be opened and changed (
localmeans import the remote file into the project locally- placed in the lib under
arch.hardware.src, the changes will not affect the code in the remote library. [Note]: When changing from local back to remote the lib folder will be deleted (plugin will remind), please note.
- placed in the lib under
The property common represents the HDL function library that comes with the plugin, the code of this library is less mature and is for reference only. The lib paths that have been simulated and tested so far are as follows
- Soc
- Math/Cordic.v
- Math/Sort3.v
- Math/Sqrt.v
- Malloc/RAM/Shift_RAM
- Apply/DSP/Advance/Communicate/Modulate
- Apply/DSP/Base/DDS
- Apply/Image (need to include Sort3, Sqrt, Shift_RAM)
[Note]: When the input is a folder then it contains all the files under that folder. In addition, it is not recommended to change the code in this library directly, otherwise it will be overwritten again after the next plugin update, please be careful.
The property custom represents a user-defined HDL function library.
The use of this property requires the root directory of the user-defined library to be configured for prj.lib.custom.path under setting, and the absolute path of the file (folder) with the configuration under the custom property. The representation is as follows:
prj.lib.custom.path/${custom}
[Note]: When the input is a folder then it contains all the files under that folder.
Finally, for the IP_REPO property, this is the two official xilinx IP repo provided by the plugin to users, choose the one you want to configure, and the plugin will automatically add it to the IP repo of Vivado, which is convenient for users to develop directly without having to compile and import it by themselves.
The purpose of simulation building is to help users to build their own simulation framework quickly and get simulation results quickly.
Although auto-completion can realize the automatic completion of the example, but it can not view the entire project all the available modules and select from them, so we provide automatic example of the function; In addition, we also provide automatic generation of the selected module testbench function.
The plugin supports cross instantiation between different languages, such as instantiating verilog and vhdl modules in a verilog file, or Verilog and vhdl modules in a vhdl file.
The steps are as follows:
- Place the cursor where the text needs to be instantiated.
- Start the command box by
F1, type Instance, and selectTOOL:Instance.- or use the shortcut
Alt + I - or right-click on the module to be instantiated and select
Instance
- or use the shortcut
- Enter the keyword of the module to be instantiated (the plugin will automatically match it).
- Select the module you want to instantiate.
[Note]: When using shortcut keys, you need to check if there is a shortcut key conflict.
In addition to automatic instantiation, the plugin also provides a simulation template for verilog, which is used as follows:
- Start the command box by
F1, type Testbench, and selectTOOL:Testbench.- or right-click under the file to be generated and instantiated and select
Testbench.
- or right-click under the file to be generated and instantiated and select
- Select the type of simulation file and the location where you want to store it, and replace it directly if it exists.
If you want to change the template of testbench, proceed as follows:
Use the shortcut F1 to start the command box, then select TOOL:Overwrite the template of testbench to choose the type of simulation file you want to change. This will open the initialization file of the testbench file, what you need to do is saving the changes based on this. In addition, please keep the //Instance flag, which is used to identify the location to be instantiated.
The intelligent connection between the tb file and the instantiated module will be considered later.
The purpose of this feature is to enable fast simulation of a single module, or a small project consisting of several modules. Currently the only supported simulation tool is iverilog, which will be continuously updated to add new support.
Iverilog Fast Simulation
- If you want to use this feature, please download iverilog by yourself and add environment variables.
- VCD rendering is currently using wavetrace, a vscode plugin, the next version will introduce an embedded waveform renderer that we have developed, and it is completely free.
- In term of Multi-file simulation, we recommend not to write include, if you write include, please add the folder path of all included files in property.json, for example:
{
	...
    "iverilogCompileOptions": {
        "standard": "2012",
        "includes": [
            "${workspace}/src",
            "${workspace}/src/Controller",
            "${workspace}/src/DataPath"
        ]
    },
    ...
}Display the project structure of the current workspace in terms of modules, show the containment and inclusion relationship between HDL files in terms of hierarchy, and click to open the corresponding file.
Note: The treeView only displays the HDL files in the user-specified or default workspace folder in property.json, the modules in other files will not be displayed in the treeView.
The plugin uses yosys 0.21 kernel (open source yosysjs 0.5 version) to synthesize the specified project (can run on all platforms), display the synthesized network diagram and support include and multi-file projects.
How to use
- Click the icon in the upper right corner to create the panel
- Or select the module you want to display in the project structure, or right click in the file and select
show netlist.
The current version of the netlist front-end is not perfect, future versions will optimize the front-end UI.
Auto-documentation currently only supports verilog and wavedrom visualization, and also supports the following three export formats:
- markdown
- html
If you need to export pdf, please fill the startup path of your local Google Chrome or Edge browser into the parameter markdown-pdf executable path. As most pdf readers do not support color changing background, please export your pdf in light color theme:
In windows 11, the default startup path for Edge is
C:/Program Files (x86)/Microsoft/Edge/Application/msedge.exe.
This feature visualizes the finite state machine in a project and allows you to click on the shapes in the diagram to jump around.
The front-end is currently quite minimal and the front-end UI of the FSM feature will be optimized in the future.
-
Nitcloud: Product Optimization and Requirements Engineering.
-
Kylin: HDL Syntax Parser and Wasm Construction.
-
LSTM-Kirigaya: Digital-IDE kernel implementation and UI design.


