😄 Friendly Node Installer: Helps you installs a Ethereum node (Nimbus+Nethermind) stack in just minutes. MEVboost included.
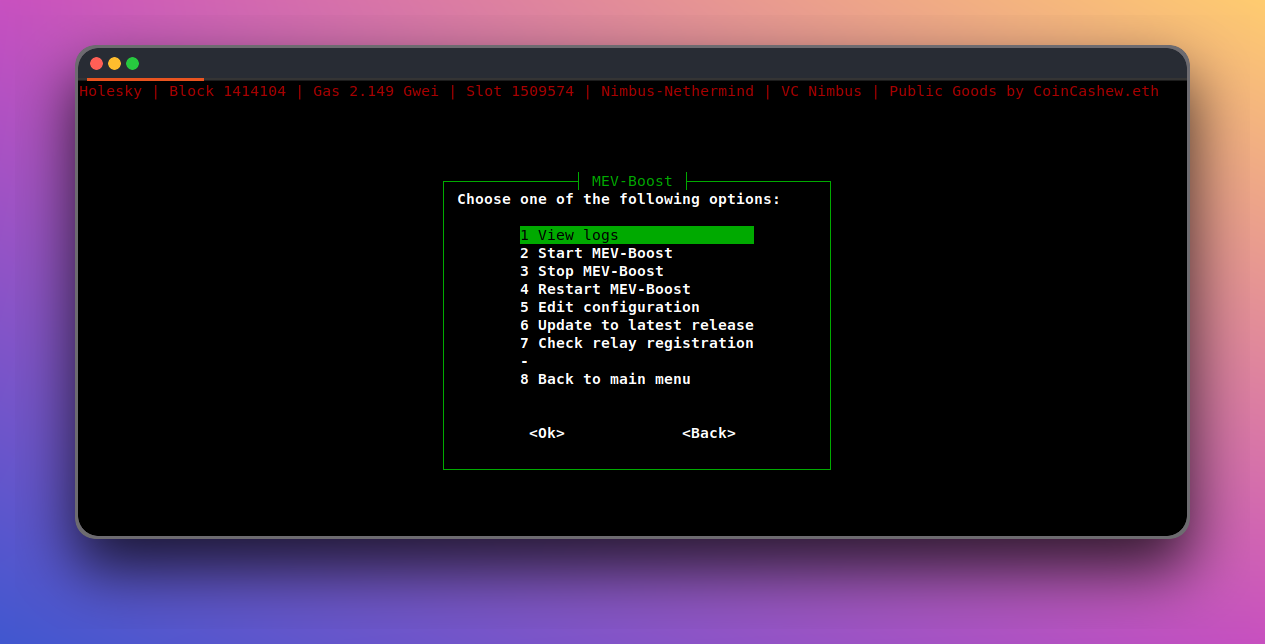
💾 Ease of use: No more remembering CLI commands required. Access common node operations via a simple text user interface (TUI).
🦉 Fast Updates: Quickly find and download the latest consensus/execution release. Less downtime!
🎉Compatibility: Behind the scenes, node commands and file structure are identical to V2 staking setups.
Already a running a Validator? EthPillar is compatible with a Coincashew V2 Staking Setup.
Main Menu
- Study Ethstaker's Staking for Beginners
- Review how staking works and the hardware requirements
- A Linux Ubuntu installation.
- Tested with Ubuntu 24.04 LTS
- Also appears compatible with armbian, Linux Mint, Debian
- Support for AMD64 and ARM64 architecture
- Recommend at least 16GB RAM for ARM64 sbc
Open a terminal window from anywhere by typing Ctrl+Alt+T.
To install, paste the following:
/bin/bash -c "$(curl -fsSL https://raw.githubusercontent.com/coincashew/EthPillar/main/install.sh)"Install updates and packages:
sudo apt-get update && sudo apt-get install git curl ccze bc tmuxClone the ethpillar repo and install:
mkdir -p ~/git/ethpillar
git clone https://github.com/coincashew/ethpillar.git ~/git/ethpillar
sudo ln -s ~/git/ethpillar/ethpillar.sh /usr/local/bin/ethpillarethpillar{% hint style="success" %} Congrats on installing a EthPillar, making nodes and home staking easier! {% endhint %}
All types of node operators: Solo staking, Full node, CSM Staking Node
Step 1: Configure your network, port forwarding and firewall.
- With EthPillar, configuration can be changed at:
- Tools > UFW Firewall > Enable firewall with default settings
- Port forwarding is manually configured, depending on your router.
- Confirm port forwarding is working with Tools > Port Checker
- Alternatively configure manually per the manual guide. Click here for detailed network configuration.
Step 2: Configure your BIOS to auto power on after power loss
Actual steps vary depending on your computer's BIOS. General idea here: https://www.wintips.org/setup-computer-to-auto-power-on-after-power-outage/
Step 3: Enable Monitoring and Alerts (Optional)
Found under:
- Tools > Monitoring
Step 4: Benchmark your node (Optional)
Ensure your node has sufficient CPU/disk/network performance.
- Tools > Yet-Another-Bench-Script
Lido CSM Staking Node Operators
Step 1: Generate Validator Keys:
- Generate new CSM validator keys for the Lido withdrawal vault on Holesky (0xF0179dEC45a37423EAD4FaD5fCb136197872EAd9).
Ethpillar > Validator Client > Generate / Import Validator Keys
Step 2: Upload JSON Deposit Data:
- Upload the newly generated deposit data file for your CSM keystores to the Lido CSM Widget. https://csm.testnet.fi
- Provide the required bond amount in ETH/stETH/wstETH.
Step 3: Monitor Validator Key Deposit:
- Wait for your CSM validator keys to be deposited by Lido.
- Ensure your node remains online during the process.
Additional steps for Solo Stakers
Step 1: Setup Validator Keys
- Familarize yourself with the main guide's section on setting up your validator keys.
- When ready to generate your keys, go to EthPillar > Validator Client > Generate / Import Validator Keys
Step 2: Upload deposit_data.json to Launchpad
- To begin staking on Ethereum as a validator, you need to submit to the Launchpad your deposit_data.json file, which includes crucial withdrawal address details, and pay the required deposit of 32ETH per validator.
Step 3: Congrats!;
- Now you're waiting in the Entry Queue https://www.validatorqueue.com
- Check out the next steps from the main guide for further knowledge. Especially the FAQ's "Wen staking rewards?"
How to switch between testnet and mainnet with EthPillar ?
To switch to mainnet, there are two recommended methods.
- Cleanest and most problem-free option: Reformat Ubuntu OS and re-install EthPillar.
- Use EthPillar: Navigate to System Administration > Change Network
Are you a EthPillar Enjooyer? Support this public good by purchasing a limited edition POAP!
Your EthPillar Enjoyoor's POAP
Purchase link: https://checkout.poap.xyz/169495
ETH accepted on Mainnet, Arbitrum, Base, Optimism. 🙏
Have questions? Chat with other home stakers on Discord or open PRs/issues on Github.
Open source source code available here: https://github.com/coincashew/EthPillar
If you'd like to support this public goods project, find us on the next Gitcoin Grants.
Our donation address is 0xCF83d0c22dd54475cC0C52721B0ef07d9756E8C0 or coincashew.eth
{% tabs %} {% tab title="TUI Update" %} Upon opening EthPillar,
- Navigate to System Administration > Update EthPillar and then quit and relaunch. {% endtab %}
{% tab title="Manual Update" %} From a terminal, pull the latest updates from git.
cd ~/git/ethpillar
git pull
{% endtab %} {% endtabs %}
We appreciate any help! To join in:
- Star the project on GitHub.
- Share the project on X or reddit. Talk about your experiences with solo staking.
- Provide feedback on Github.
- Submit PRs to improve the code.
Shout out to accidental-green for their pioneering work in Python validator tools, which has unintentionally ignited the inspiration and direction for this project. We are building upon their innovative foundations by forking their validator-install code. A heartfelt thanks to accidental-green for their game-changing contributions to the open-source Ethereum ecosystem!


