“Wonder. Go on and wonder.” ― William Faulkner, The Sound and the Fury
In this lab, you'll create an app where you'll work with frames and bounds in iOS.
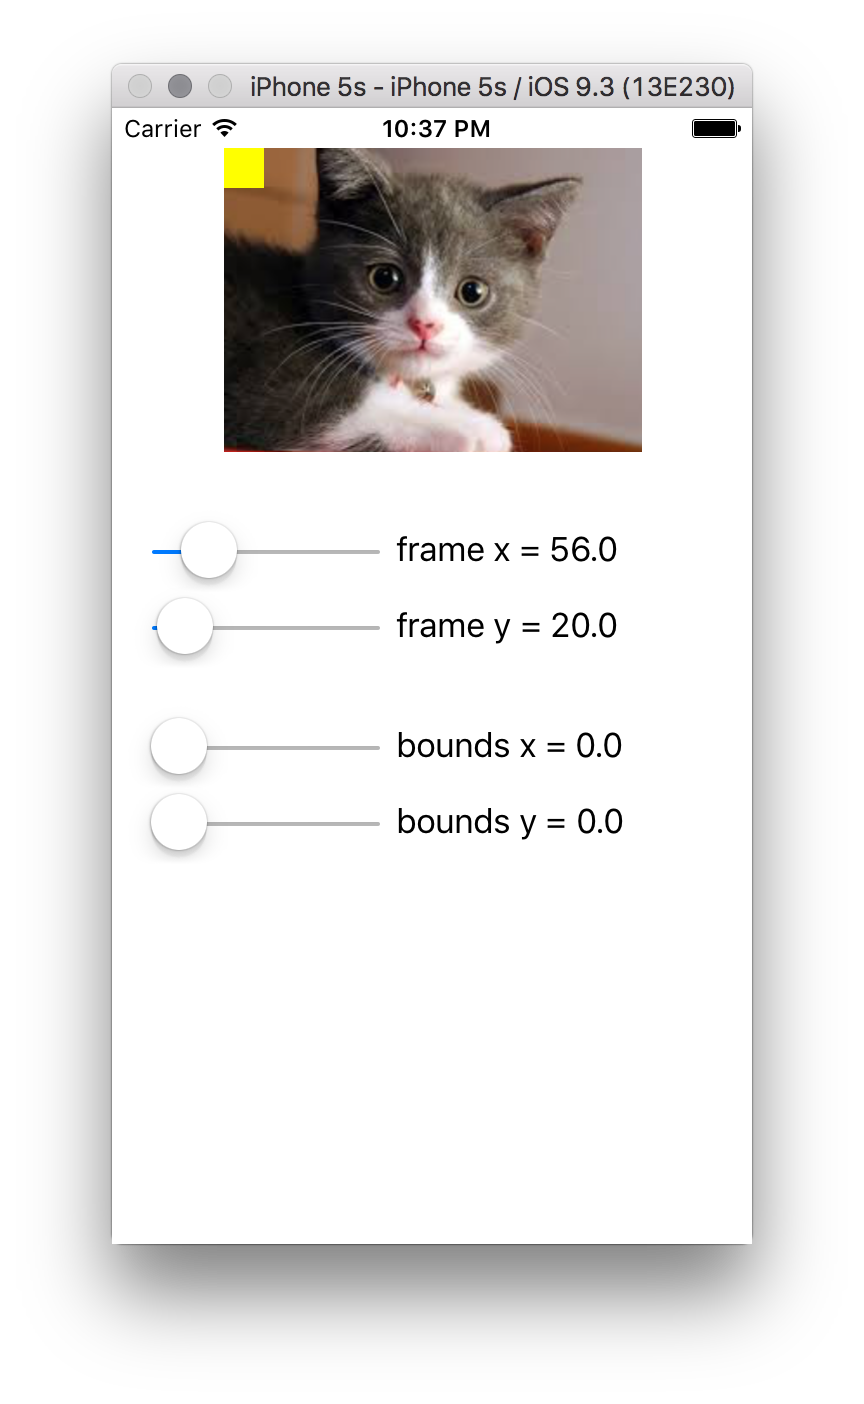
In this lab, you'll investigate how frames and bounds work in iOS, and experiment with them. When you're done, your app will look like this:
You can adjust the sliders to dynamically change the frames and bounds of the kitty picture at the top of the app. Using this app, you'll be able to investigate the relationship between frames and bounds, and how changing their values will change how various elements of the app are drawn.
The app has two key elements: The photo of a kitten, and a yellow square that is initially in the top left corner of the kitten's image view.
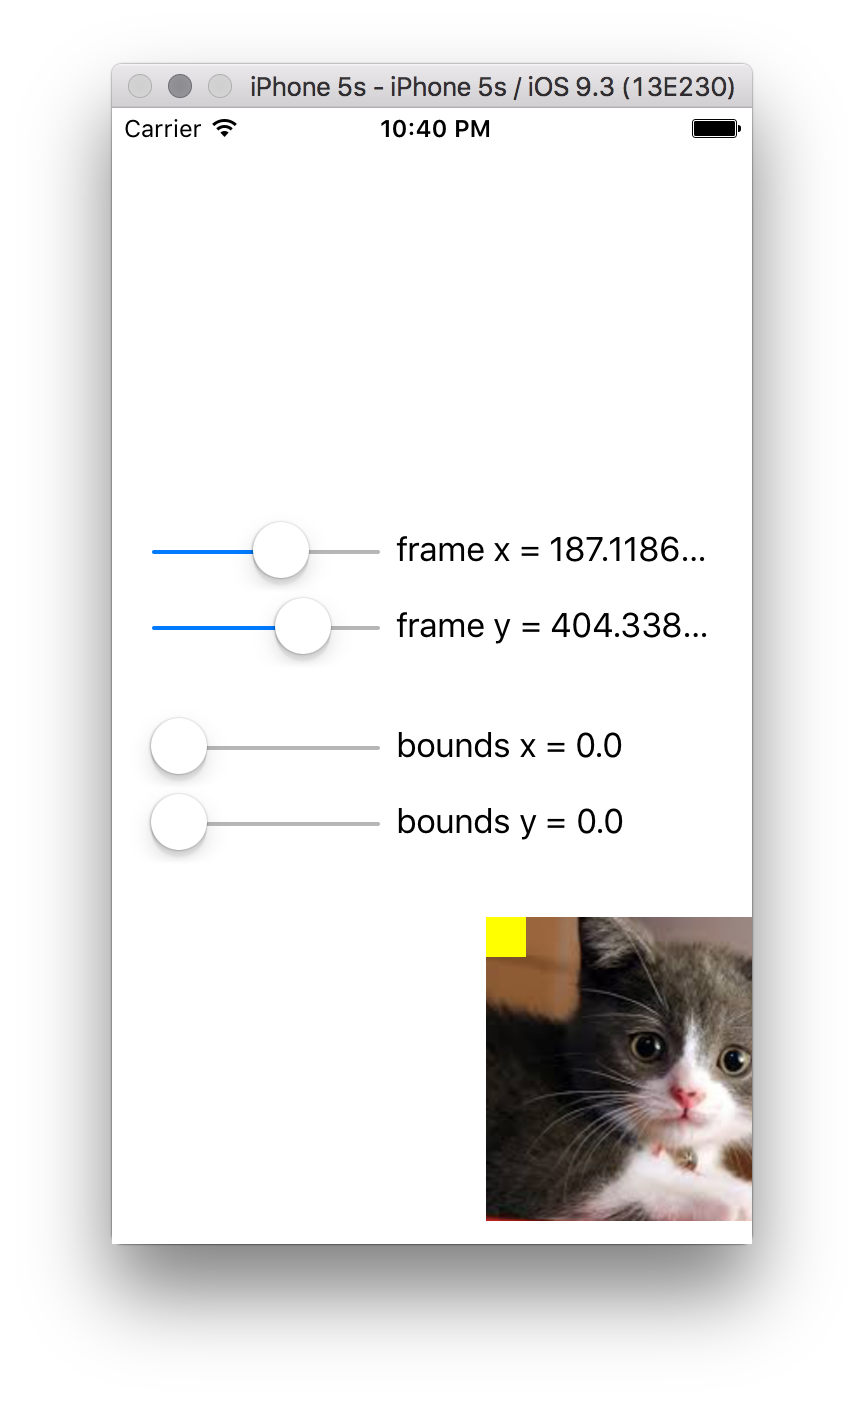
Changing the "frame" sliders will move the location of the kitten image:
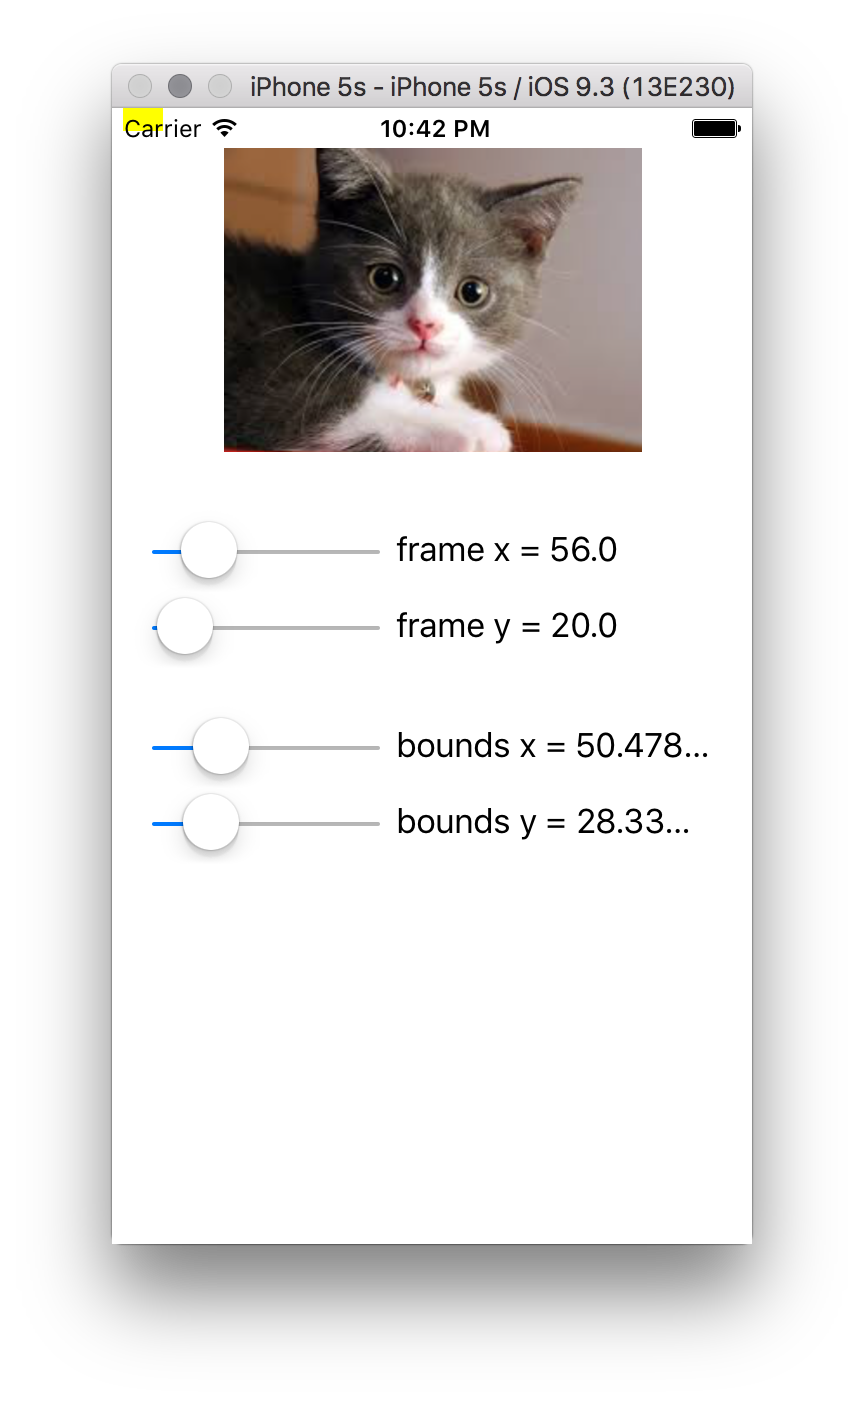
On the other hand, changing the "bounds" sliders adjust the drawable rectangle of the kitten image, which has the effect of moving the yellow square:
Note that this lab does not use Auto Layout (it becomes more complicated to dynamically change the frame and bounds of a view when Auto Layout is enabled), so for best results, you should run this app in the iPhone 5S simulator.
Some parts of this app have been provided to you. Here's what you need to do to finish the app and have your own working version:
- Open up
Main.storyboard, then open upViewController.swiftin an assistant editor. - Control-drag an IB outlet called
imageViewfrom the kitten'sUIImageViewtoViewController. - Control-drag IB outlets for each slider to
ViewController. Name themframeXSlider,frameYSlider,boundsXSlider, andboundsYSlider. - Control-drag IB outlets for each text label to
ViewController. Name themframeXLabel,frameYLabel,boundsXLabel, andboundsYLabel. - Four IB actions have already been created in
ViewController:frameXChanged,frameYChanged,boundsXChanged, andboundsYChanged. Control-drag a connection from each slider to the appropriate IB action method in order to hook the sliders up to theViewController.
Once you've completed this lab, build and run your app in an iPhone 5S simulator. Play around with the sliders a bit to see how it changes how the kitty's image view and yellow square change in response to change changes in the kitty view's frame and bounds.
- Add four new sliders for
imageView'sframe'swidthandheight, andimageView'sbound'swidthandheight, and IB actions that will adjust the value of those properties.


