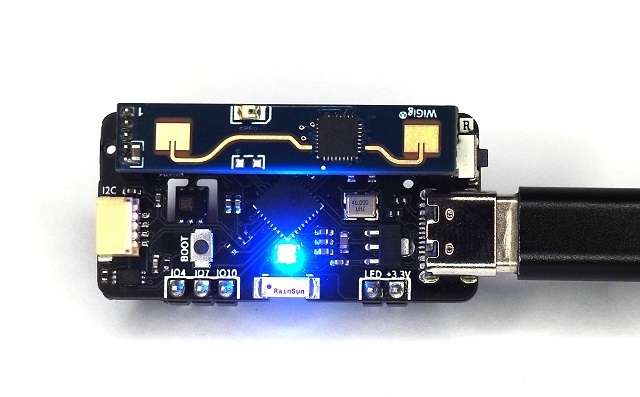
This repository contains the pre-installed ESPHome config and example Arduino code projects for the Unity sensor board. Specifications of the board can be found at https://loopon.tech/products/unity-sensor
- Getting Started
- Home Assistant
- Modifying ESPHome Config
- Flashing the Unity Board
- Arduino Example Projects
The Unity board comes pre-installed with ESPHome. The configuration can be found here.
There are two ways to connect the Unity board to your WiFi network:
- Power up the Unity board.
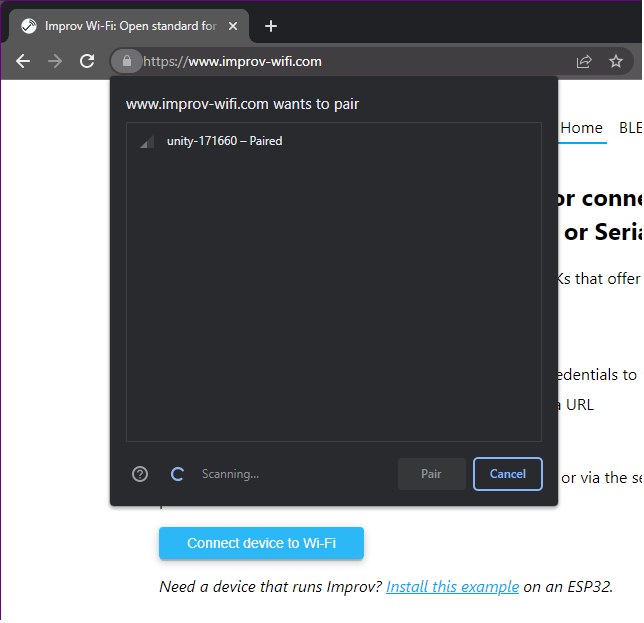
- Go to https://www.improv-wifi.com/ on your phone or a computer with Bluetooth.
- Click "Connect device to Wi-Fi".
- Select the Unity device.
- Input your SSID and password.
- Click Save.
- Solid: The service is active and waiting to be authorized.
- Blinking once per second: The service is awaiting credentials.
- Blinking 3 times per second with a break in between: The identify command has been used by the client.
- Blinking 5 times per second: Credentials are being verified and saved to the device.
- Off: The service is not running.
- Power up the Unity board.
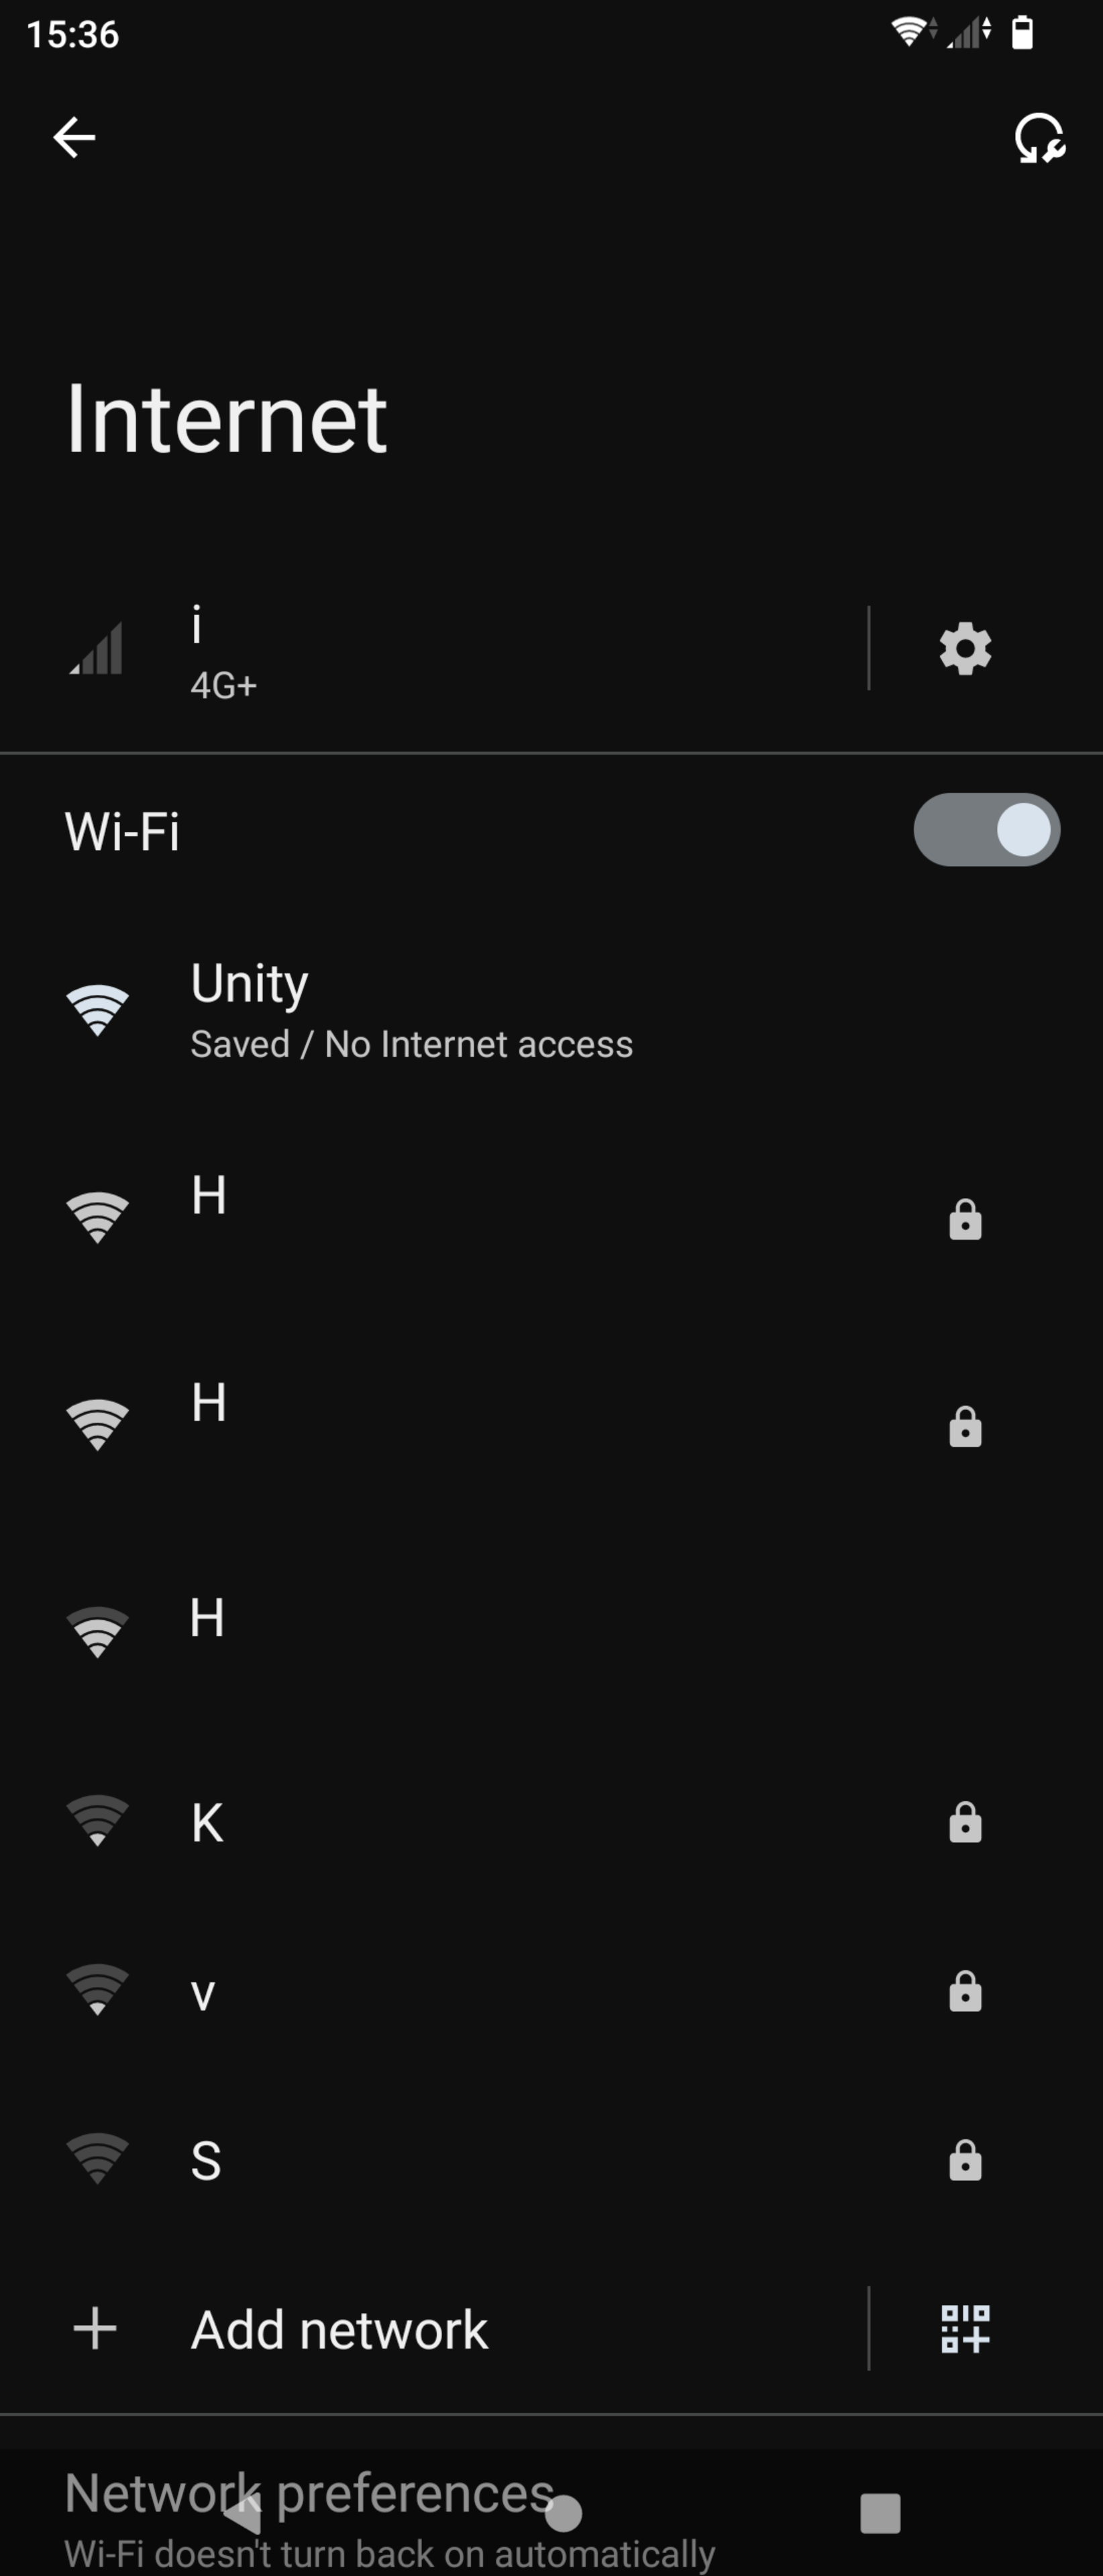
- On your phone or computer, search for the Unity WiFi network.
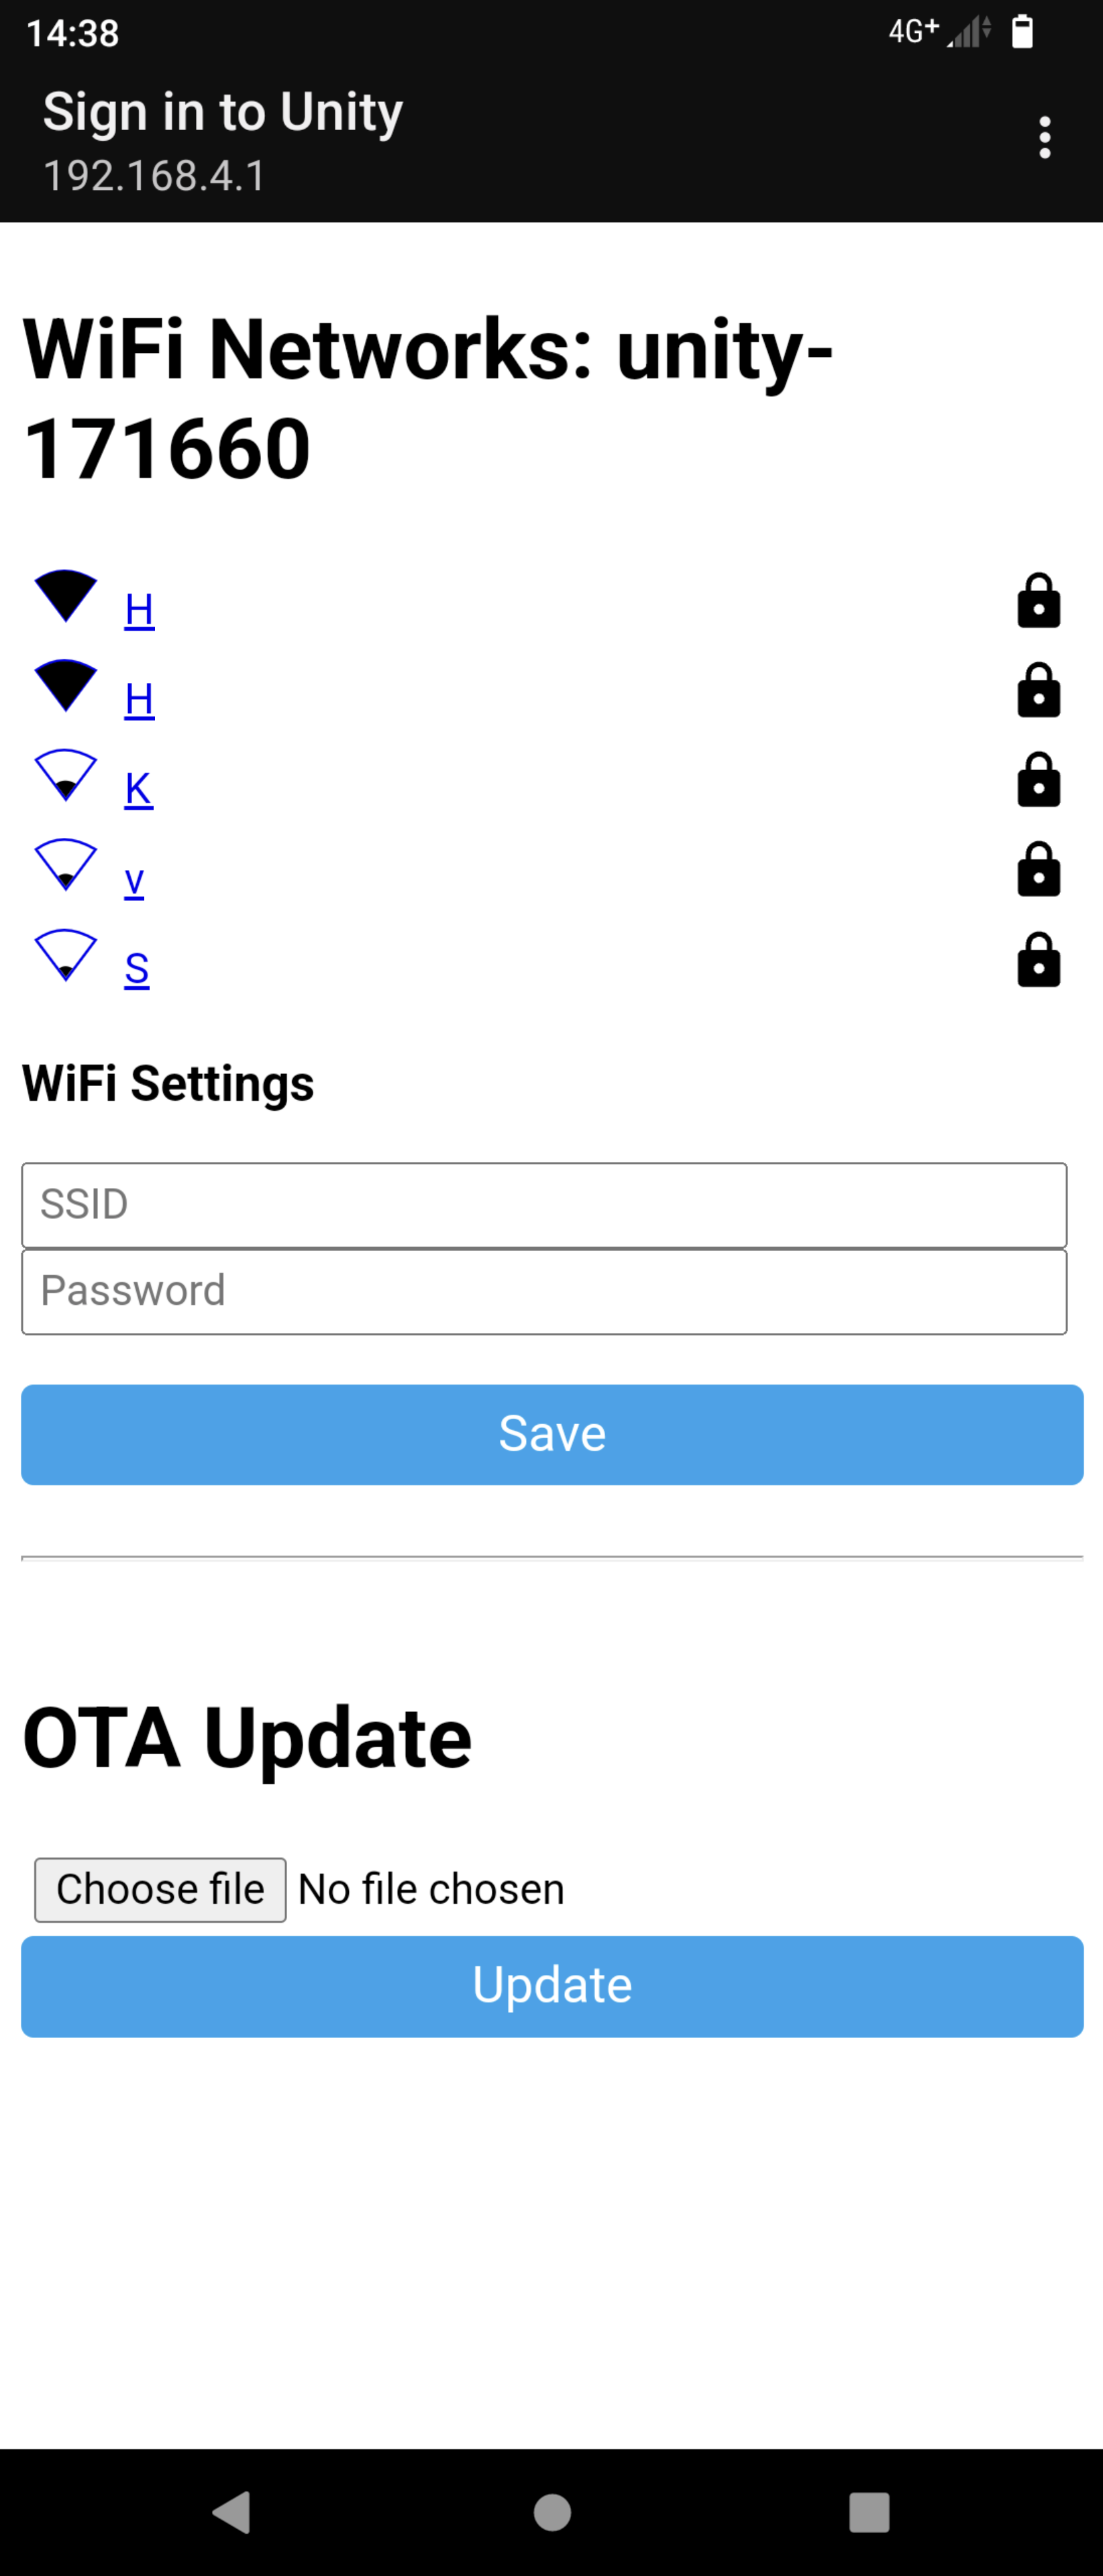
- Once connected, your phone will be redirected to the WiFi setup page. If you are not redirected, open a browser and go to http://192.168.4.1
- Select your WiFi network SSID from the list and input the password if needed.
- Click Save.
Once you have successfully connected to your WiFi network, you can integrate the device to Home Assistant. You must have the ESPHome Add-on installed. If you do not have the Add-on then follow the 'Installing ESPHome Dashboard' guide here.
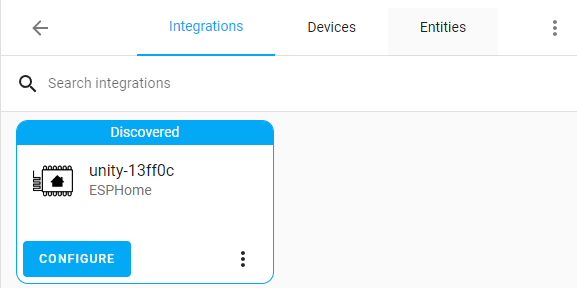
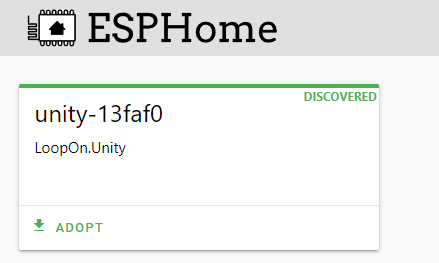
Home Assistant and the ESPHome Add-on will automatically detect the Unity device.
You can find the device in:
Note: If the device does not show up then please try restarting Home Assistant.
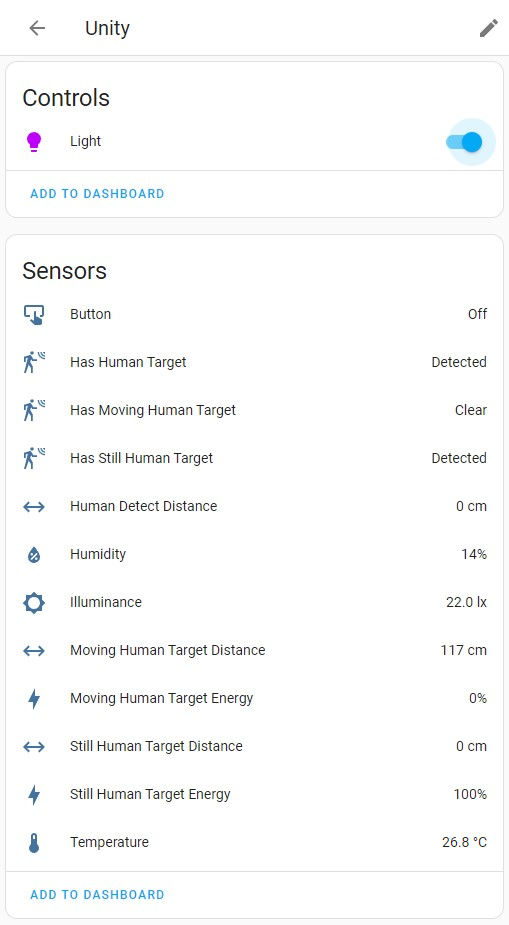
You can now view the Unity board in
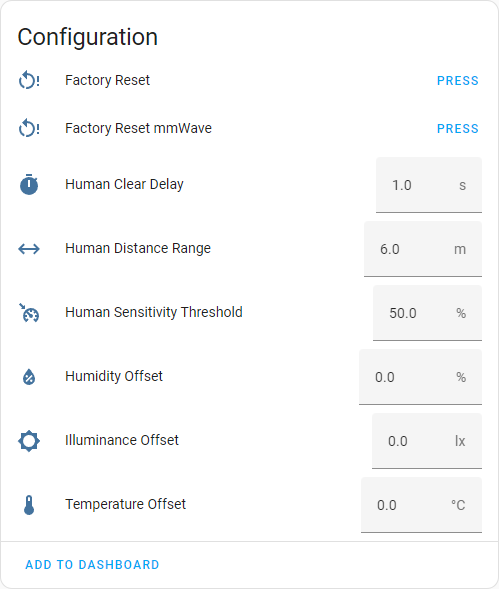
For best results, use the recommended settings in the screenshot below for the human presence sensor.
You can modify the way the device behaves by compiling and flashing the Unity board.
- Go to the ESPHome dashboard in Home Assistant.
- Select the device you would like to modify and click "Edit".
- Make your changes in the yaml and click "Install".
- Select "Wirelessly" from the pop-up.
- ESPHome will now compile the latest yaml and install it on the device. This will take a few minutes.
- Make sure ESPHome is installed on your computer (guide).
- Clone this repo:
git clone https://github.com/LoopOnCode/UnitySensoror download and extract the zip. - Make your changes to loopon_unity.yaml.
- Put the device into flash mode. See here.
- Compile and flash:
esphome run ./UnitySensor/esphome/loopon_unity.yaml --no-logs - Reset the device.
To flash the Unity board, it must be put in the correct boot mode. You can do this by:
- Connecting the device to a computer using a USB-C cable.
- Holding down the boot button.
- Momentarily pressing the reset button.
- Then, releasing the boot button.
Once flashing has completed, press the reset button to restart in normal mode.
PlatformIO is a cross-platform IDE extension for Visual Studio Code. Use PlatformIO to open, build and upload the example projects to the Unity board. The installation guide can be found here.
1. Blink
This project will blink LEDs on all GPIO ports.
This project will simulate a Bluetooth keyboard and will type a few sentences when connected to a computer or mobile device.
- Go to Settings -> Bluetooth & Devices -> Add device.
- Select Bluetooth.
- After the scan has completed, the 'Unity Keyboard' should appear. Click and add device.
- Open Notepad.exe and watch it type.
- Go to Settings -> Device connection -> Pair new device.
- Select Unity Keyboard in the list.
- Open a notepad app and watch it type.
This project uses the LD2410 sensor to read the distance of a stationary or moving human.
4. Rainbow
This project cycles through colours of the rainbow using the onboard RGB LED.
This project prints the readings from the HDC1080 (temperature/humidity) and the BH1750 (light) sensors.
This project will scan and print WiFi access points.
