- Use the browser developer tools
- Override existing styles
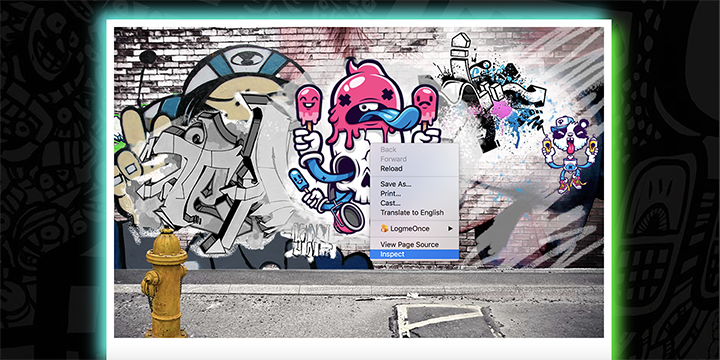
Imagine that you are walking down the street, and you notice that there's a mural that has been painted over with various graffiti tags. In reality, cleaning this up could be a challenging feat; however, in CSS, you have the power to manipulate the DOM with just a line or two of code and to restore the mural to its original look! In this lab, we've created a virtual wall. Using only CSS, how can you remove the tags?
Fork and clone this lesson into your local environment. Navigate into its
directory in the terminal, then run code . to open the files in Visual Studio
Code. Run npm test as you go to see your test progress.
Assuming you have opened the index file in Chrome, open the dev tools.
You can quickly access Chrome dev tools with the keyboard shortcut
Cmd+Option+i on a Mac, or by right/control-clicking anywhere in the window and
selecting inspect.
Inspect the elements of the graffiti wall in the dev tools by hovering over and clicking on nested elements. Take a close look at what's made available to you in the dev tools pane. You can see which style sheets specific style declarations live in, as well as create new styles on the fly. Now, make note of the CSS styles used to add graffiti tags (as background images) to the wall.
In the file css/cleanup.css, write selectors that have more specificity
(authority) than those that are showing the graffiti tags. You can test out
writing classes in dev tools by clicking the + in the top right-hand corner of
the pane. You can also click the sources tab and select css/cleanup.css in
the dev tools pane. This allows you to edit the CSS file directly. It won't
save your edits, but it will give a live update of changes so that it's easier
to manipulate the DOM without refreshing the page. From there, you can copy and
paste your working changes into the file.
To remove the tags, use the CSS declaration display:none;. It will change the
elements' previous display property value from display: block to
display: none, which will hide that graffiti.
For example, for "tag-1" the developer tools reveal that the style applying the graffiti here is:
.tag-1 {
  background: url(../images/tag-1.png) no-repeat;
  z-index: 7;
  display: block;
}
You'll need to override this by setting its display to display: none; instead.
We can do this by writing a selector statement that is more specific such as:
#wall .tag-1 {
  display: none;
}
This selects elements with a class of "tag-1" that happen to also be inside an element with an id of "wall". This is more specific, and therefore will override the previous statement and hide the graffiti. For more info on how specificity in CSS works take a look at: Smashing Magazines What You Need to Know About CSS Specificity. You can also take advantage of a Specificity Calculator to assist with finding and understanding options for overriding styles.
Do not use the CSS !important value! It is considered a bad practice and
should be used sparingly, in very specific edge-cases. For this lab, avoid
adding inline or embedded CSS to the index.html file, or any additional class or
id attributes to the index.html file either. This will make it more challenging
as you will have to write CSS that is more specific based on the existing
markup.
When you're done, run npm test from the command line to confirm you've
passed all tests, then push and submit your work using CodeGrade.
With the dev tools and resources on CSS specificity rules, work your way through all seven graffiti pictures until the wall is fully clean. In your experimentation, you will find that there are many ways to manipulate and override the DOM. This will become a common practice as you build out more complex websites or work with cloud-hosted third-party resources where you may not have direct access to the style sheet.

