Update: NVIDIA open-sourced a lightning-fast version of NeRF: NGP. I re-implemented in pytorch here. This version is ~100x faster than this repo with also better quality!
Update: The lastest code (using the latest libraries) will be updated to dev branch. The master branch remains to support the colab files. If you don't use colab, it is recommended to switch to dev branch. Only issues of the dev and nerfw branch will be considered currently.
💎 Project page (live demo!)
Unofficial implementation of NeRF (Neural Radiance Fields) using pytorch (pytorch-lightning). This repo doesn't aim at reproducibility, but aim at providing a simpler and faster training procedure (also simpler code with detailed comments to help to understand the work). Moreover, I try to extend much more opportunities by integrating this algorithm into game engine like Unity.
Official implementation: nerf .. Reference pytorch implementation: nerf-pytorch
Recommend to read: A detailed NeRF extension list: awesome-NeRF
- Multi-gpu training: Training on 8 GPUs finishes within 1 hour for the synthetic dataset!
- Colab notebooks to allow easy usage!
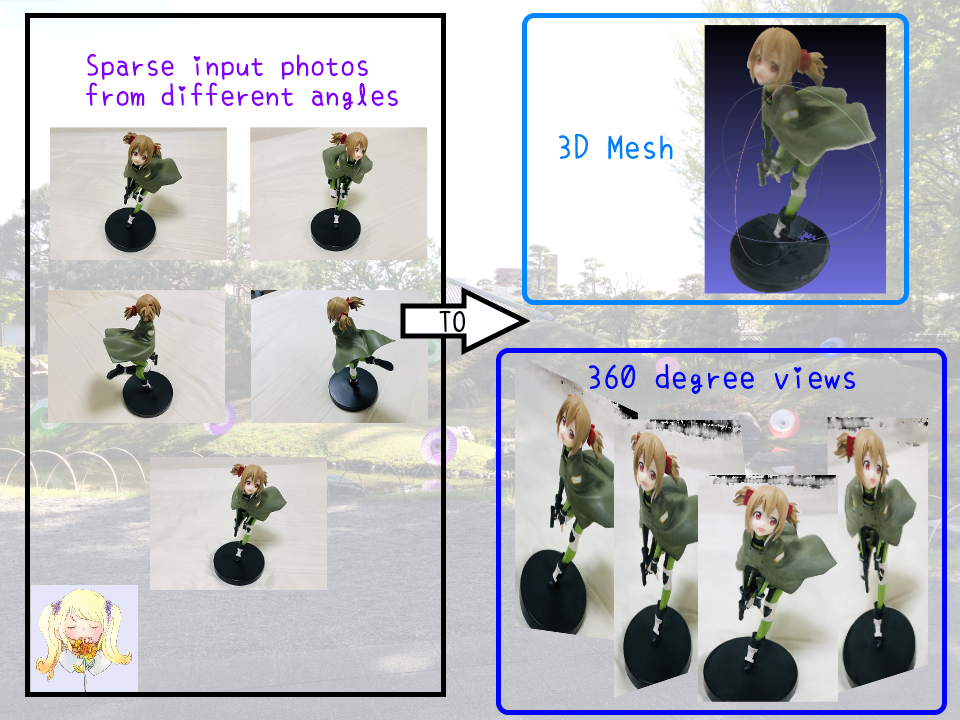
- Reconstruct colored mesh!
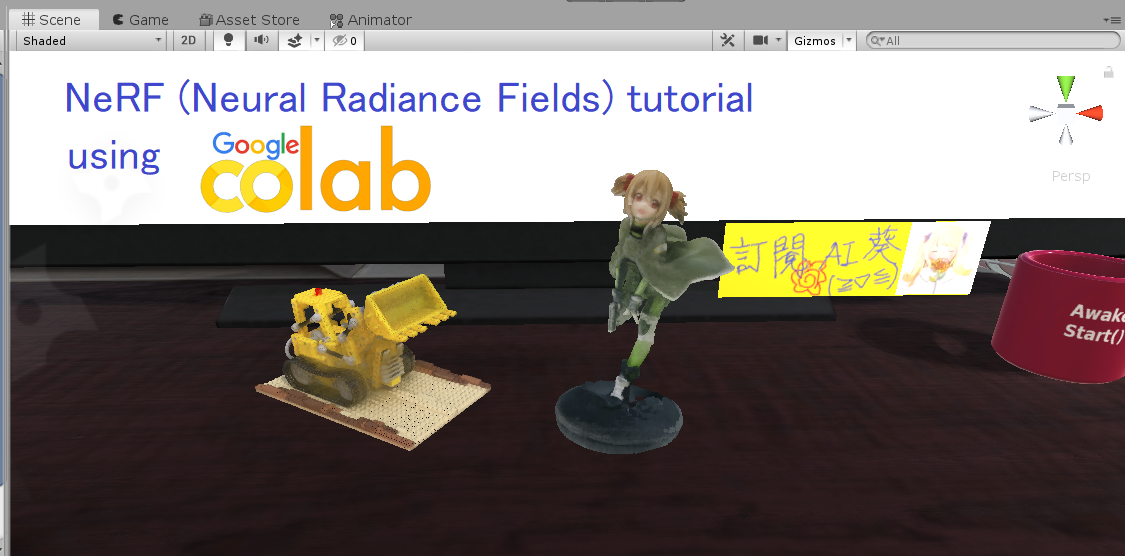
- Mixed Reality in Unity!
- REAL TIME volume rendering in Unity!
- Portable Scenes to let you play with other people's scenes!
You can find the Unity project including mesh, mixed reality and volume rendering here! See README_Unity for generating your own data for Unity rendering!

- OS: Ubuntu 18.04
- NVIDIA GPU with CUDA>=10.1 (tested with 1 RTX2080Ti)
- Clone this repo by
git clone --recursive https://github.com/kwea123/nerf_pl - Python>=3.6 (installation via anaconda is recommended, use
conda create -n nerf_pl python=3.6to create a conda environment and activate it byconda activate nerf_pl) - Python libraries
- Install core requirements by
pip install -r requirements.txt - Install
torchsearchsortedbycd torchsearchsortedthenpip install .
- Install core requirements by
Please see each subsection for training on different datasets. Available training datasets:
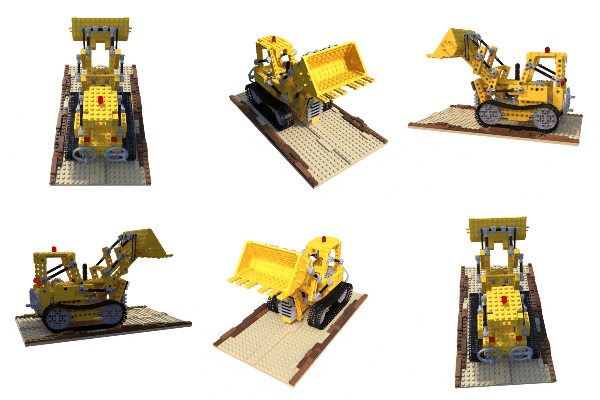
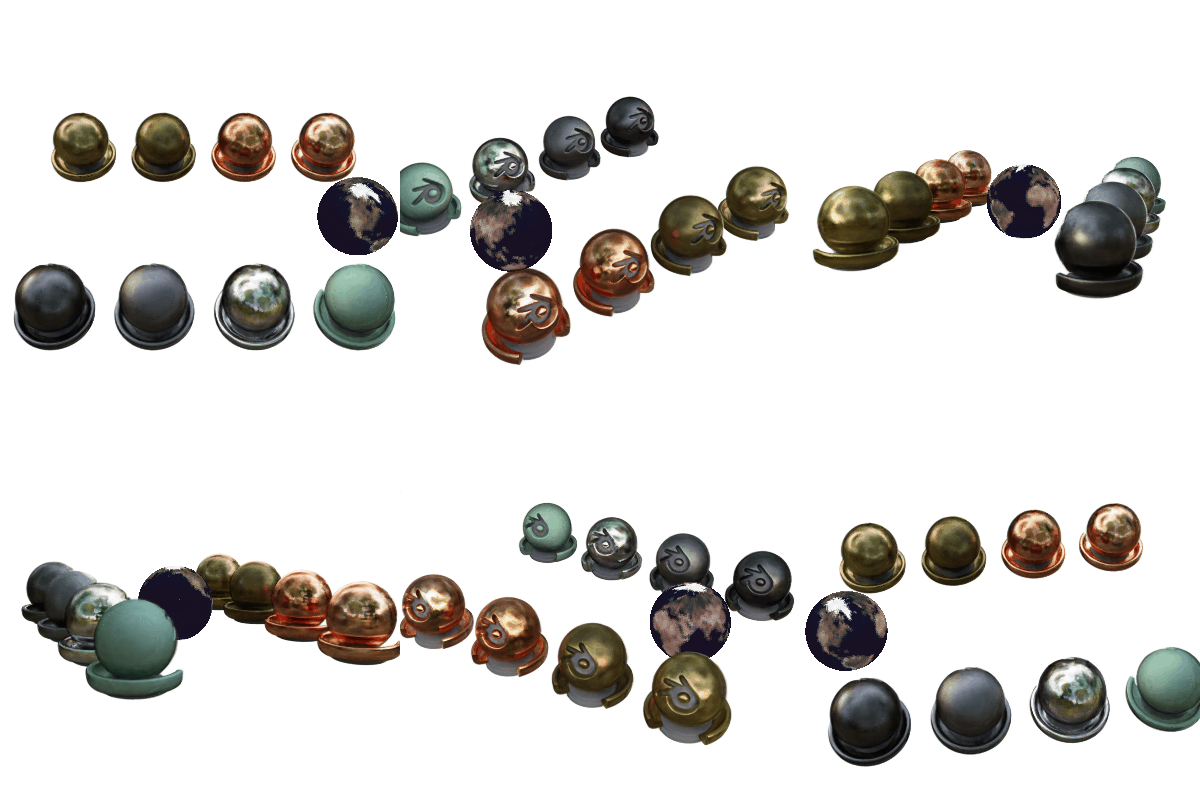
- Blender (Realistic Synthetic 360)
- LLFF (Real Forward-Facing)
- Your own data (Forward-Facing/360 inward-facing)
Steps
Download nerf_synthetic.zip from here
Run (example)
python train.py \
   --dataset_name blender \
   --root_dir $BLENDER_DIR \
   --N_importance 64 --img_wh 400 400 --noise_std 0 \
   --num_epochs 16 --batch_size 1024 \
   --optimizer adam --lr 5e-4 \
   --lr_scheduler steplr --decay_step 2 4 8 --decay_gamma 0.5 \
   --exp_name exp
These parameters are chosen to best mimic the training settings in the original repo. See opt.py for all configurations.
NOTE: the above configuration doesn't work for some scenes like drums, ship. In that case, consider increasing the batch_size or change the optimizer to radam. I managed to train on all scenes with these modifications.
You can monitor the training process by tensorboard --logdir logs/ and go to localhost:6006 in your browser.
Steps
Download nerf_llff_data.zip from here
Run (example)
python train.py \
   --dataset_name llff \
   --root_dir $LLFF_DIR \
   --N_importance 64 --img_wh 504 378 \
   --num_epochs 30 --batch_size 1024 \
   --optimizer adam --lr 5e-4 \
   --lr_scheduler steplr --decay_step 10 20 --decay_gamma 0.5 \
   --exp_name exp
These parameters are chosen to best mimic the training settings in the original repo. See opt.py for all configurations.
You can monitor the training process by tensorboard --logdir logs/ and go to localhost:6006 in your browser.
Steps
- Install COLMAP following installation guide
- Prepare your images in a folder (around 20 to 30 for forward facing, and 40 to 50 for 360 inward-facing)
- Clone LLFF and run
python img2poses.py $your-images-folder - Train the model using the same command as in LLFF. If the scene is captured in a 360 inward-facing manner, add
--sphericargument.
For more details of training a good model, please see the video here.
Download the pretrained models and training logs in release.
| training GPU memory in GB | Speed (1 step) | |
|---|---|---|
| Original | 8.5 | 0.177s |
| Ref pytorch | 6.0 | 0.147s |
| This repo | 3.2 | 0.12s |
The speed is measured on 1 RTX2080Ti. Detailed profile can be found in release. Training memory is largely reduced, since the original repo loads the whole data to GPU at the beginning, while we only pass batches to GPU every step.
See test.ipynb for a simple view synthesis and depth prediction on 1 image.
Use eval.py to create the whole sequence of moving views. E.g.
python eval.py \
   --root_dir $BLENDER \
   --dataset_name blender --scene_name lego \
   --img_wh 400 400 --N_importance 64 --ckpt_path $CKPT_PATH
IMPORTANT : Don't forget to add --spheric_poses if the model is trained under --spheric setting!
It will create folder results/{dataset_name}/{scene_name} and run inference on all test data, finally create a gif out of them.
Example of lego scene using pretrained model and the reconstructed colored mesh: (PSNR=31.39, paper=32.54)
Example of fern scene using pretrained model:
Example of own scene (Silica GGO figure) and the reconstructed colored mesh. Click to link to youtube video.
The concept of NeRF is that the whole scene is compressed into a NeRF model, then we can render from any pose we want. To render from plausible poses, we can leverage the training poses; therefore, you can generate video with only the trained model and the poses (hence the name of portable scenes). I provided my silica model in release, feel free to play around with it!
If you trained some interesting scenes, you are also welcomed to share the model (and the poses_bounds.npy) by sending me an email, or post in issues! After all, a model is just around 5MB! Please run python utils/save_weights_only.py --ckpt_path $YOUR_MODEL_PATH to extract the final model.
See README_mesh for reconstruction of colored mesh. Only supported for blender dataset and 360 inward-facing data!
- The learning rate decay in the original repo is by step, which means it decreases every step, here I use learning rate decay by epoch, which means it changes only at the end of 1 epoch.
- The validation image for LLFF dataset is chosen as the most centered image here, whereas the original repo chooses every 8th image.
- The rendering spiral path is slightly different from the original repo (I use approximate values to simplify the code).
I also prepared colab notebooks that allow you to run the algorithm on any machine without GPU requirement.
- colmap to prepare camera poses for your own training data
- nerf to train on your data
- extract_mesh to extract colored mesh
Please see this playlist for the detailed tutorials.
We can incorporate ray tracing techniques into the volume rendering pipeline, and realize realistic scene editing (following is the materials scene with an object removed, and a mesh is inserted and rendered with ray tracing). The code will not be released.
With my integration in Unity, I can realize realistic mixed reality photos (note my character casts shadow on the scene, zero post- image editing required):

 BTW, I would like to visit the museum one day...
If you use (part of) my code or find my work helpful, please consider citing
@misc{queianchen_nerf,
  author={Quei-An, Chen},
  title={Nerf_pl: a pytorch-lightning implementation of NeRF},
  url={https://github.com/kwea123/nerf_pl/},
  year={2020},
}


