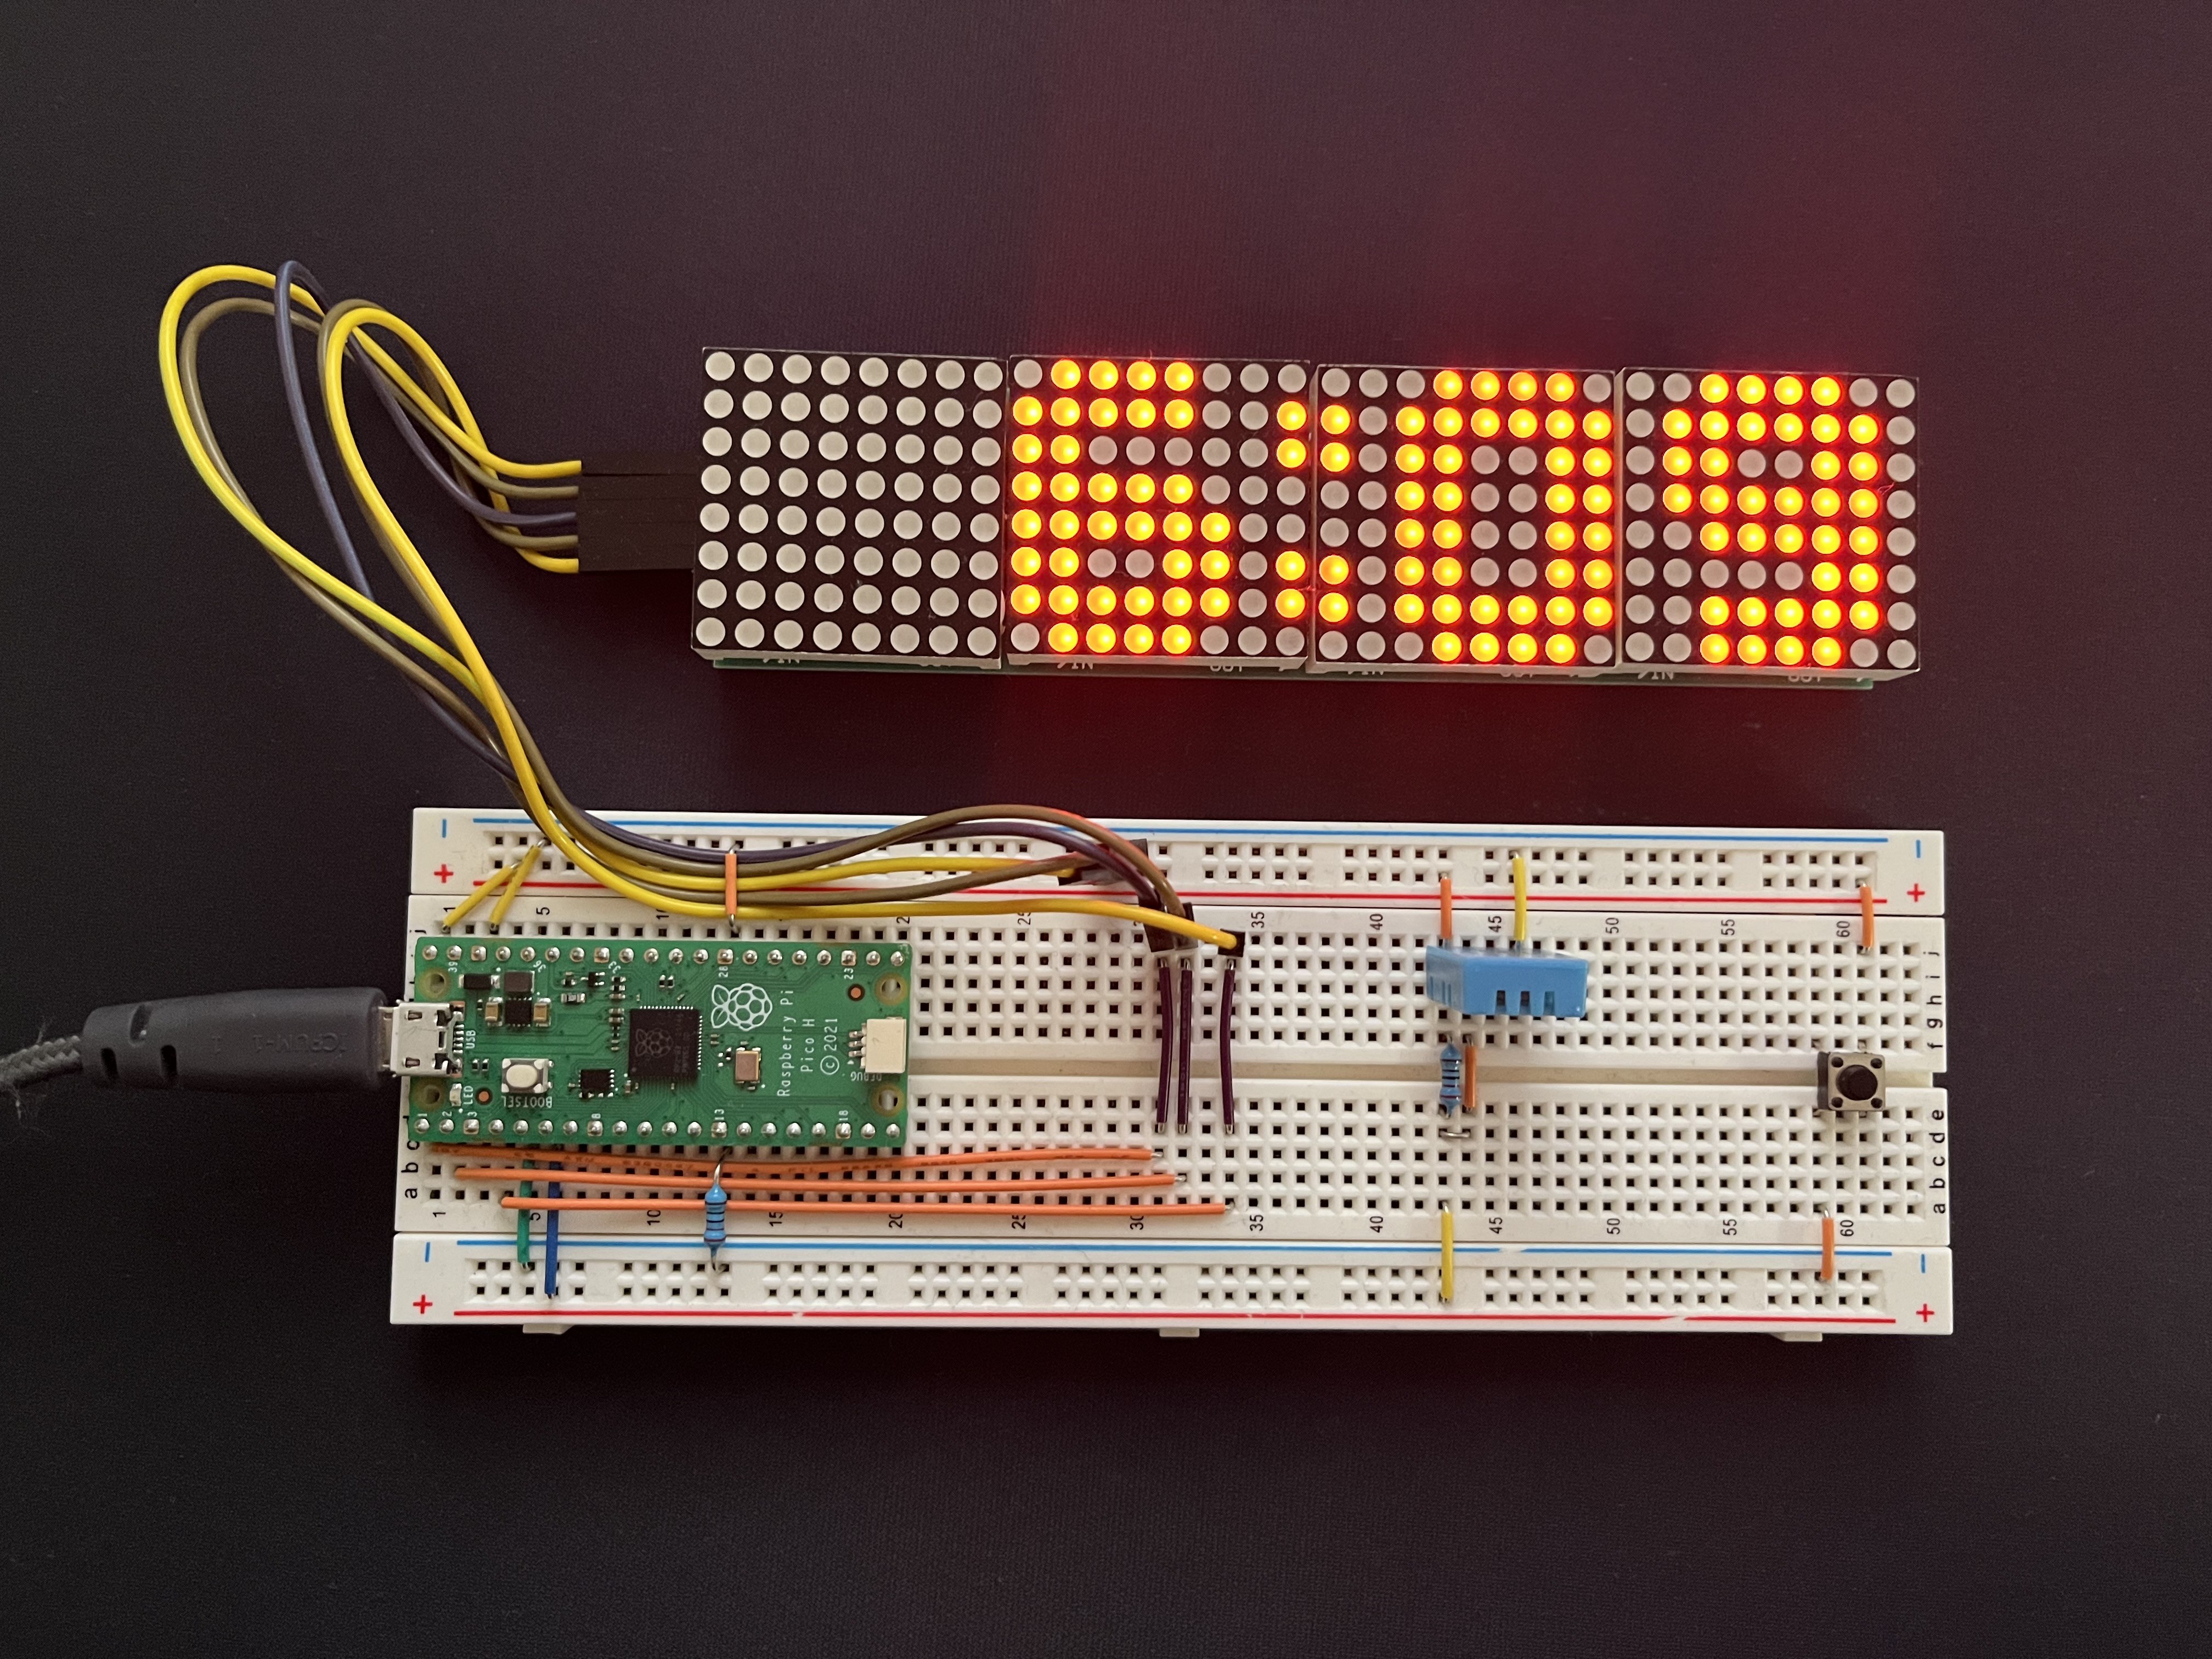
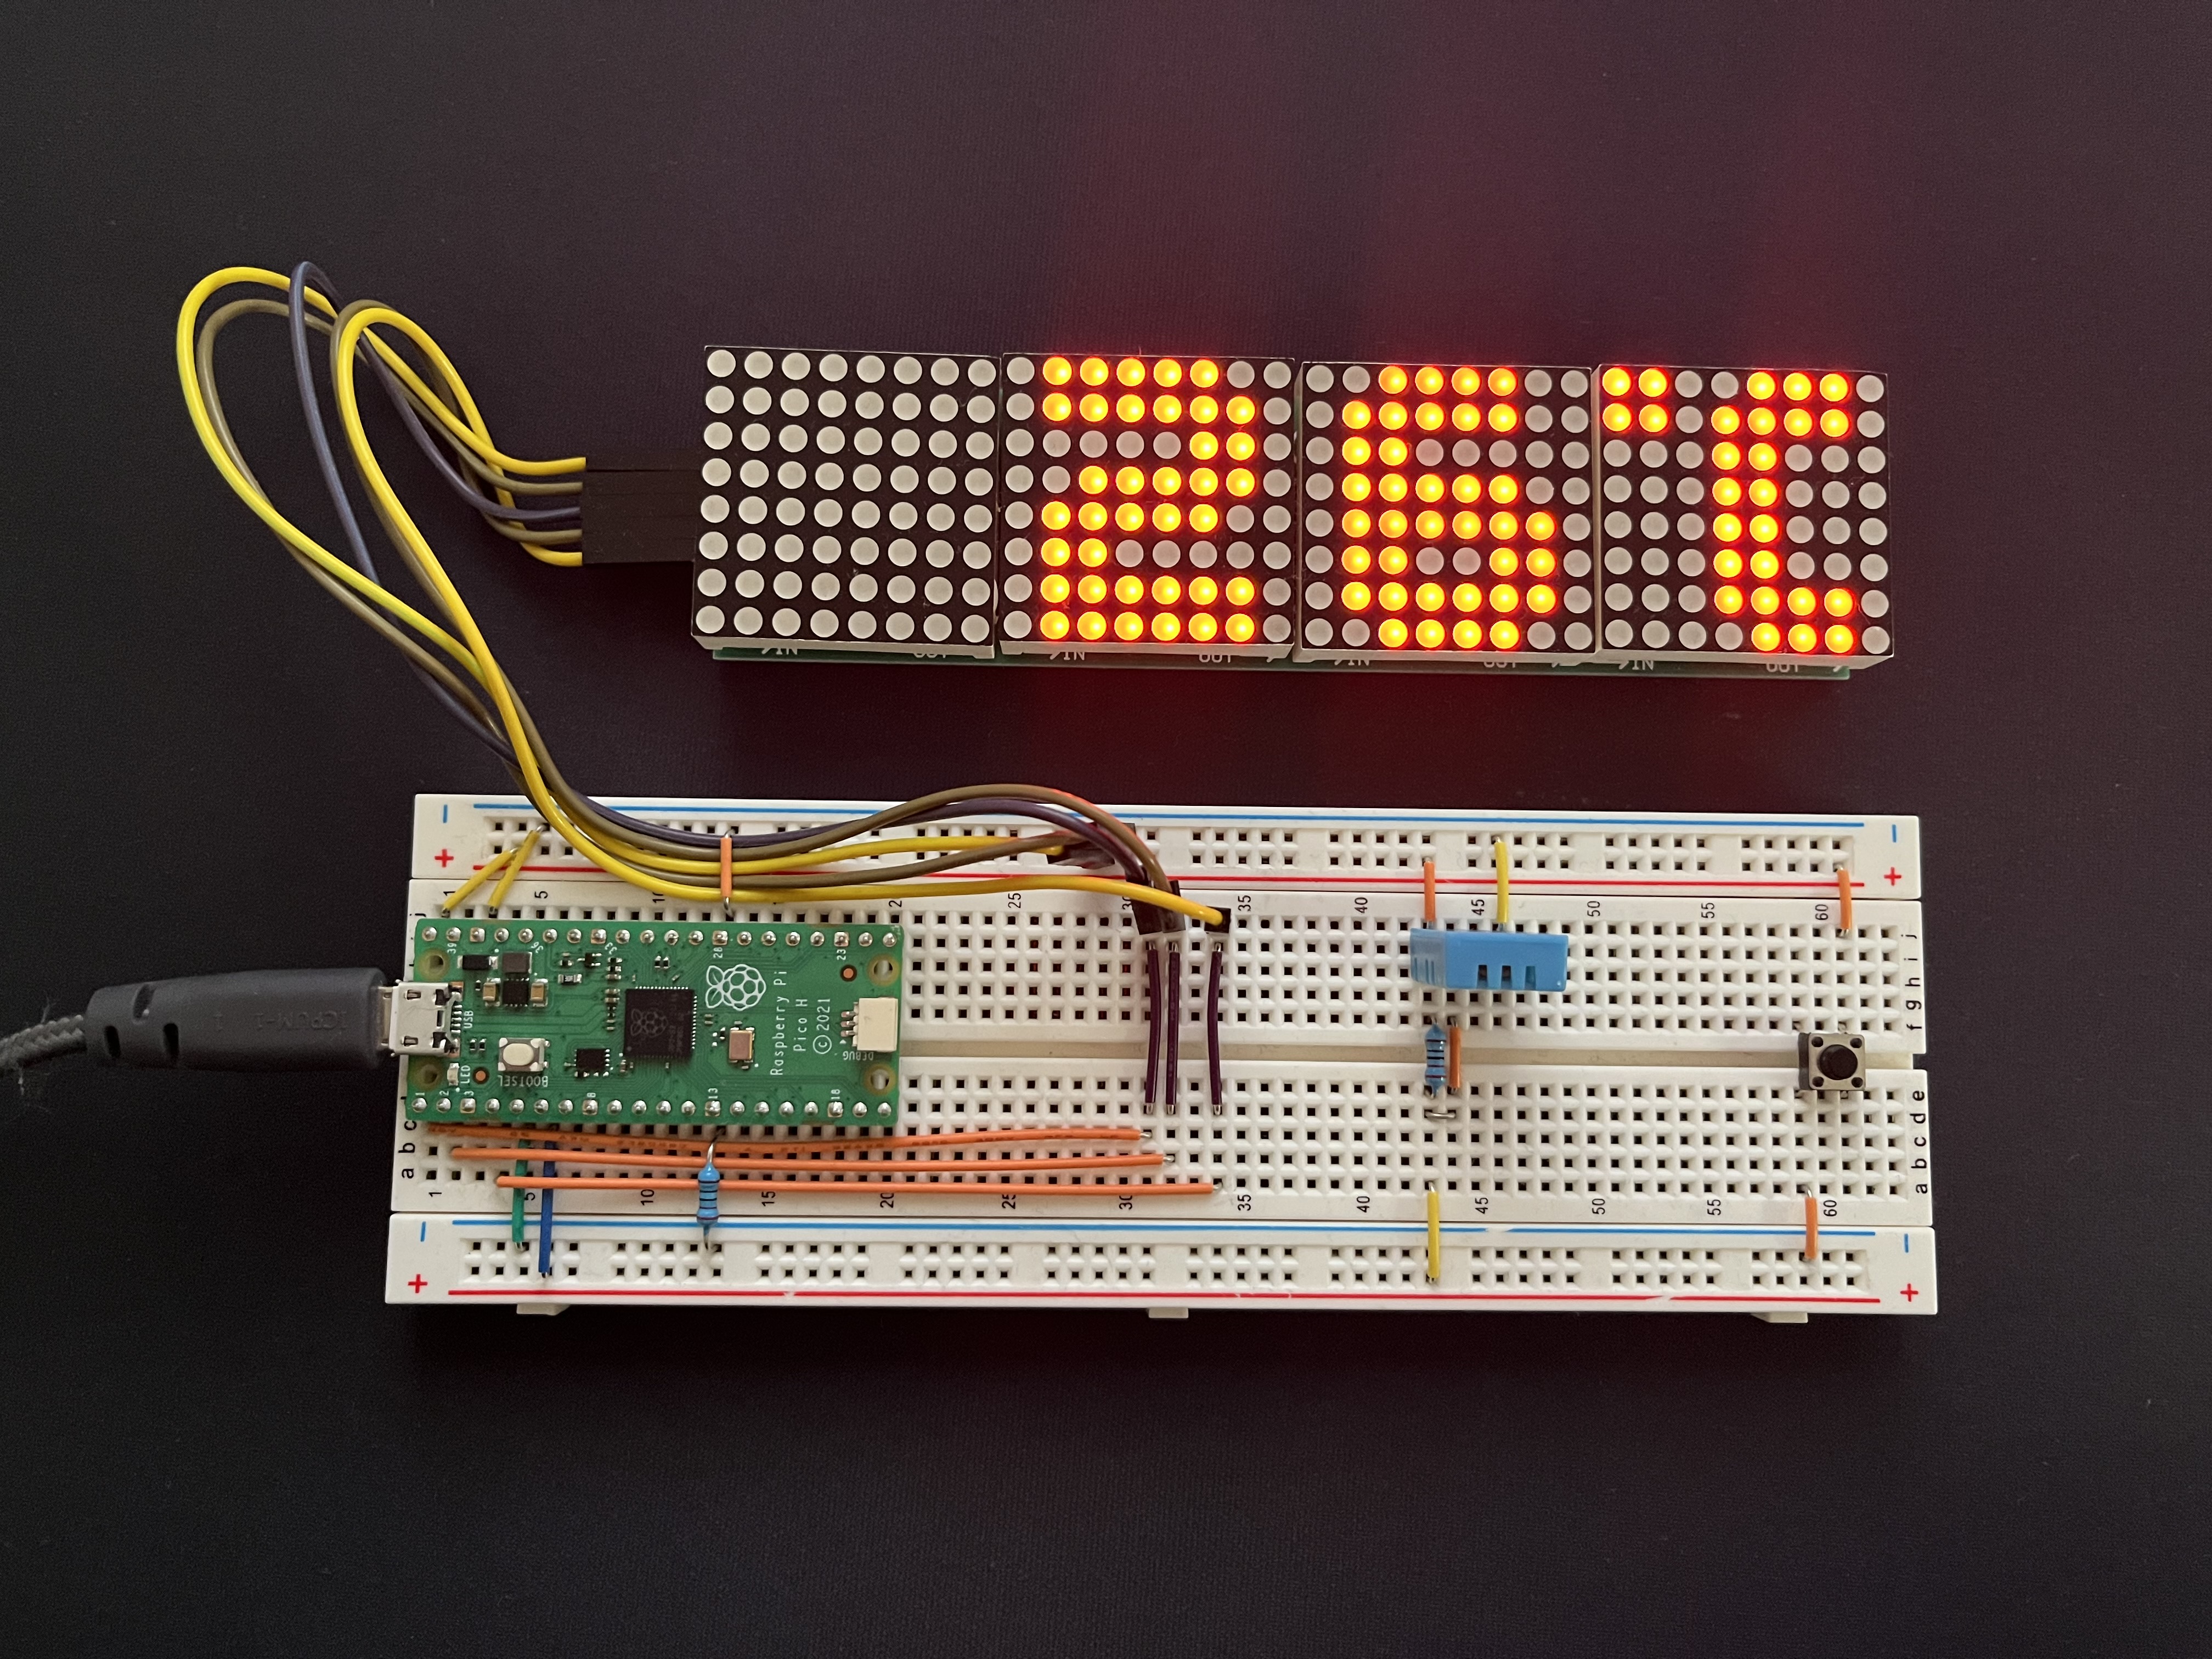
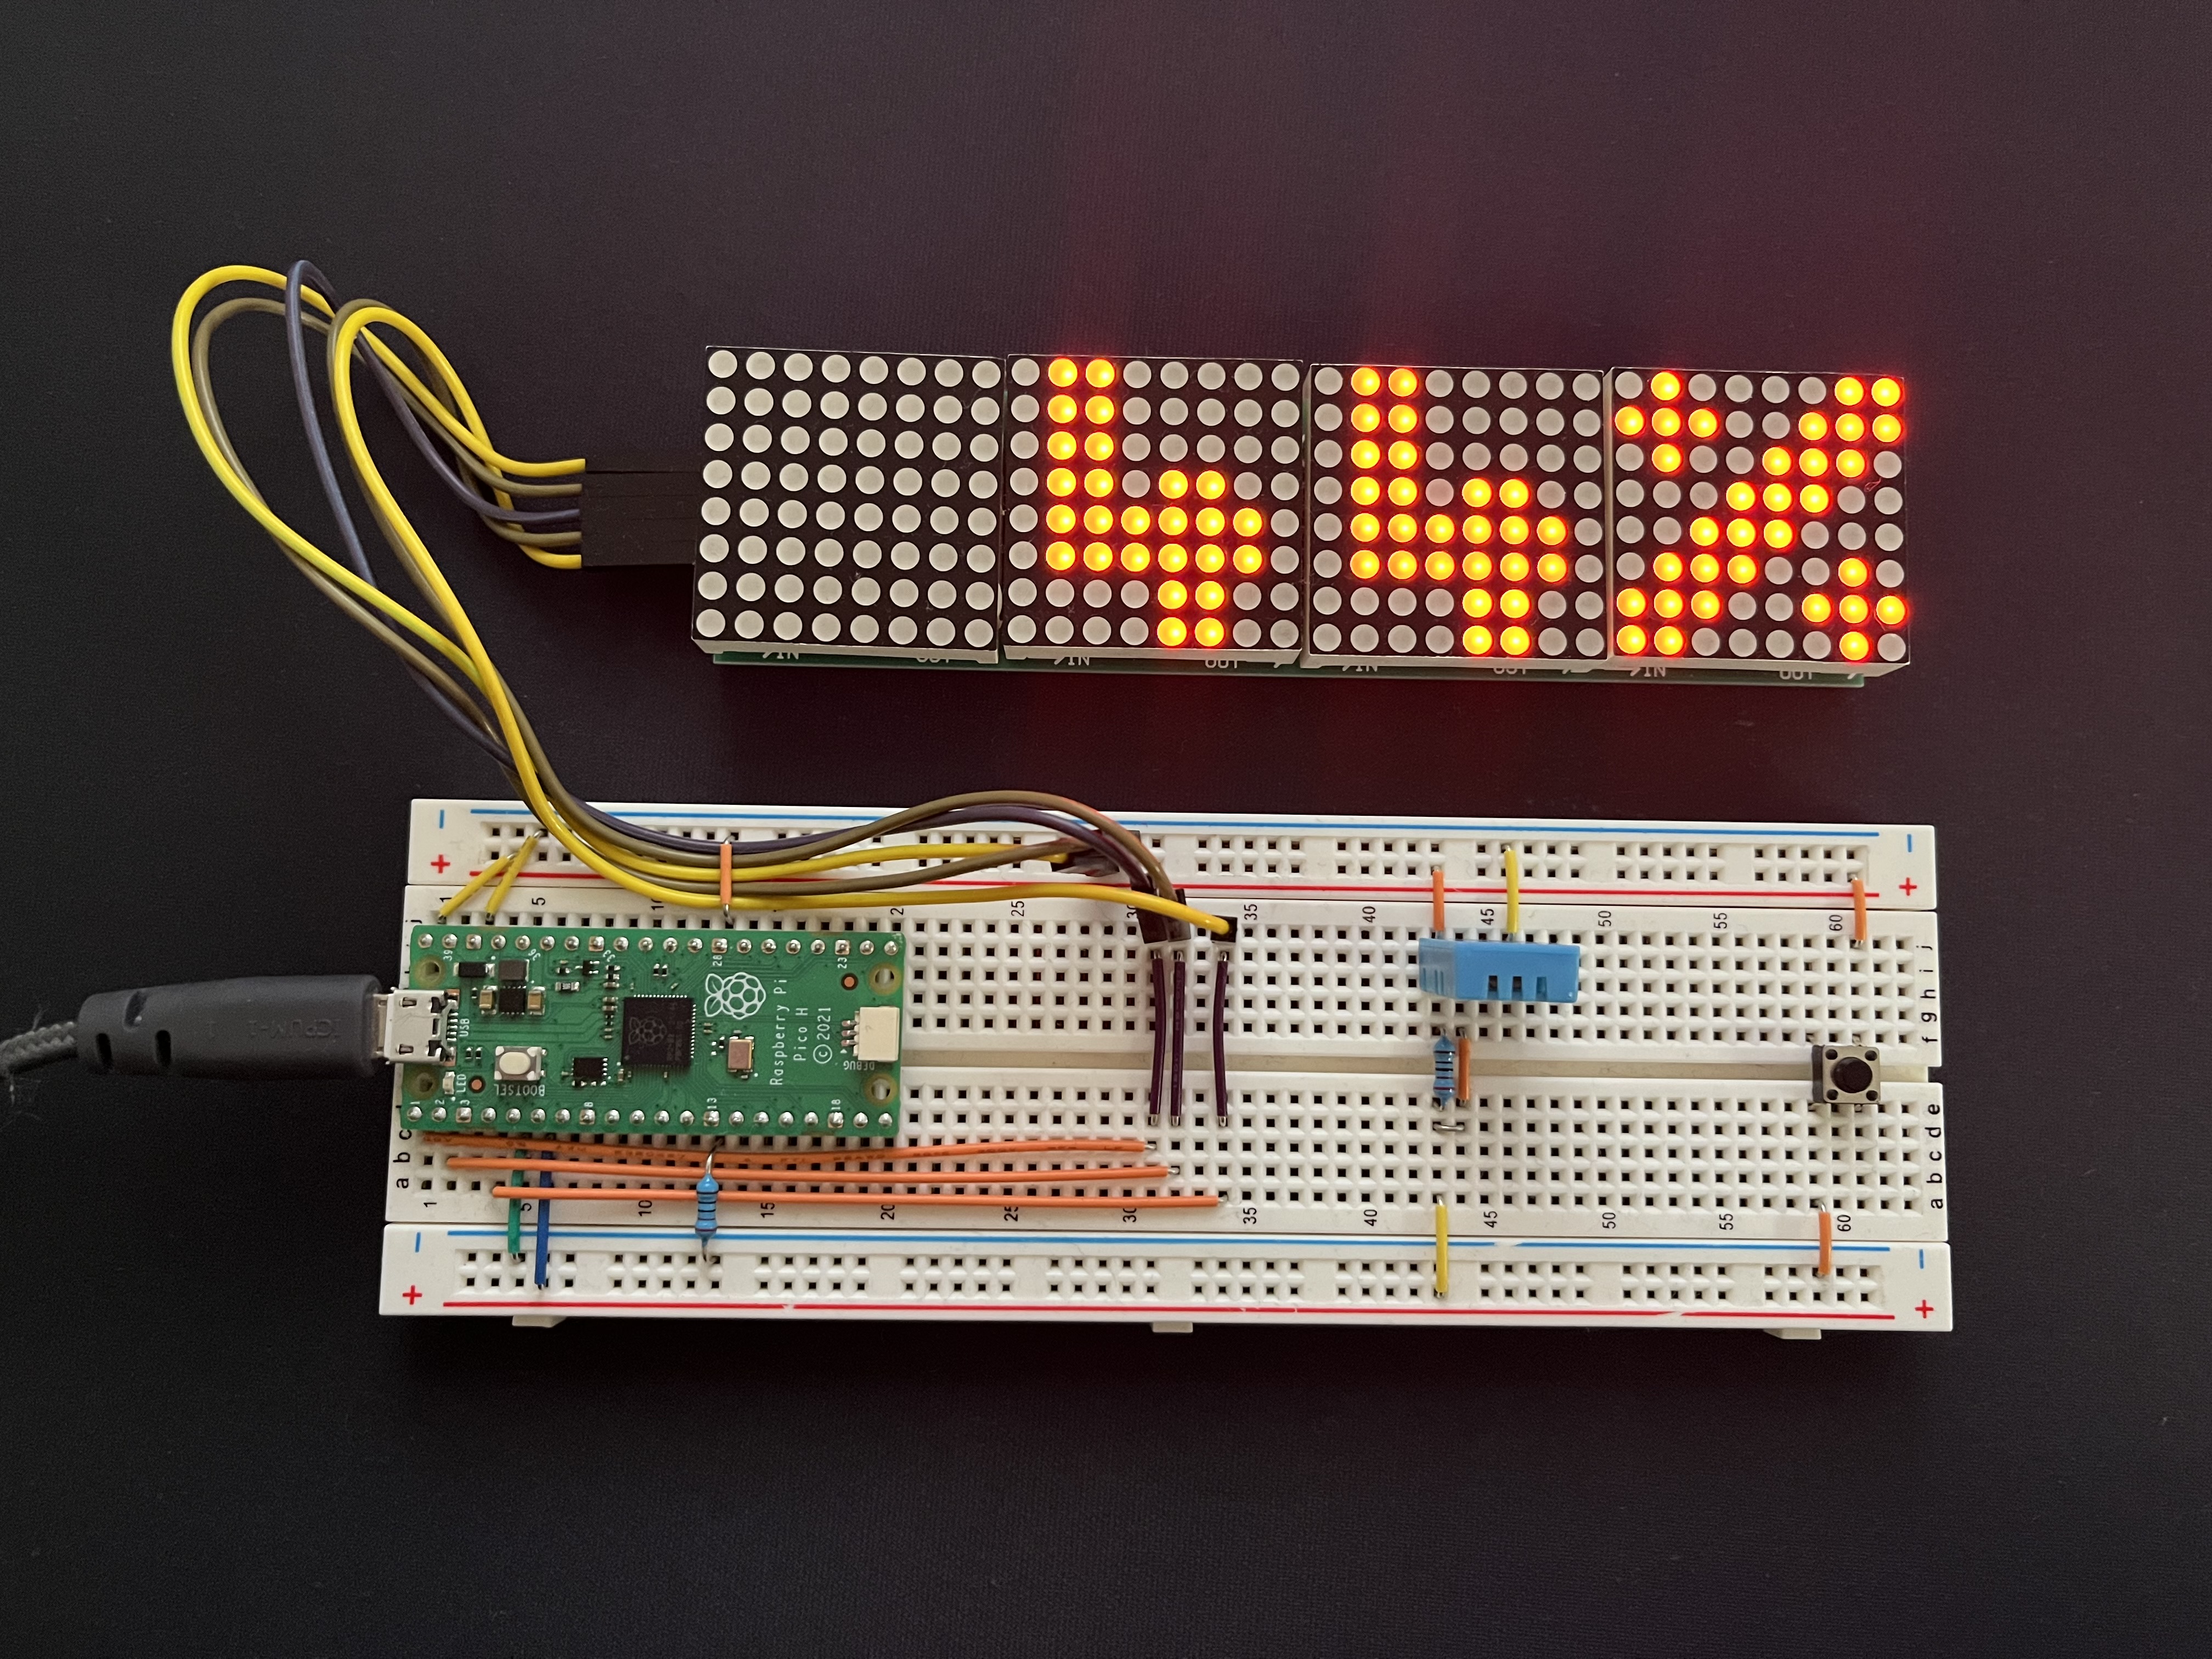
LED Matrix Clock with Raspberry Pi Pico
Project Overview
This is a Project, that is using a Raspberry Pi Pico (RP2040) to control a Matrix LED Clock.
The Matrix Display is a 4 Segment 8x8 Matrix, using a MAX7219 for each Segment as a Controller.
I wrote all necessary functions myself, I used the linked Documentation and Pico Examples as an inspiration on how to use the Pi Pico functions.
Controlls
The Button is used to switch between Time, Temperature and Humidity. A long press is switching to set minutes mode. In set minute mode a normal press in increasing the minutes, another long press goes to set hours mode, that also increases the value with a normal press. Another Long press goes back to the normal mode, with this switch the new time will be set and the seconds will be set to 0.
Font
The Font I created for the Matrix.
 |
 |
 |
 |
 |
|---|---|---|---|---|
 |
 |
 |
 |
 |
 |
 |
 |
| Mode | Normal Value | Invalid Value |
|---|---|---|
| Time |  |
- - - |
| Temperature |  |
 |
| Humidity |  |
 |
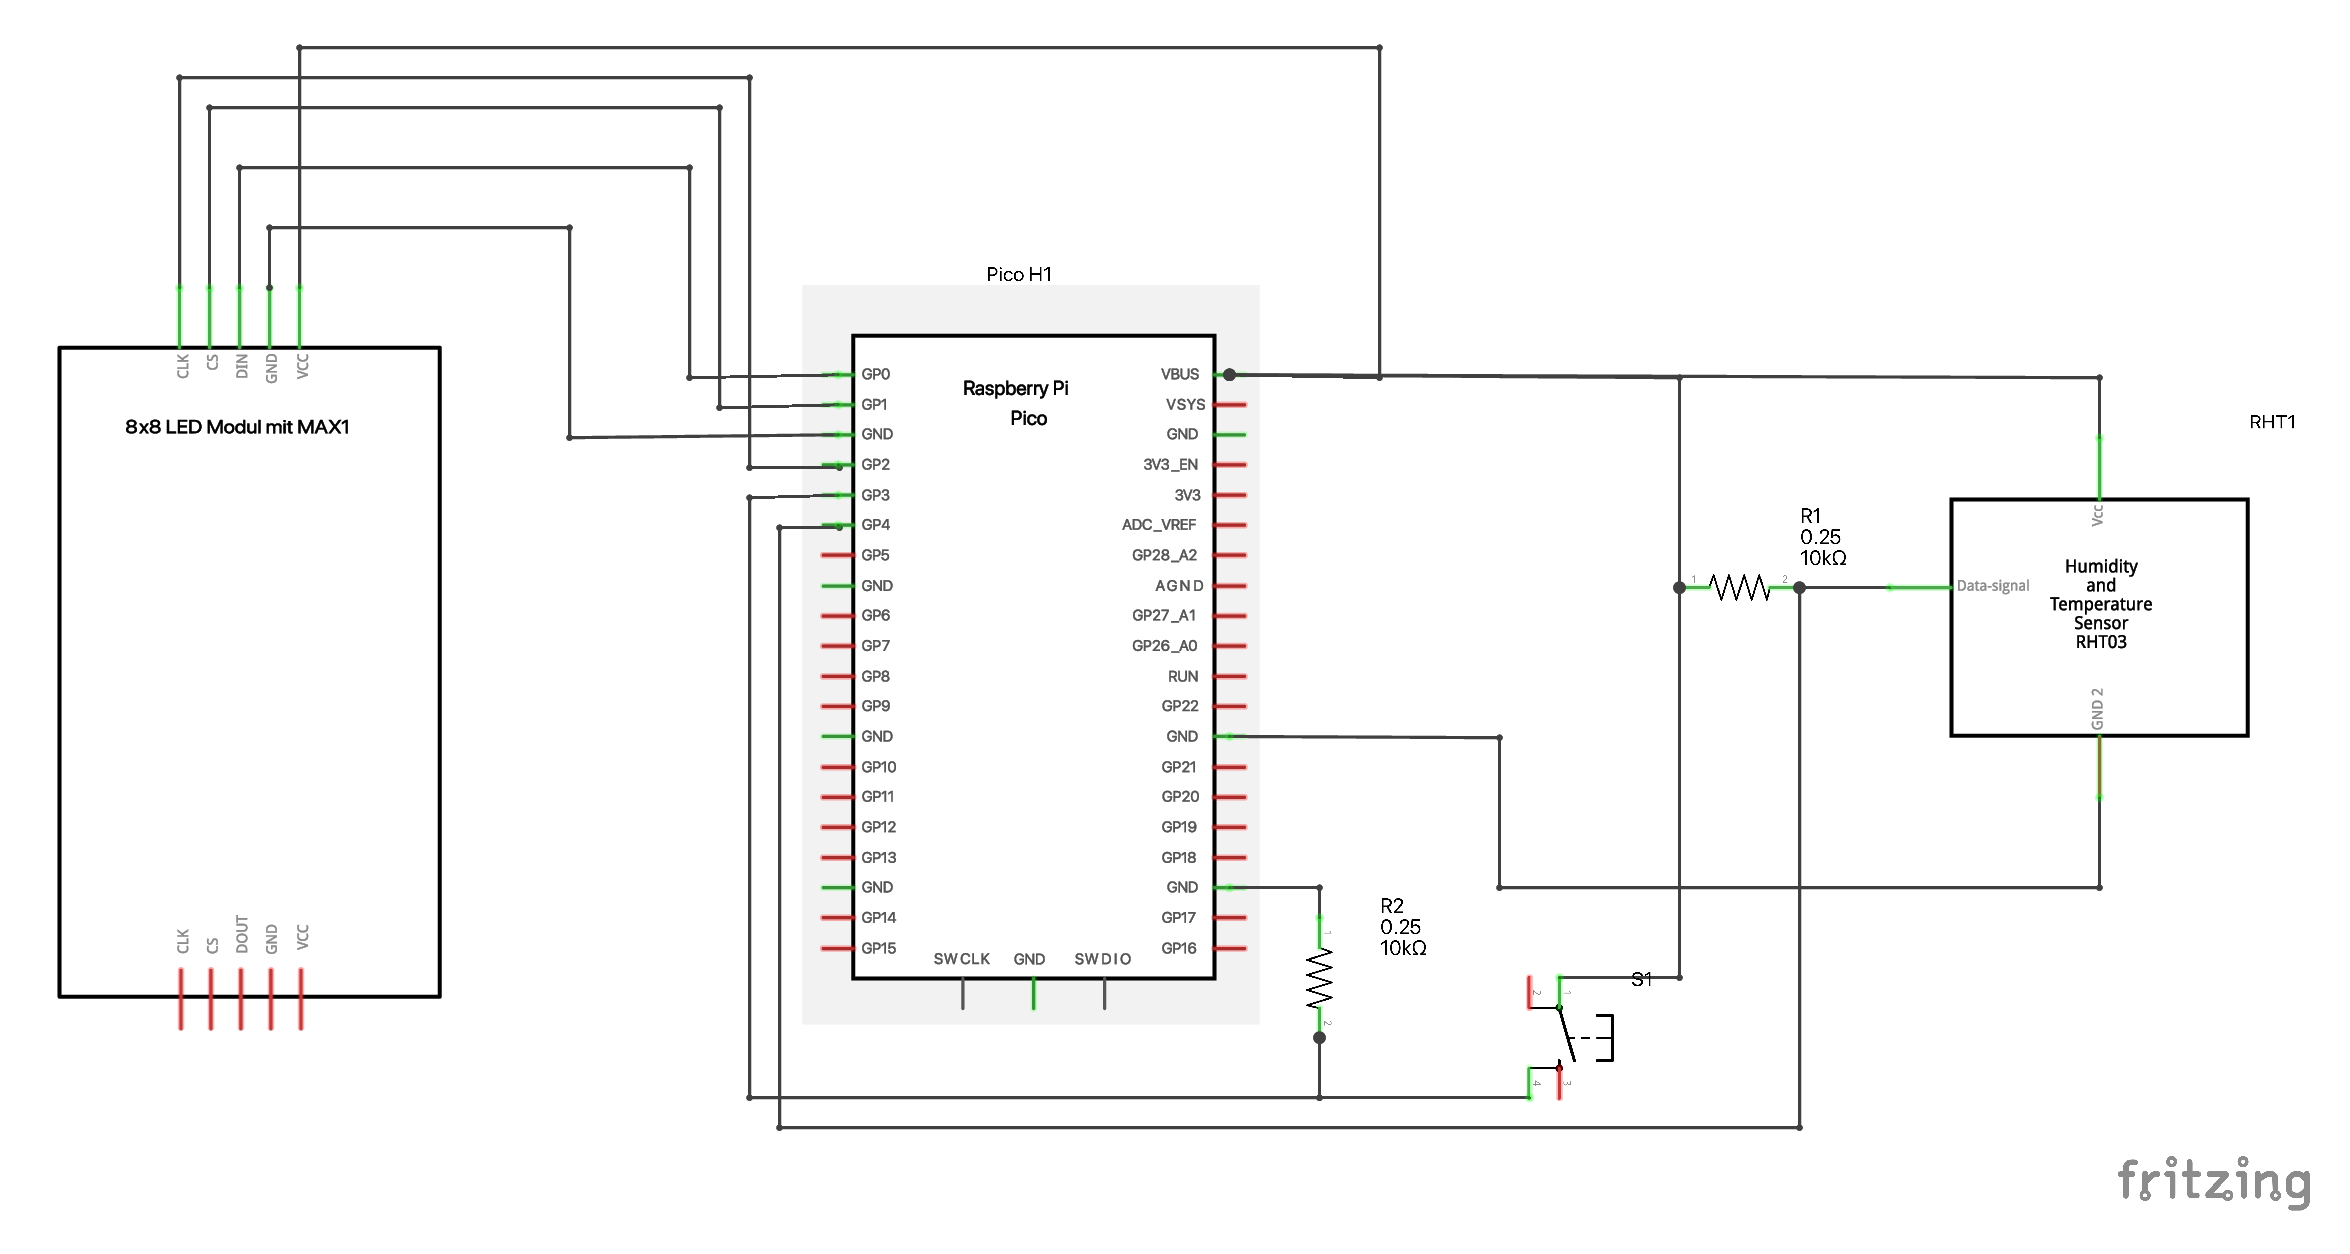
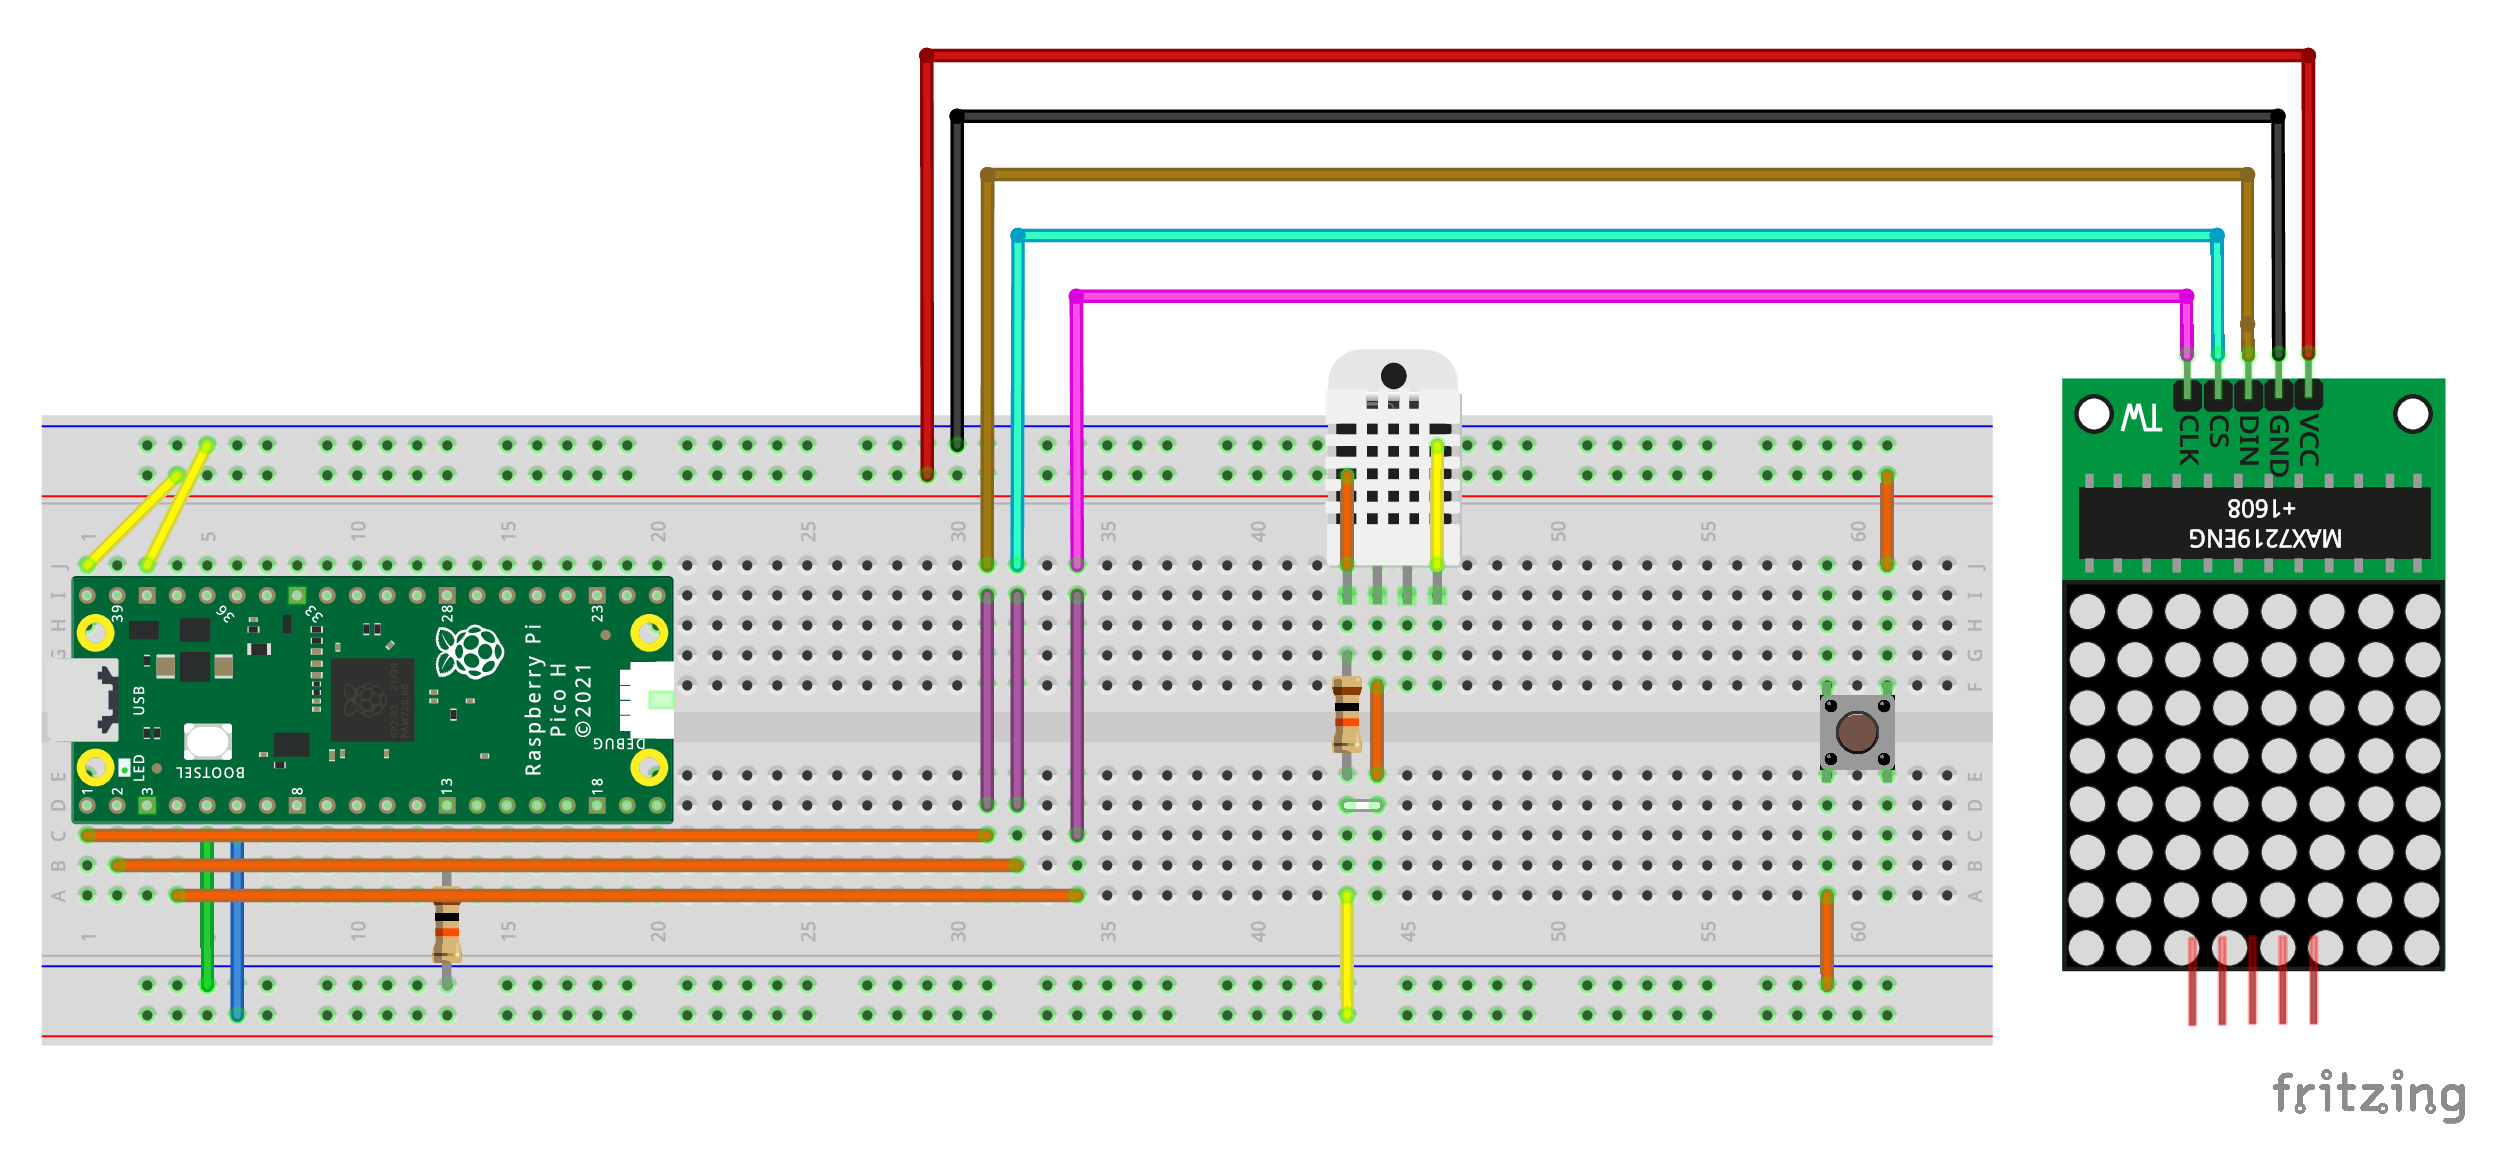
Circuit
Parts
| Part |
|---|
| Raspberry Pi Pico |
| 4x Segment 8x8 Matrix LED |
| DHT 11 |
| Button |
| 2x 10kΩ Resistor |
| Breadboard and Cables |
Documentation
| Part |
|---|
| Raspberry Pi Pico C SDK |
| RP2040 Datasheet |
| DHT11 Datasheet |
| MAX7219 Datasheet |
How to use the SDK
A Guide and all necessary links can be found here.
Clone the Repository and initialise it:
git clone -b master https://github.com/raspberrypi/pico-sdk.git
cd pico-sdk
git submodule update –init
Install the Packages for your System (This is for macOS with an ARM CPU):
brew tap Armbed/homebrew-formulae
brew install arm-none-eabi-gcc cmake
Add the PI Pico SDK to your cmake environment (This is for CLion):
In CLion Build, Execution, Deployment → CMake set Environment to PICO_SDK_PATH=(SDK path).
Then set Generator to Let CMake decide. After that copy external/pico_sdk_import.cmake from the SDK to this project folder.
