Features •
Usage •
Data •
Paper •
Reproduction info for M2/M3/M4 groups
- GitHub Graph QL Query which gives on output all the data that could be useful in this research.
- R Studio - Data Science tool with integrated development environment for R language.
- R Language - programming language and free software environment for statistical computing and graphics
- GHQL - a GraphQL client for R
- MegaLinter - all-in-one linter solution
Running the R Scripts.
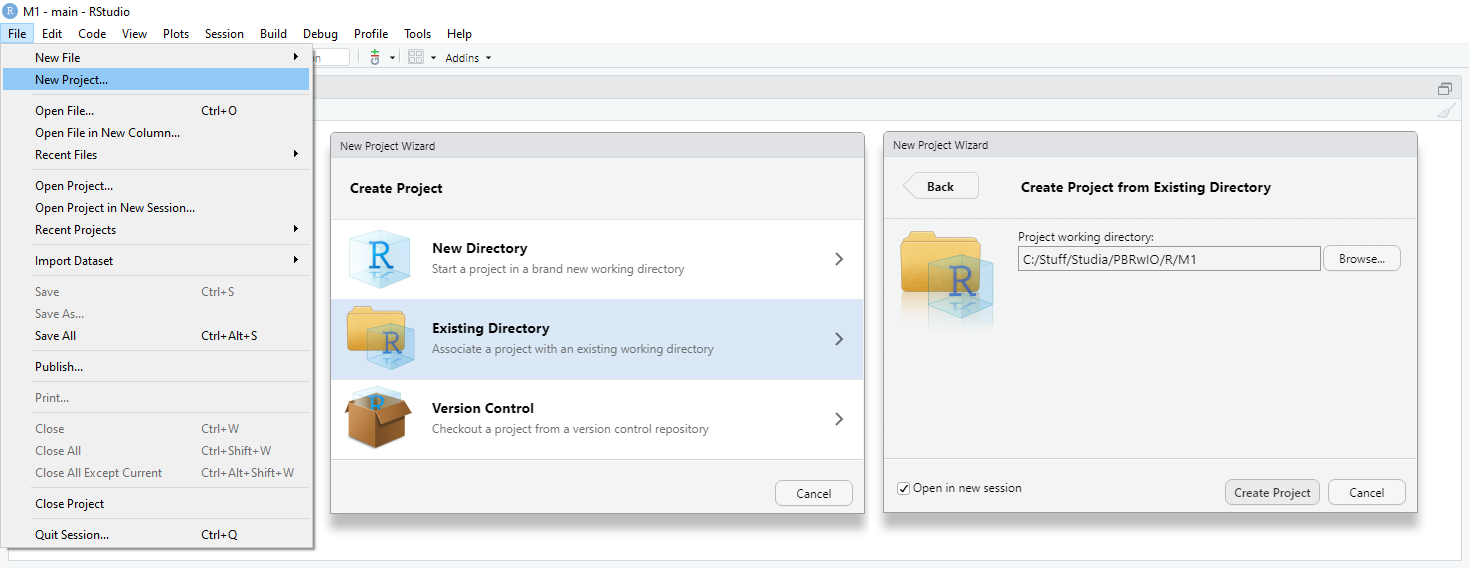
Launching New Project.
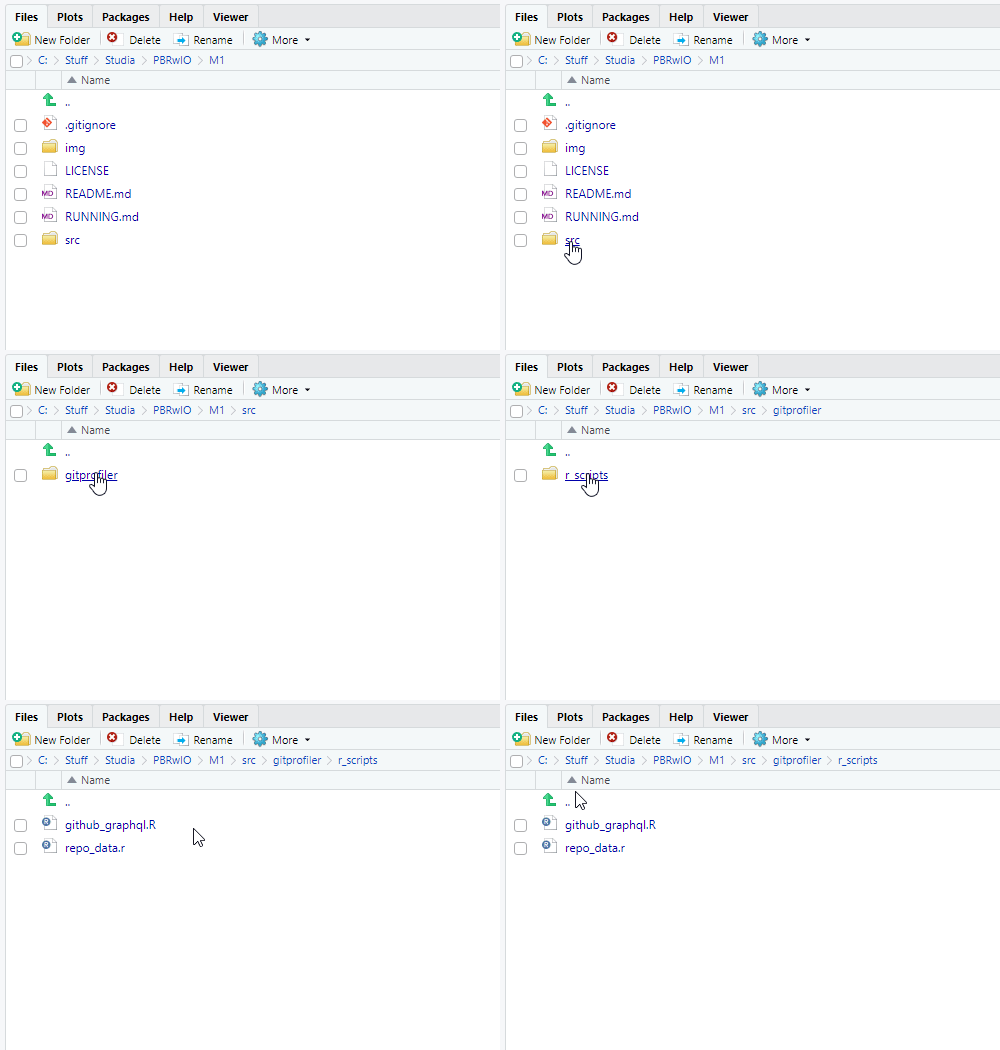
Navigating to directory containing scripts (./src/gitprofiler/r_scripts/).
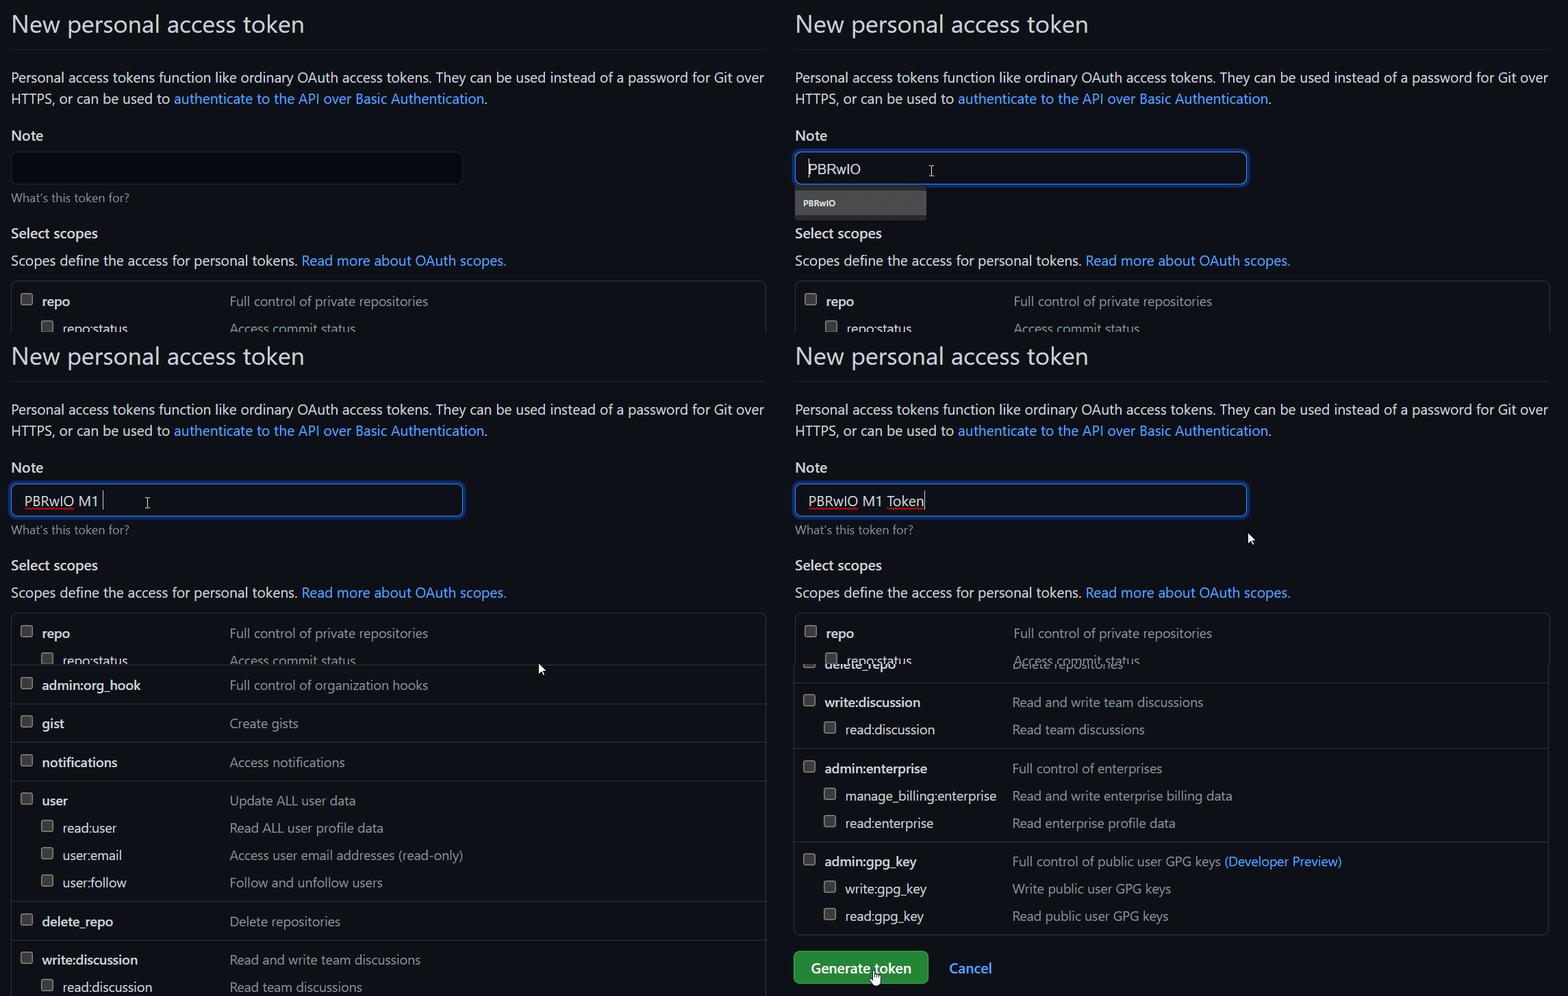
Open one of the scripts. You have to modify line 10, which holds the GitHub Token value. You can generate one via Personal Access Token Page.
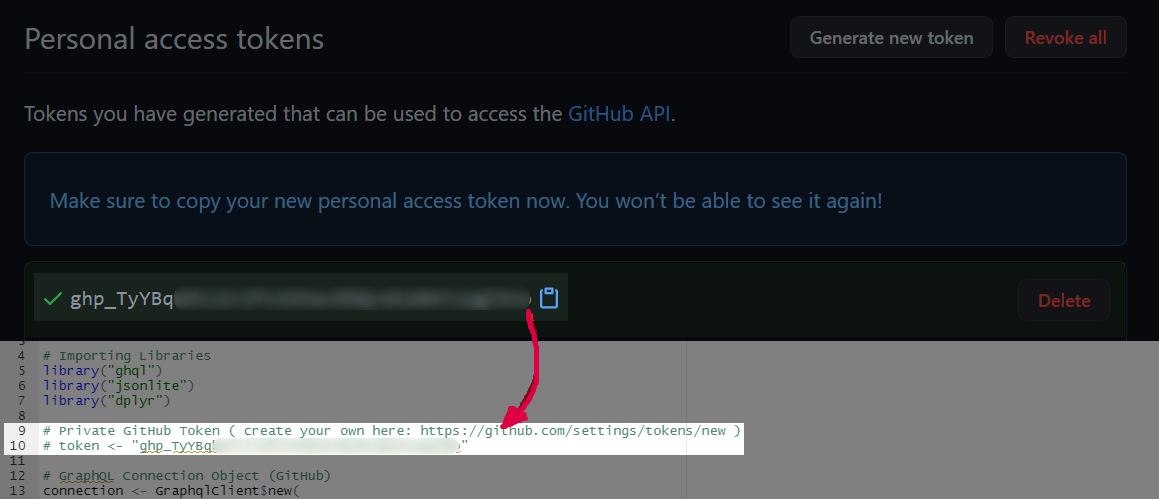
After generating one, replace the string token <- "<token>" in order to be able to access GitHub Graph QL.
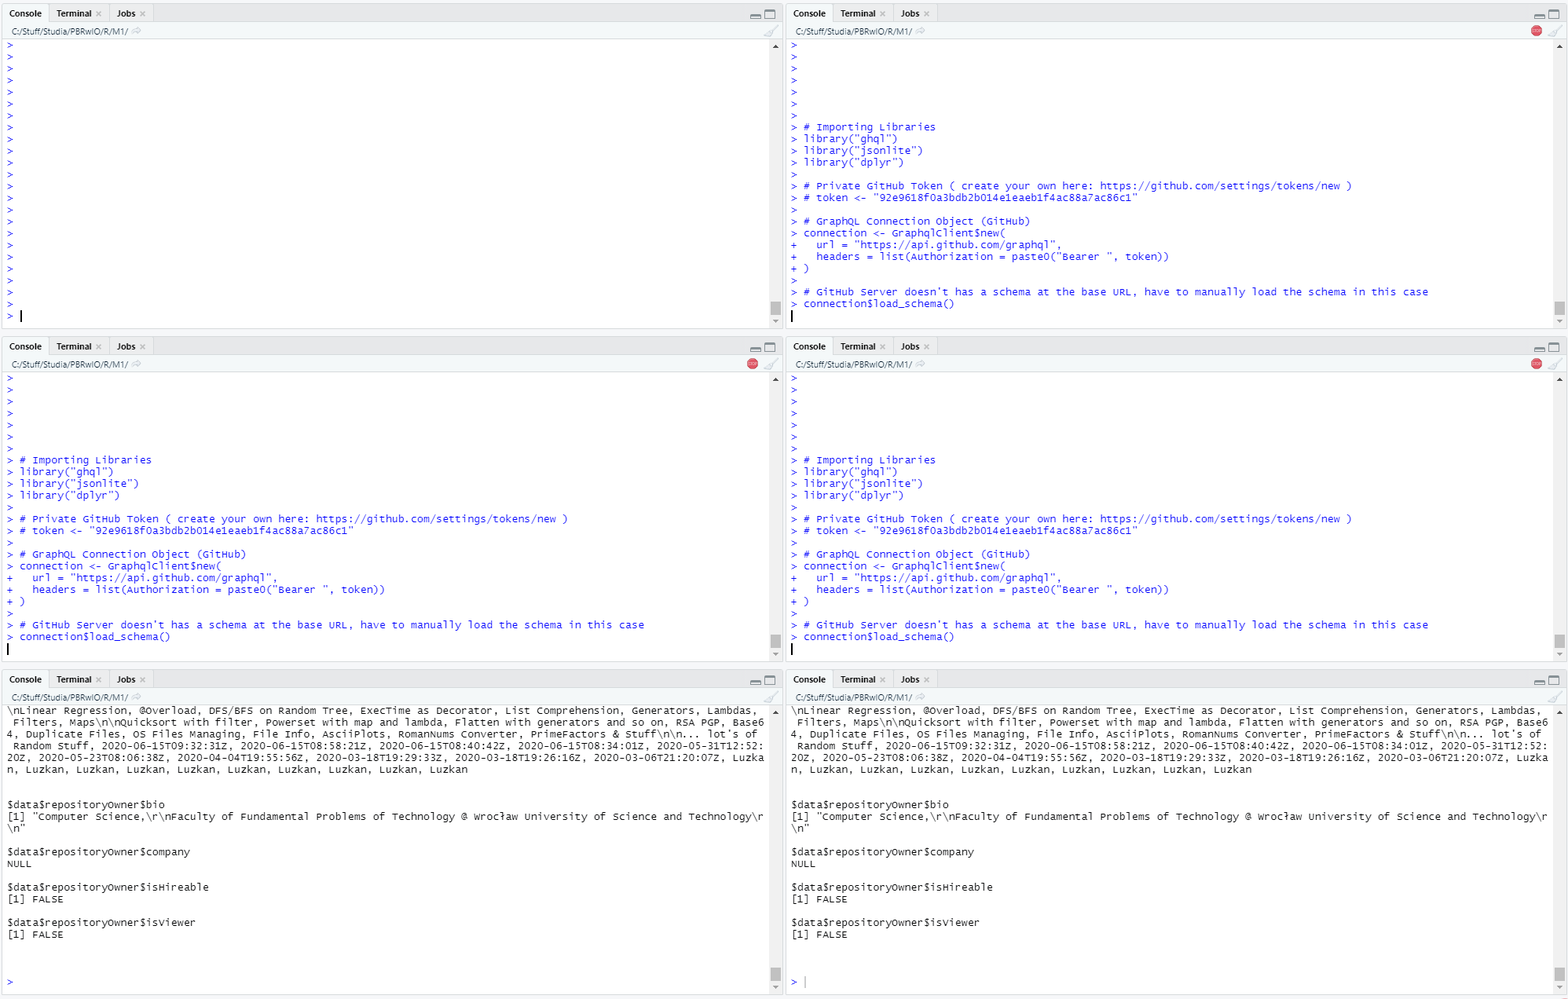
Console Window when running the Query (v0.1.0).
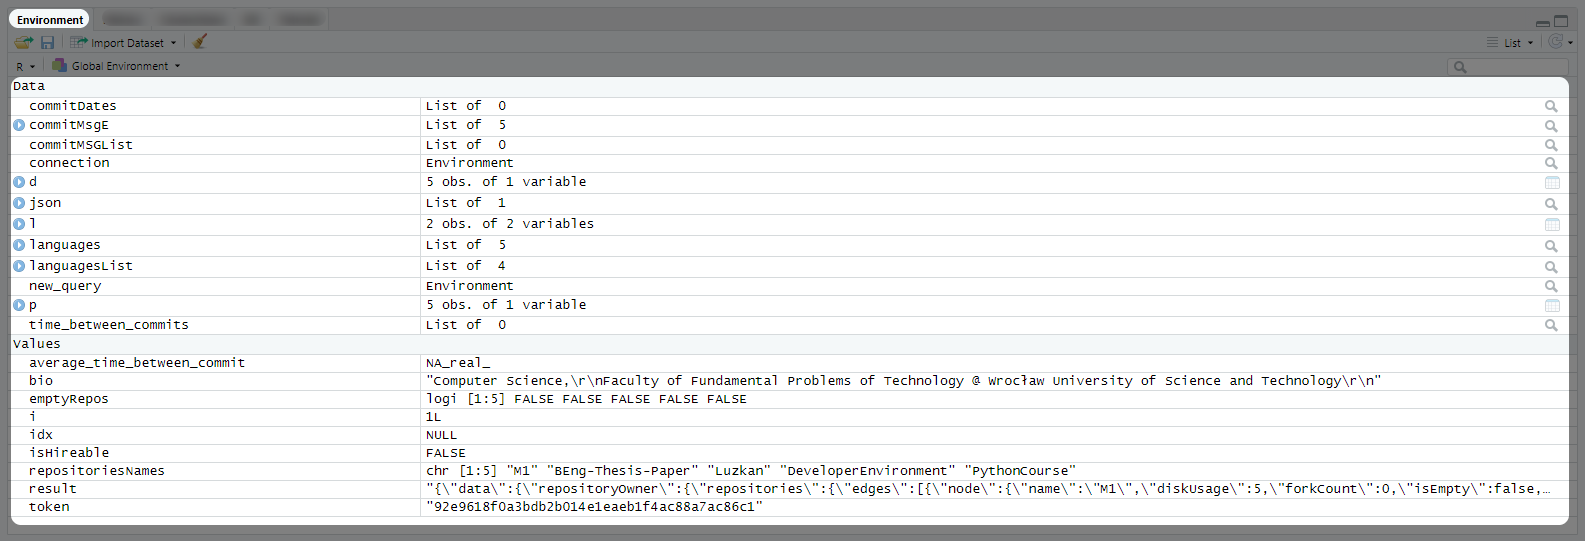
Results can be found in the Environment tab on the right pane.
Running the Mega Linter.
At this moment we are investigating incorporating docker into the project so we could make use of the Mega Linter locally. As of v0.1.0 we tested it through GitHub CI.
Choose any repository of yours and clone it to your machine using git clone command. Then proceed:
cd <your_project_name>
mkdir .github && cd .github
mkdir workflows && cd workflows
notepad mega-linter.yml
Then paste this code snippet below and save the file.
name: Mega-Linter

on:
  push:
  pull_request:
    branches: [master, main]

jobs:
  cancel_duplicates:
    name: Cancel duplicate jobs
    runs-on: ubuntu-latest
    steps:
      - uses: fkirc/skip-duplicate-actions@master
        with:
          github_token: ${{ secrets.PAT || secrets.GITHUB_TOKEN }}

  build:
    name: Mega-Linter
    runs-on: ubuntu-latest
    steps:
      - name: Checkout Code
        uses: actions/checkout@v2
        with:
          token: ${{ secrets.PAT || secrets.GITHUB_TOKEN }}
          fetch-depth: 0
      - name: Mega-Linter
        id: ml
        uses: nvuillam/mega-linter@v4
        env:
          VALIDATE_ALL_CODEBASE: ${{ github.event_name == 'push' && github.ref == 'refs/heads/master' }}
          GITHUB_TOKEN: ${{ secrets.GITHUB_TOKEN }}
      - name: Archive production artifacts
        if: ${{ success() }} || ${{ failure() }}
        uses: actions/upload-artifact@v2
        with:
          name: Mega-Linter reports
          path: |
            report
            mega-linter.log
Lastly, push the new workflow into your Remote GitHub Repository with
git add .
git commit -m "MegaLinter"
git push -f
Now, you can open your project through a web browser and navigate to "Actions" tab. You should see the Mega Linter job.
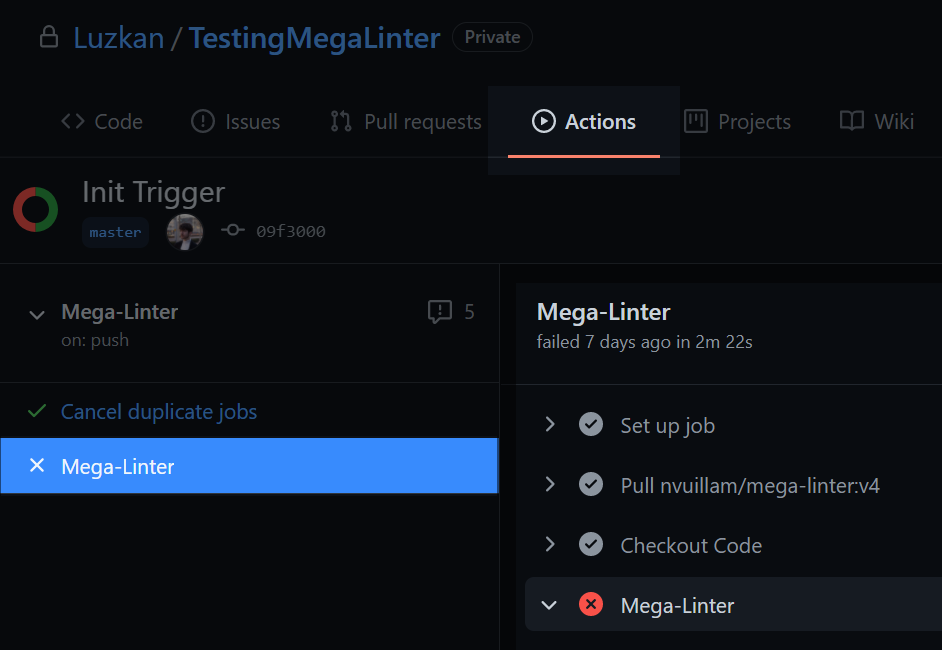
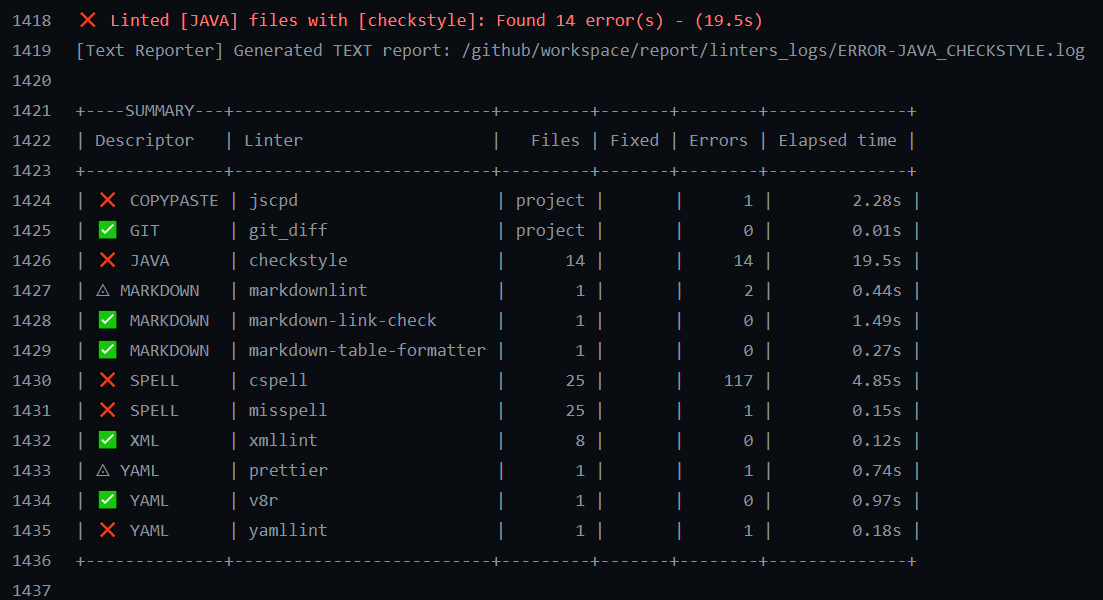
Here's an example result from Mega Linter.
Running the Mega Linter locally.
Important Notice: Mega Linter is super-heavy in terms of required storage (40GB+).
As a prerequisite - you have to have Docker installed on your computer.
Windows
First, download the Linux Kernel Update Package. It is necessary for Docker to work on your machine. Then, download the Docker executable installer and install it just like any other application. Restart is mandatory after the installation.
Unix
Depending on the version of your distro, something analogous to this command should do the job:
sudo apt-get install docker-ce docker-ce-cli containerd.ioIf you have Docker already installed:
- clone fresh copy of desired repository which you would like to examine using
git clonecommand. - navigate to the repository
- run this command:
npx mega-linter-runner --flavor all -e 'ENABLE=,DOCKERFILE,MARKDOWN,YAML' -e 'SHOW_ELAPSED_TIME=true'
New directory should be created in the repository called reports.
Running Mega Linter Scrape Script.
As a prerequisite - you have to have Python installed on your computer. The script has been written with Python 3.9.4.
Navigate to the /src/gitprofiler/py_scripts/ directory. Add your output log file (you can generate the output log by appending > output.txt to the command which redirects the standard output stream into text file) into this directory and then open up console and type in:
python scrape.py -f output.txtThis will generate output.json file (in the same directory) which will contain logs in json format as list where under each index one can find dictionary:
{
  "language": str,
  "linter": str,
  "files": int or str,  # amount of detected files in given language by linter
  "fixed": int,         # amount of fixed errors automatically by linter
  "errors": int         # amount of errors that could not be fixed by linter
},
or
{
  "language": str,
  "files": int,                      # amount of detected files in given language by linter
  "lines": int,                      # amount of detected lines in a given language
  "tokens": int,                     # amount of detected tokens ("chars") in a given language
  "clones": int,
  "duplicate_lines_num": int,
  "duplicate_lines_percent": float,
  "duplicate_tokens_num": int,
  "duplicate_tokens_percent": float
},All available data can be found in the ./data directory. Most importantly: cleaned_data.csv contains all the information that were used in the machine learning model. It is preformatted and adjusted - ready to use out of the box.
The file itself can be found in the main directory.
The LaTeX code of the research paper can be found under ./paper. You have to have LaTeX compiler installed (for example.: miktex) in order to recreate .pdf file.
Tl;dr research reproduction instruction:
- You need to navigate to the script and data file related to reproduction. One is in
./src/gitprofiler/r_scripts/and is calledmodel_script.rand the second one can be found in./data/under the name ofmodel_data_no_labels.csv. - Open up the script and set proper path to the datafile.
- If you want, you can label the data by yourself (use
isOkvariable). - Test the model performance for different parameters