With Auto-Photoshop-StableDiffusion-Plugin, you can directly use the capabilities of Automatic1111 Stable Diffusion in Photoshop without switching between programs. This allows you to easily use Stable Diffusion AI in a familiar environment. You can edit your Stable Diffusion image with all your favorite tools and save it right in Photoshop.
- download the plugin:
git clone https://github.com/AbdullahAlfaraj/Auto-Photoshop-StableDiffusion-Plugin.git
- run "start_server.bat" inside "Auto-Photoshop-StableDiffusion-Plugin" directory
- go to where you have automatic1111 installed. Edit the "webui-user.bat" in automatic1111 change this line
set COMMANDLINE_ARGS=
to
set COMMANDLINE_ARGS= --api
that will allow the plugin to communicate with the automatic1111 project. After saving close the "webui-user.bat" file and run it normally.
- run photoshop. go to edit -> prefrences -> plugins
- make sure you check "Enable Developer Mode" checkbox
- install "Adobe UXP Developer Tool" from here Installation (adobe.com) this tool will add the plugin into photoshop
- run Adobe UXP Developer Tool and click on "Add Plugin" button in the top right. Navigate to where you have "Auto-Photoshop-StableDiffusion-Plugin" folder and open "manifest.json"
- select the plugin and click on Actions -> Load Selected that's it.
- start "webui-user.bat"
- start "start_server.bat"
- start "Photoshop"
- start " Adobe UXP Developer Tool" and load the plugin
- In photoshop, start a new project.
- After loading the plugin, don't select or change anything. Just click on the "Generate" button
- If you see an image of a cat get loaded onto the canvas, then everything is set up correctly.
If you have an issue even after reading the following section. Please consider starting a new issue and/or join us on our discord for real-time feedback.
- use the rectangular marquee tool and select square (1x1 ratio)
- in the selection tool you can set the ratio to something like 512x512 or 512x768
- just make sure the ratio of selection is equal to the size of the image you are generating.
- Write a prompt and click "Generate".
- The result will be resized to fit the selected area. But don't worry, the image will be loaded into photoshop as a smart object. So you can resize it without losing quality.
- Select an image that is on its own layer.
- Optional: "Ctrl + click" the layer thumbnail. If you want the generated image to be place perfectly on the Initial image.
- Change the mode to "img2img" in the plugin UI.
- Click on "Set Init Image" button. If the image doesn't change to the selected layer. Click multiple times. (I'm fixing this problem)
- Click on generate
- Change the plugin mode to inpaint
- Create a square selection on top of an image you want to inpaint:
- through the rectangular marquee tool
- or through "ctrl+click" the layer thumbnail
- Create a new layer and paint white within the selected area. Note that anything white will be regenerated by Stable Diffusion.
- Click "Init Inpaint Mask" button.
- Before clicking make sure you are still on the white layer
- after clicking the plugin will generate an appropriate black and white mask and set it as the mask to be used by Stable Diffusion.
- It will also create a snapshot of the canvas under the selected area, and will use this snapshot as the init image.
- Click the "Generate" button.
- change the plugin mode to inpaint. Remember, outpainting is just a special case of inpainting.
- Create a "rectangular selction" that intersect with an image you want to extend.
- Click on "Init Outpaint Mask" this will :
- create a snapshot of the canvas under your selection and use it as "init image" for Stable Diffusion
- create a black and white mask and will use it as the "init mask"
- it will update both the "init image" and the "init mask" in plugin UI
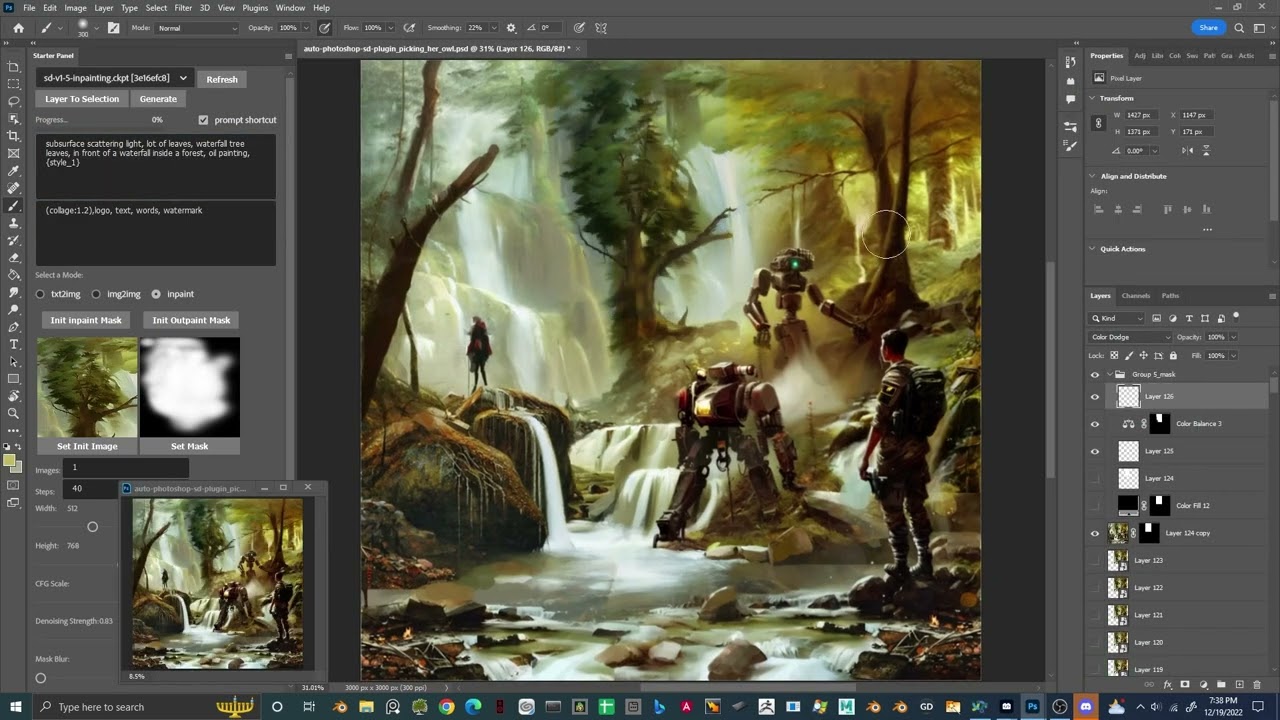
- To get the best result for inpainting and outpainting you must select the "stable-diffusion inpainting model"
- An "init image" of img2img must not have transparency in it.
- Always check the "init image" and the "init mask" in plugin UI and make sure they match the layers on the canvas. To fix a mismatch, do:
- Select the "group_mask" in the layers panel and click on "set init mask" button.
- Select the "group_init_image" in the layers panel and click on "set init image" button.
- After selecting a model, you may need to wait for it to be loaded in Stable Diffusion before you should hit Generate.
- Check the progress bar if it's stuck at 0% or 1%: You could always cancel/interrupt the request if you think it's taking too long and regenerated again.
- Don't open multiple photoshop documents. For now, this will break the plugin. Only work on one project at a time.
img2img, inpaint and outpaint use photoshop "quick export as png" feature under the hood.
At random quick export as png will break, this is a known photoshop bug.
To test if the feature is broken and is the cause of your issue, do the following:
select a layer and right click on it, then select quick export as png. if you get prompted with a windows, then the quick export works fine. However if nothing happen then you will need to restart photoshop and try the export feature again, until it works.
if it work then you could procced to use the plugin.
until you get it to work the img2img, inpaint and outpaint will not function correctly.