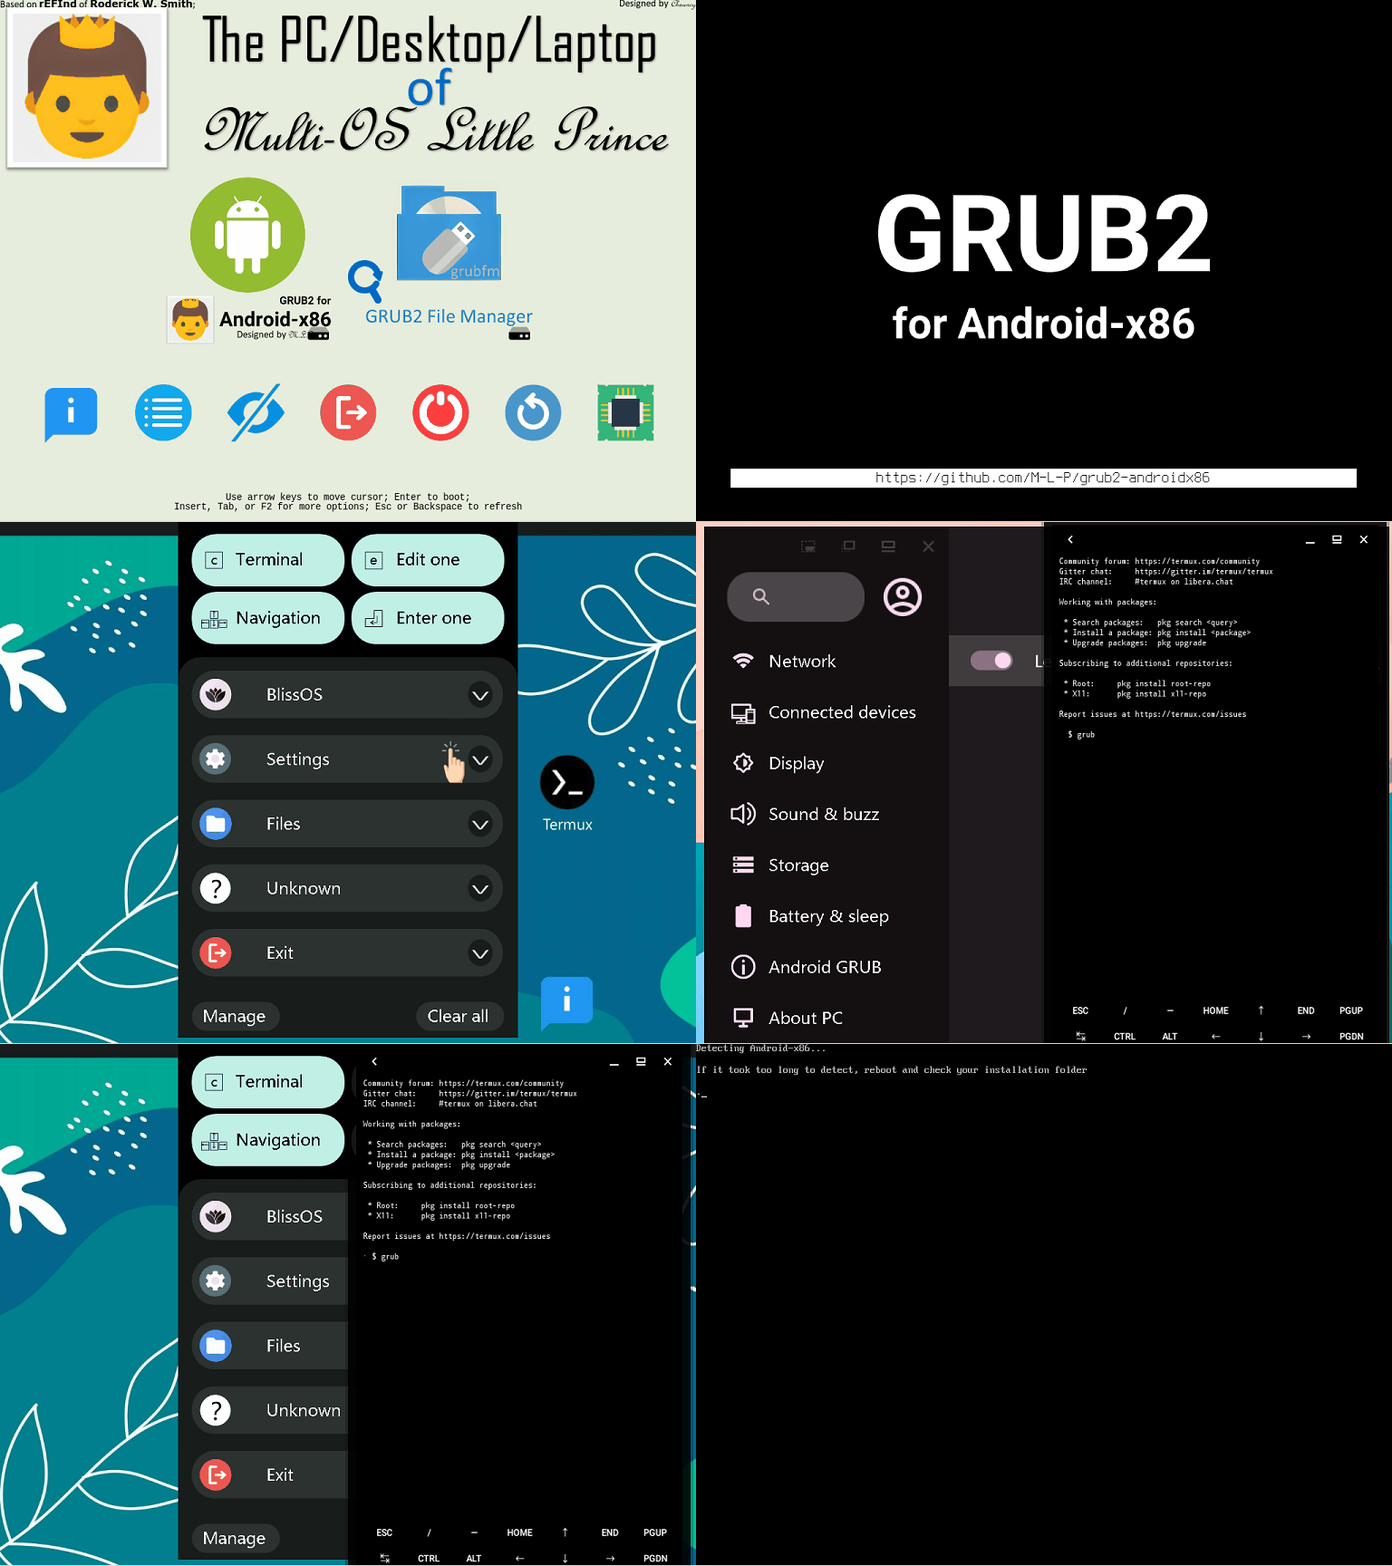
It is used to multiboot all kinds of Android-x86, which can set Kernel Command Line Parameters and support secure boot.[Grub2 app package] => [gapk] => [jpk]
Using patched grub of a1ive , it totally supports secure boot,
It can load any unsigned kernel, so that Androidx86 can be booted with Secure Boot enabled, not disabled anymore;
Mouse and PS/2 trackpad;
Multiple languages;
Support buzzer;
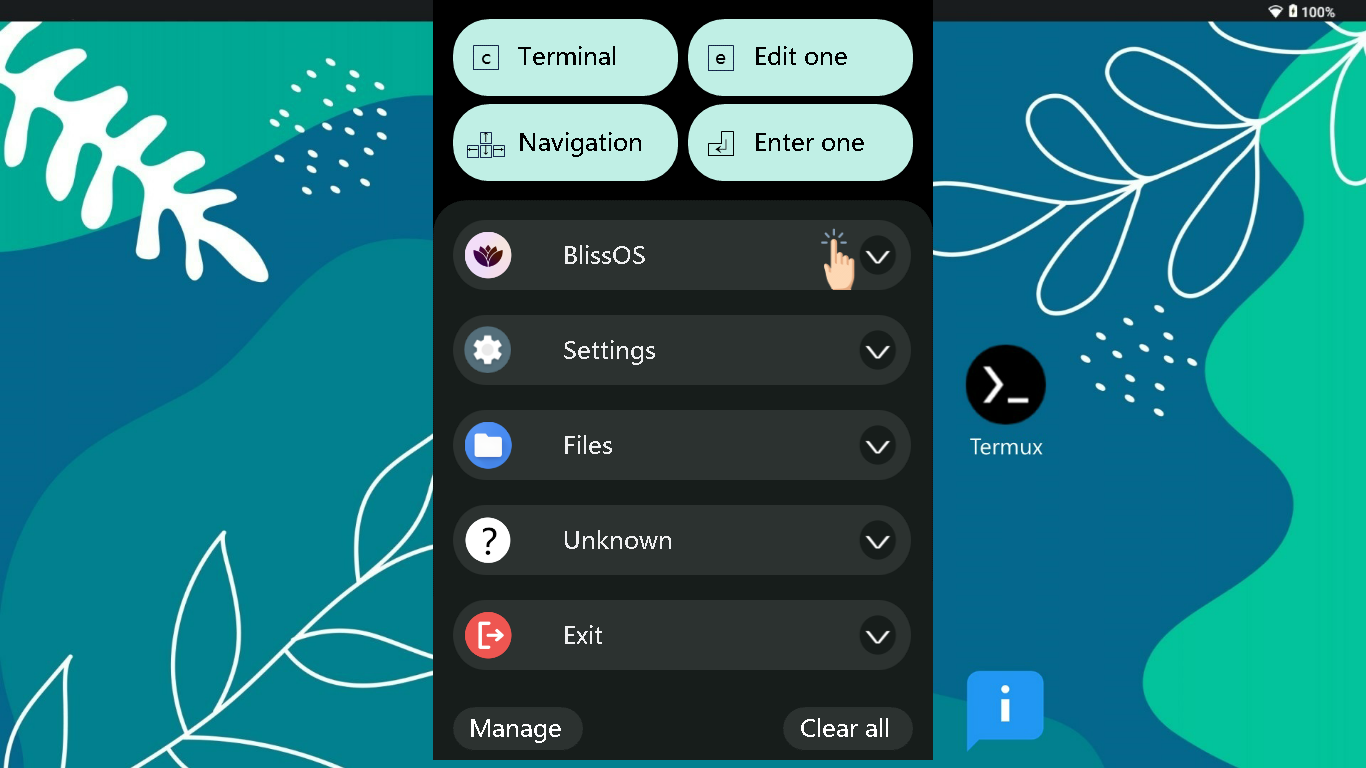
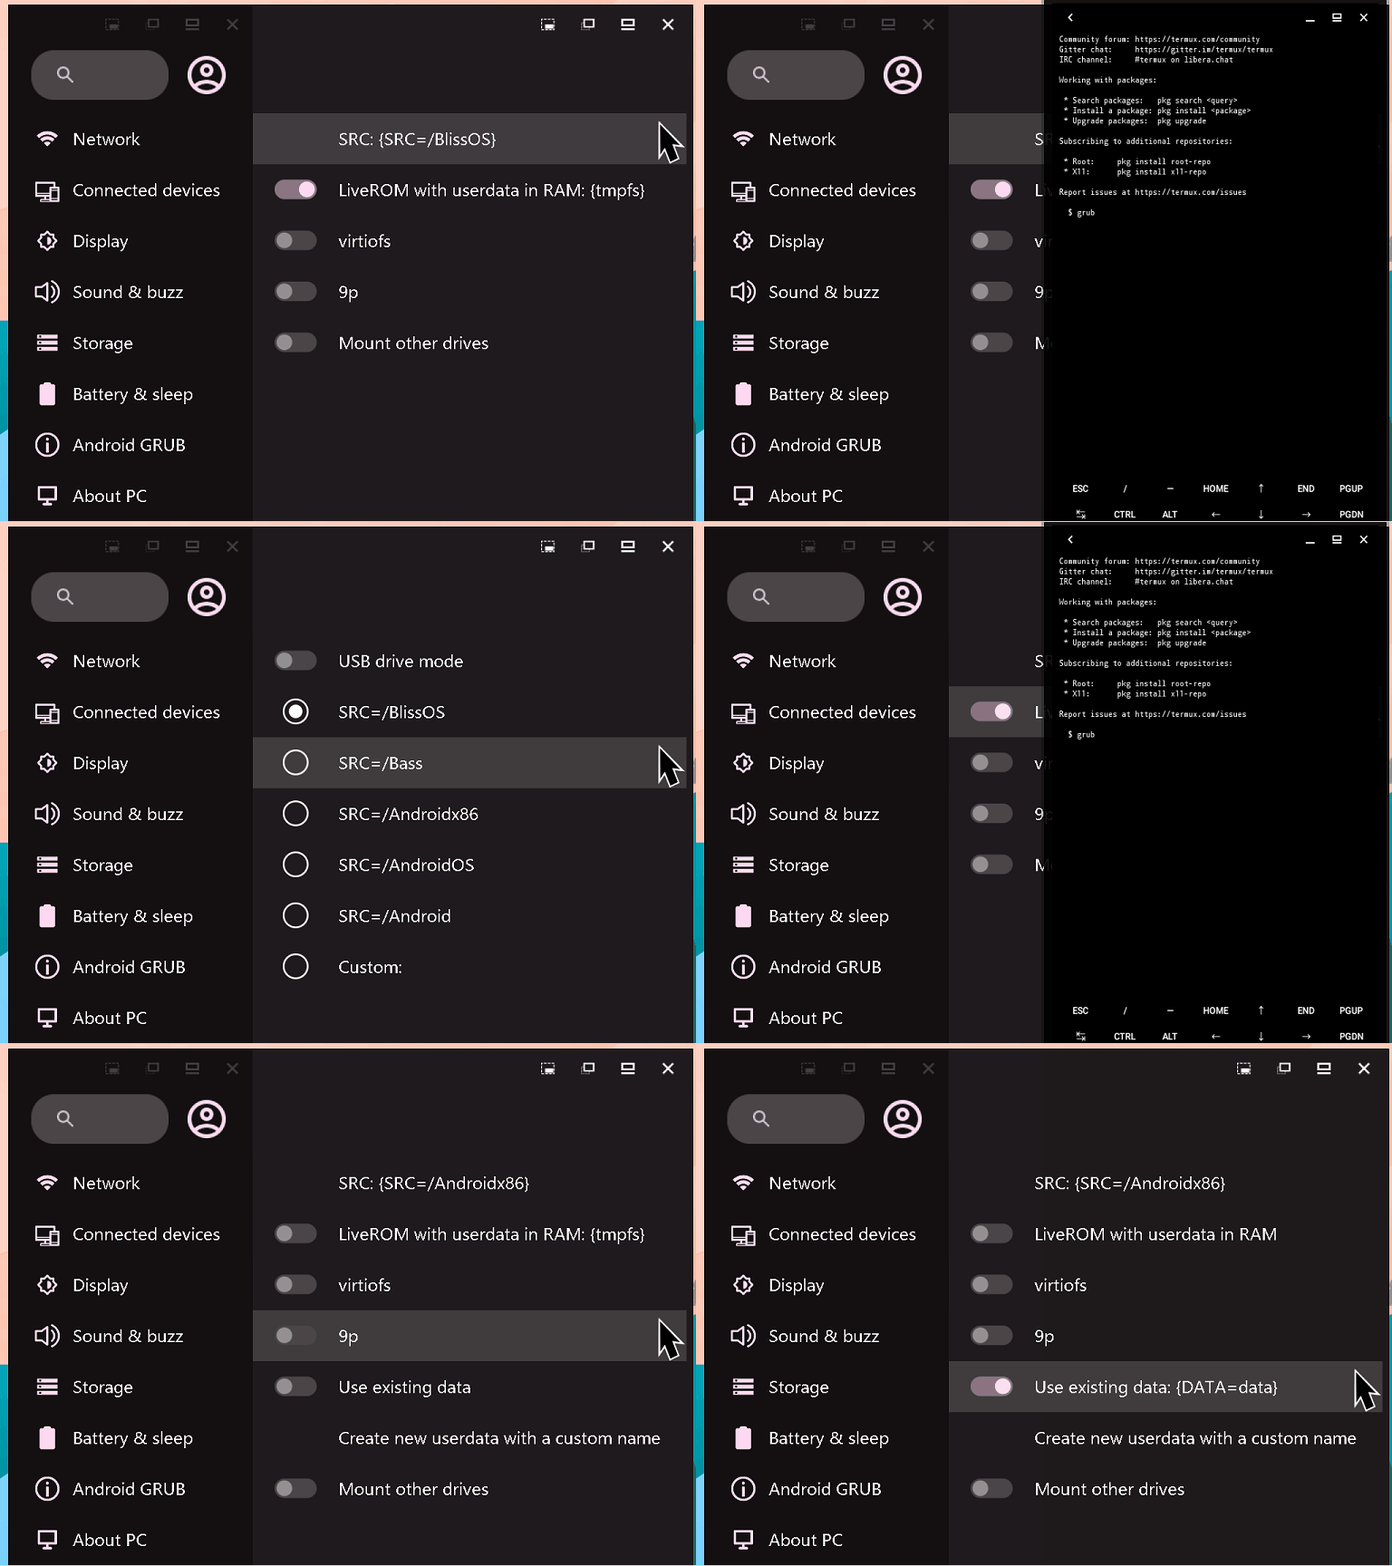
Set kernel commands for graphical interface settings;
Read hardware information;
The Easter egg hidden in the version number;
Key
Function
[↑] [↓]
Navigation;
[Enter]
Enter the selected entry;
[ESC]
Returns to the previous menu list; (Exit from the main menu)
[F5]Refresh and re-enter grub2;
[F10]
Screenshot;
Operation
Function
Slide up
[↑]
Down
[↓]
Left click
[Enter]
Right click
[ESC]
🖱️Click to Unfold to see🖱️
🖱️Click to Unfold to see🖱️
Copy the folder zip: /EFI/androidx86 into ESP: /EFI;
🖱️Click to Unfold to see🖱️
Mount the .iso file;
Copy the files iso: /kernel and iso: /initrd.img,
and paste into ESP: /EFI/androidx86/boot;
Scenario 1: iso file has been booted with Androidx86 installed
🖱️Click to Unfold to see🖱️
Enter the grub settings interface
Scenario 2: I don't want to boot iso file, I want to manually copy files
🖱️Click to Unfold to see🖱️
🖱️Click to Unfold to see🖱️
Use Gnome-Disk or Gparted to create a partition for installation, ≥ 8GB;
Common partition size conversions
Physical Storage
Character
Logical Storage
8 GB
≈
7,630 MiB
16 GB
≈
15,258 MiB
32 GB
≈
30,518 MiB
64 GB
≈
61,036 MiB
128 GB
≈
122,070 MiB
256 GB
≈
244,140 MiB
512 GB
≈
488,282 MiB
1 TB
≈
976,562 MiB
format it as ext4 for HDD;
format it as f2fs for SSD;
sudo {package manager} install f2fs-tools in order to support f2fs.
🖱️Click to Unfold to see🖱️
If you want smaller size and Read-Only,
🖱️Click to Unfold to see🖱️
Copy the virtual partition iso: /system.sfs or iso: /system.efs,
and paste into ext4|f2fs: /Android-x86 for AOSP ;
and paste into into ext4|f2fs: /BlissOS for BlissOS ;
🖱️Click to Unfold to see🖱️
Mount iso: /system.sfs or iso: /system.efs and find system.img in it,
sudo {package manager} install erofs-utils in order to support erofs,
Copy the virtual partition system.img,
and paste into ext4|f2fs: /Android-x86 for AOSP ;
and paste into ext4|f2fs: /BlissOS for BlissOS ;
You should use Yours-UEFI (with patch) to load grub2-androidx86.efi (unsigned).
You should cover kernel, initrd.imgand system by your hands once you get a newer .iso file.
If you like it and are looking forward to the coming update, you can star it.💫
The function of reading hardware information is borrowed from grub2-filemanager of a1ive ;
Wallpapers are searched by using Google;
The leftover materials of the noti are drawn with reference to the graphical interface of Pixel;
The leftover materials of the window are drawn with reference to the graphical interface of BlissOS ;
Terminal box is adapted from the graphical interface of Termux ;
Many things about Kernel Command Line Parameters are copied from BlissOS Docs ;
Grub tune is copied from grub-tune-tester of BreadMaker ;
initrd-magisk and Magisk Delta of shìwēi nguyen ;The .gif cartoon is taken by using Hyper-V and Screen2Gif ;
...


