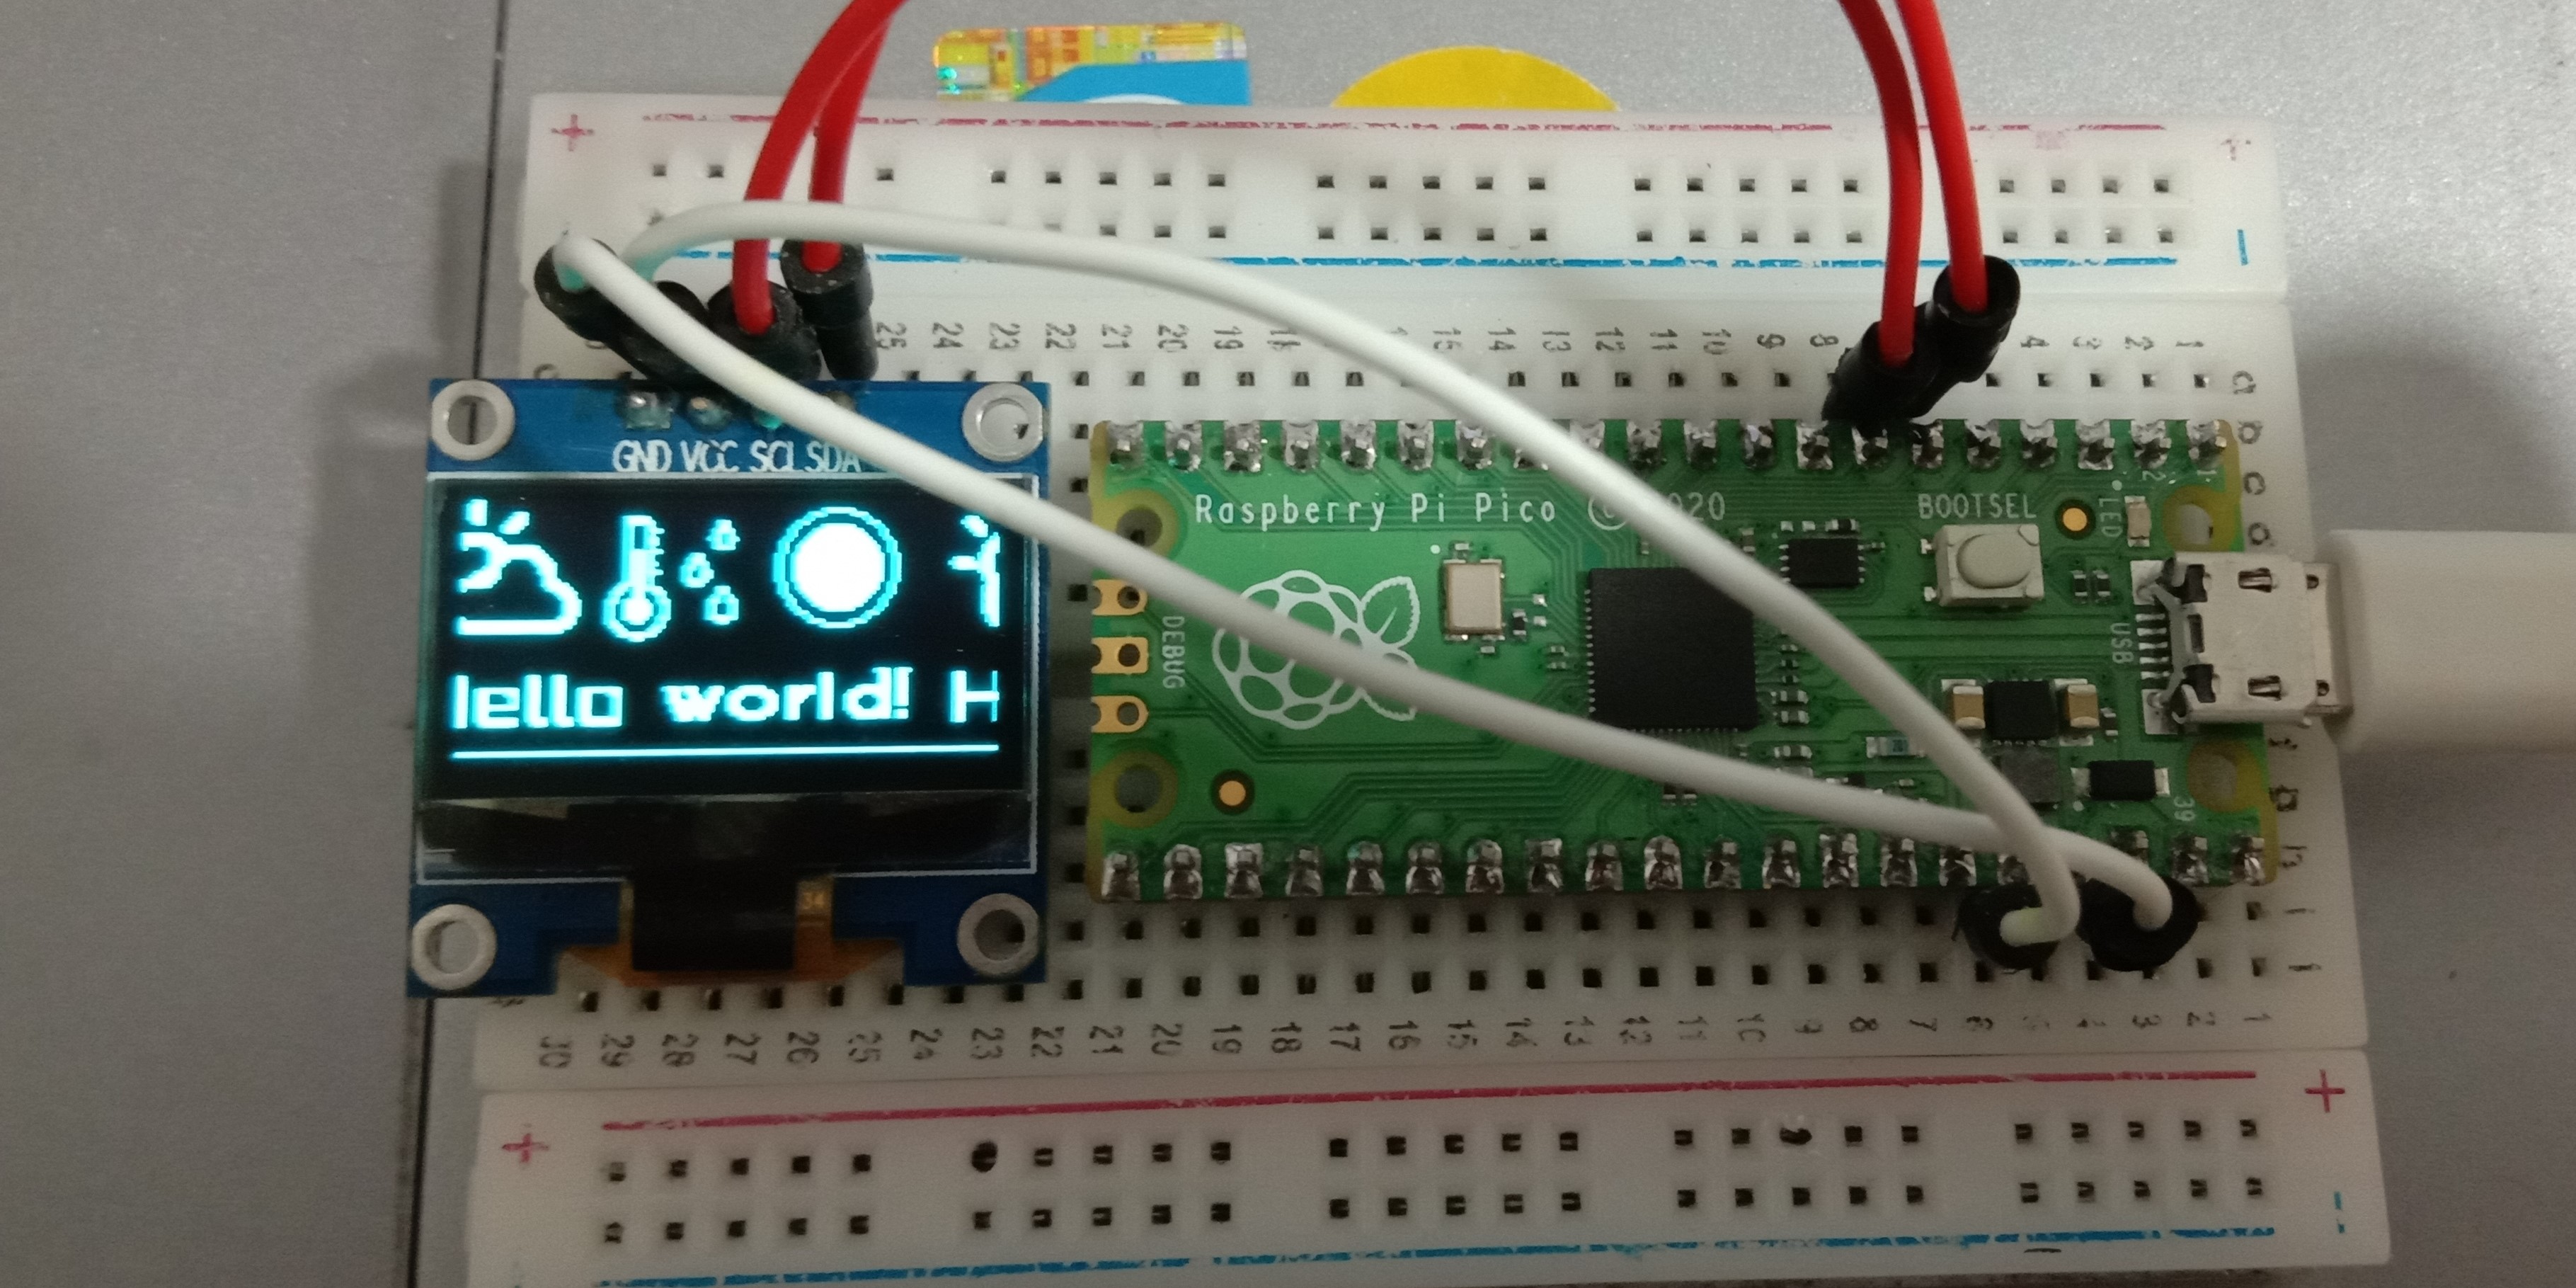
This is a C++ library for raspberry pi pico.
It's based on offical pi pico examples. If you are interested in it, you can find it here Pico Examples OLED I2C.

| Function | Introduction |
|---|---|
| void show() | Send all data buffer to oled |
| void clear() | Make all data buffer to 0 |
| void isDisplay(bool inverse) | 1 display on , 0 display off |
| void isInverse(bool inverse) | 1 inverse, 0 no inverse |
| void drawFastHLine() | draw fast horizontal line |
| void drawFastVertical() | draw fast vertical line |
| void drawLine() | Draw any angle line you want |
| void drawRectangle() | Draw a rectangle |
| void drawFilledRectanle() | Draw a filled rectangle |
| void drawCircle() | Draw a cicrle |
| void drawFilledCircle() | Draw a filled circle |
| void isScroll() | Turn on/off scroll |
| void setScrollDir() | 1 scroll right,0 scroll left |
| void setFont() | Set font, adafruit font support |
| void printChar() | print a character |
| void print() | print a string |
| void drawBitmap() | draw an image |
If you want to use this library, your file structure should be like this:
- build(build files, including .uf2 file)
- src(source code folder)
- lib
- OLED(oled library)
- bitmap.h(for display images)
- OLEDDISPLAY.cpp(main programme)
- lib
- CMakeLists.txt(for cmake)
This repository does not have build folder, you need to cmake yourself.
The main programme is at OLEDDISPLAY.cpp file.
You may need to change CMakeLists.txt file according to your enviroment if needed.
#include "OLED.h"

int main(){
    // SCL, SDA, Width, Height, Frequency, Upside-down, I2C Port
    OLED oled(5, 4, 128, 64, 400000, false, i2c0);
    return 0;
}
Note that, in this library I use default I2C0 and default I2C pins which is GPIO4-SDA and GPIO5-SCL, but you can change it by other default i2c pins.
And I use SSD1306 recommanded I2C max frequency, 400KHz.
The 6th parameter to the constructor call is whether the screen whould be upside-down or not. If true, the screen will be reversed.
#include "OLED.h"

int main(){
    // SCL, SDA, Width, Height, Frequency, Upside-down, I2C Port
    OLED oled(5, 4, 128, 64, 400000, false, i2c0);
    // Rectangle
    oled.drawRectangle(0, 0, 50, 30);
    oled.drawFilledRectangle(5, 5, 40, 20);
    // Circle
    oled.drawCircle(100, 16, 14);
    oled.drawFilledCircle(100, 16, 10);
    // Send data buffer to oled
    oled.show();
    return 0;
}
Note that you must call show() function after you finish draw shapes. So as print text or draw image, you need call show function too.
#include "OLED.h"
#include "Cherry_Cream_Soda_Regular_16.h"

int main(){
    // SCL, SDA, Width, Height, Frequency, Upside-down, I2C Port
    OLED oled(5, 4, 128, 64, 400000, false, i2c0);
    //String 1 "Hello", use defaule font
    uint8_t string1[] = "Hello";
    oled.print(0, 38, string1);
    // String 2 "world!", use custom font
    oled.setFont(&Cherry_Cream_Soda_Regular_16);
    uint8_t string2[] = "world!";
    oled.print(60, 32, string2);
    // Draw a text baseline and send data buffer
    oled.drawLine(0, 60, 128, 60);
    oled.show();
    return 0;
}
This library is adafruit font supported, because it's really popular among makers.
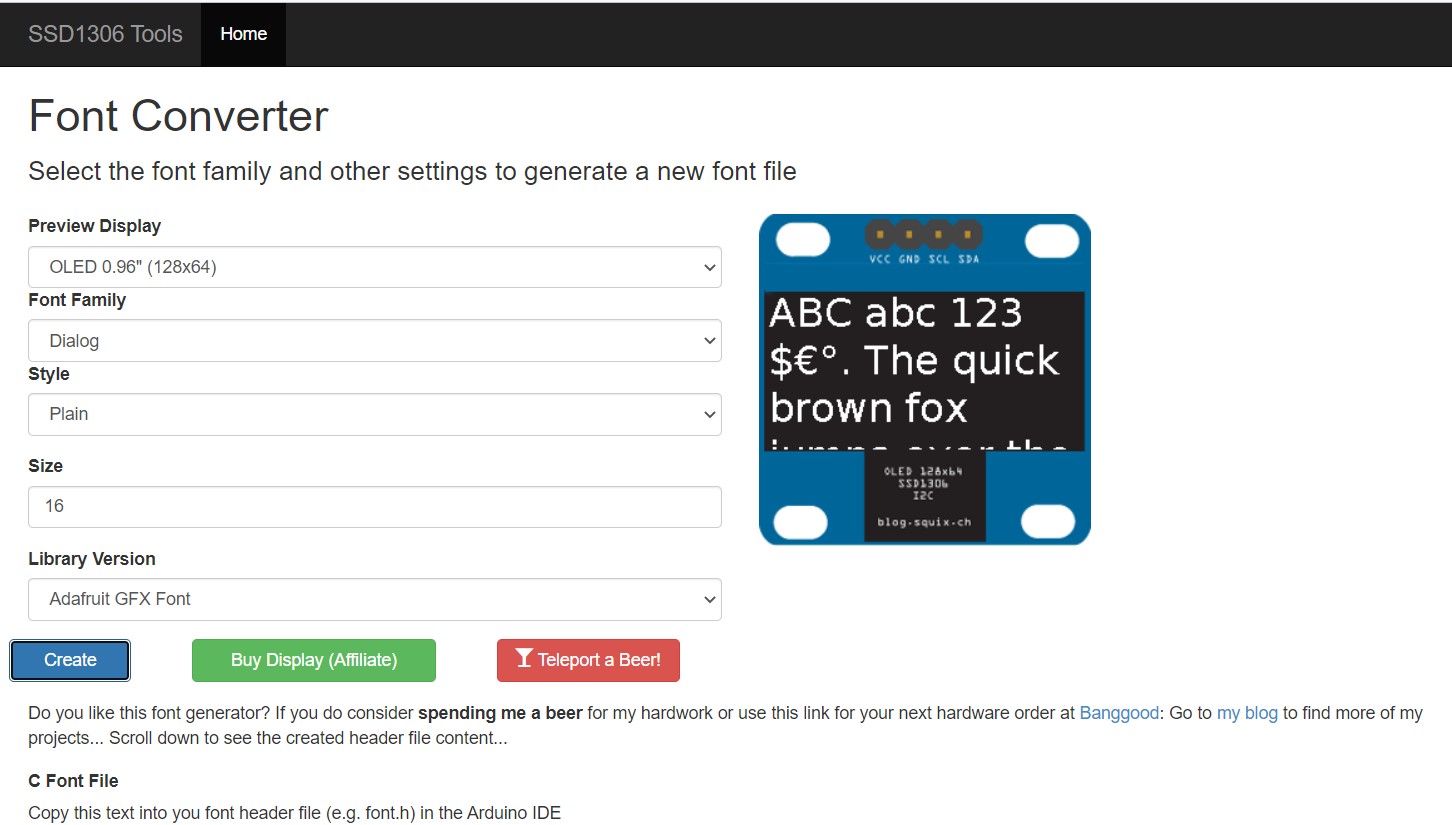
You can custom your own font on Font Genertor website.
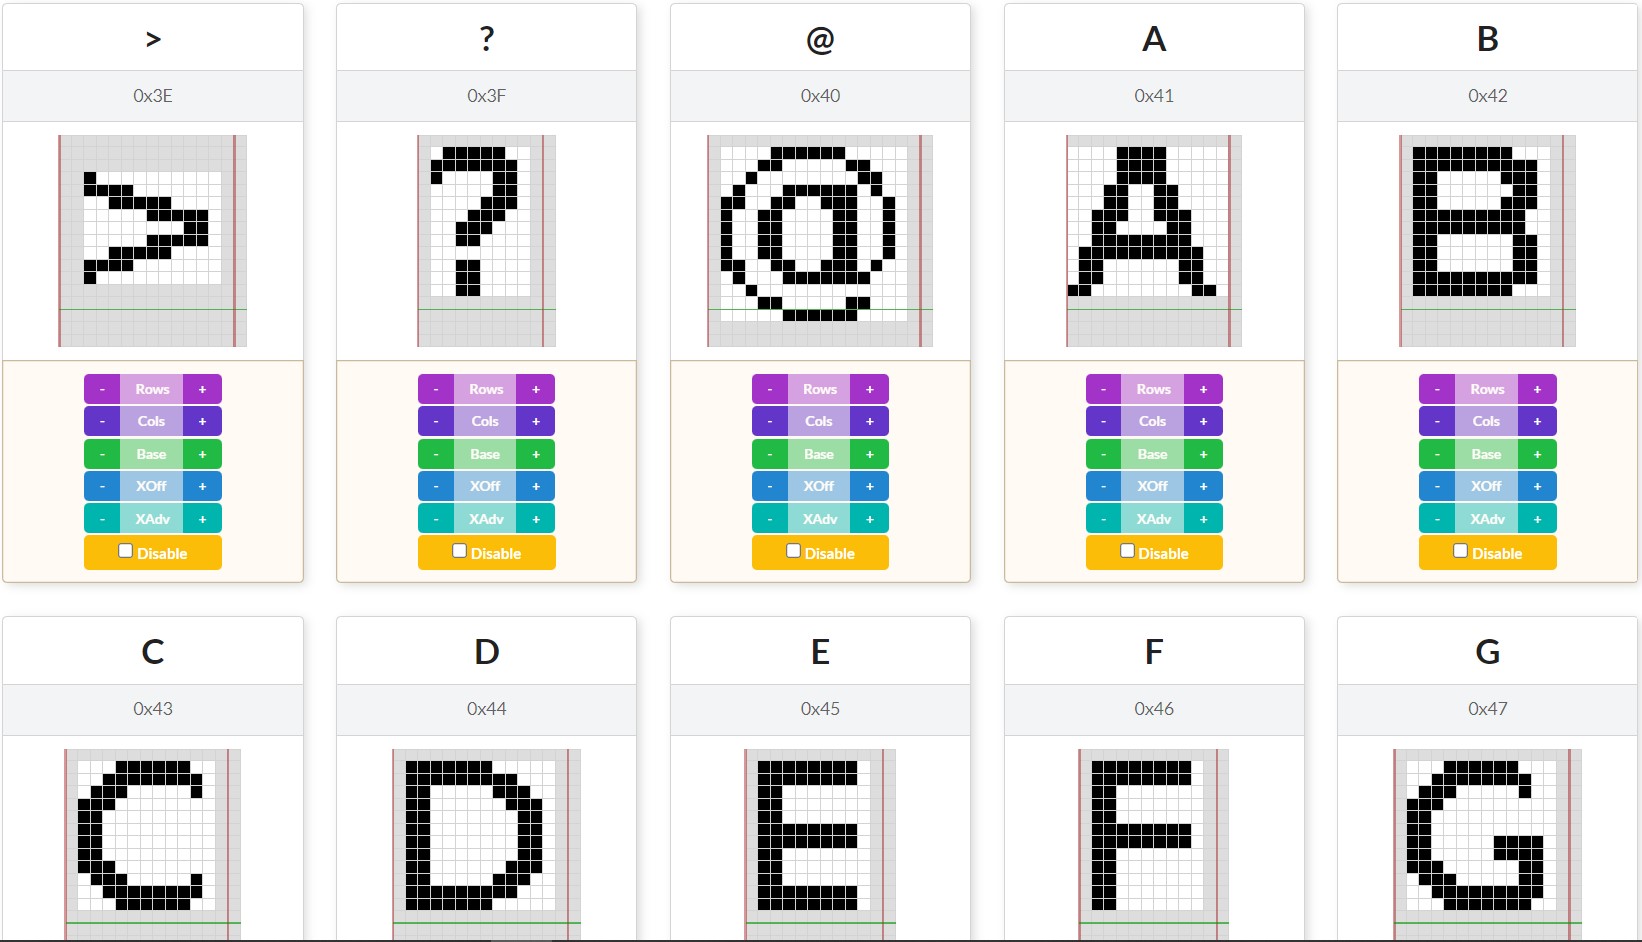
And you can modify characters using this website Adafruit Font Customiser.
#include "OLED.h"
#include "bitmap.h"

int main(){
    // SCL, SDA, Width, Height, Frequency, I2C Port
    OLED oled(5, 4, 128, 64, 400000, i2c0);
    // Draw two images
    oled.drawBitmap(0, 0, 40, 32, pressure_40x32);
    oled.drawBitmap(45, 3, 32, 32, temperature_32x32);
    // Send data buffer to oled
    oled.show();
    return 0;
}
You should know that both font and image, the origin point is set at top left.
This project is based on GNU General Public License v3.0 licence, and you are free to use for your own purpose.
That's all. Happy hacking.

