Getting Started with Dynamo
This repository illustrates the development of a Dynamo Graph from start to finish. It can be used as a training resource to teach visual programming using Dynamo as it gradually introduces concepts over time.
It also serves as an example to illustrate the important of being able to visually track changes in Dynamo Graphs.
Hyperbolic Paraboloid
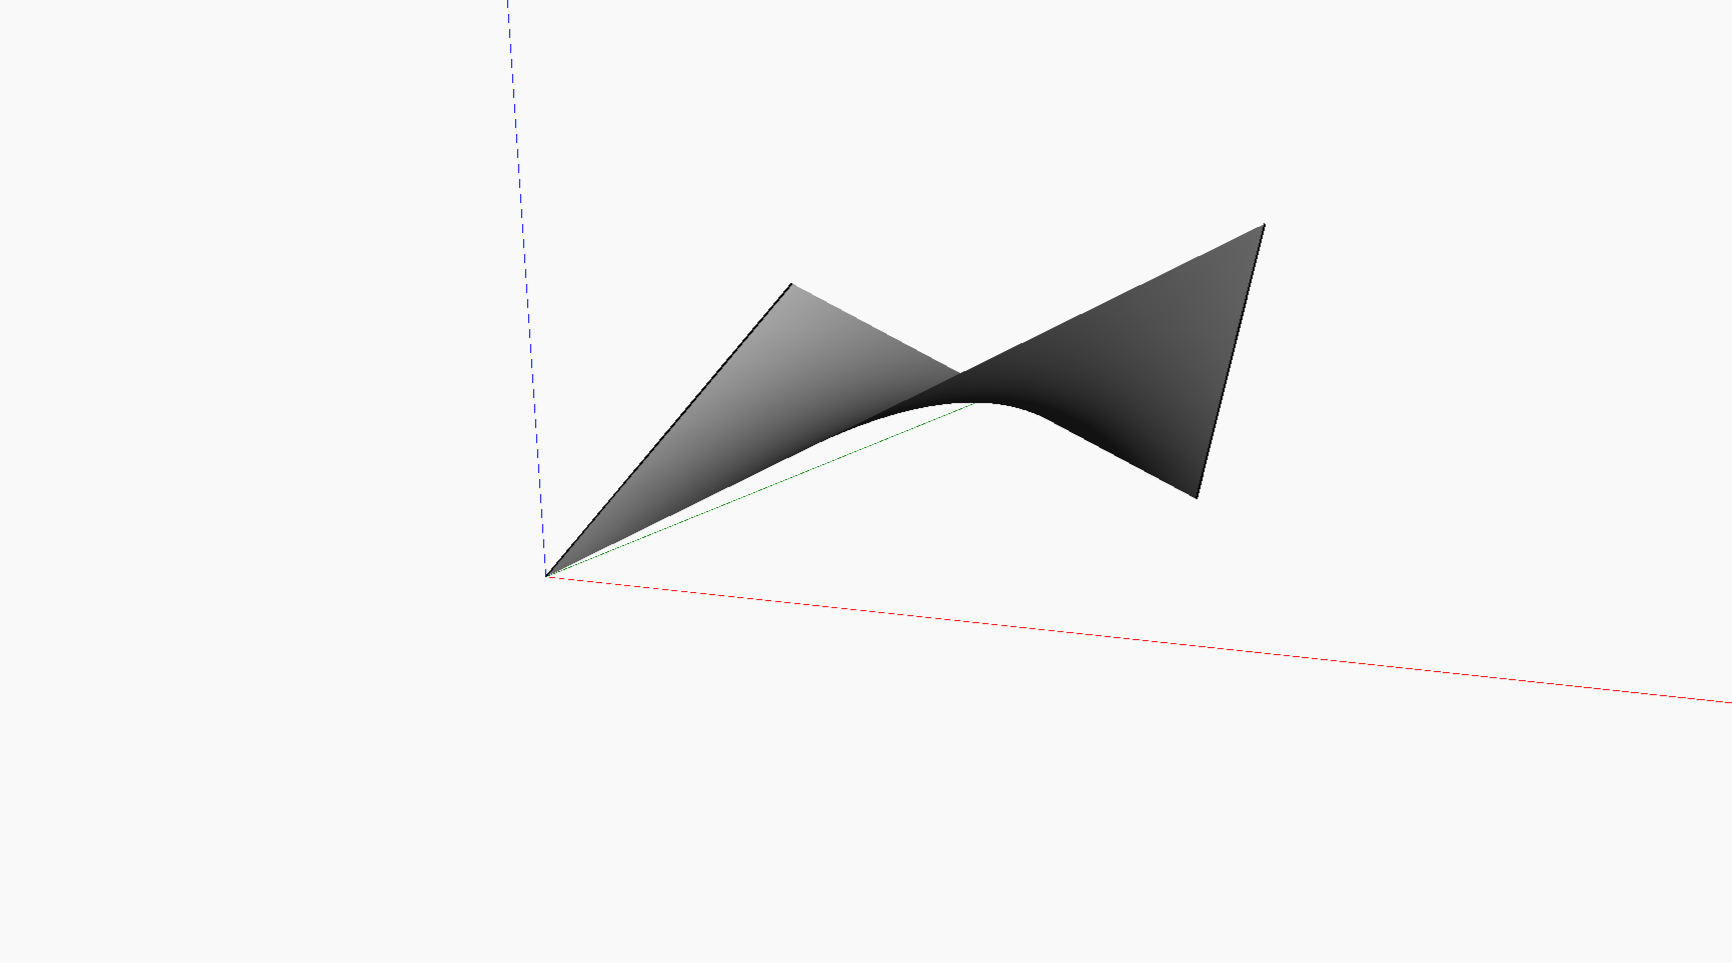
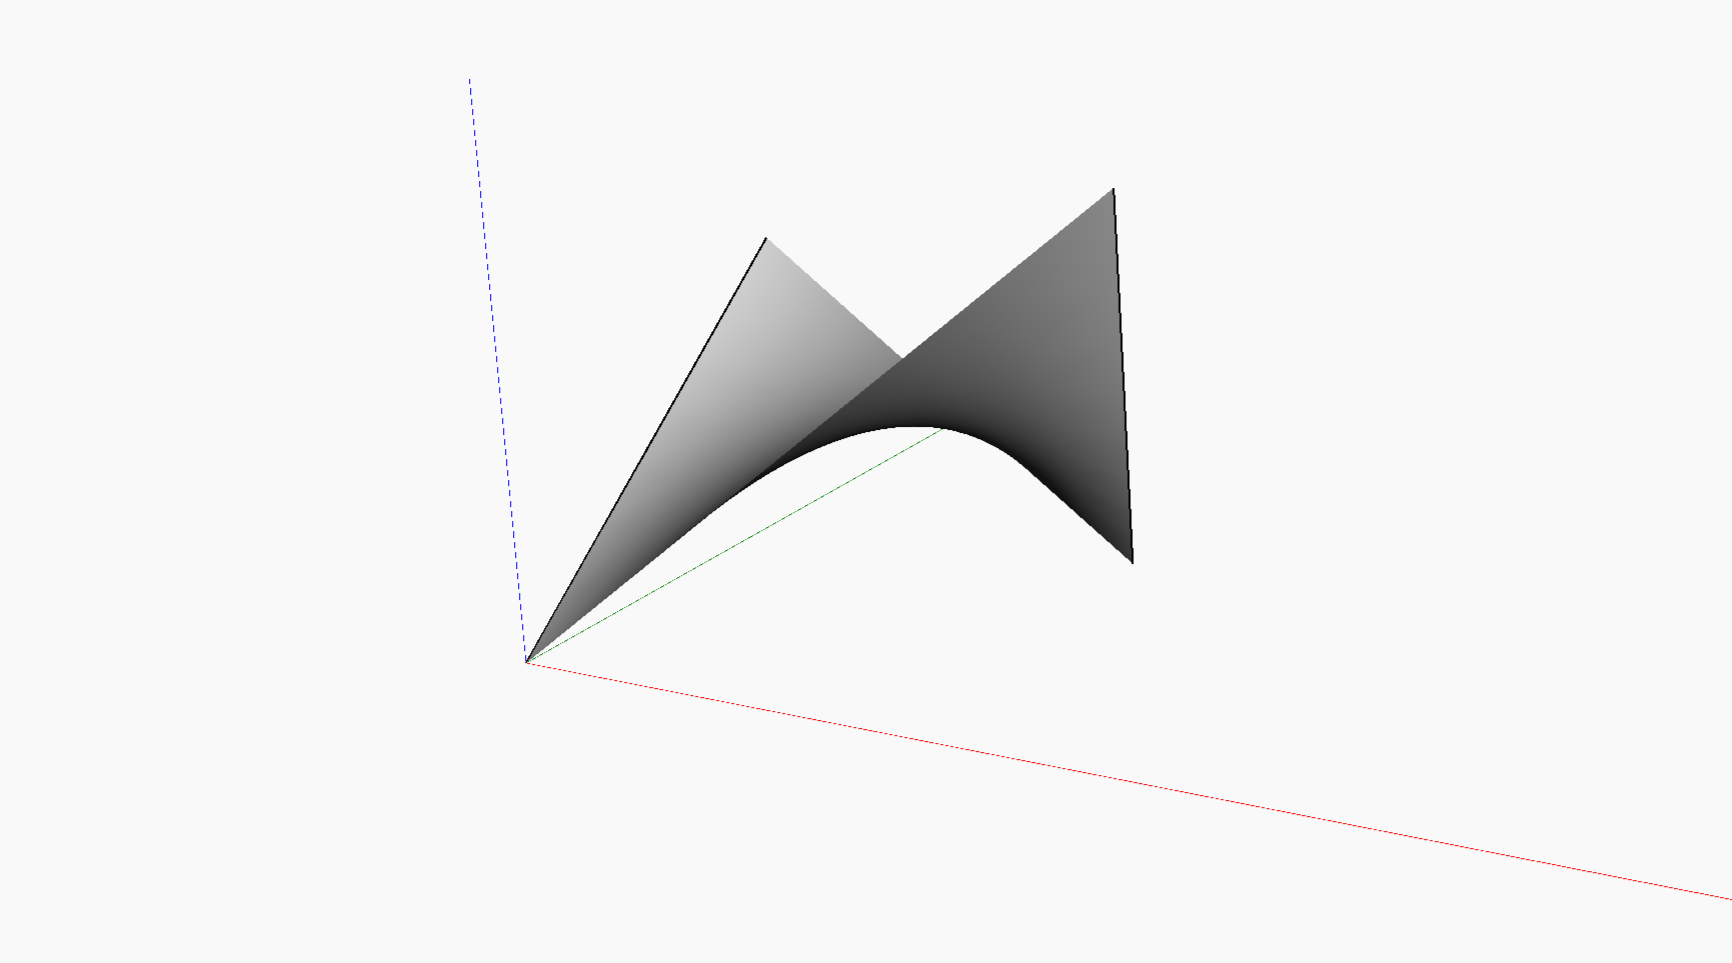
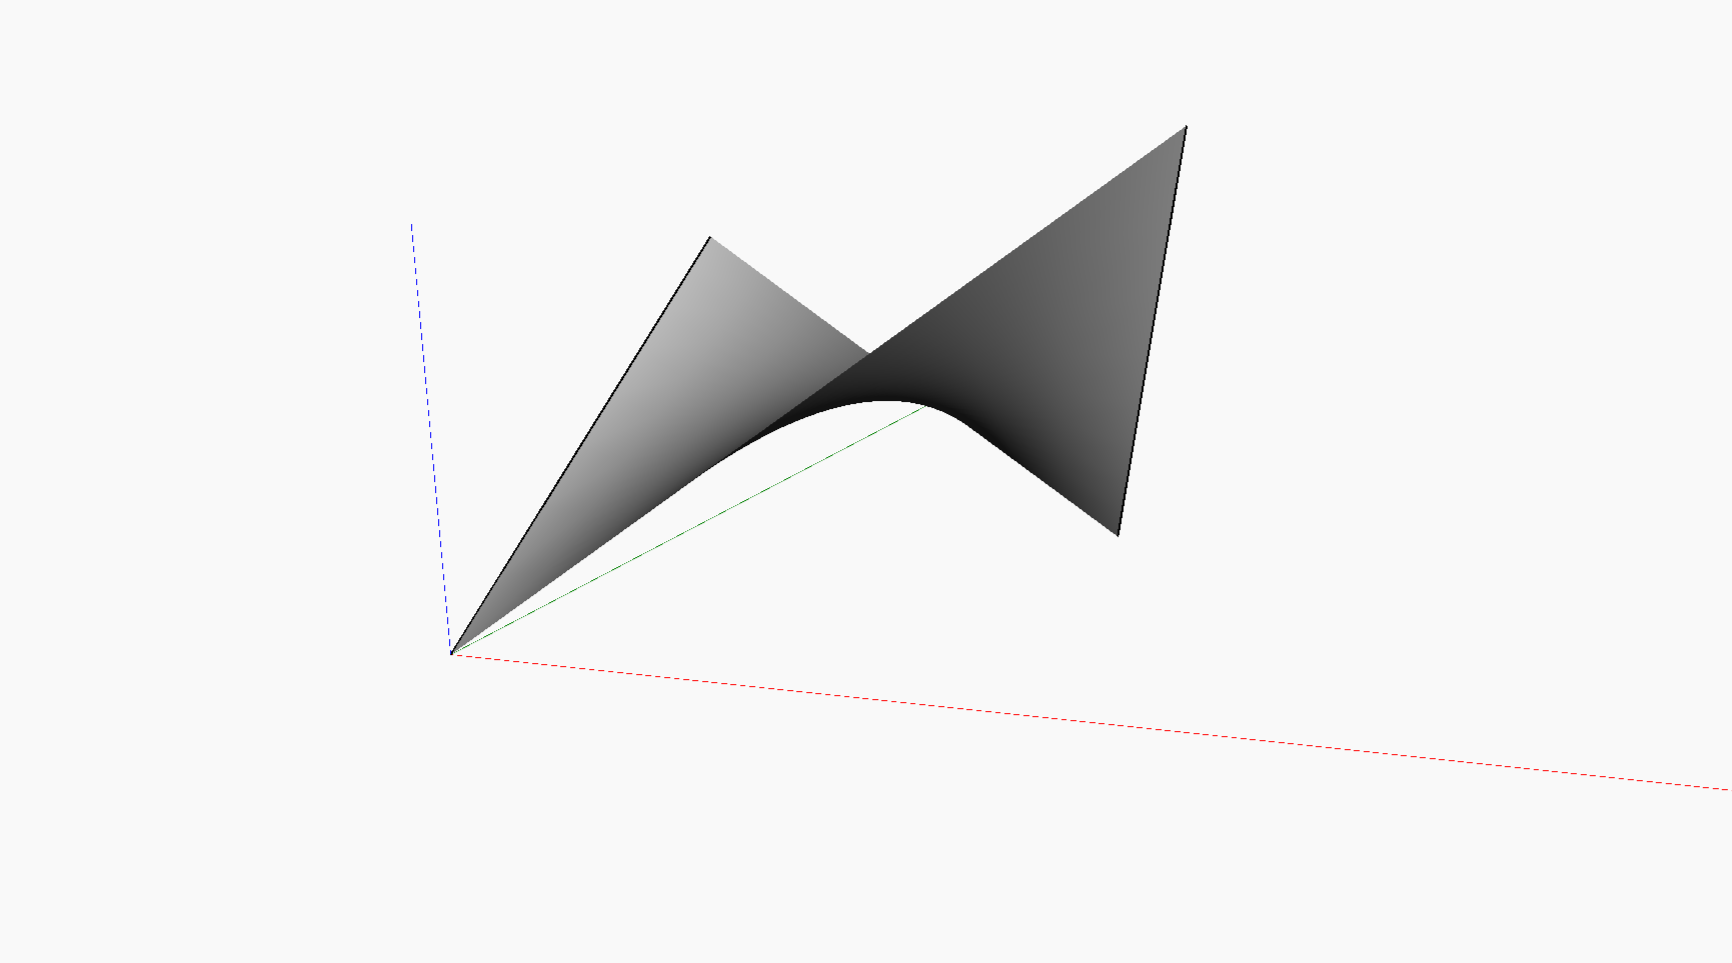
A hyperbolic paraboloid is a doubly ruled surface; that means that through every point there are two distinct lines that can lie on the surface.
Through computational design it's easy to draw but by traditional means it would take a while, hence making it an ideal candidate to illustrate the power of Dynamo, visual programming, and computational design.
Version 1
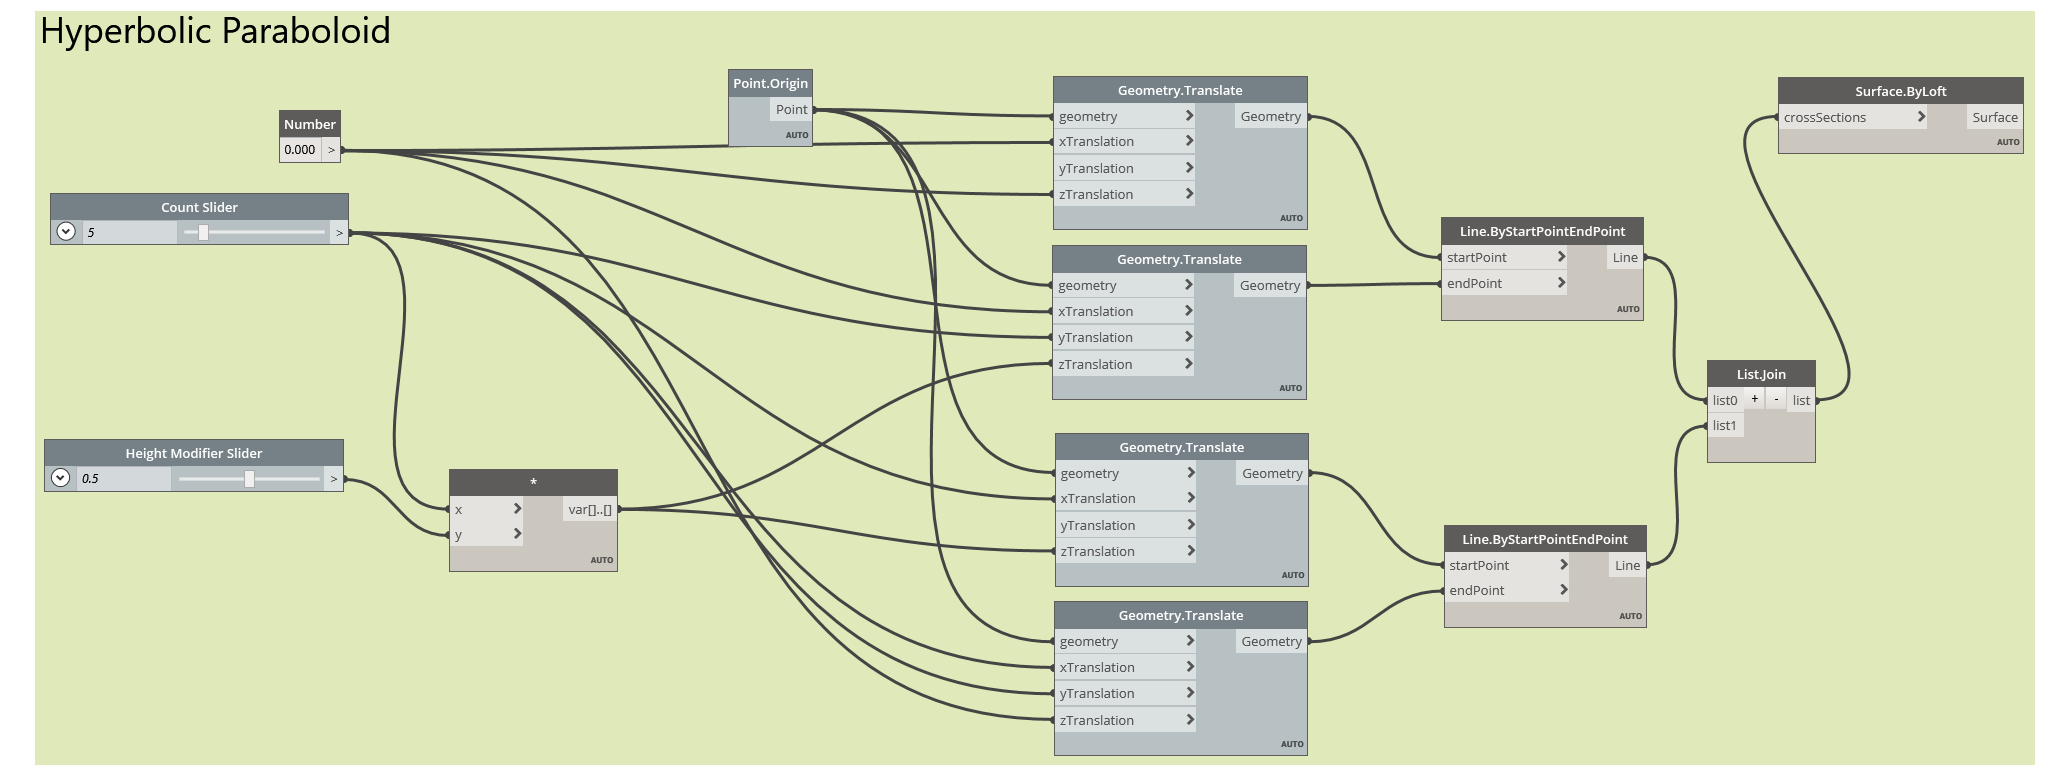
Create two lines. One ascending and one descending space them apart and then Surface.ByLoft a surface between them. Done! You've created a Hyperbolic Paraboloid in Dynamo.
Along the way you've learnt about origins, points, number inputs, number sliders, integer sliders, multiplication nodes, translating (moving) geometry, creating lines, creating a list, and creating surfaces.
Version 2
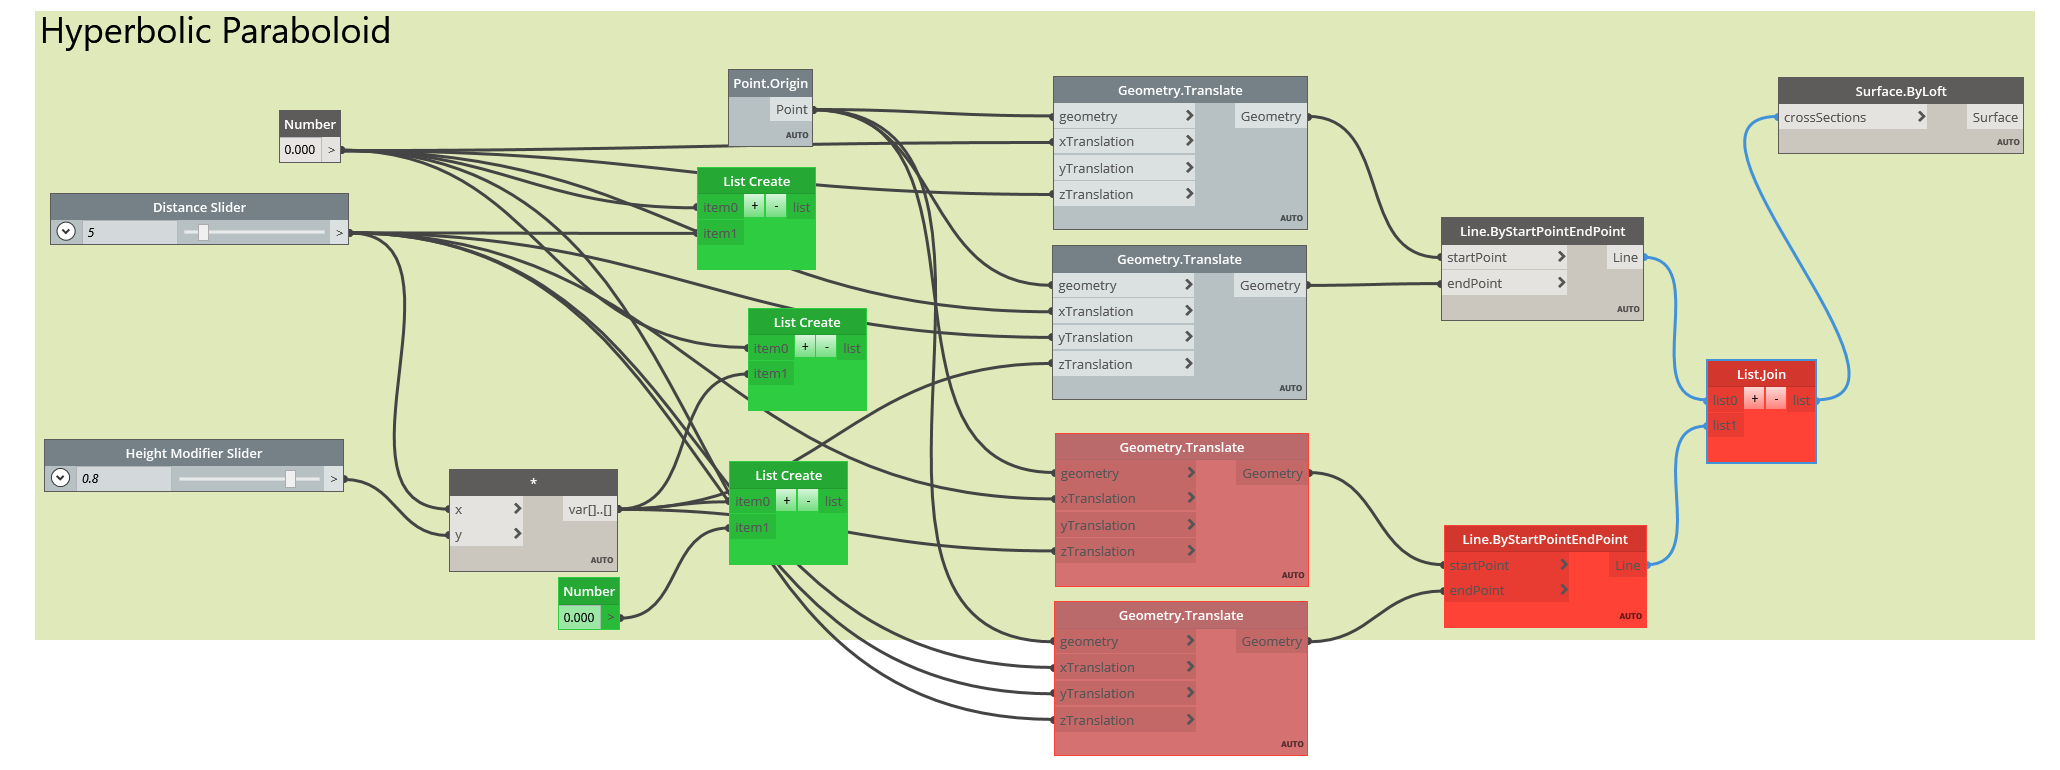
In version 1 we learnt about lists. So, lets now introduce lacing. Instead of having four Geometry.Translate nodes we'll use lists as inputs to do multiple translations, simplifying the script to just two Geometry.Translate nodes and one Line.ByStartPointEndPoint.
Version 3
Lets now show how to use Design Script Code Blocks to define lists. These are a little more complex that just using nodes but they make graphs much simpler!
In this step you've learn what a variable is, and how to define lists in design script.
Congratulations you've just graduated from visual programming to full on programming! Next you'll be defining your own Zero Touch Nodes in C# and developing Hackathon winning View Extensions.
Version 4
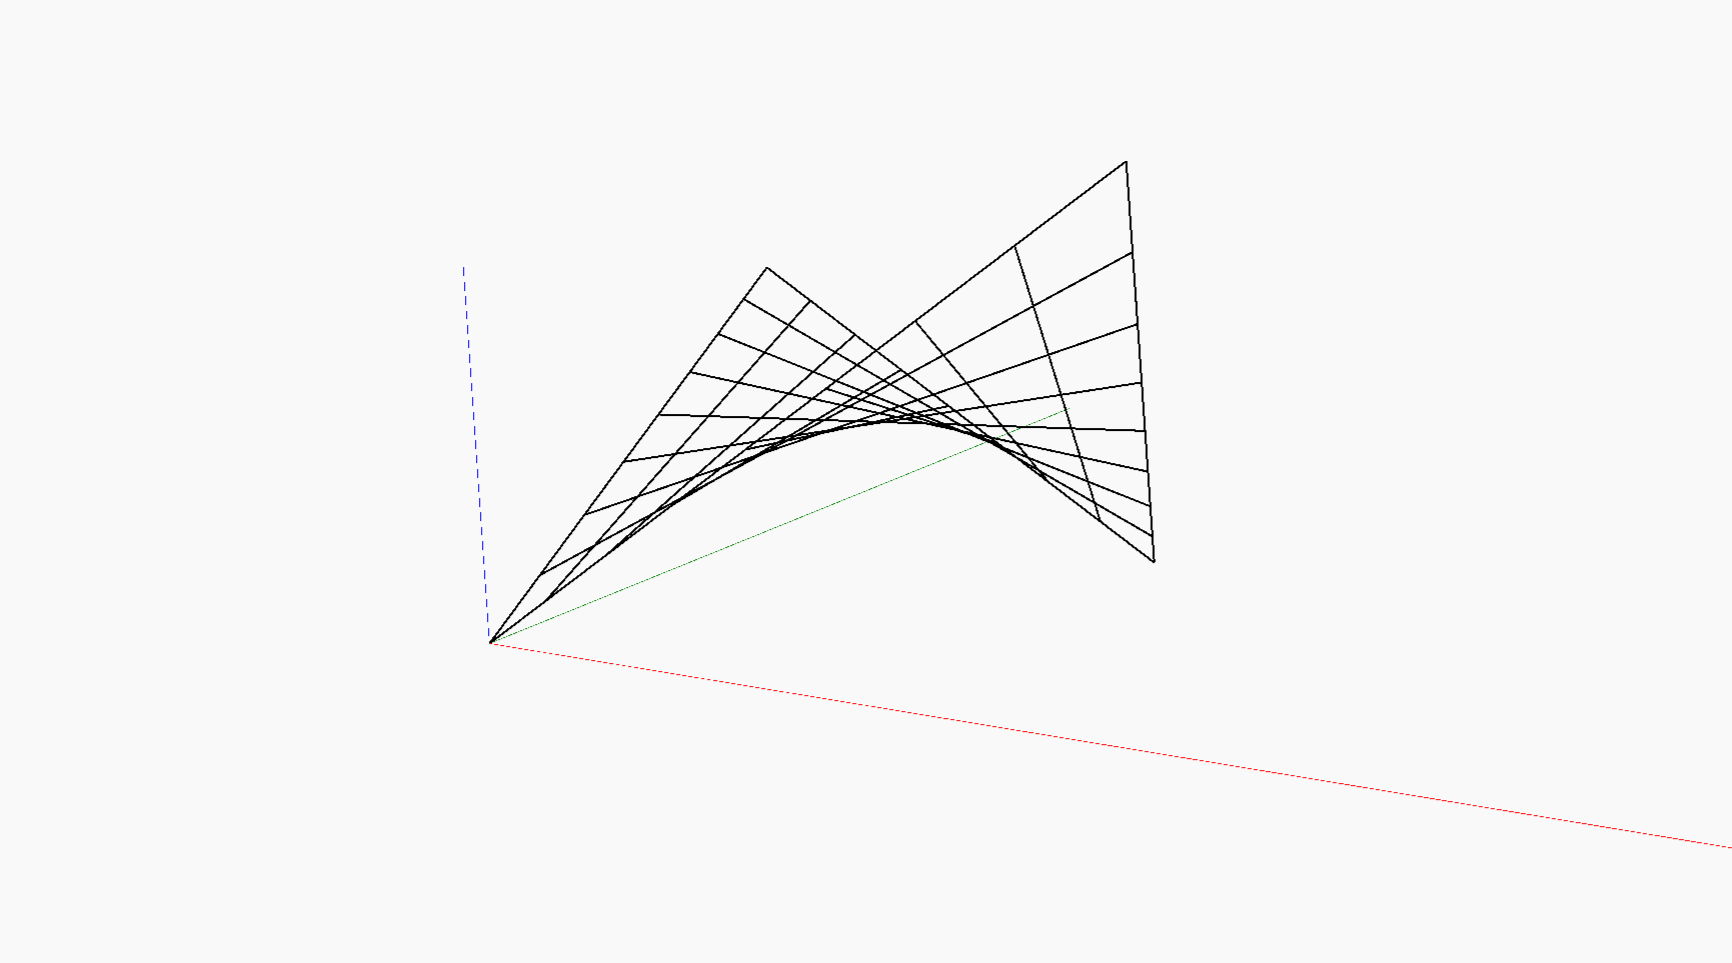
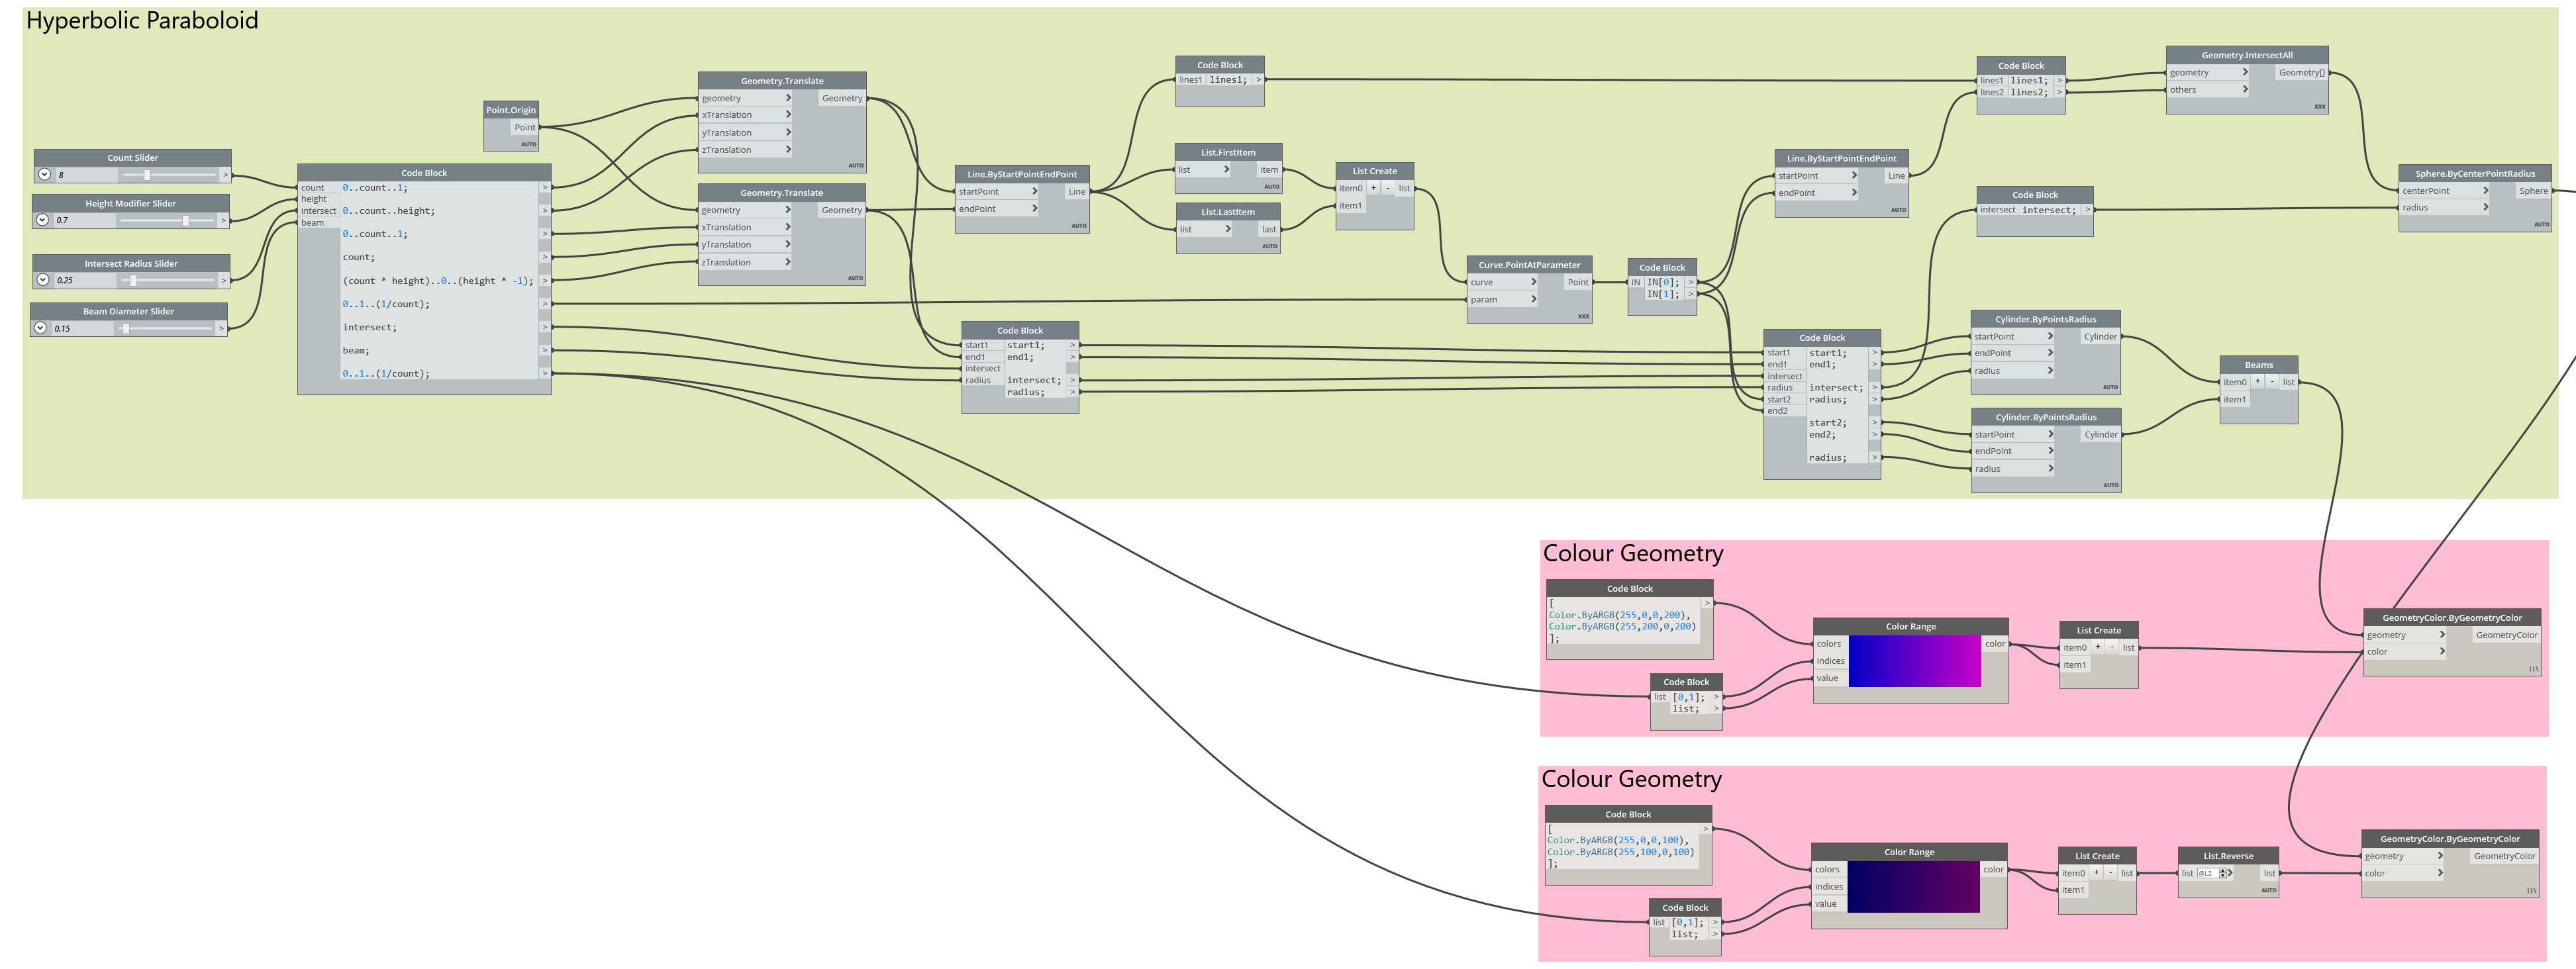
Now we'll introduce you to sequences and ranges. Don't forget to use lots of Watch panel nodes so we can see what's going on! Instead of creating just two lines we're going to create a whole series of them. Then we'll do the same again on the other axis but using Curve.PointAtParameter.
Look how powerful this is! Think how long it would take to draw all these lines in AutoCAD...
I wish I had someone to teach me all this when I first built this roof form. That's a sinusoidal conoid it's a singularly ruled surface. Who knew you could make such amazing curves using straight lines?
Version 5
You should now have all the ammunition you need to start playing around with geometry in Dynamo. Start experimenting and see what you can create.
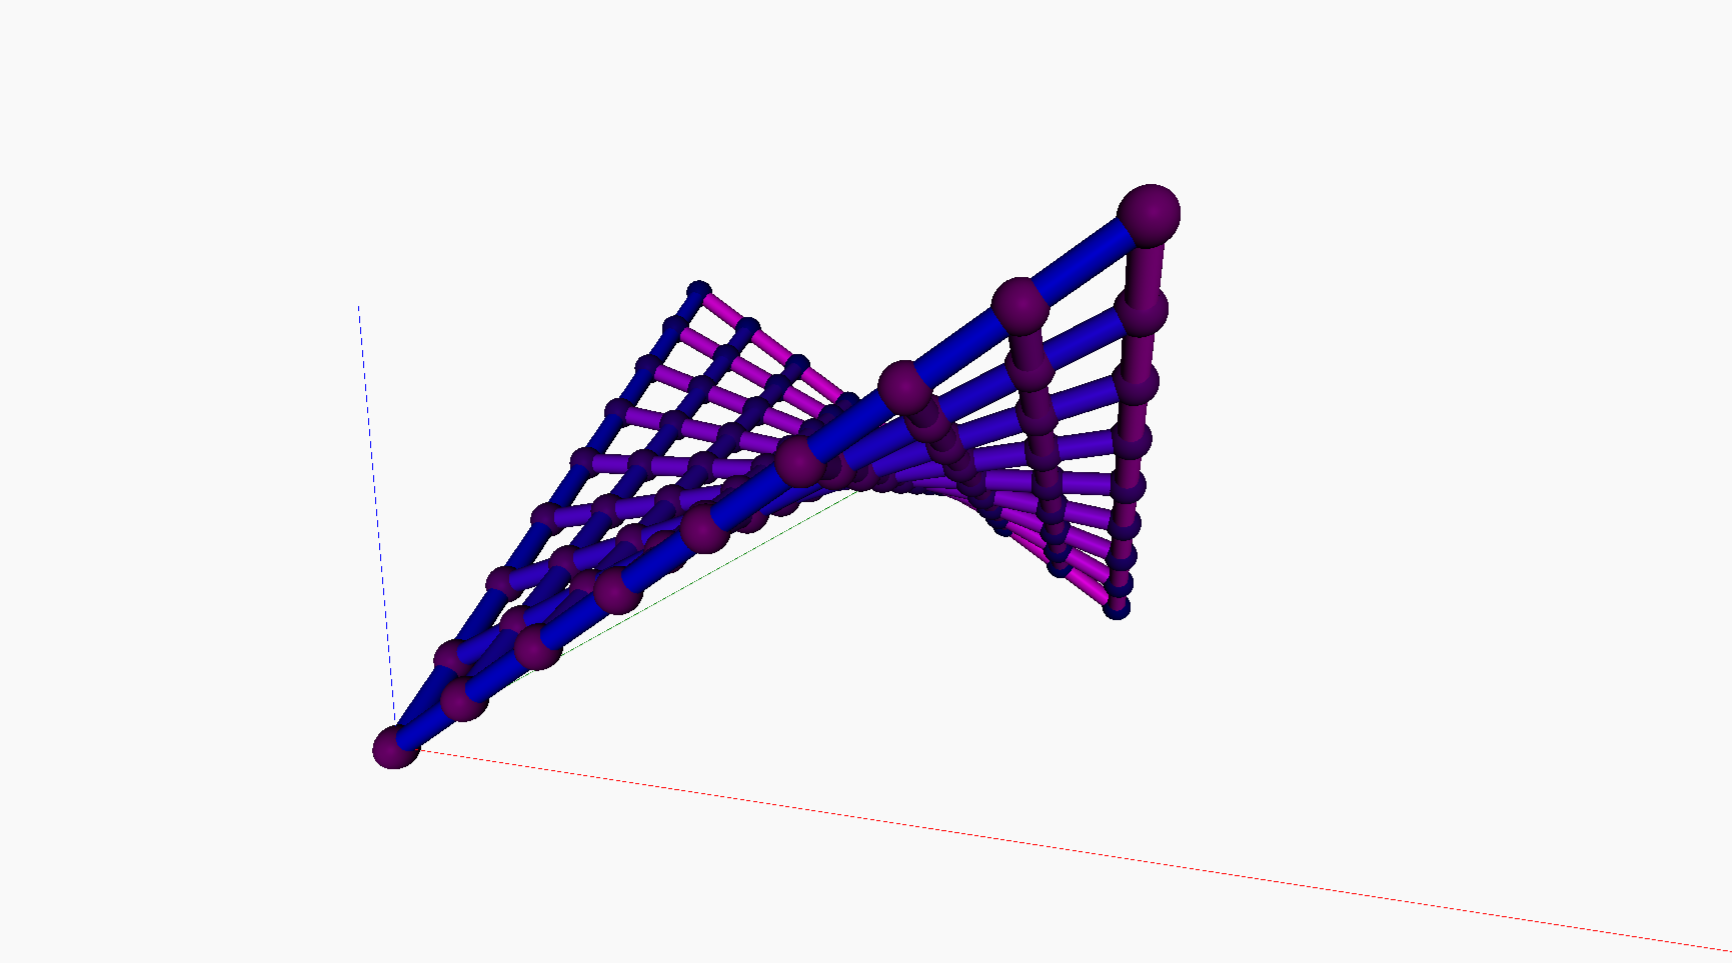
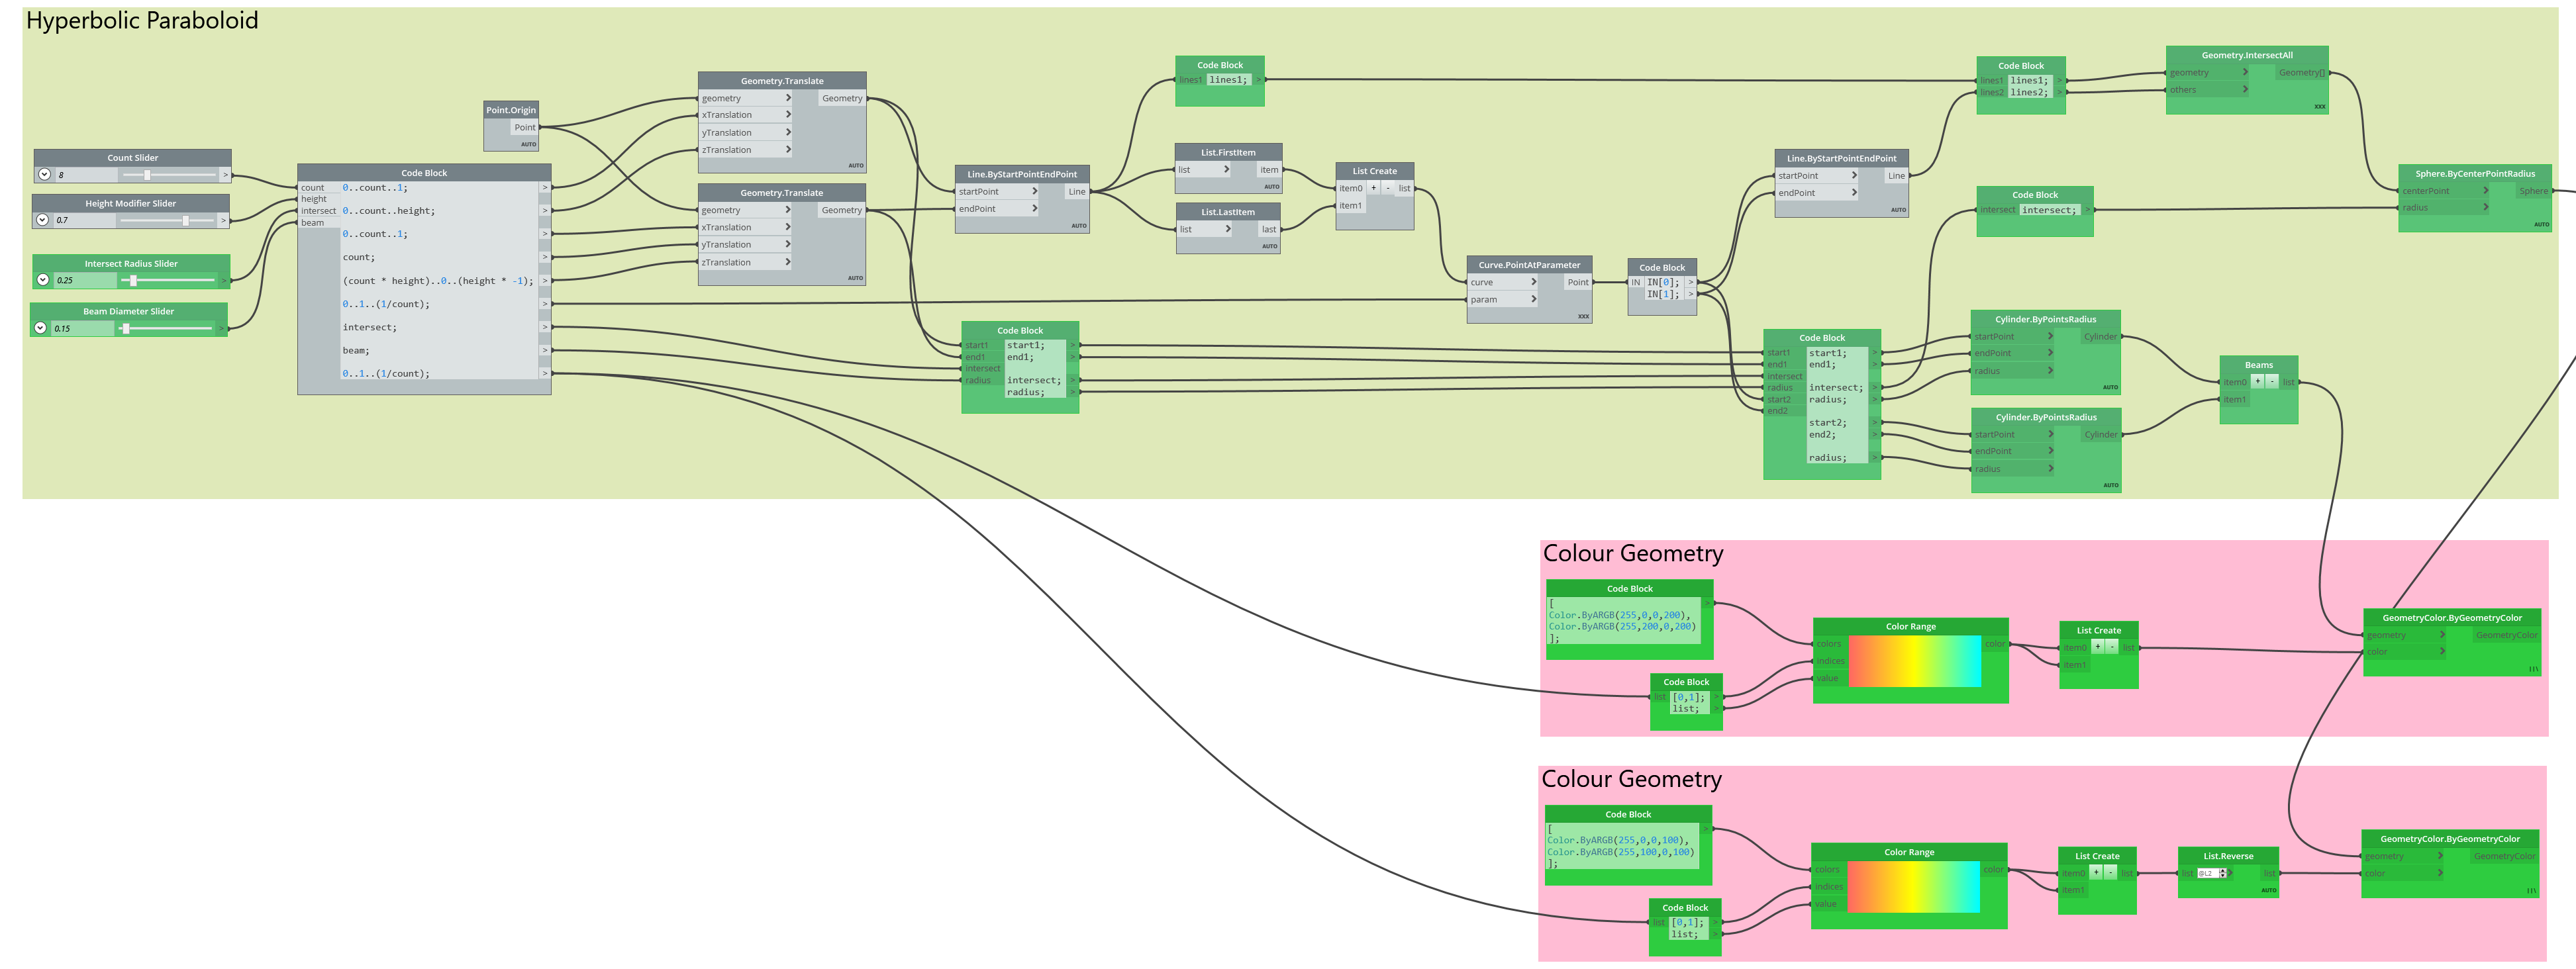
If you want to keep following along then in version 5 we're going to introduce Geometry.IntersectAll. If you didn't quite follow how lacing worked earlier than this should really help illustrate it! Compare the differences between Longest and Cross Product. Nifty, right? Once you've settled on a setting (I recommend Cross Product in this instance) we will create a sphere at every intersection point, and show you how to colour it.
Version 6
Version 6 is a work in progress... There are a few different directions we could go in next...
-
Instead of converting our lines to Cylinders we might show how to
Solid.BySweepto sweep a profile along the lines. This will introduce Planes and potentially Coordinate Systems. -
Using Dynamo inside of Revit. We'll start by creating the Dynamo Geometry as Generic Masses with a material, then we'll do it using Revit elements such as beams.
-
Python! We need to throw some Python Script nodes into the mix too..
Contributing
I'm always on the look out for collaborators so feel free to get in touch, suggest new features, or just fork the repository and extend the examples at will.
