This is a Home Assistant integration for Electric Vehicle chargers that support the Open Charge Point Protocol.
- based on the Python OCPP Package.
- HACS compliant repository
Installation
1. Install HACS
- If you have not yet installed HACS, go get it at https://hacs.xyz/ and walk through the installation and configuration.
2. Install the OCPP Repository
- In Home Assistant, select HACS / Integrations / + Explore & add repositories.
- Search for 'OCPP' and install the repository.
3. Add the OCPP Integration
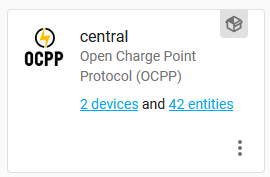
- In Home Assistant, select Configuration / Integrations / Add Integration.
- Search for 'OCPP' and add the integration.
4. Configure the Central System
- The default host address '0.0.0.0' will listen to all interfaces on your home assistant server.
- Select which measurands you would like to become available as sensor entities.
- Most chargers only support a subset of all possible measurands. This depends most on the Feature profiles that are supported by the charger.
5. Add the entities to your Dashboard
- On the OCPP integration, click on devices to navigate to your Charge Point device.
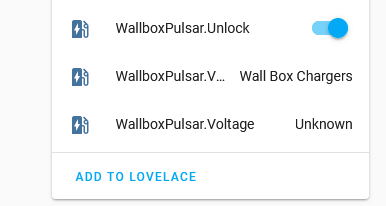
- At the bottom of the Entities panel, click on 'Add to Lovelace' to add the entities to your dashboard.
- An entity will have the value 'Unavailable' until the charger successfully connects.
- An entity will have the value 'Unknown' until its value has been read from the charger.
6. Configure your Charger
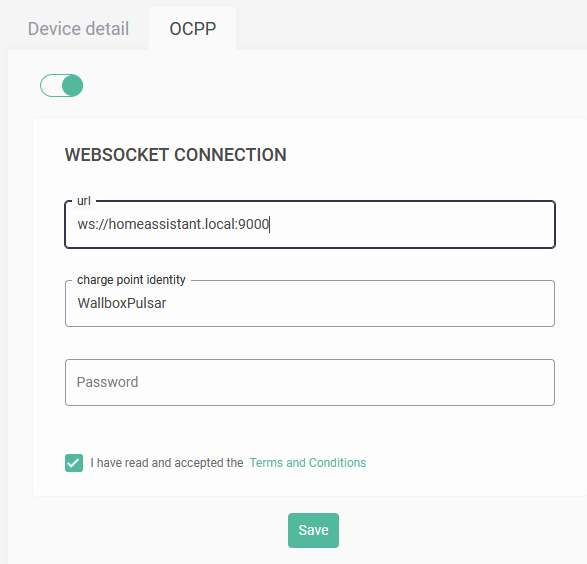
- Configure your charger to use the OCPP websocket of your Central System (e.g. ws://homeassistant.local:9000). This is charger specific, so consult your manual.
- Some chargers require the protocol section 'ws://' to be removed, or require the url to end with a '/'.
- Some chargers require the url to be specified as an IP address, i.e. '192.168.178.1:9000'
- You may need to reboot your charger before the changes become effective.
7. Start Charging
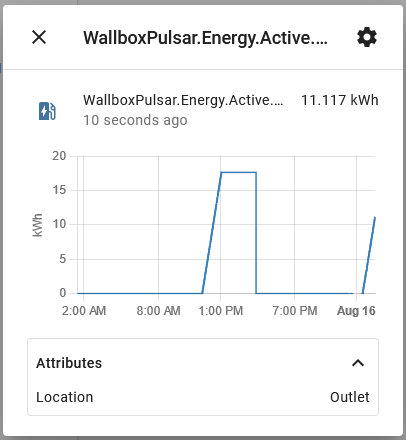
- Use the charge control switch to start the charging process.
Supported devices
All OCPP 1.6j compatible devices should be supported, but not every device offers the same level of functionality. So far, we've tried:
- ABB Terra AC-W7-G5-R-0
- ABB Terra AC-W11-G5-R-0
- Alfen - Eve Single Pro-line
- Alfen - Eve Single S-line
- CTEK Chargestorm Connected 2
- EVBox Elvi
- EVLink Wallbox Plus
- Evnex E Series & X Series Charging Stations (Ability to configure a custom OCPP server such as HA is being discontinued)
- Wallbox Pulsar
- Vestel EVC04-AC22SW
Debugging
To enable debug logging for this integration and related libraries you
can control this in your Home Assistant configuration.yaml
file. Example:
logger:
  default: info
  logs:
    custom_components.ocpp: critical
    websocket: debug
After a restart detailed log entries will appear in /config/home-assistant.log.
Support
If you need help, check out our forum or submit an issue.
Development
It is recommended to use Visual Studio Code, and run home assistant in a devcontainer. See https://hacs.xyz/docs/developer/devcontainer
💡 Tip: If you like this project consider buying me a coffee or a cocktail:


