Website: https://cute-banoffee-312445.netlify.app/
Youtube: https://youtu.be/IuHTYySbTQ8
Backend: https://react-lab-backend.herokuapp.com/
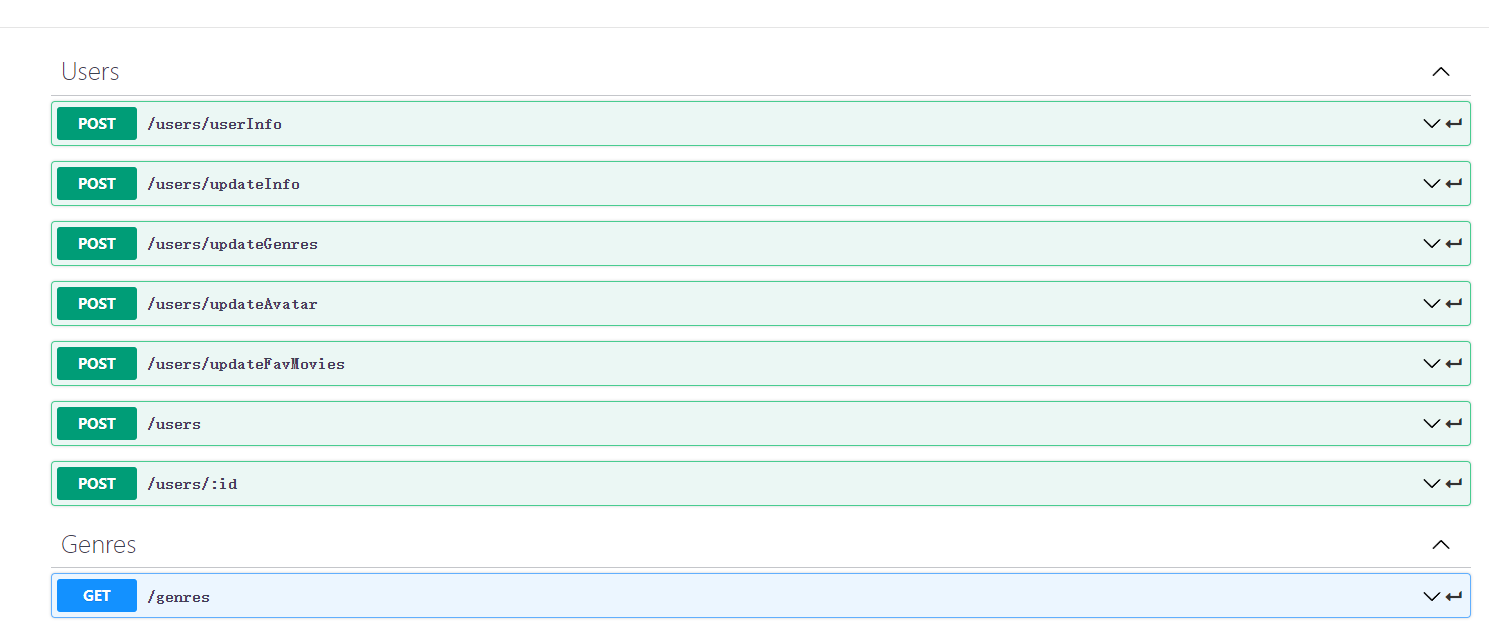
Under swagger file folder
eg:
I change the siteHeader into the Appbar through the API below
But you should input the exact movie name to search
GET /search/company
On the left of the search bar are three links that navigate to different pages.
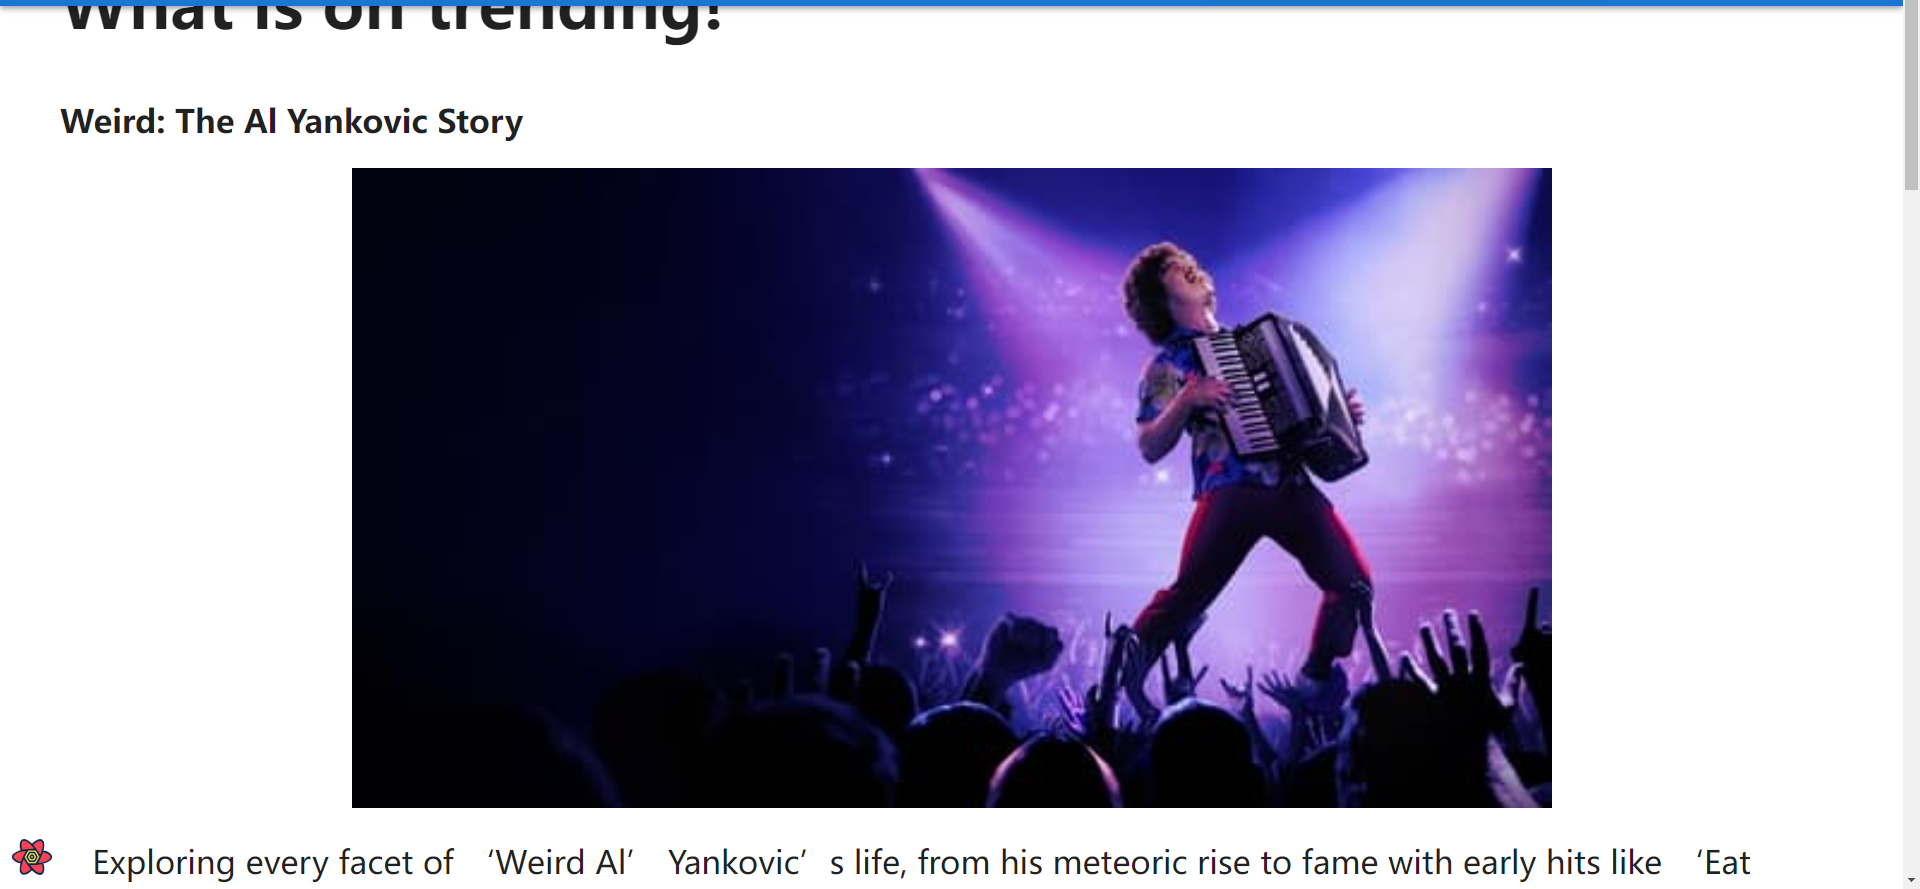
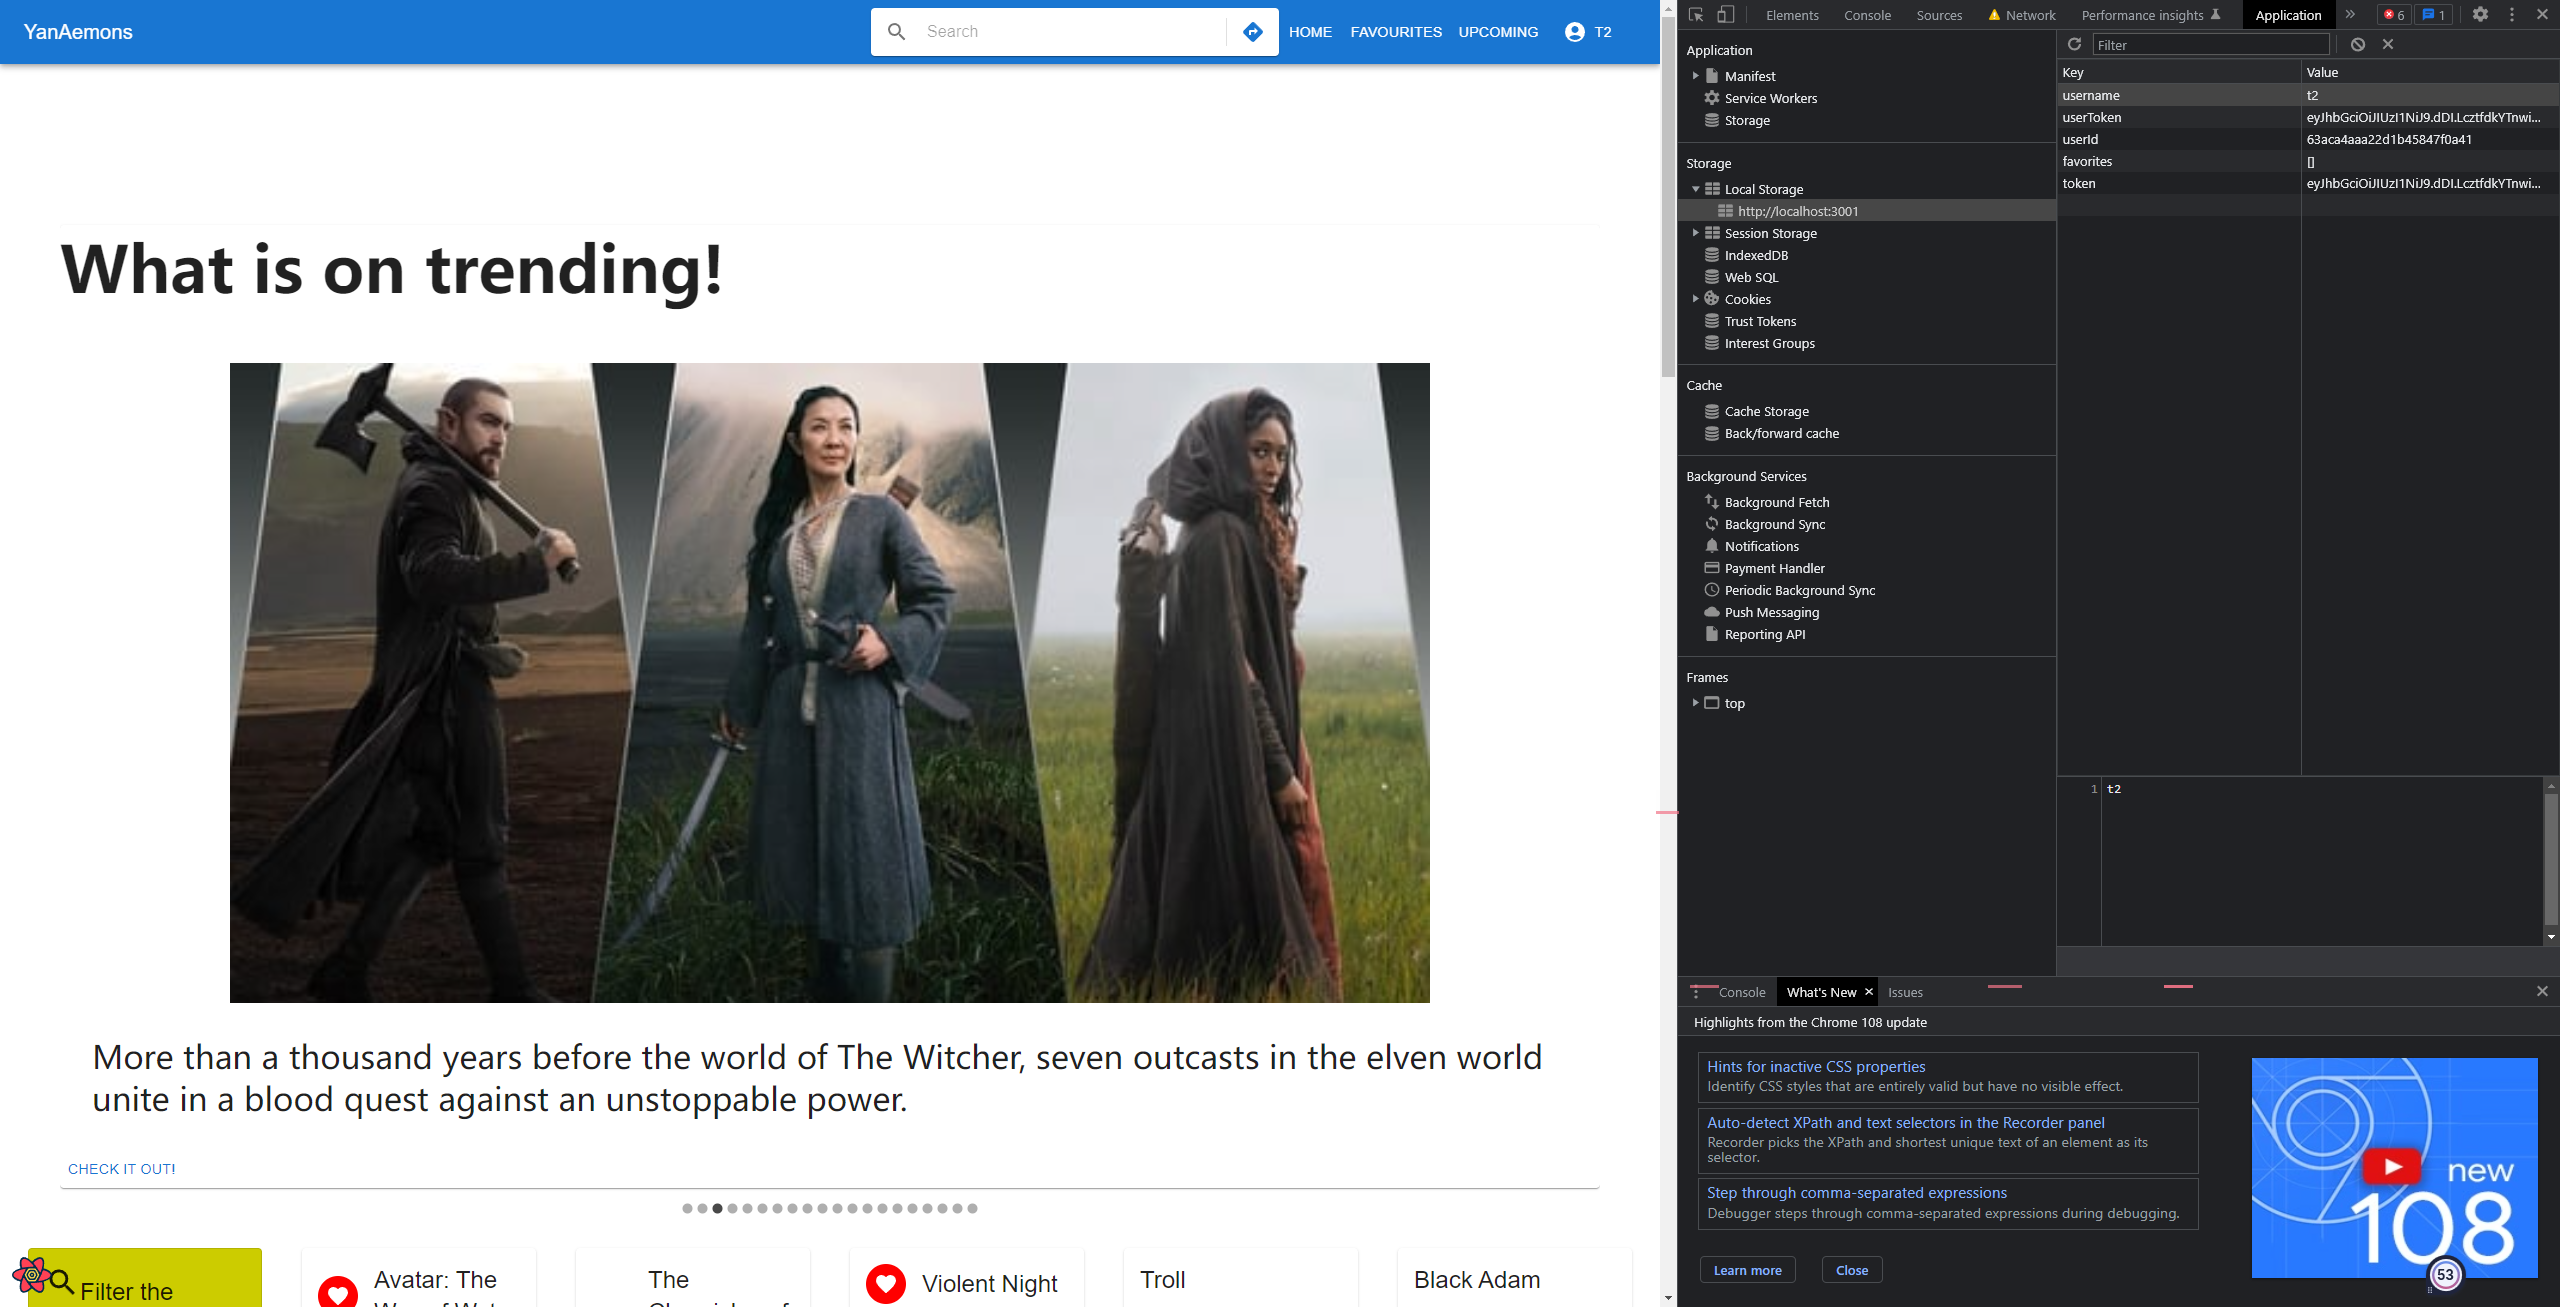
At the top, I use a Carousel to show what is movies on trending through the API below
GET /trending/{media_type}/{time_window}
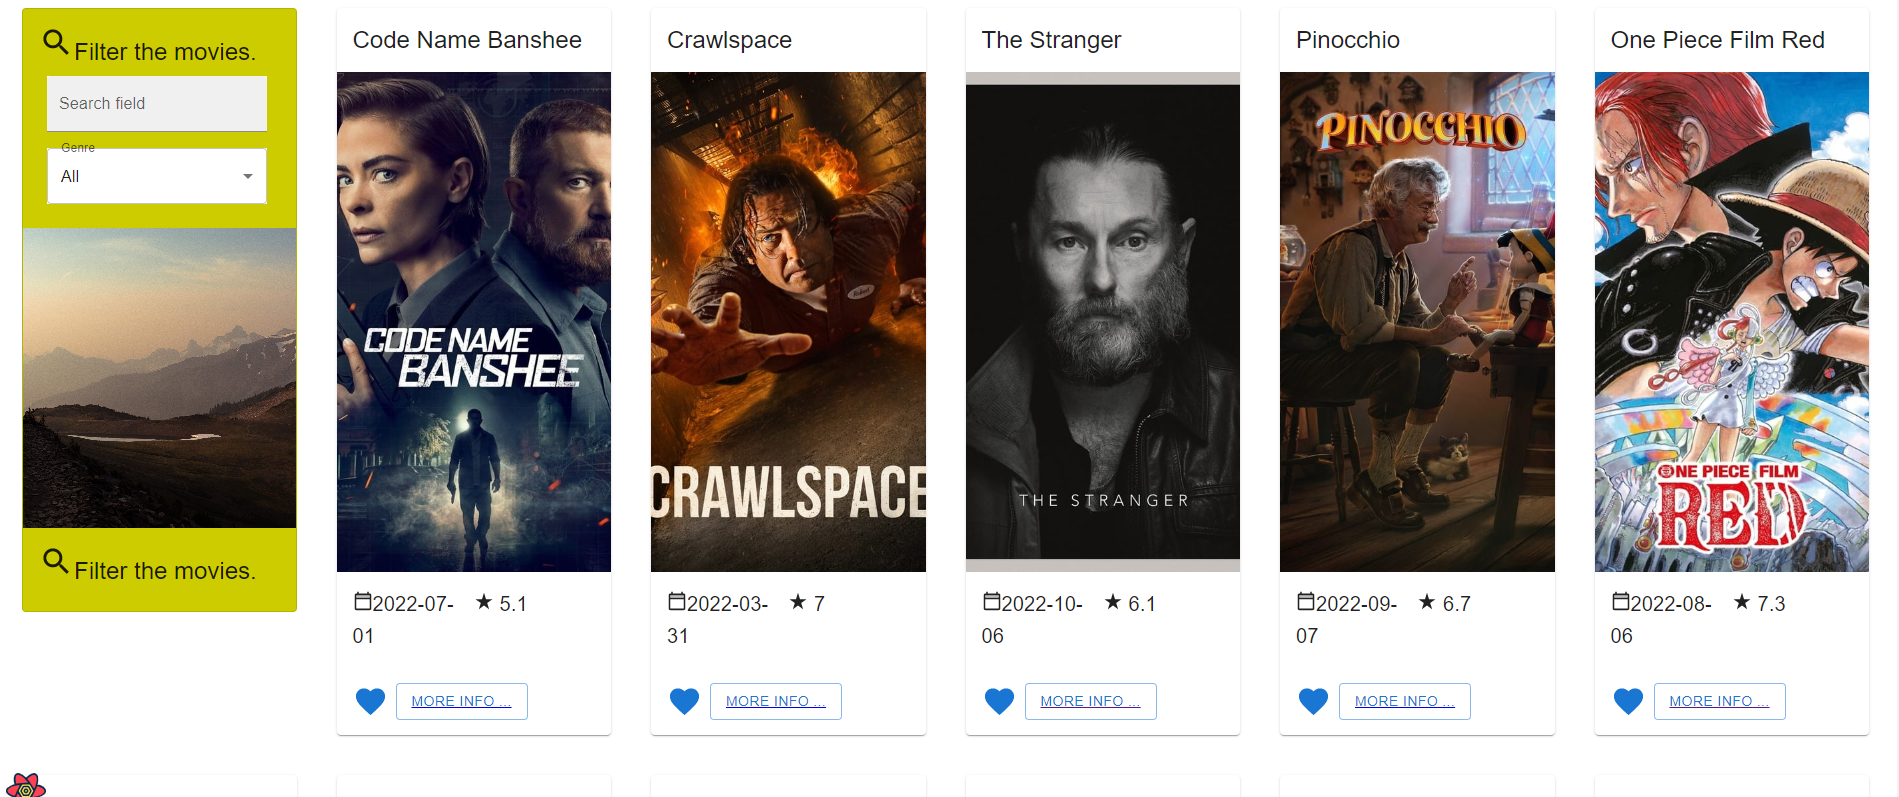
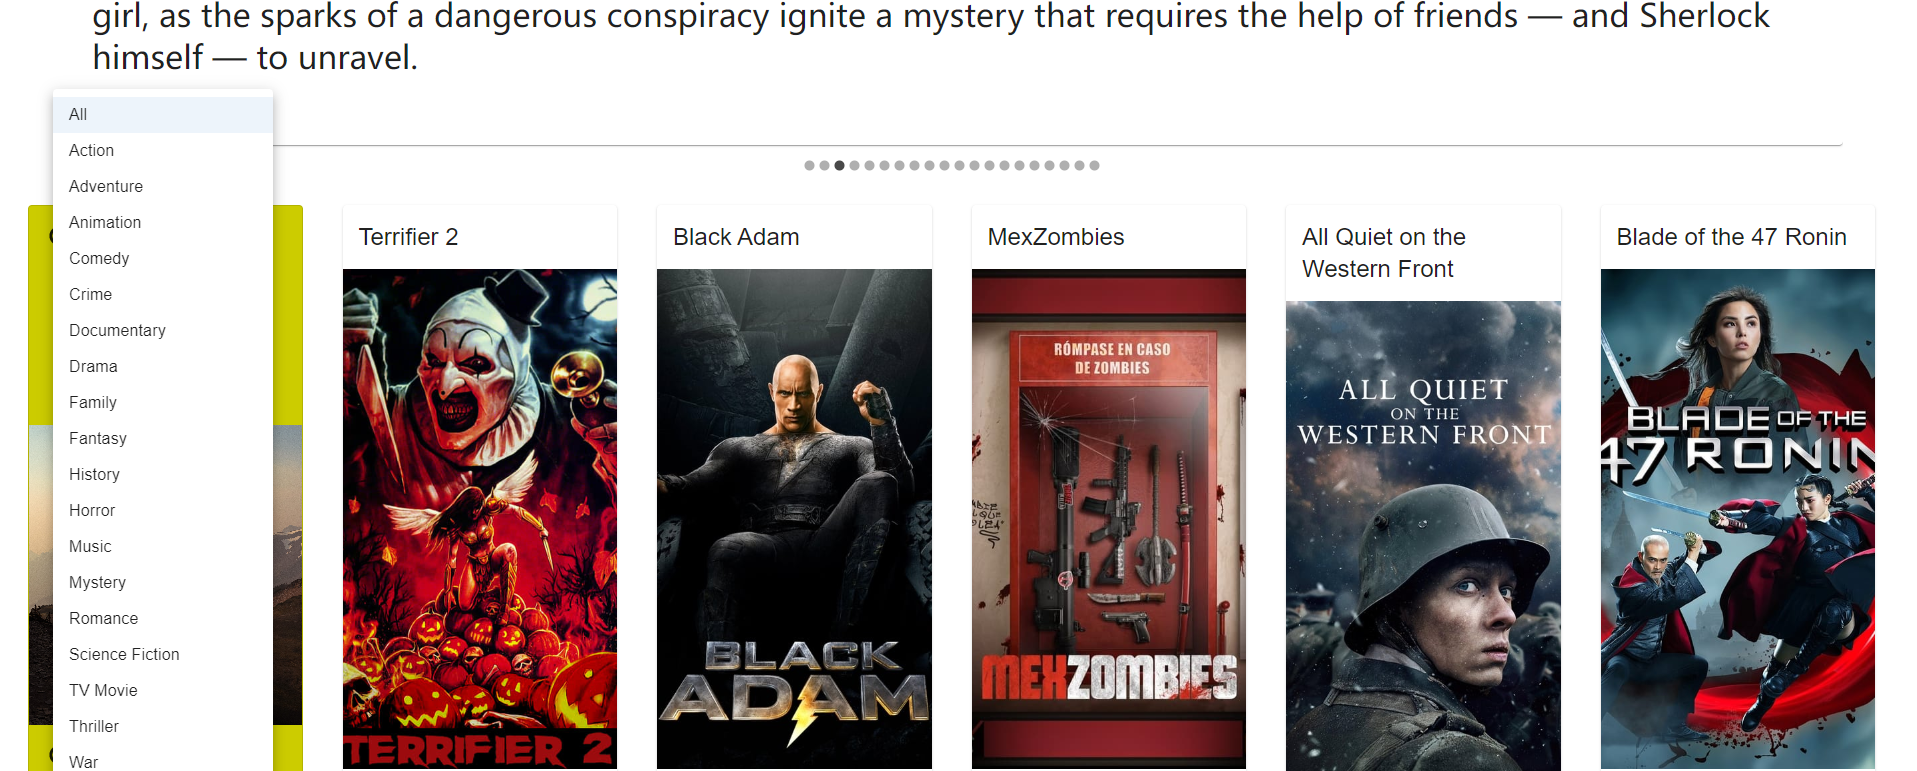
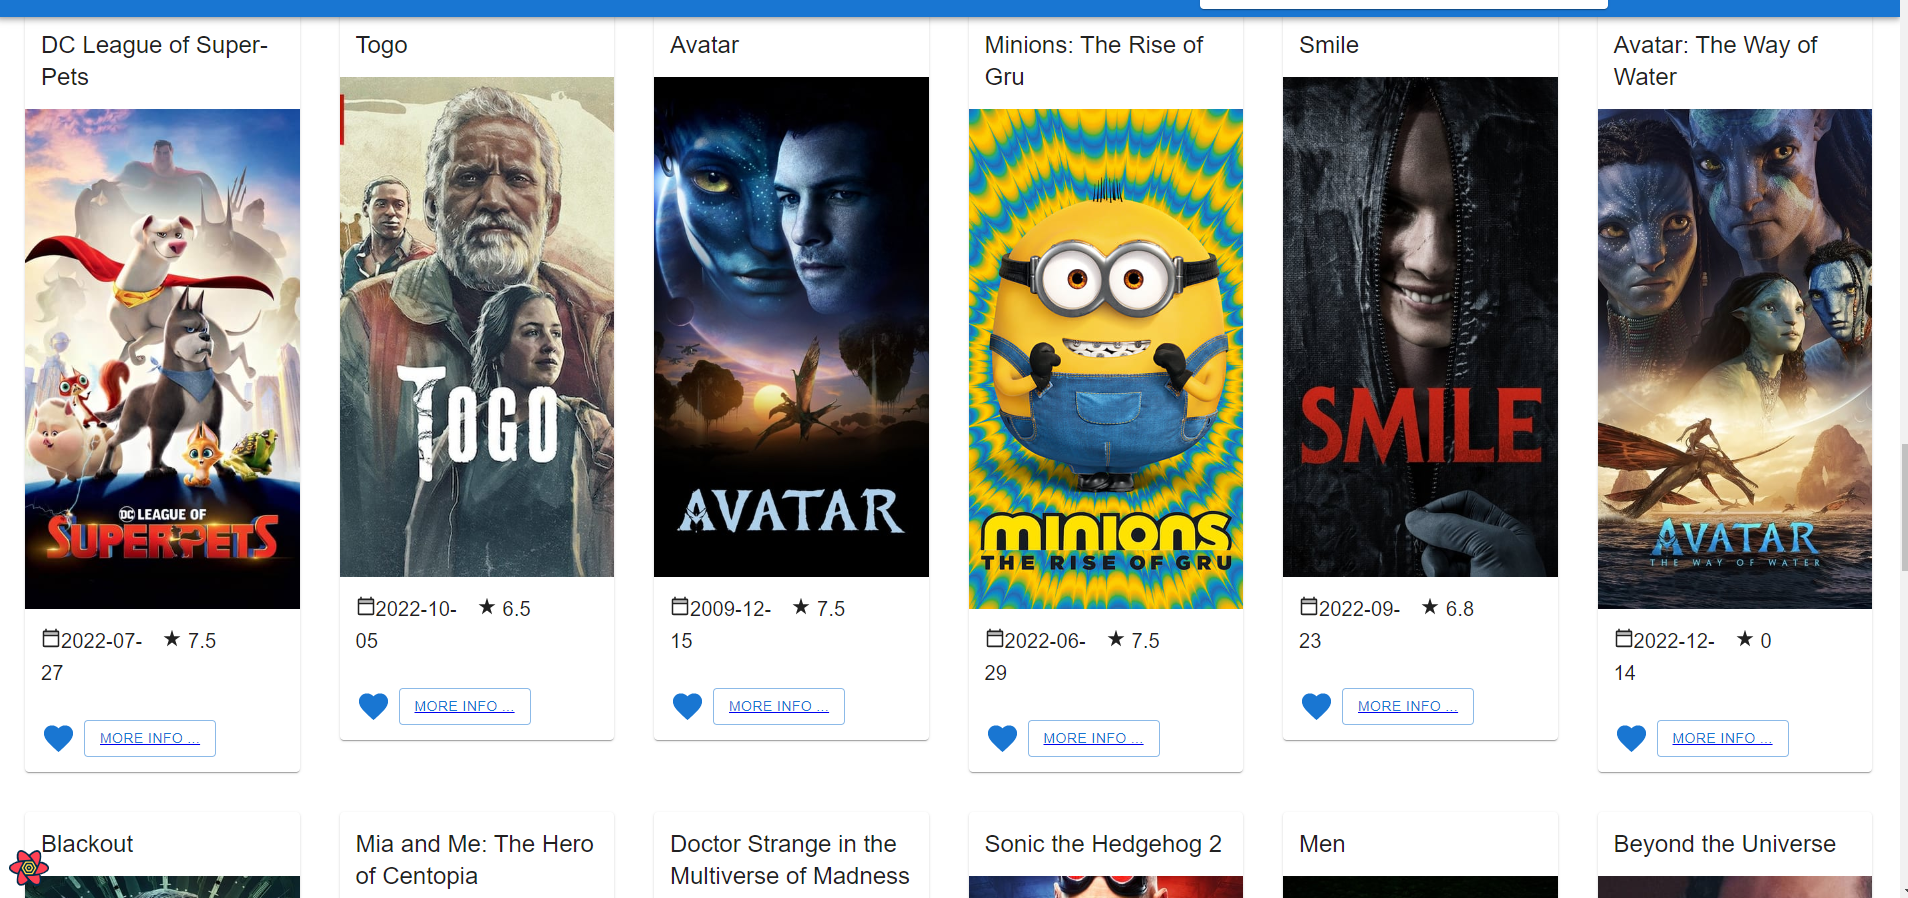
Filter card have the same functions in the lab
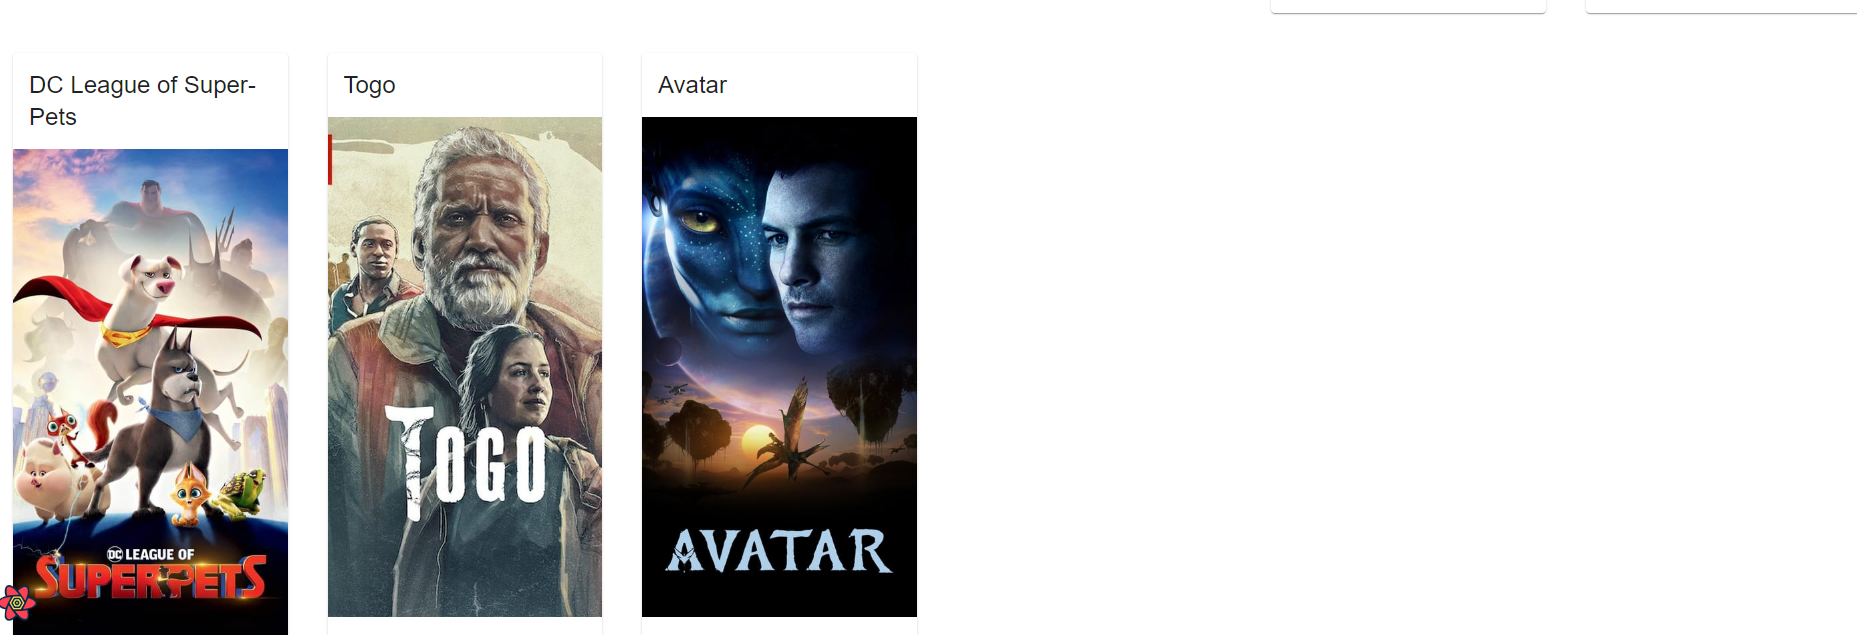
When you scroll down to the bottom of the page, the web will request the second page of movie information through API and render them
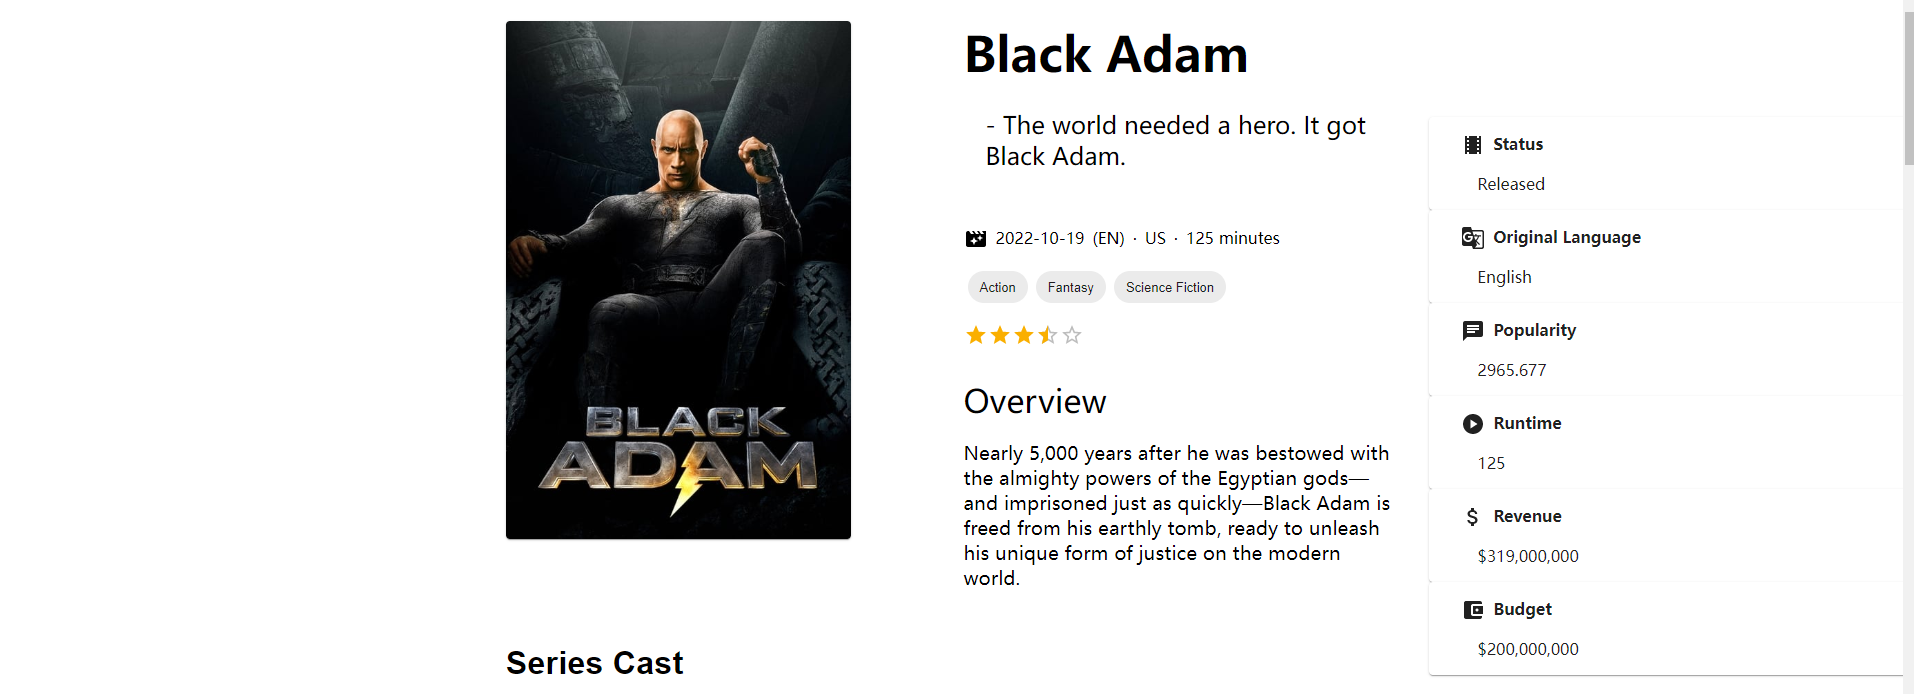
At the top is the movie's backdrops
Show the movie's details through the API below
GET /movie/{movie_id}
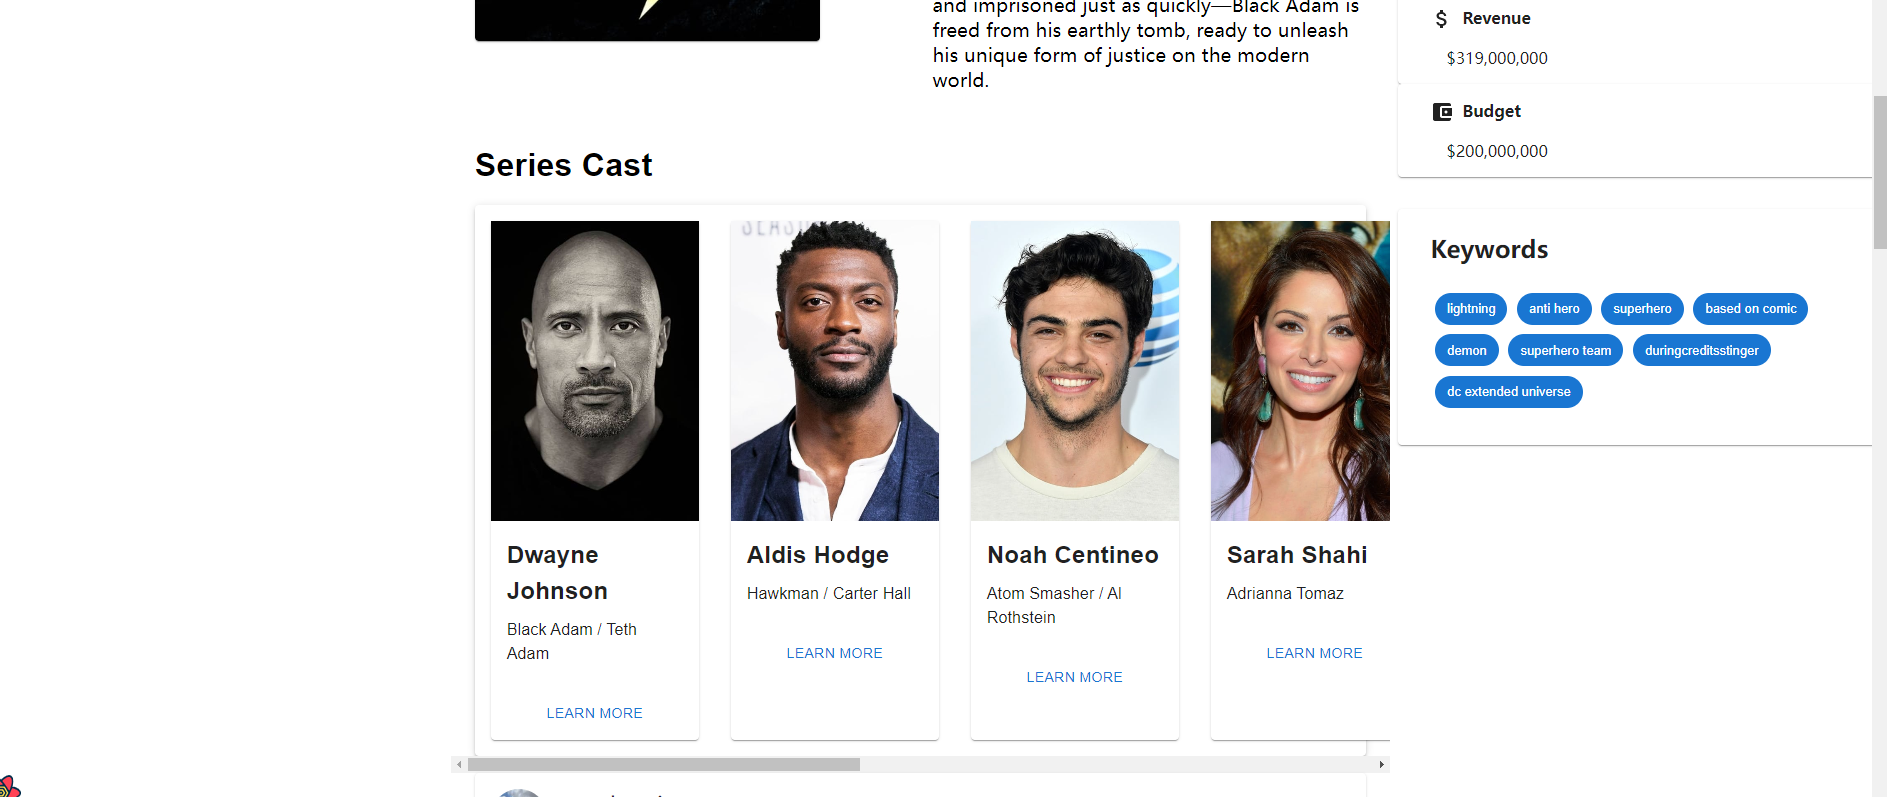
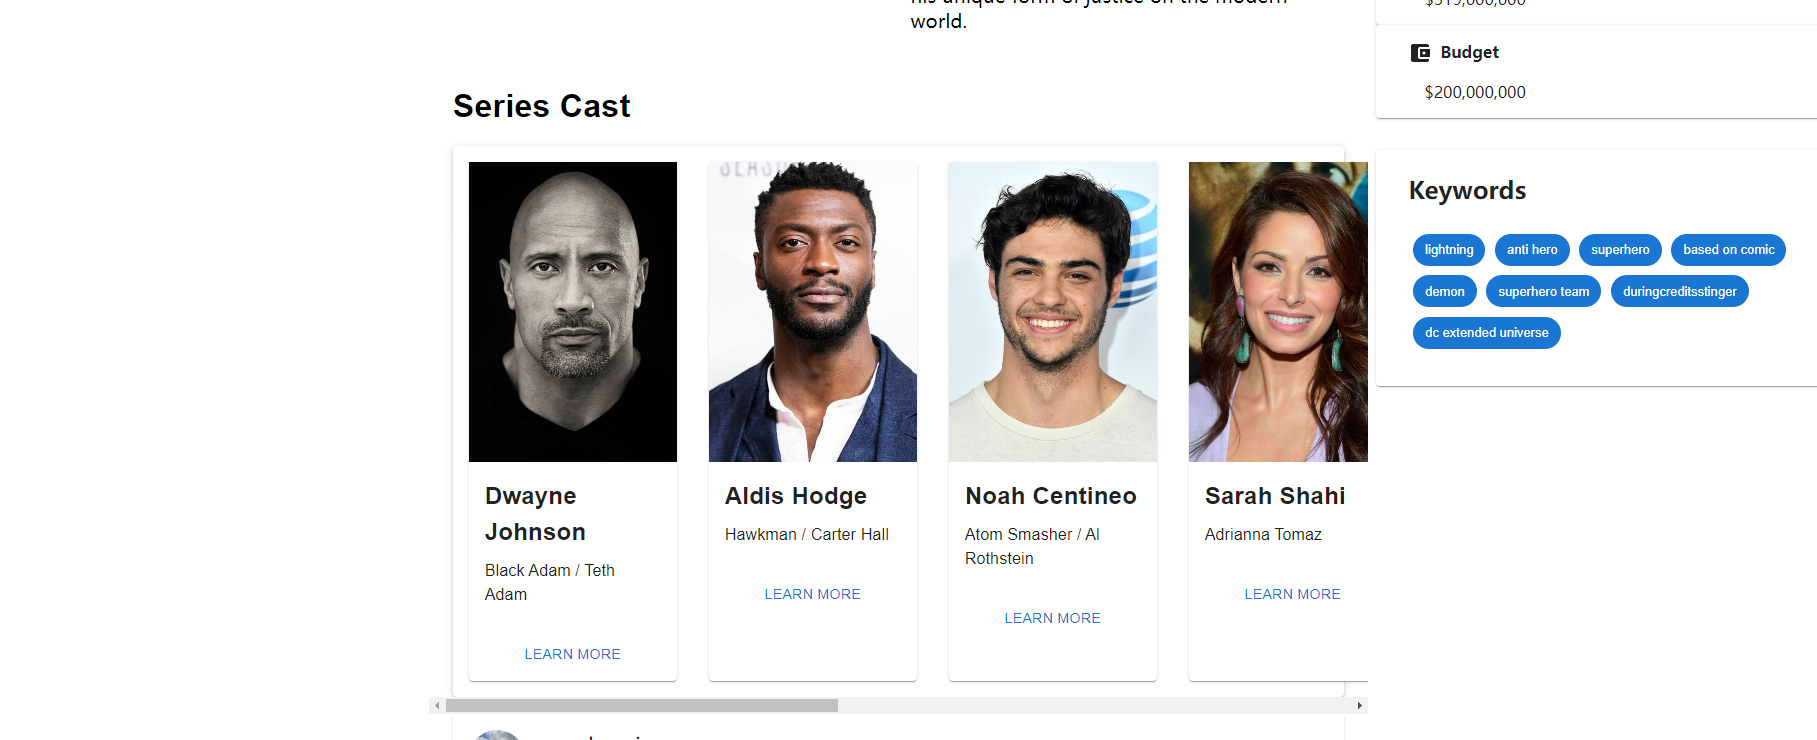
Get the credits of movie through the API below
Display the cast of movie
GET /movie/{movie_id}/credits
Get the movie's keywords through the API below
Display all the keywords on the right
GET /movie/{movie_id}/keywords
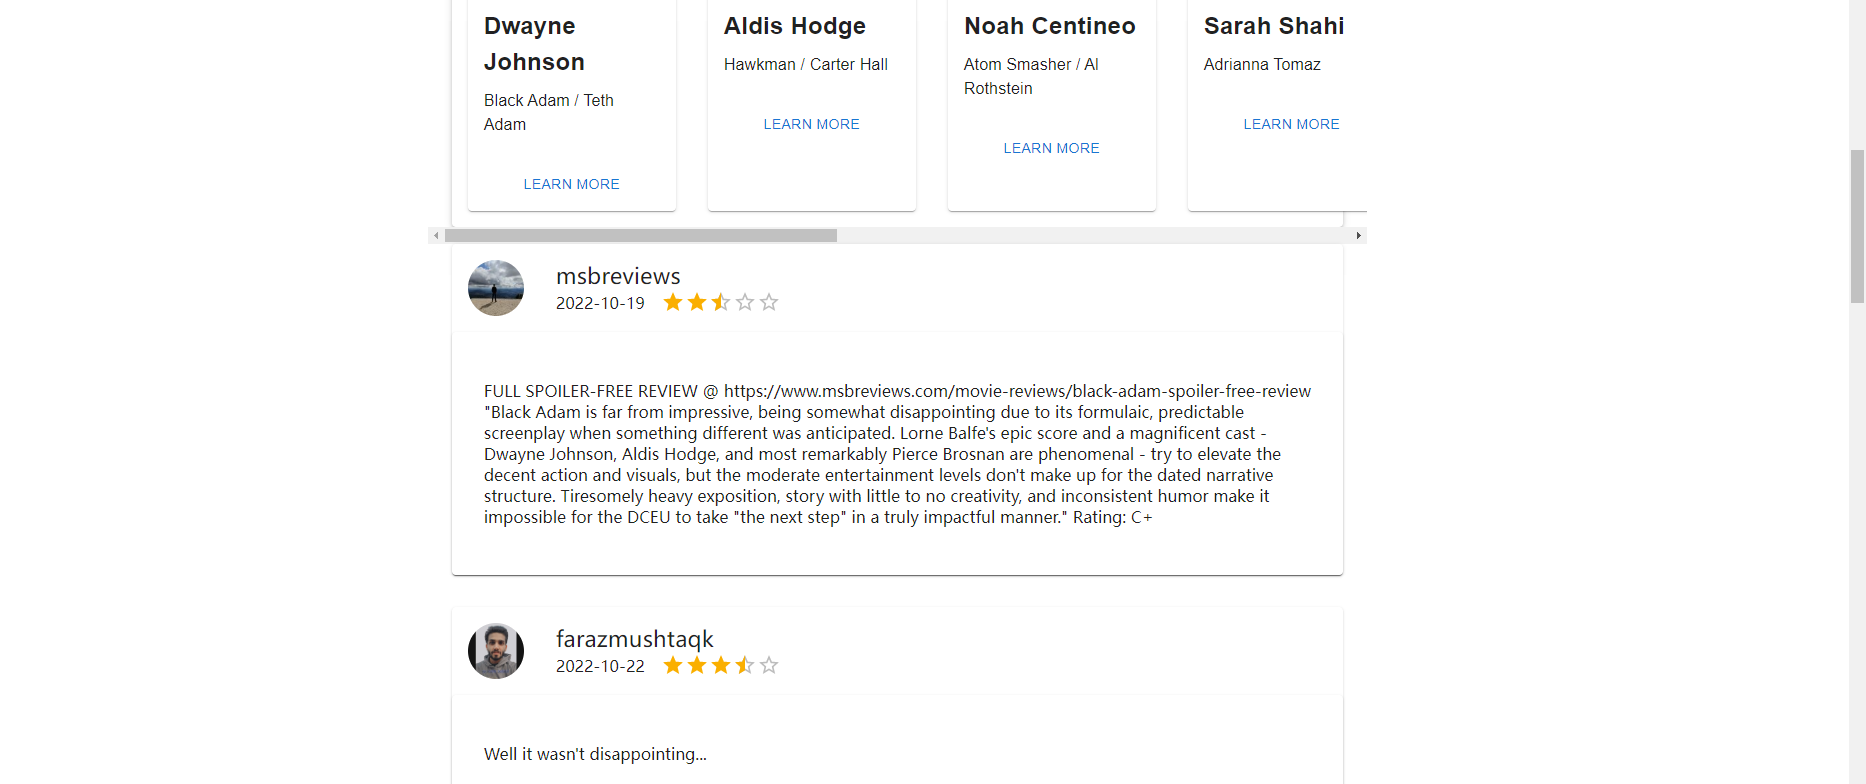
Get reviews through the API below
This component displays the avatar, rate, date of the comment, review, and the user name
GET /movie/{movie_id}/reviews
Click the "Learn more" button below the actor card and this will navigate to the actor details page
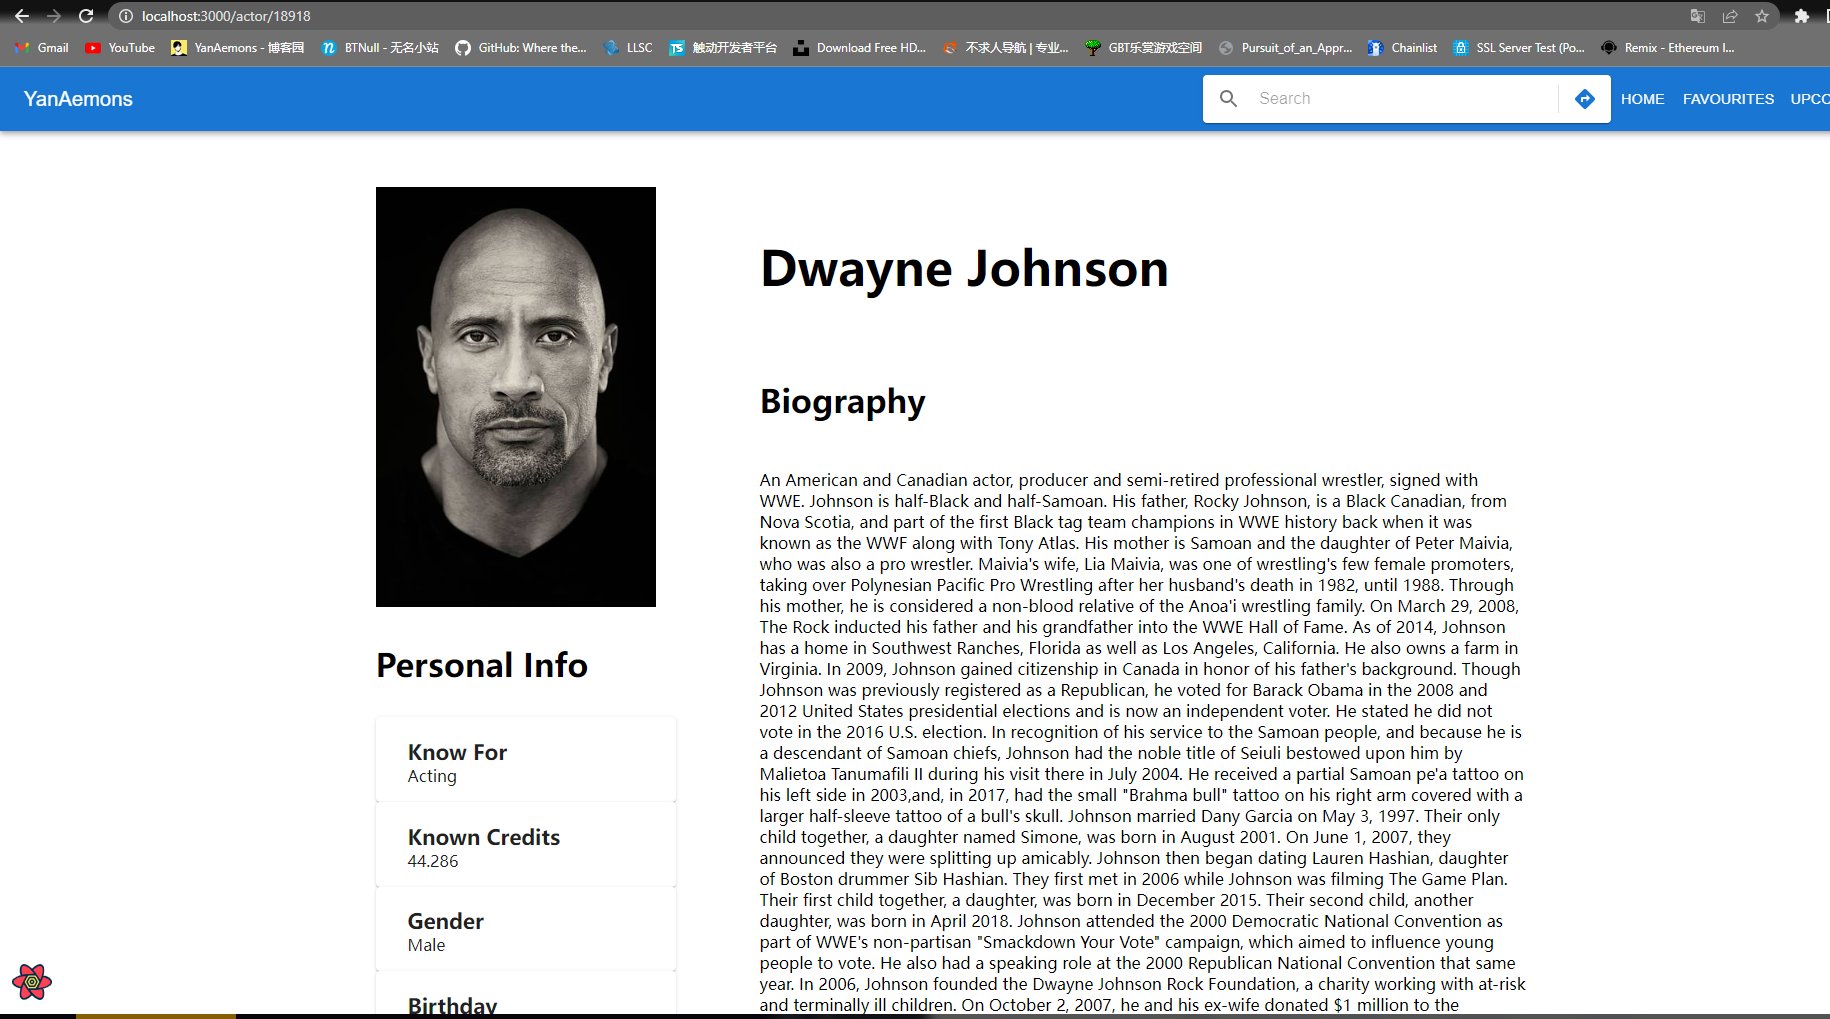
Notice that the URL has the actor's id in order to get the actor's details
It is implemented through the API below
This page displays the information and biography of the actor
GET /person/{person_id}
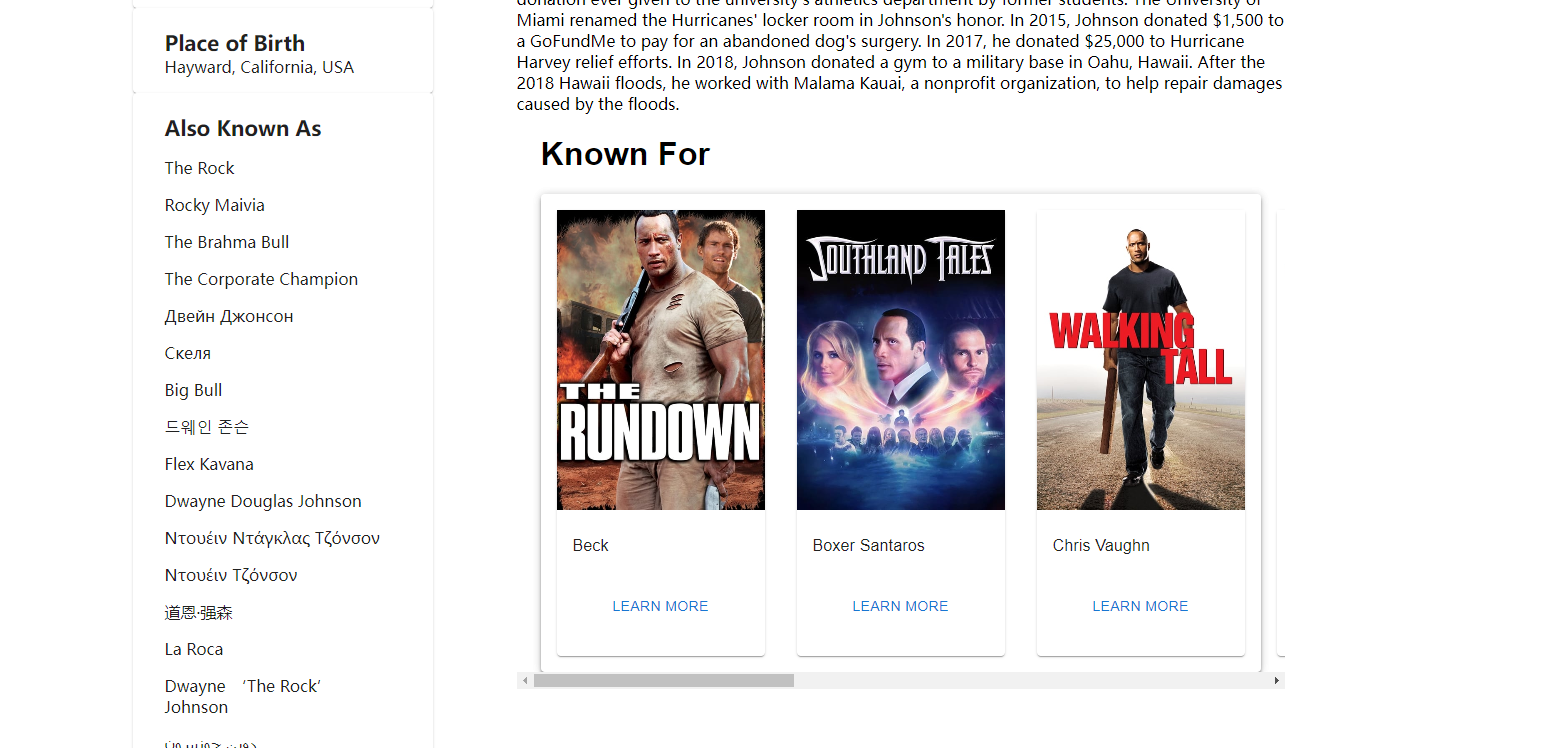
This block displays the movies that the actor acted in the past
GET /person/{person_id}/combined_credits
Click the "Learn more" button under the card, it will navigate you to the movie detail page
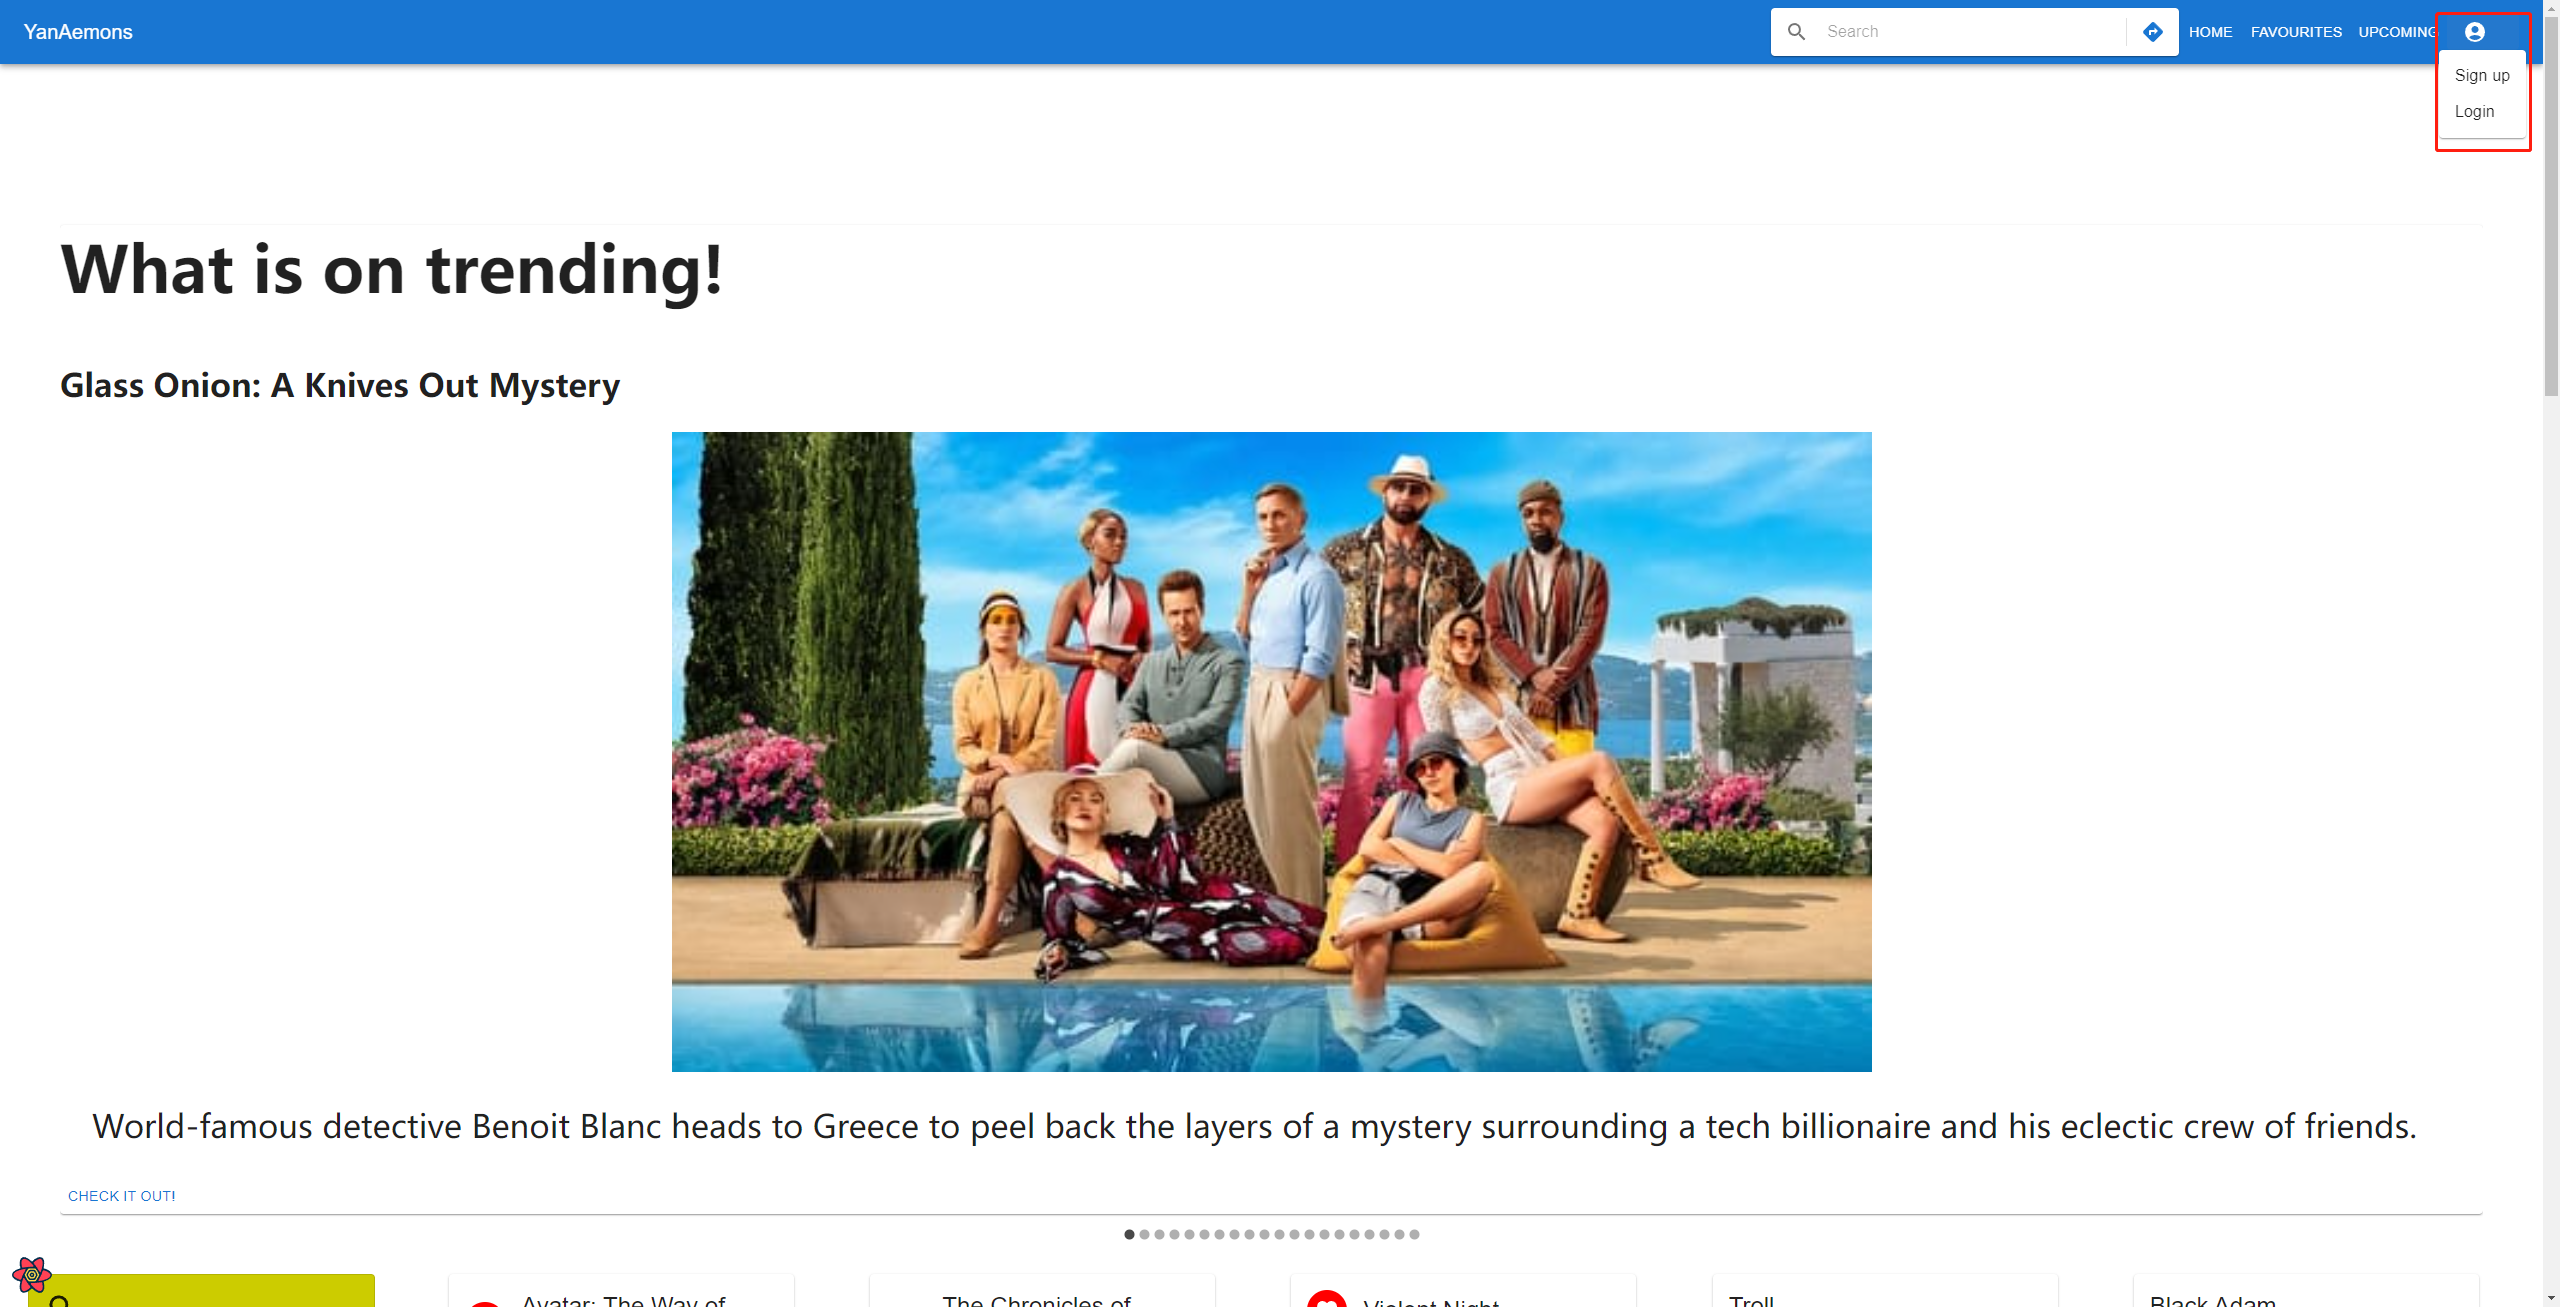
Click the icon on the right top corner
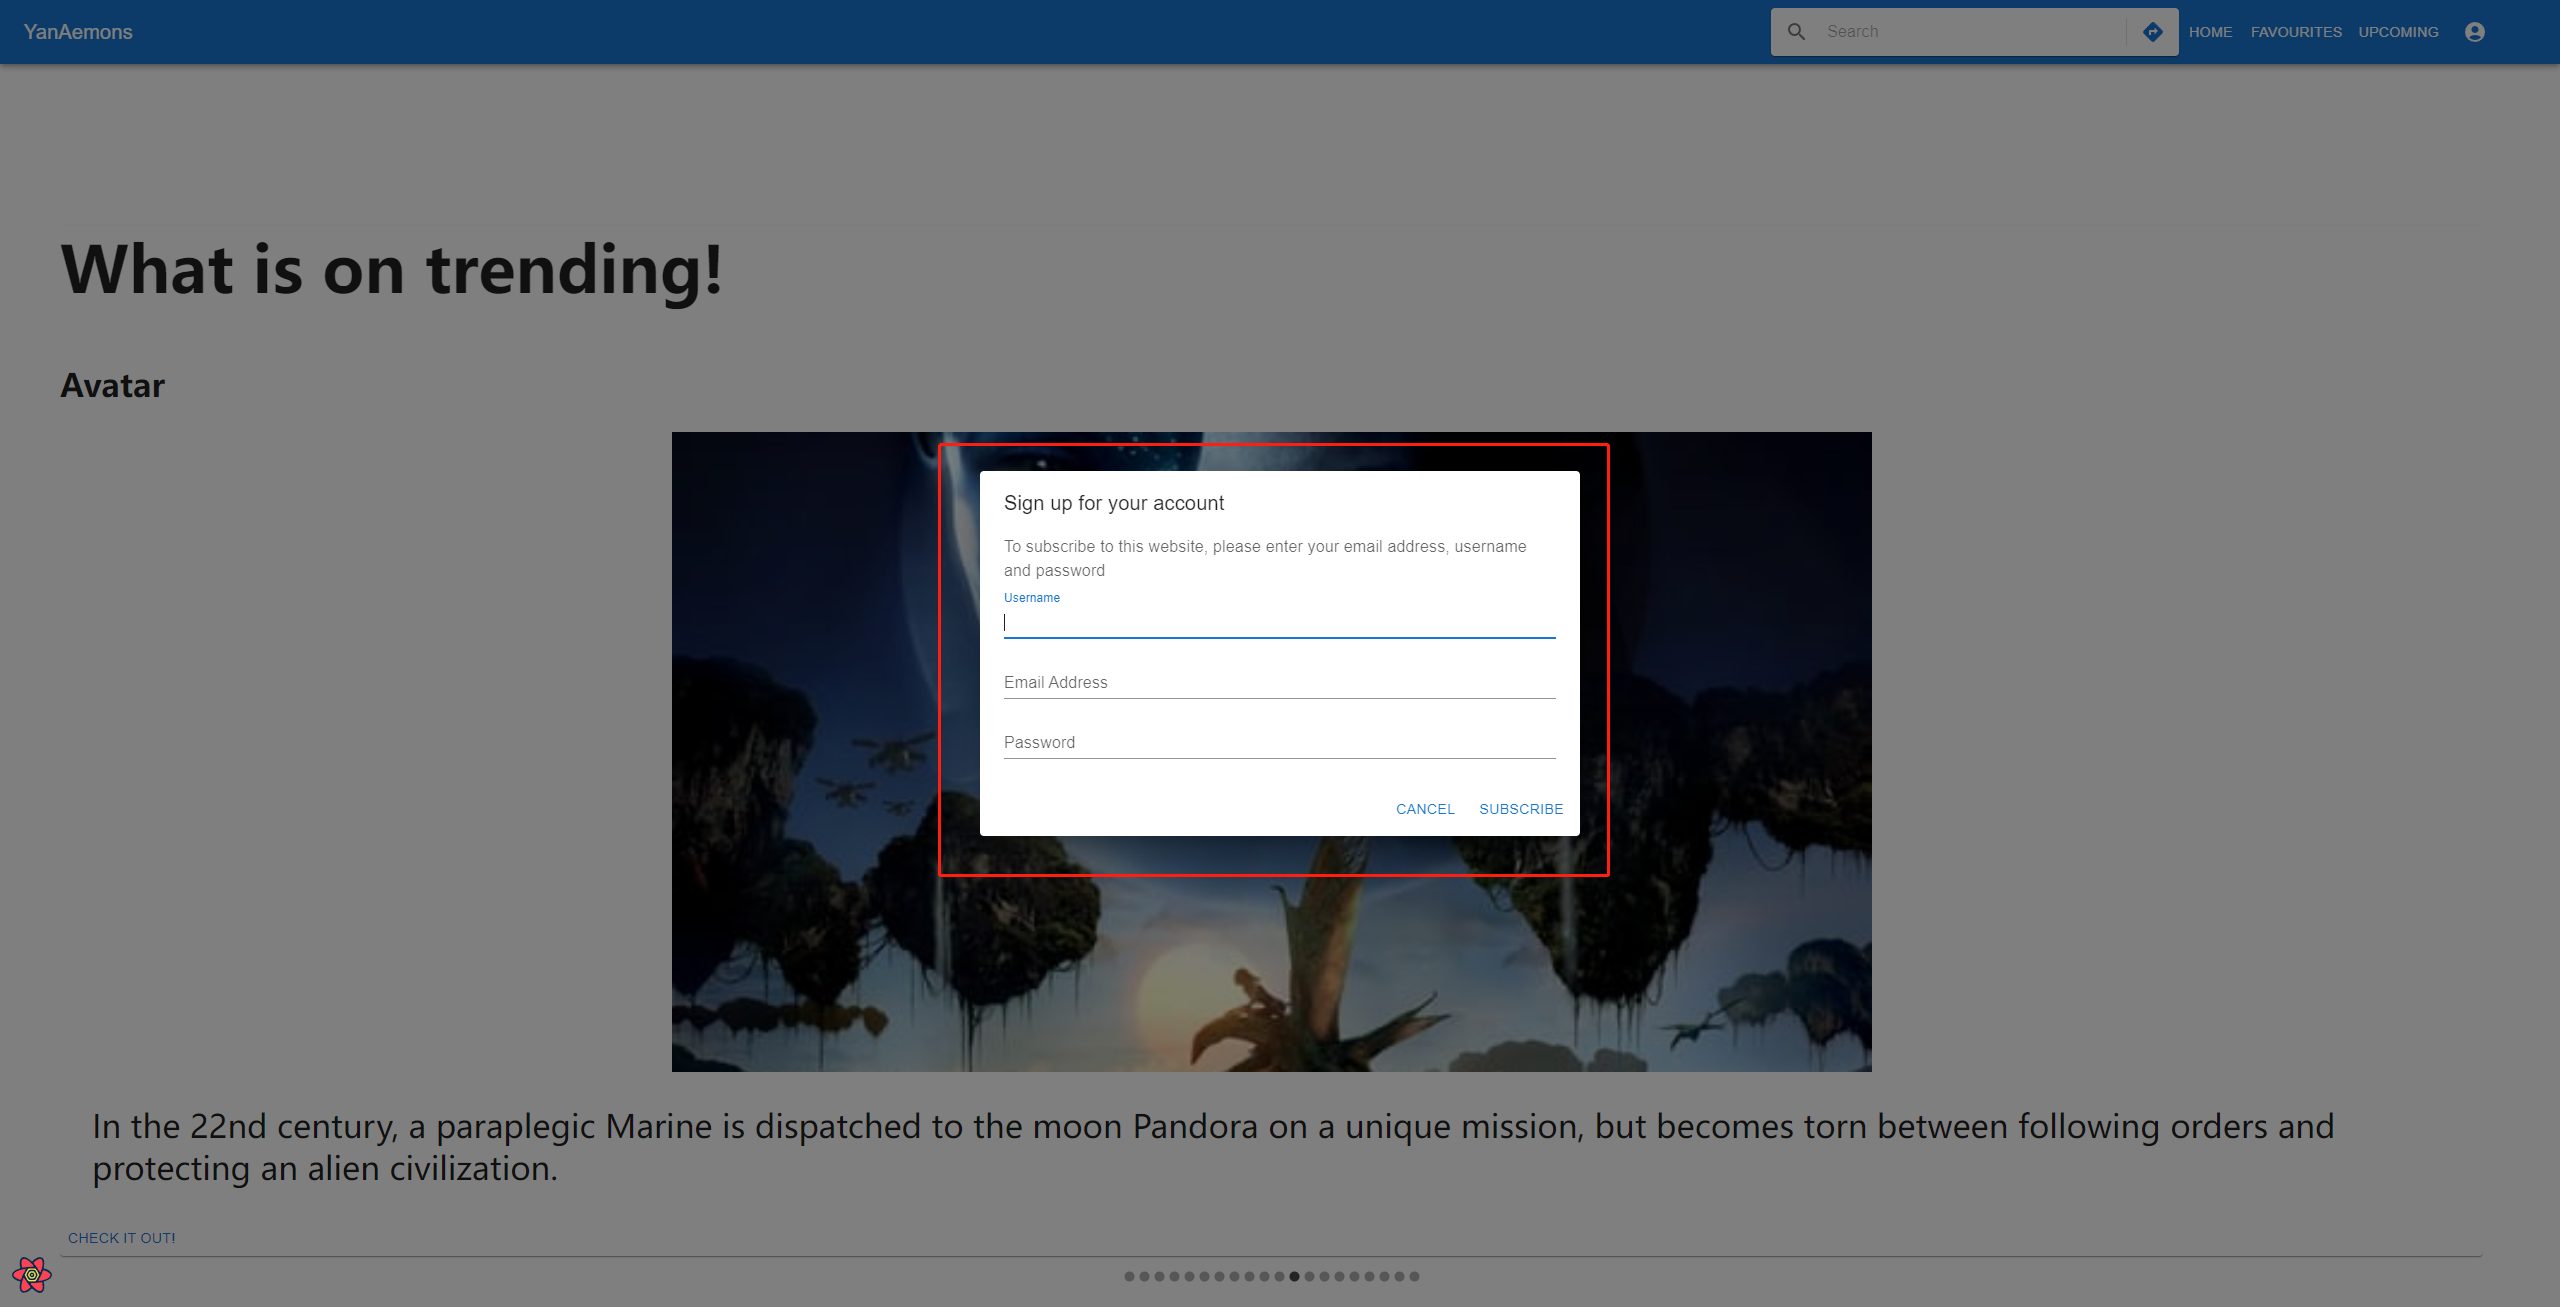
The Sign-up dialog will pop up after you click the sign up button
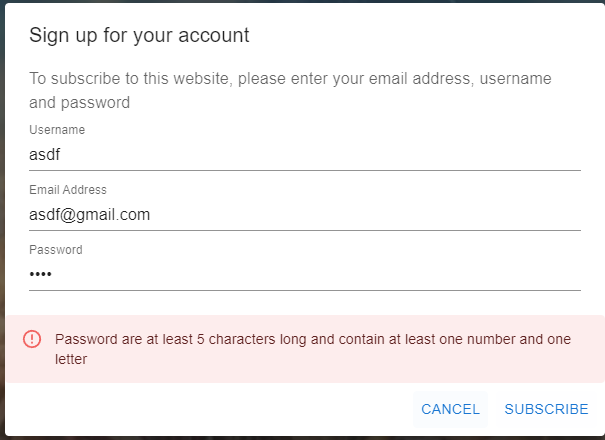
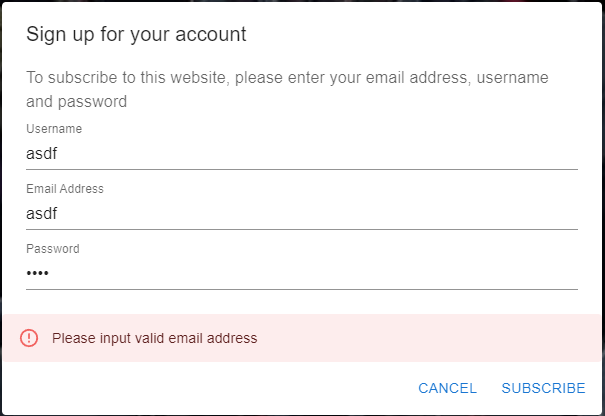
Input the username, valid email address and password
Otherwise, the dialog will show you the error
After user log in, frontend will store the userId and userToken
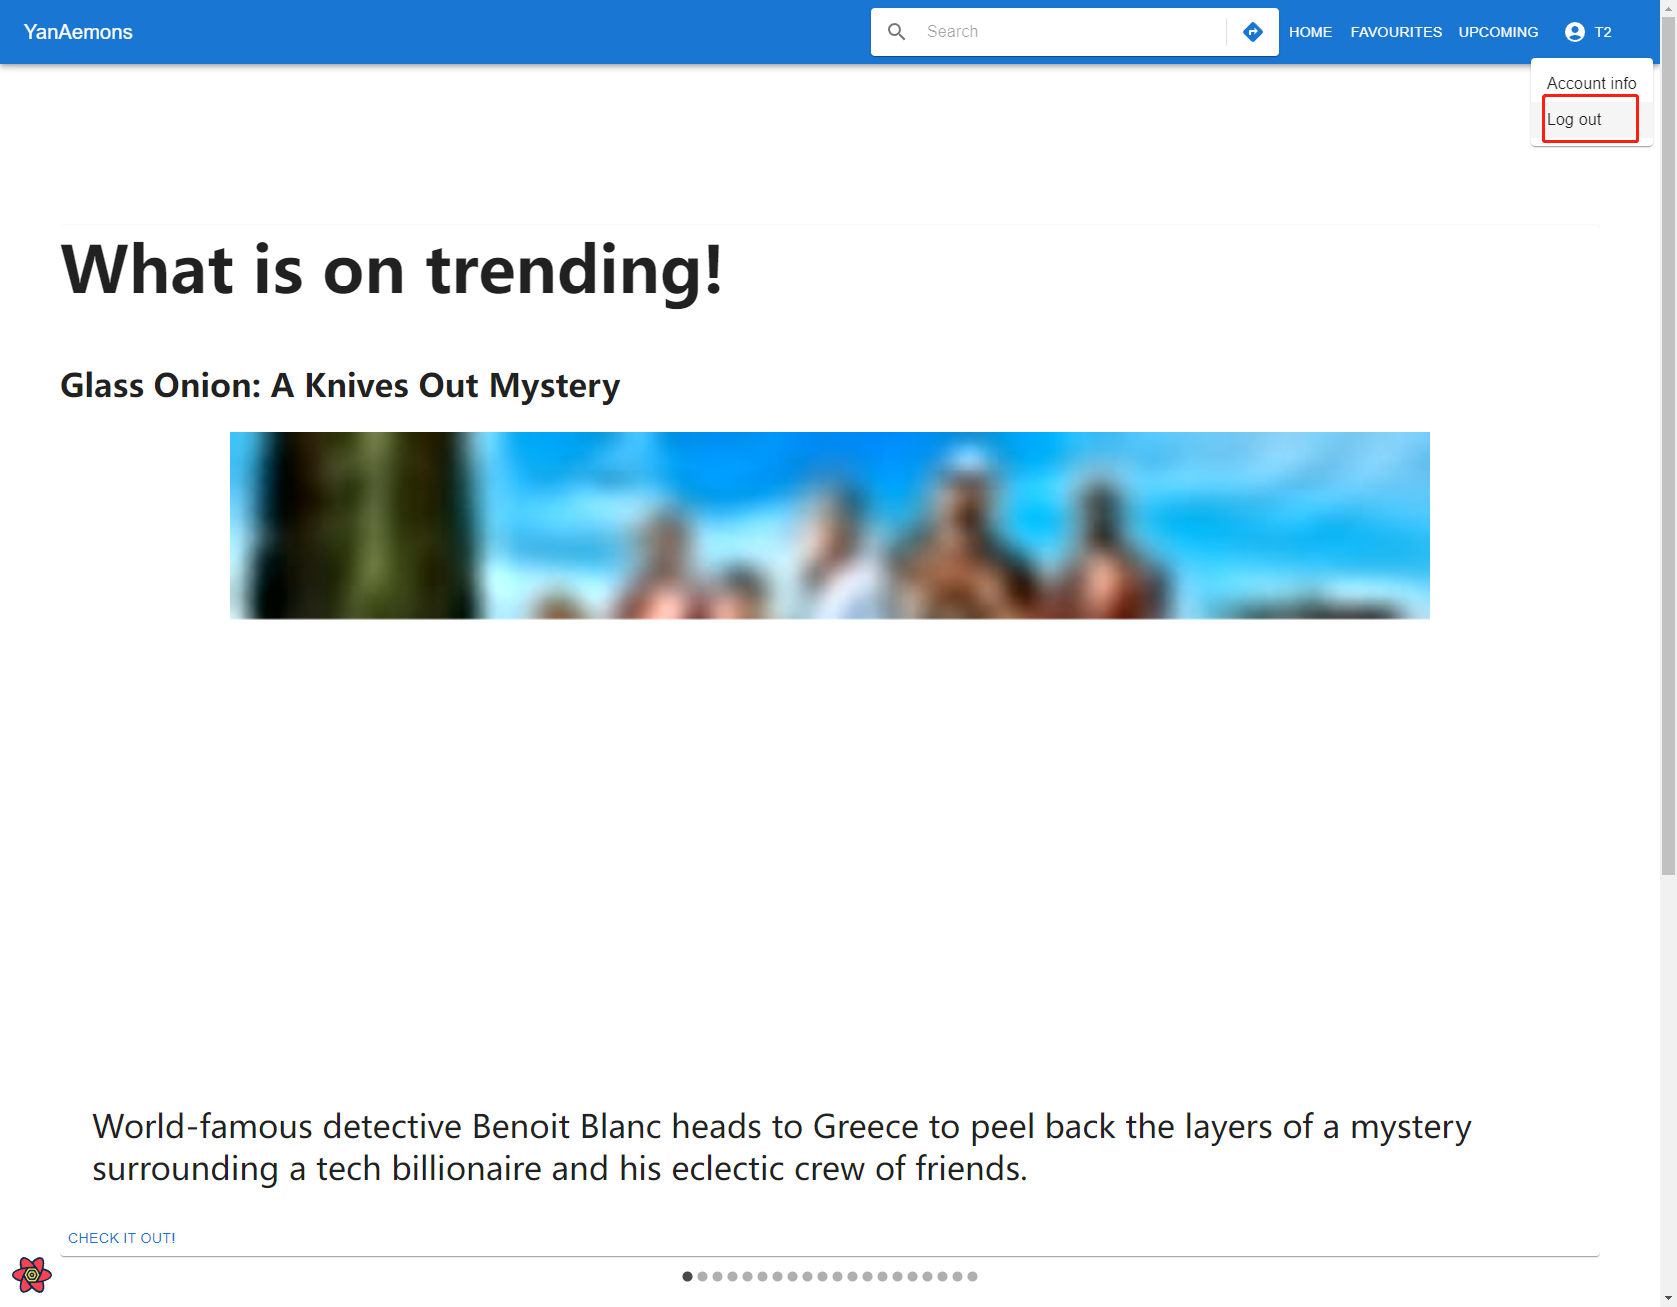
After clicking the Log out button, the local storage will be cleared
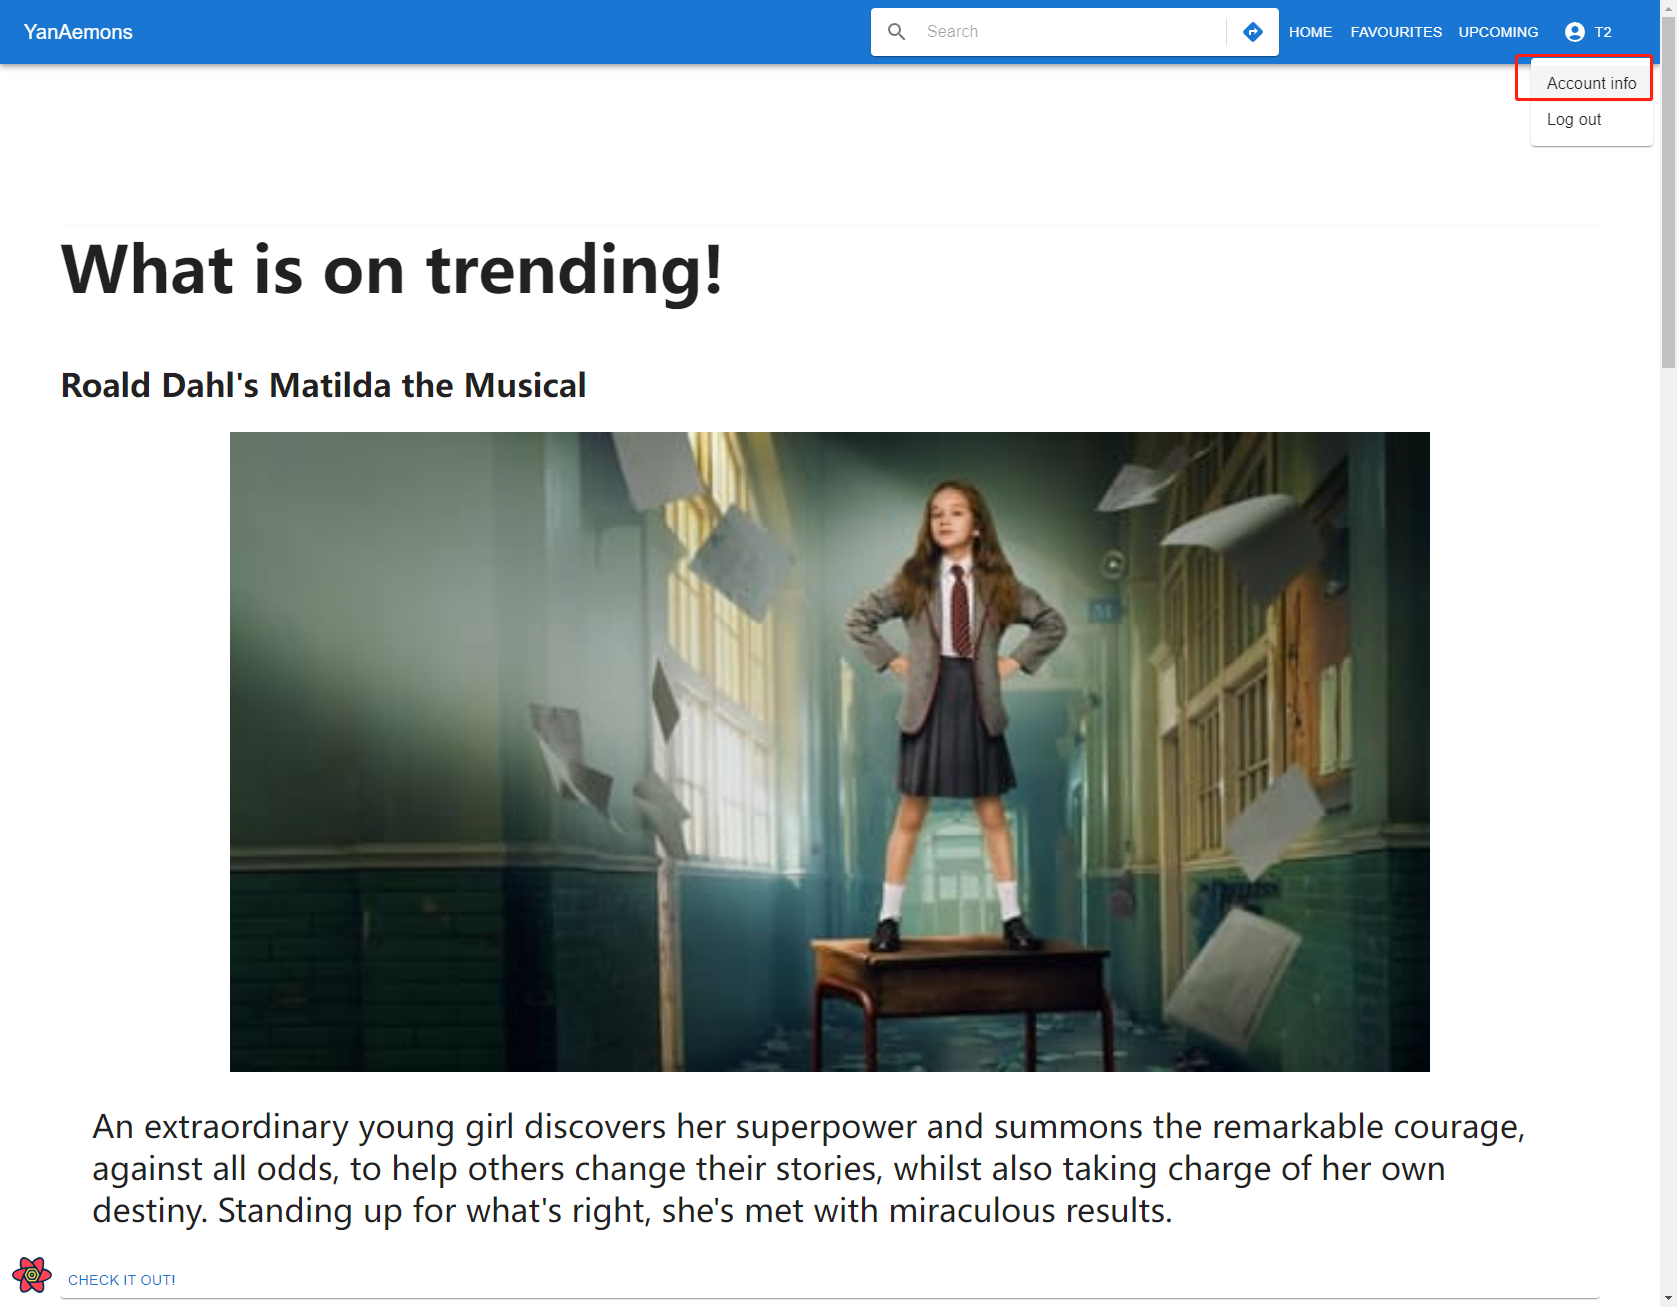
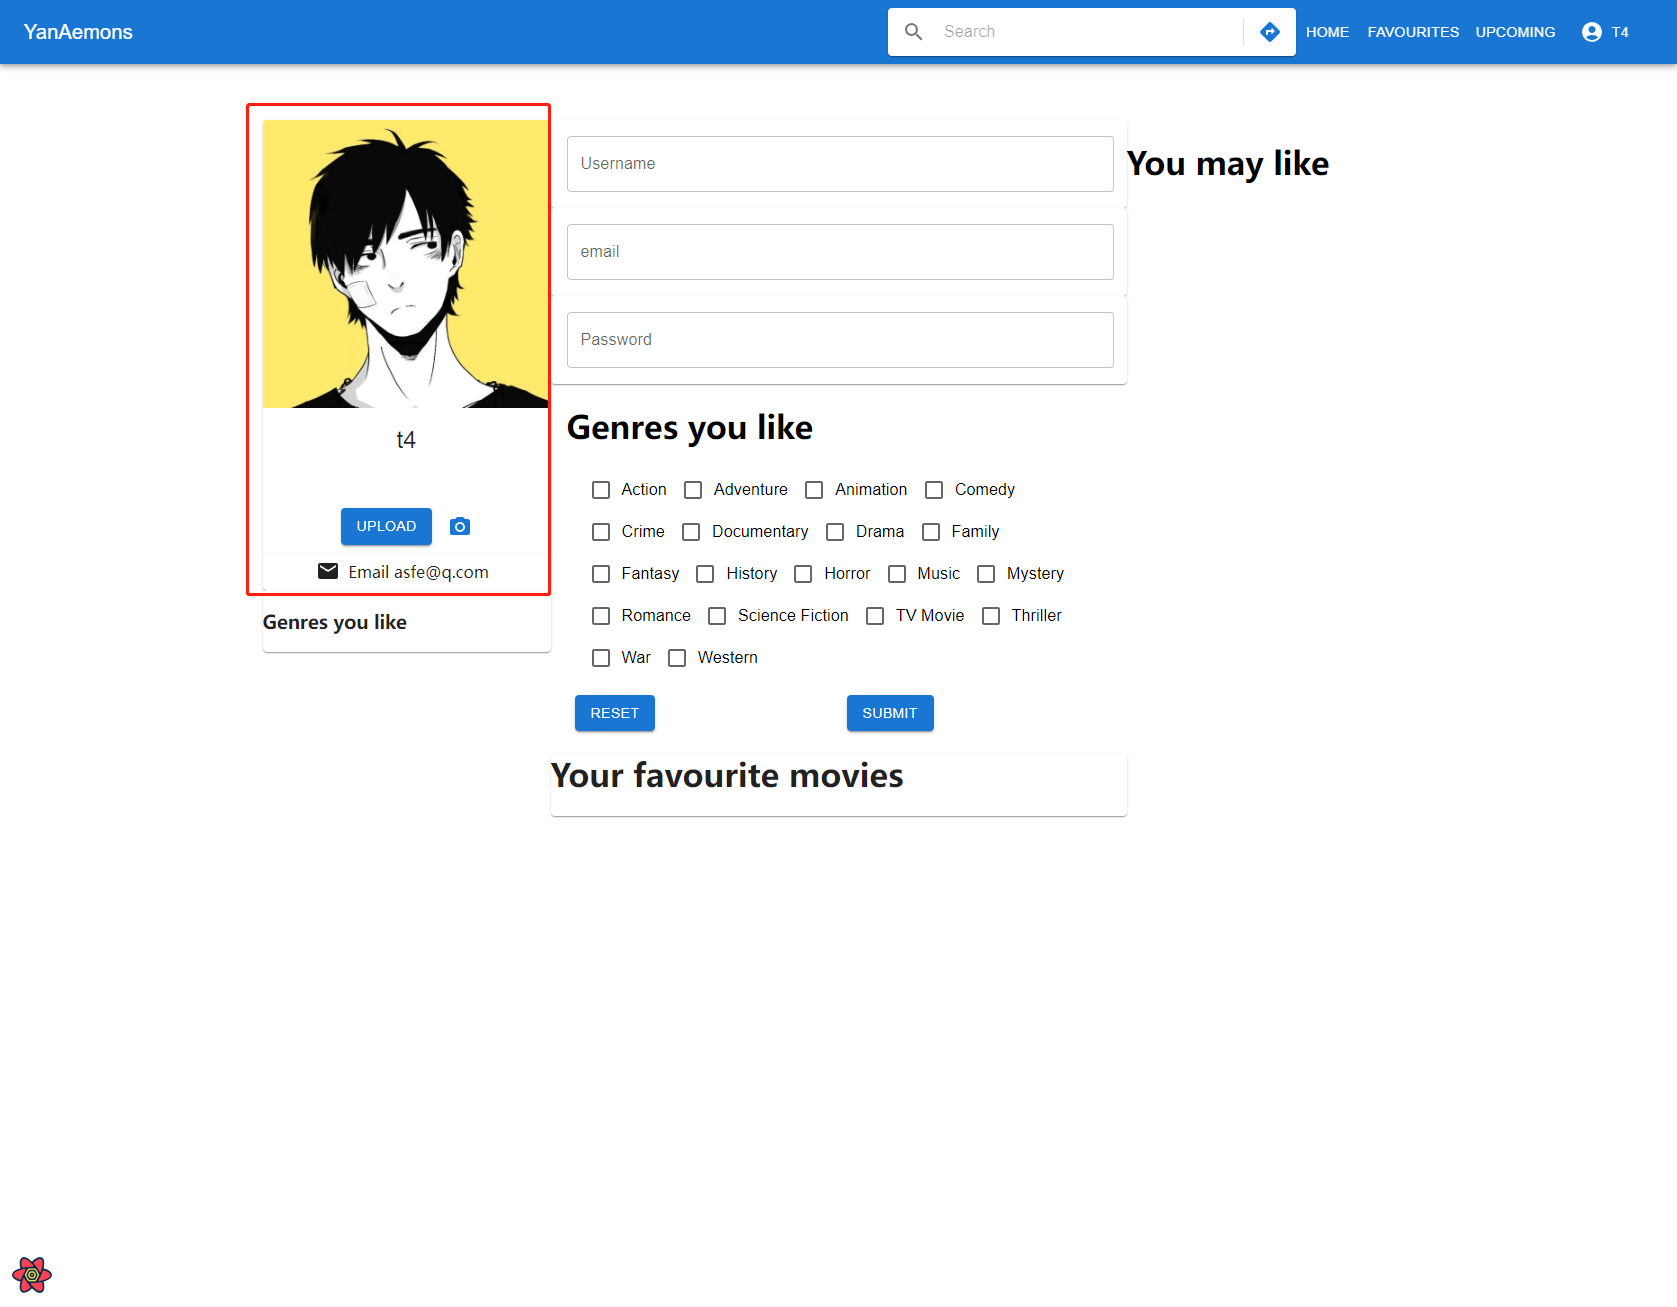
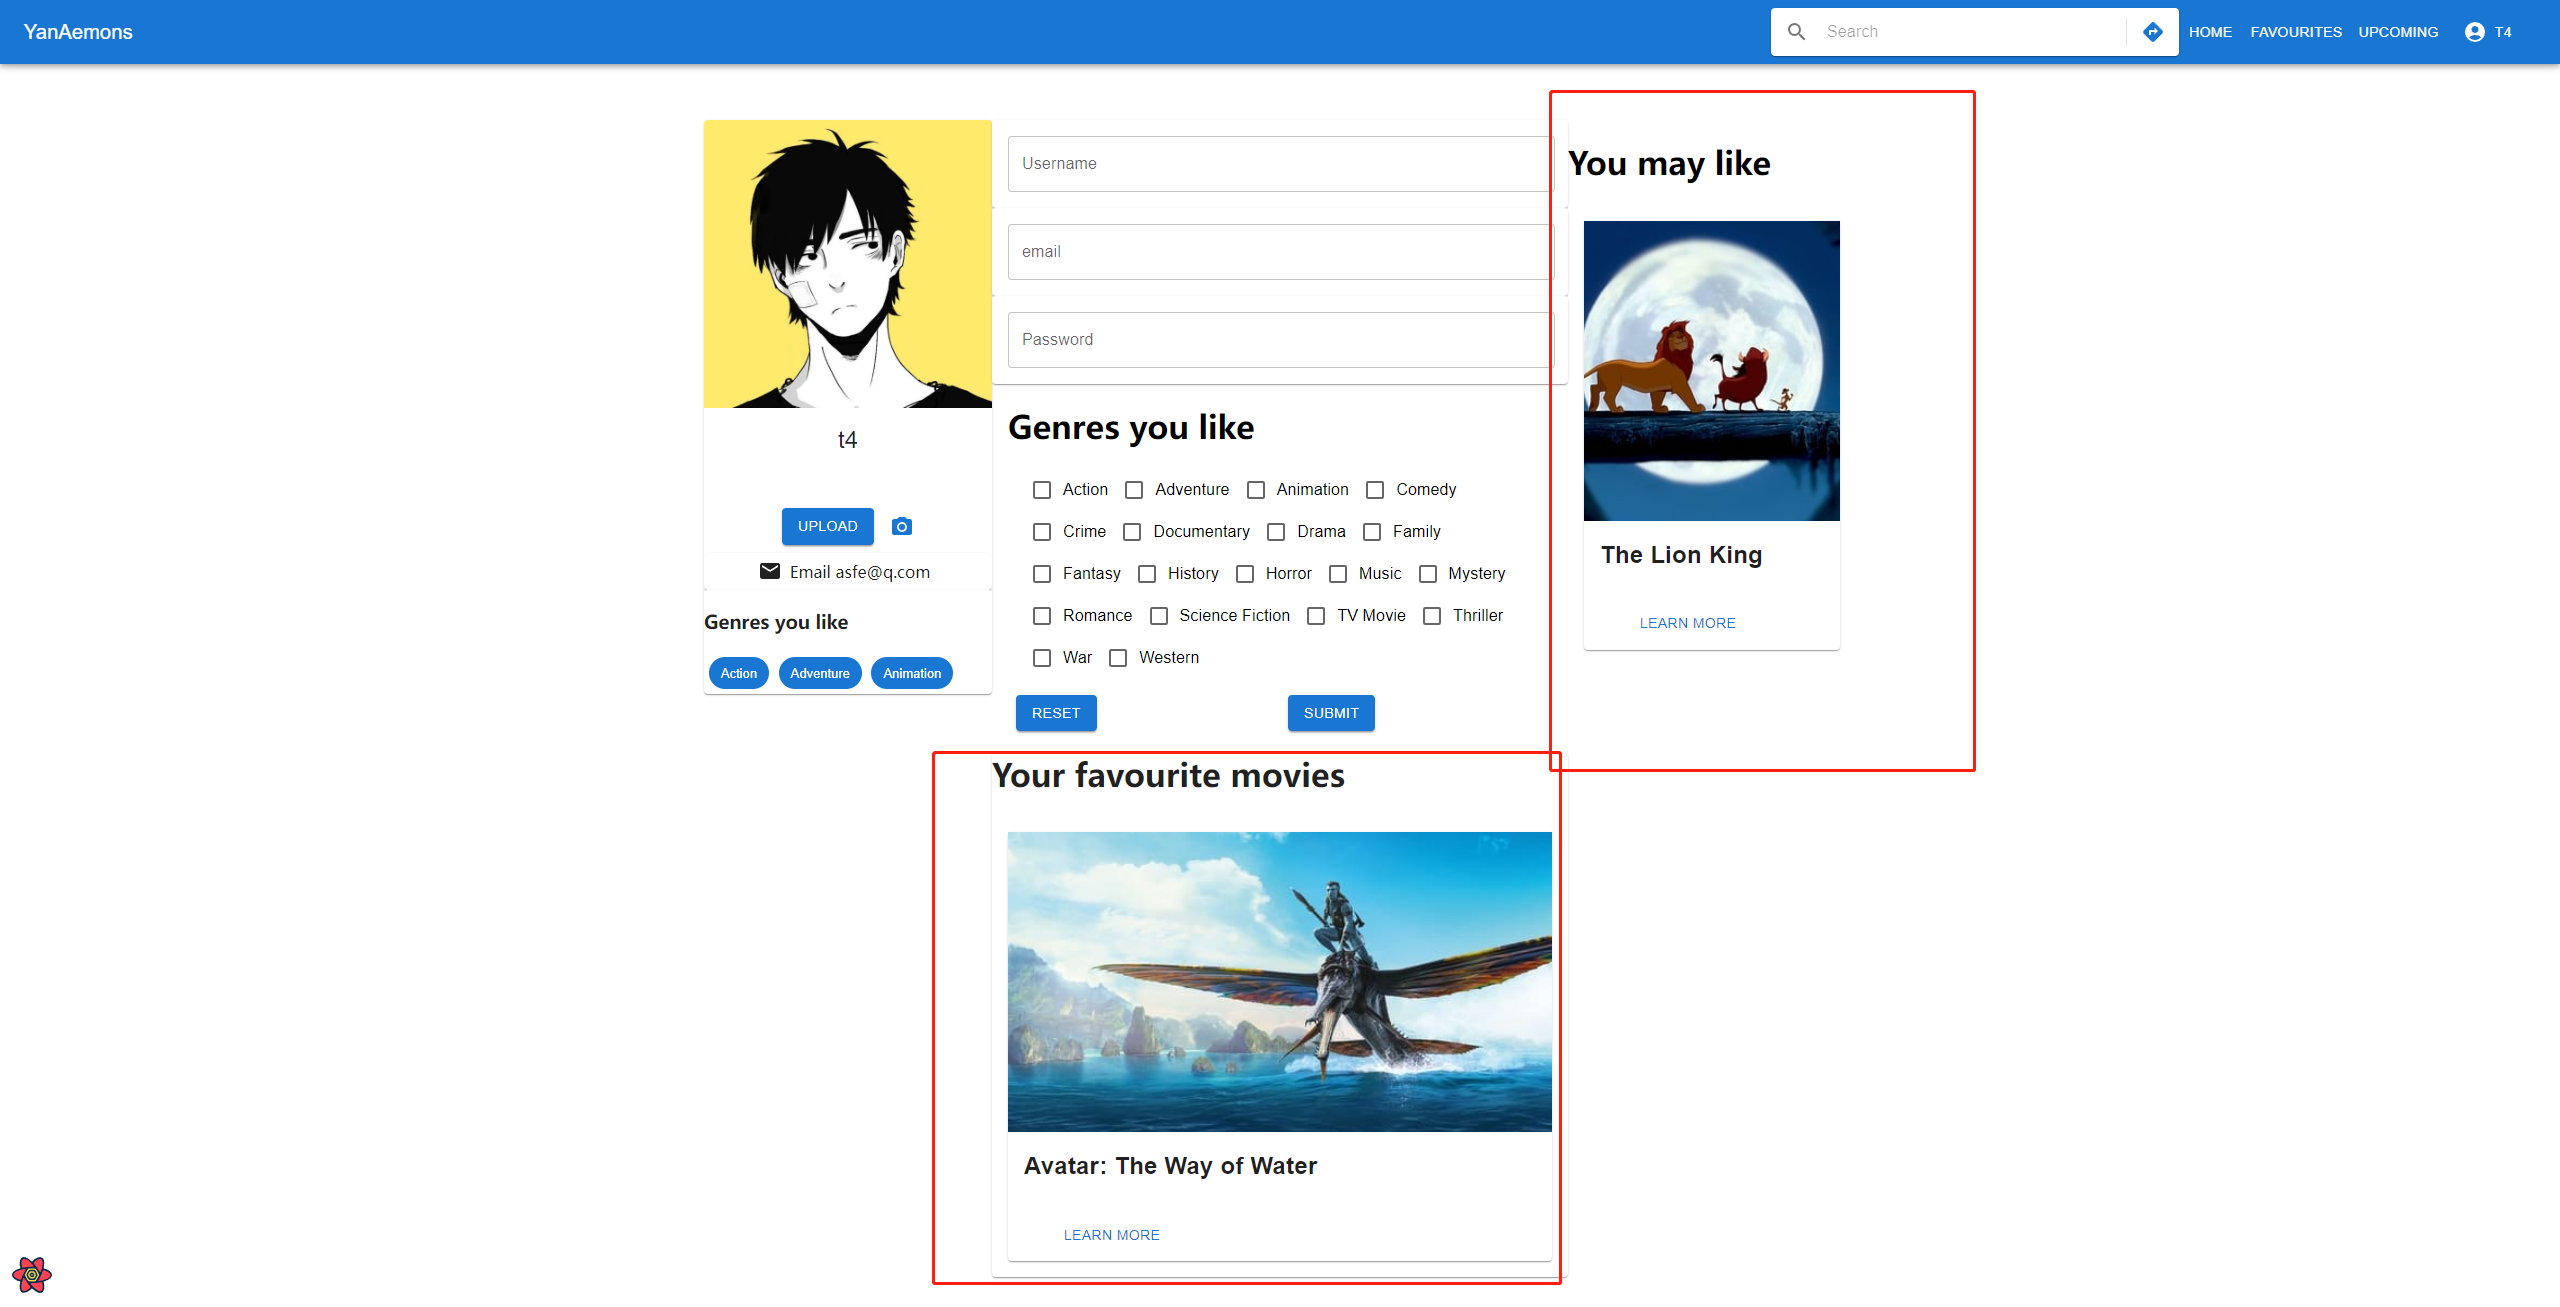
Click Account info will navigate the user to the user profile page
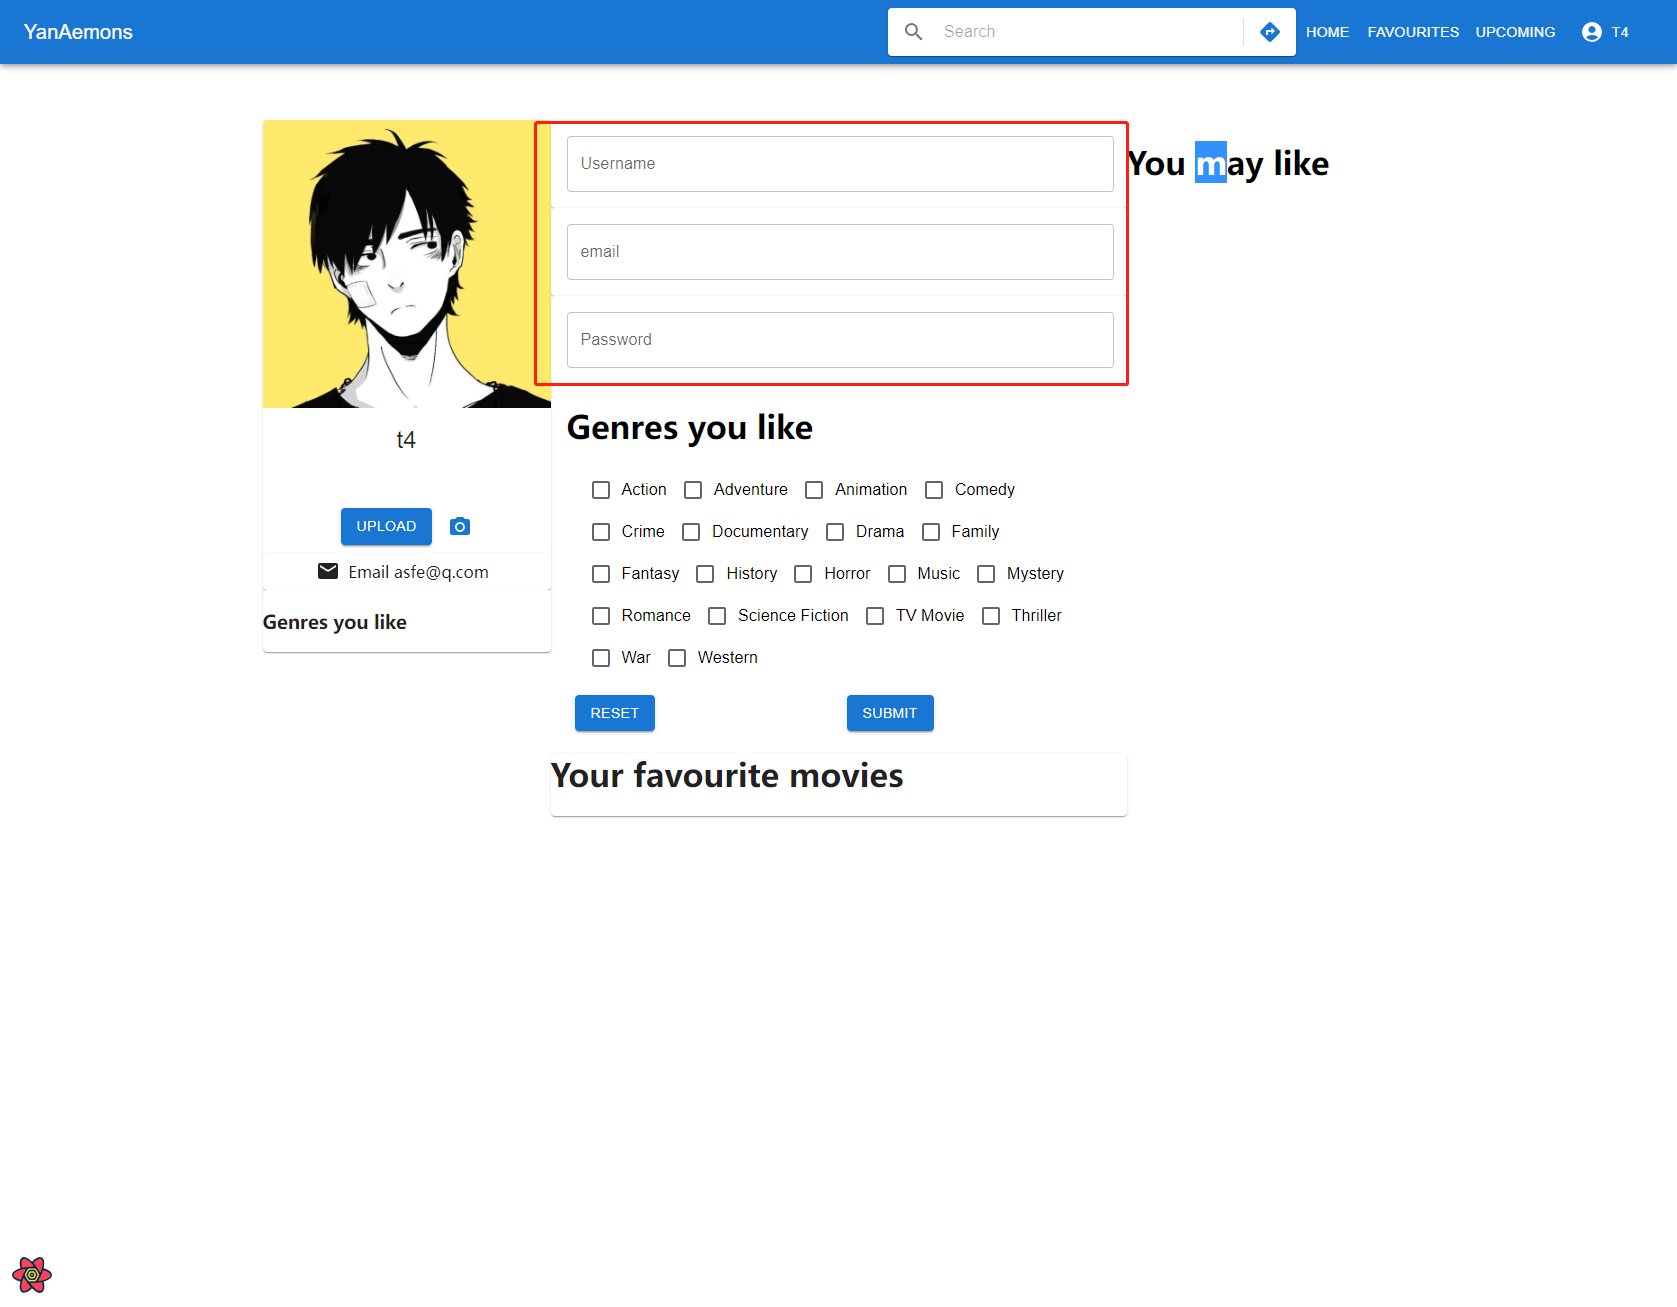
Users can reset account's username, email address and the password
Upload user's new avatar
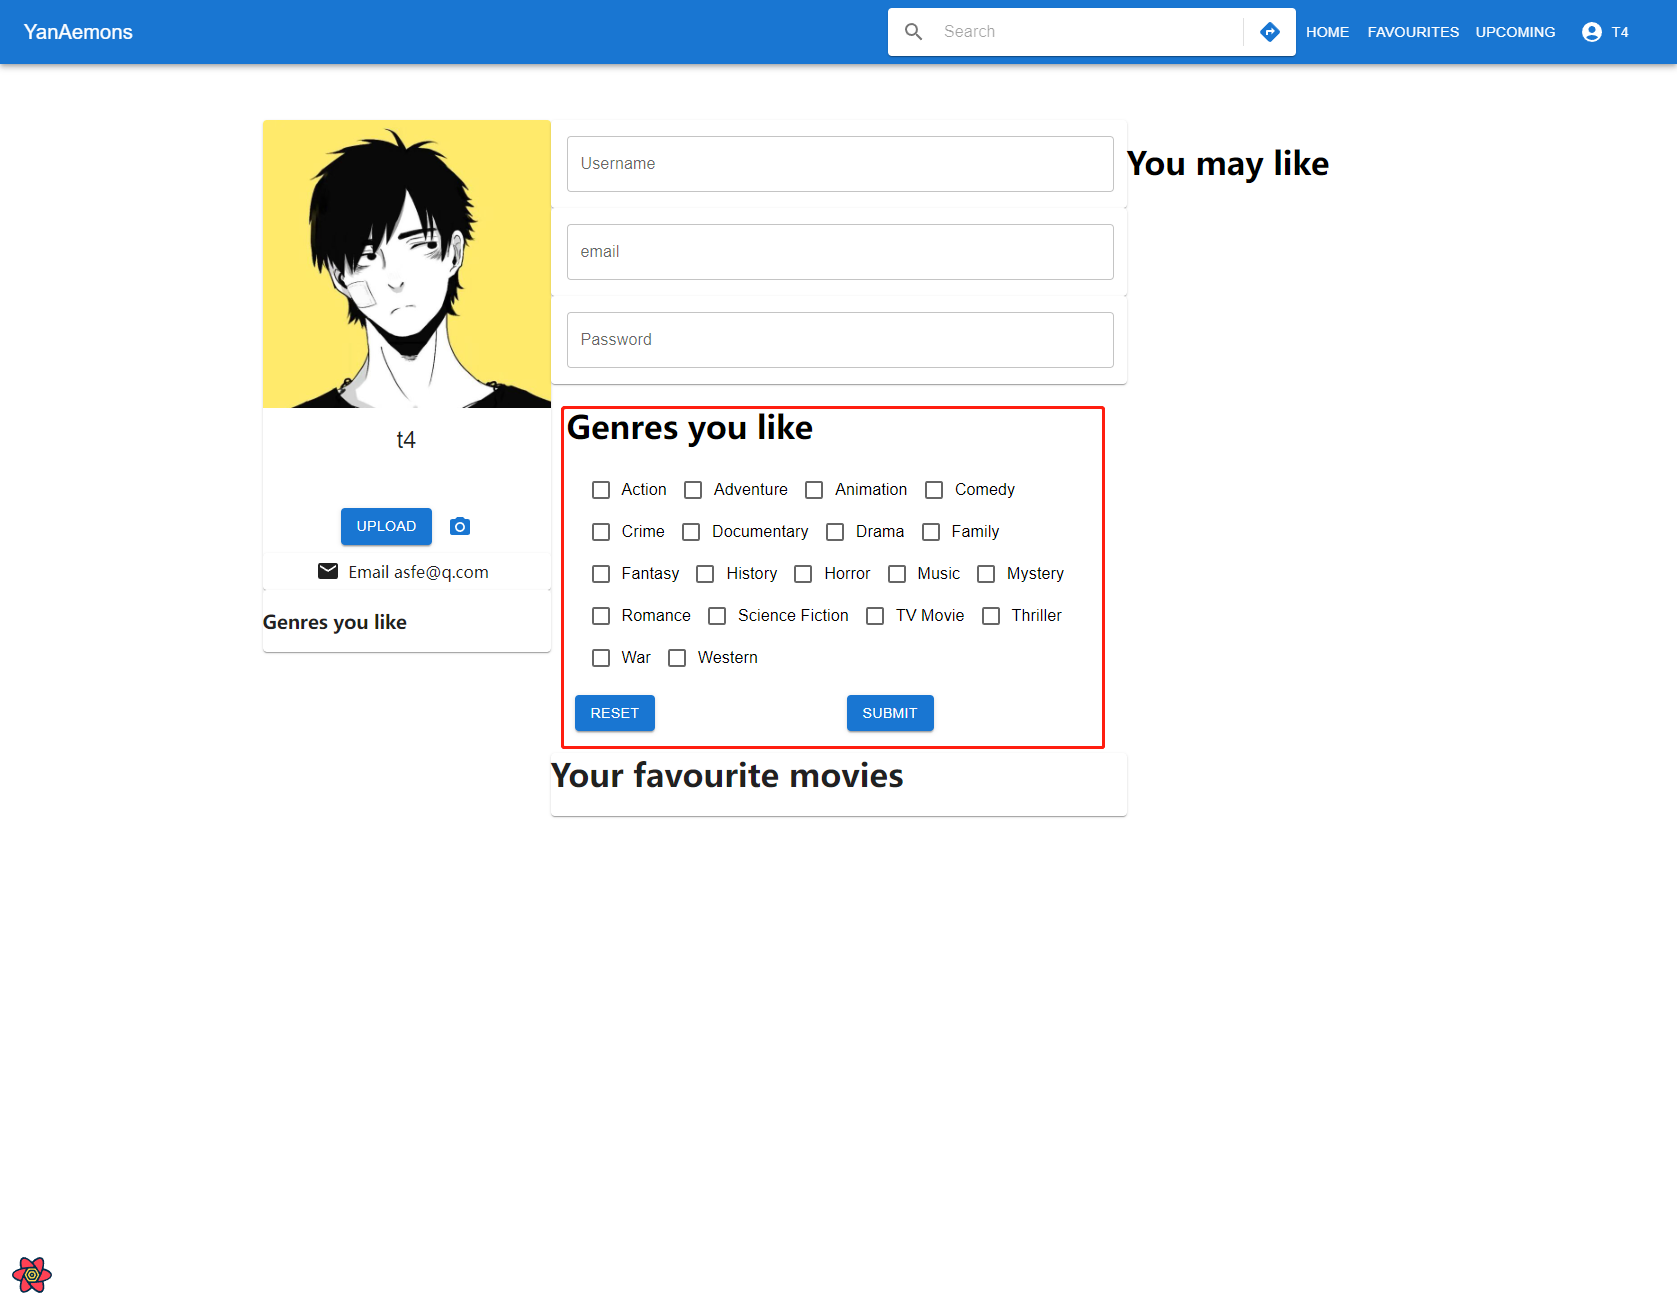
Choose the genres that user may like
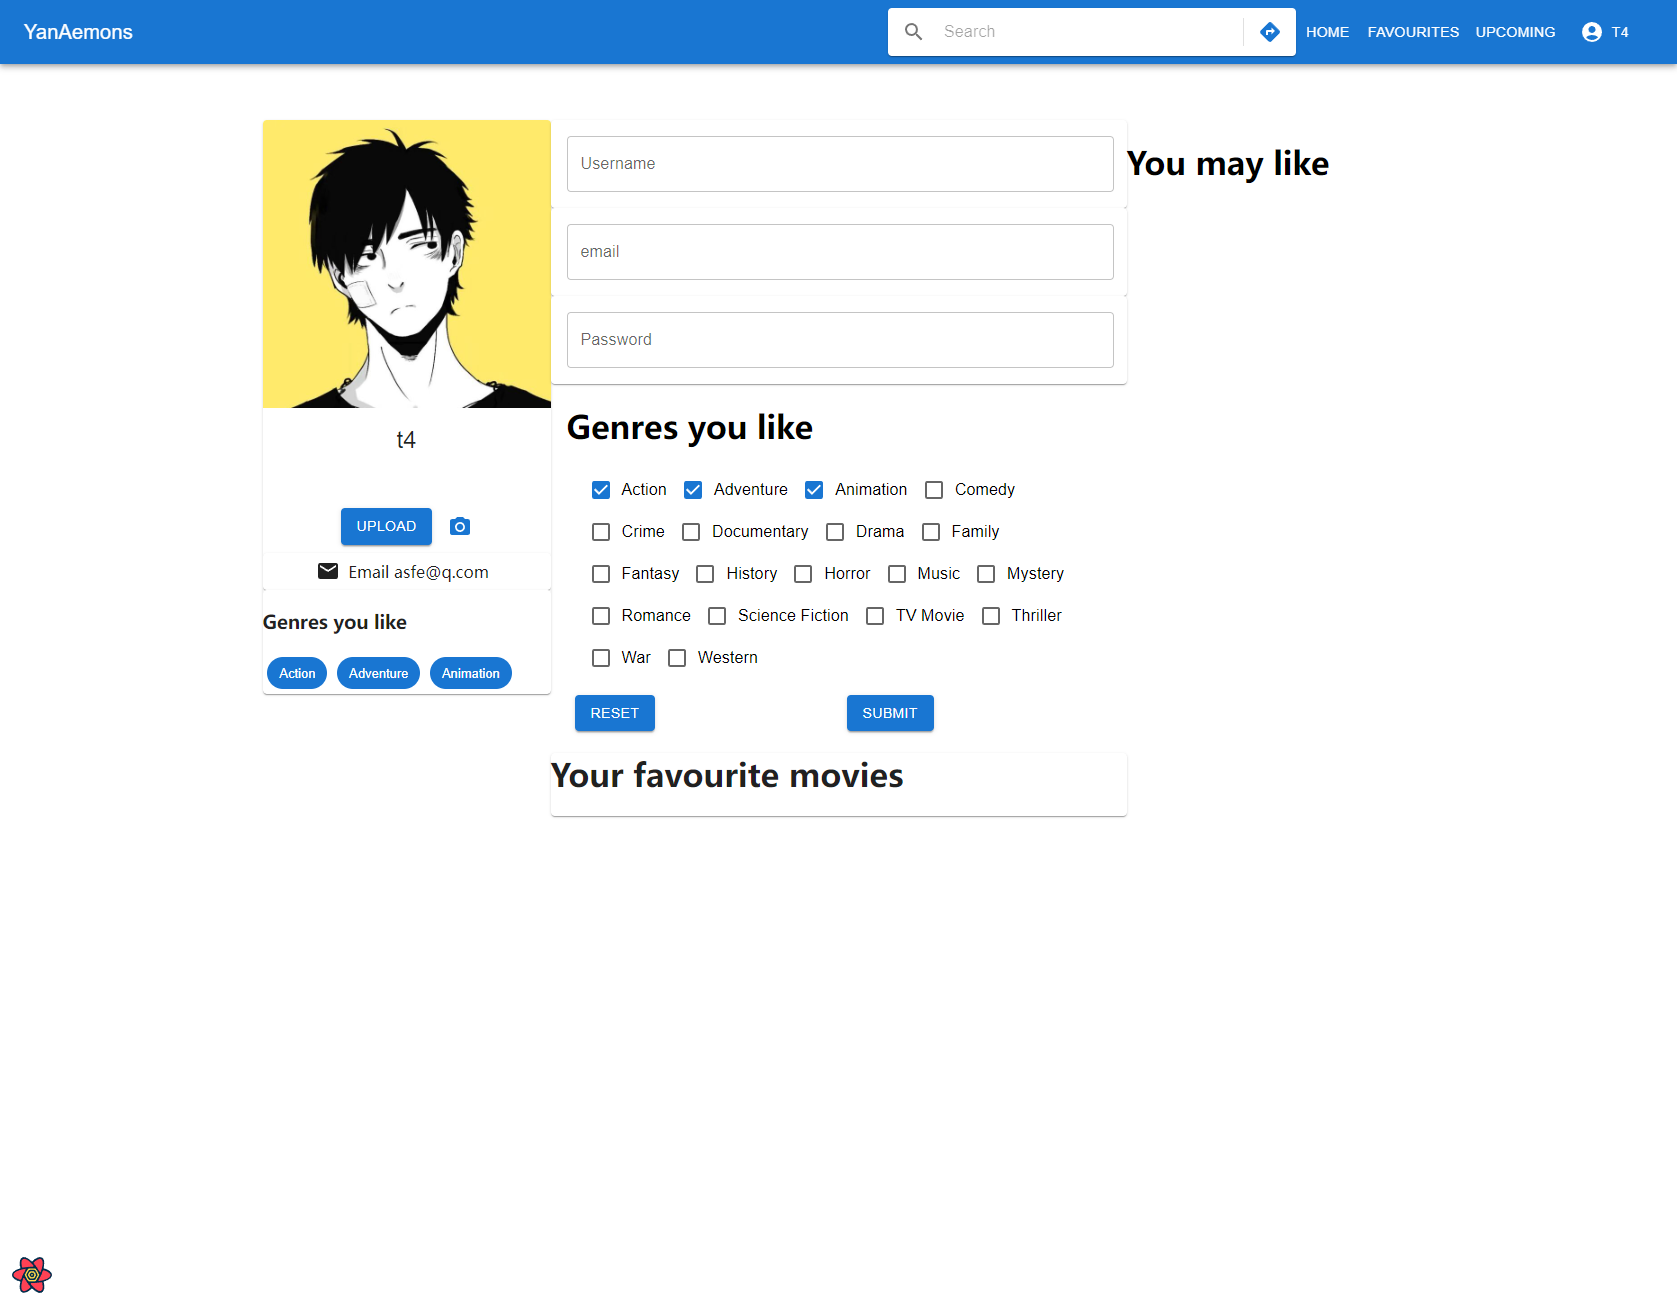
The user profile site will show the genres after choosing
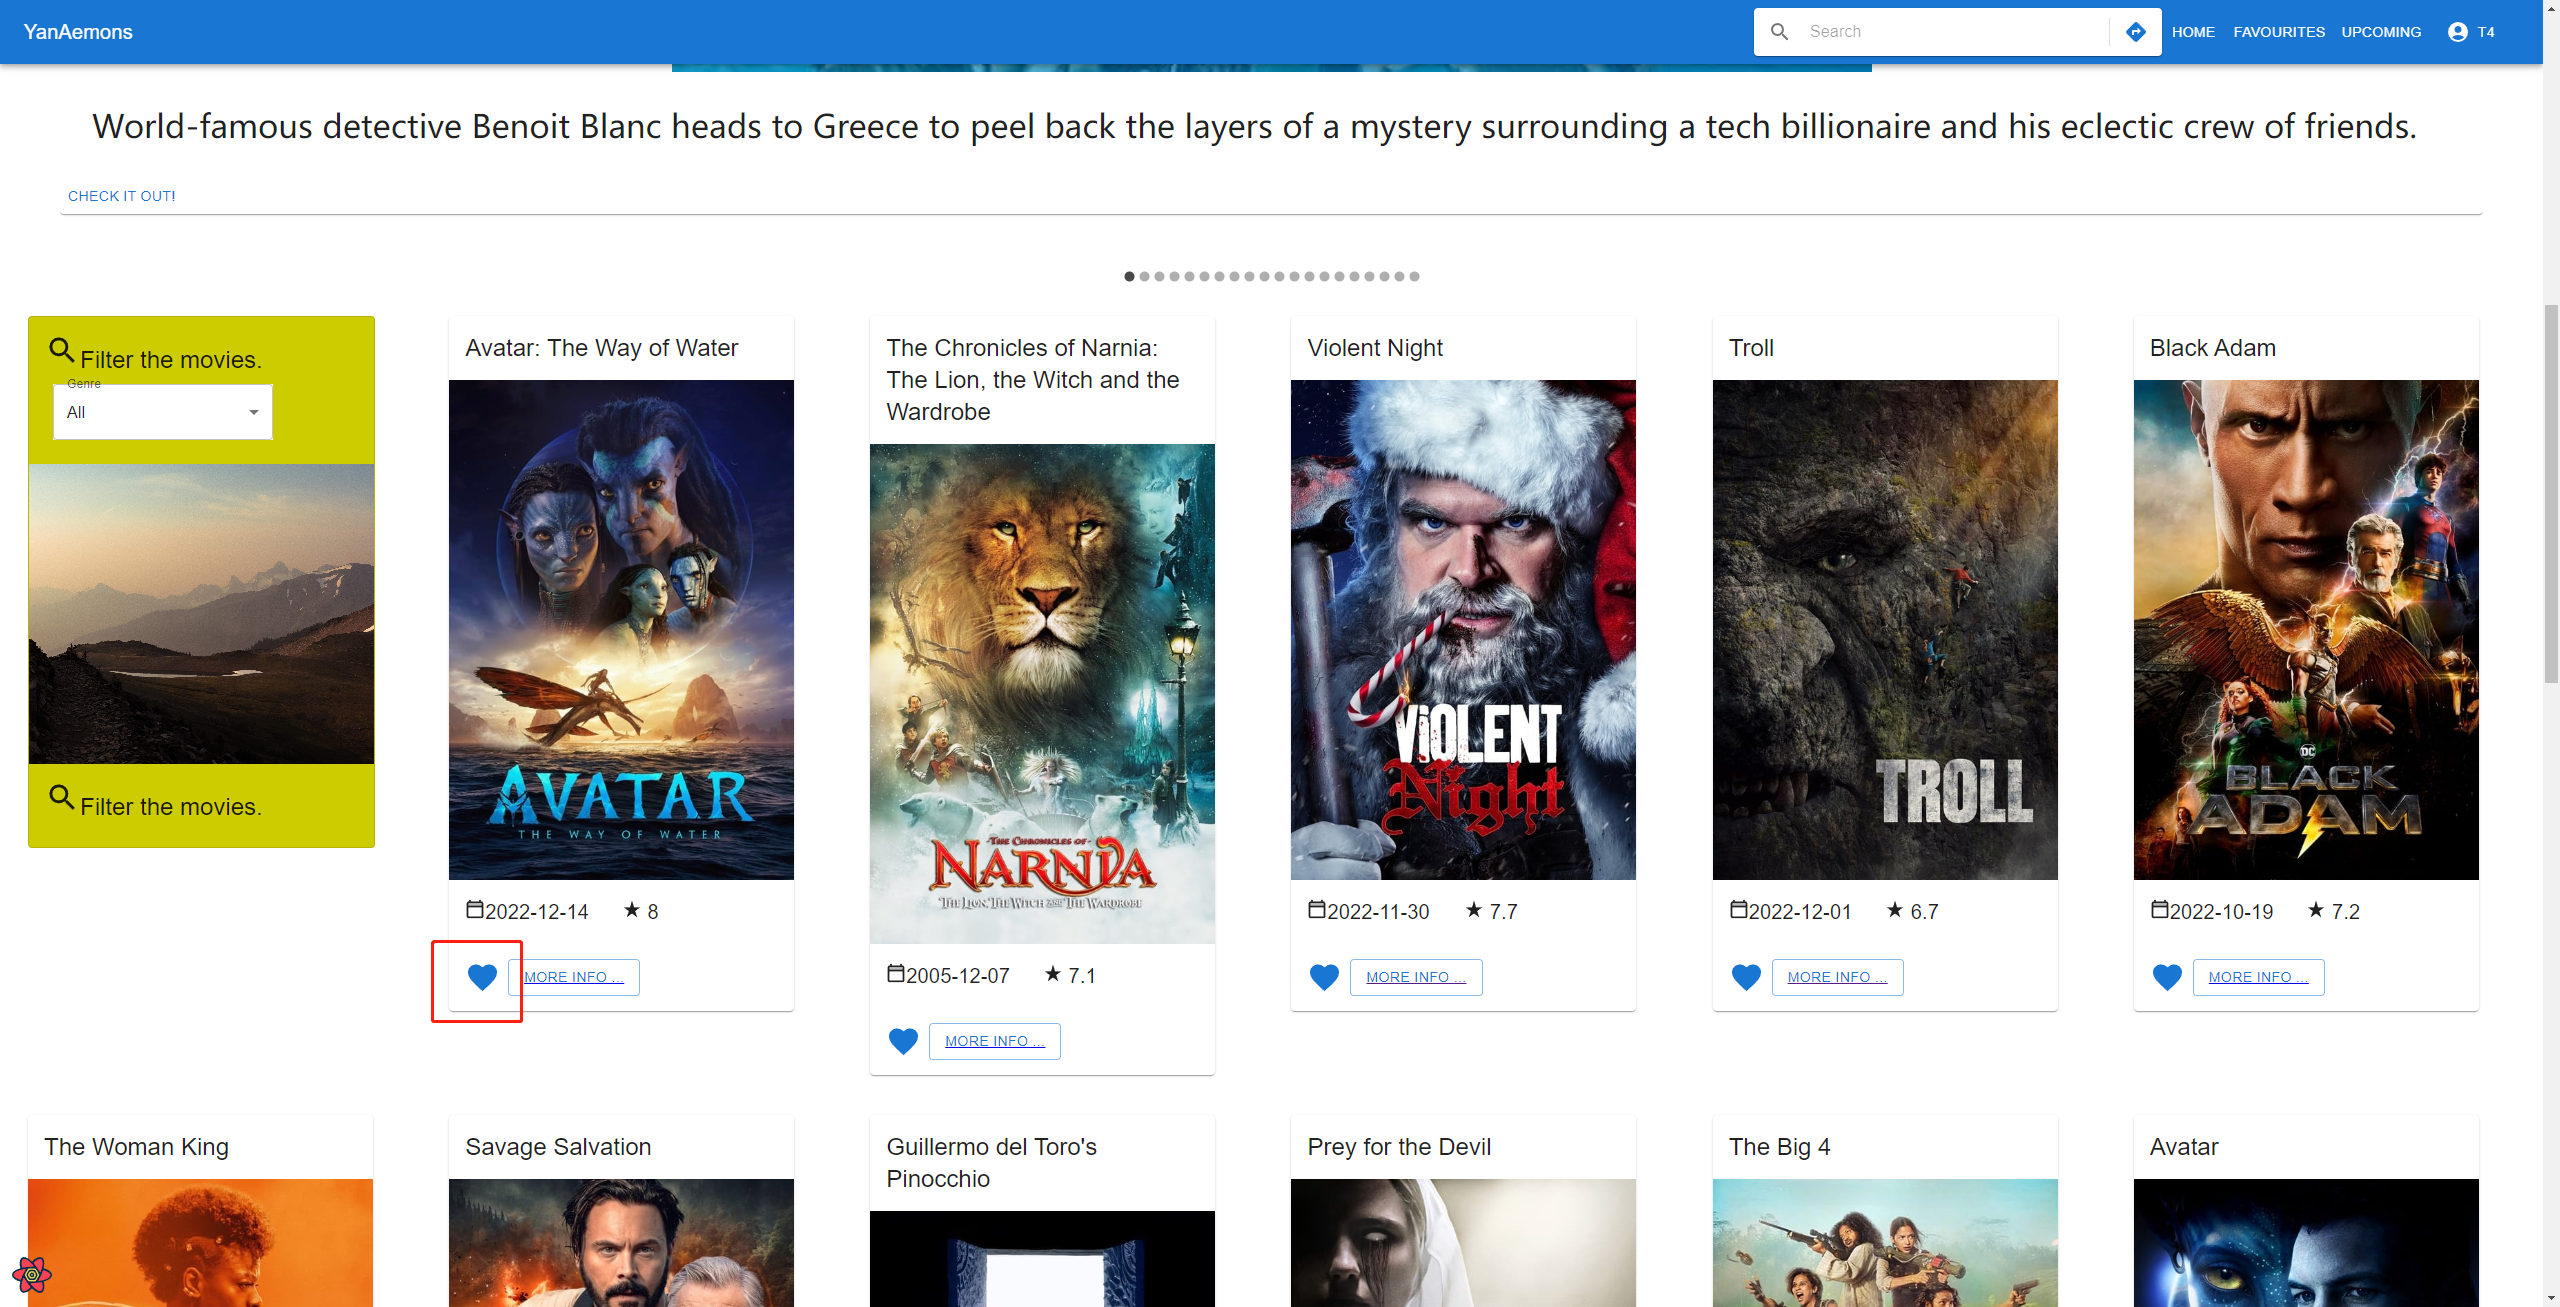
After clicking the heart icon and go back to the user info page
Movies that the user likes will be recorded and shown at the bottom
And the website will recommend the movies similar or relate to the movies that users favourite
Password will be stored after encrypting
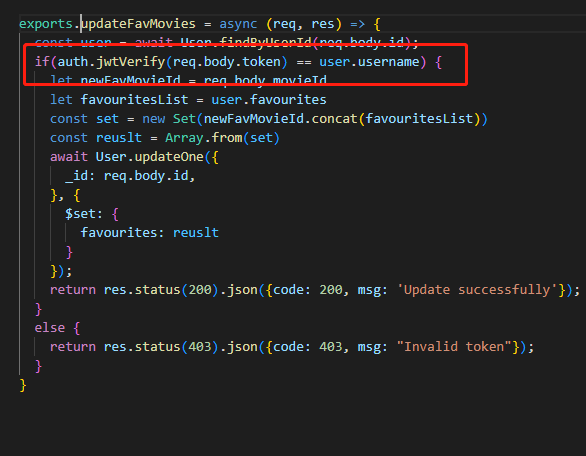
Backend will verify the user token and userId when the frontend wants to access the backend api
In this project, NPM is used to manage the packages. Use npm install to install all the dependencies
Dotenv is used to manage the Api key. Create a .env file under root folder and input Api key in it. Add it into .gitignore to ignore this file when uploading
REACT_APP_TMDB_KEY=<APIkey>
FAST_REFRESH=<boolean>
npm run start:ci: Start e2e testingnpm run start:component: Start component testingnpm run start: Start the projectnpm run build: Bundle the project
-
- The Discover Movies page
- displays the page header and 20 movies
- displays the correct movie titles
- after scroll to the bottom of the page, it should have 40 movies
- The movie details page
- displays the movie title, overview and genres
- displays the movie status, original language, Popularity, Runtime, Revenue, Budge
- displays the movie keyword
- displays the series cast
- displays the review about the movie
- The Discover Movies page
-
- The actor details page
- displays the actor profile site
- displays the actor name and biography
- displays the movies that actor involved
- The actor details page
-
- The favourites feature
- selected movie card shows the red heart
- The favourites page
- only the tagged movies are listed
- The favourites feature
-
- By movie genre
- show movies with the selected genre
- By movie genre
-
- From the home page to a movie's details
- navigates to the movie details page and change browser URL
- use search will navigate to the movie's deatils
- navigates to the movie details page through search
- input invalid movie's name
- should catch the error
- navigation should navigate to different page
- should navigate to facourite page after click favourite link
- From the home page to a movie's details
-
- The upcoming page
- displays the page header and 20 movies
- displays the correct movie titles
- The upcoming page
In this project, I use the structure below to handle the error
cy.on("uncaught:exception", () => {
	.....
	if(err.message.includes("...")) {
		throw new Error("....")
	}
})
Code below is used to immitate user press "enter" and search bar will navigate user to the movie detail page
Cypress.Commands.add('enter', () => {
  cy.get("#searchIcon").click()
})
- SiteHeader.cy.js
- contain logo name
- can input info in search bar
- click home button
- click favourites button
- click upcoming button
- basic-ci-config
- caching-in-ci
- cypress4actorDetail
- cypress4homePage
- cypress4moviedetail
- demobranch
- develop (important)
- commit in develop branch
- main (important)
- merge develop branch to main branch
- master
- tests-in-ci
Stages contains:
- install (main/develop)
- build (main/develop)
- test (main)
- e2e-test
- component-test
image: node:latest

# Pipeline
stages:
  - install
  - build
  # - exercise_job
  - test

....


# Jobs
install_dependencies:
  stage: install
  script:
    - npm ci --cache .npm --prefer-offline
  artifacts:
    paths:
      - node_modules/

bundle_app:
  stage: build
  script:
    - npm run build
  artifacts:
    paths:
      - build/

# exercise_job:
#   stage: exercise_job
#   only:
#     - main
#   script:
#     - echo "New job for exercise"

e2etest:
# Node docker image with Cypress and Chrome pre-installed
  image: cypress/browsers:node12.14.1-chrome85-ff81
  stage: test
  only:
    - main
  script:
    - echo "Run tests in headless mode"
    - npm run start:ci


test4component:
# Node docker image with Cypress and Chrome pre-installed
  image: cypress/browsers:node12.14.1-chrome85-ff81
  stage: test
  only:
    - main
  script:
    - echo "Run tests for component"
    - npm run start:component

....
Website: https://react-movie-lab.netlify.app
Netify are used in project to implement the auto-deployment(main)
lazy and Suspense are used in pages to load in parallel
import React, {useState, useEffect, lazy, Suspense} from "react";
...
const AcotrProfile = lazy(() => import('../components/actorProfile'))
const ActorProfileSite = lazy(() => import('../components/actorProfileSite'))
...
  return(
    <>
      <Container>
        <Grid container >
          <Suspense>
            <Grid item xs={4}>
              <ActorProfileSite details={details}/>
            </Grid>
            <Grid item xs={8}>
              <AcotrProfile details={details} combinedCredits={combinedCredits}/>
            </Grid>
          </Suspense>
        </Grid>
      </Container>
    </>
  )