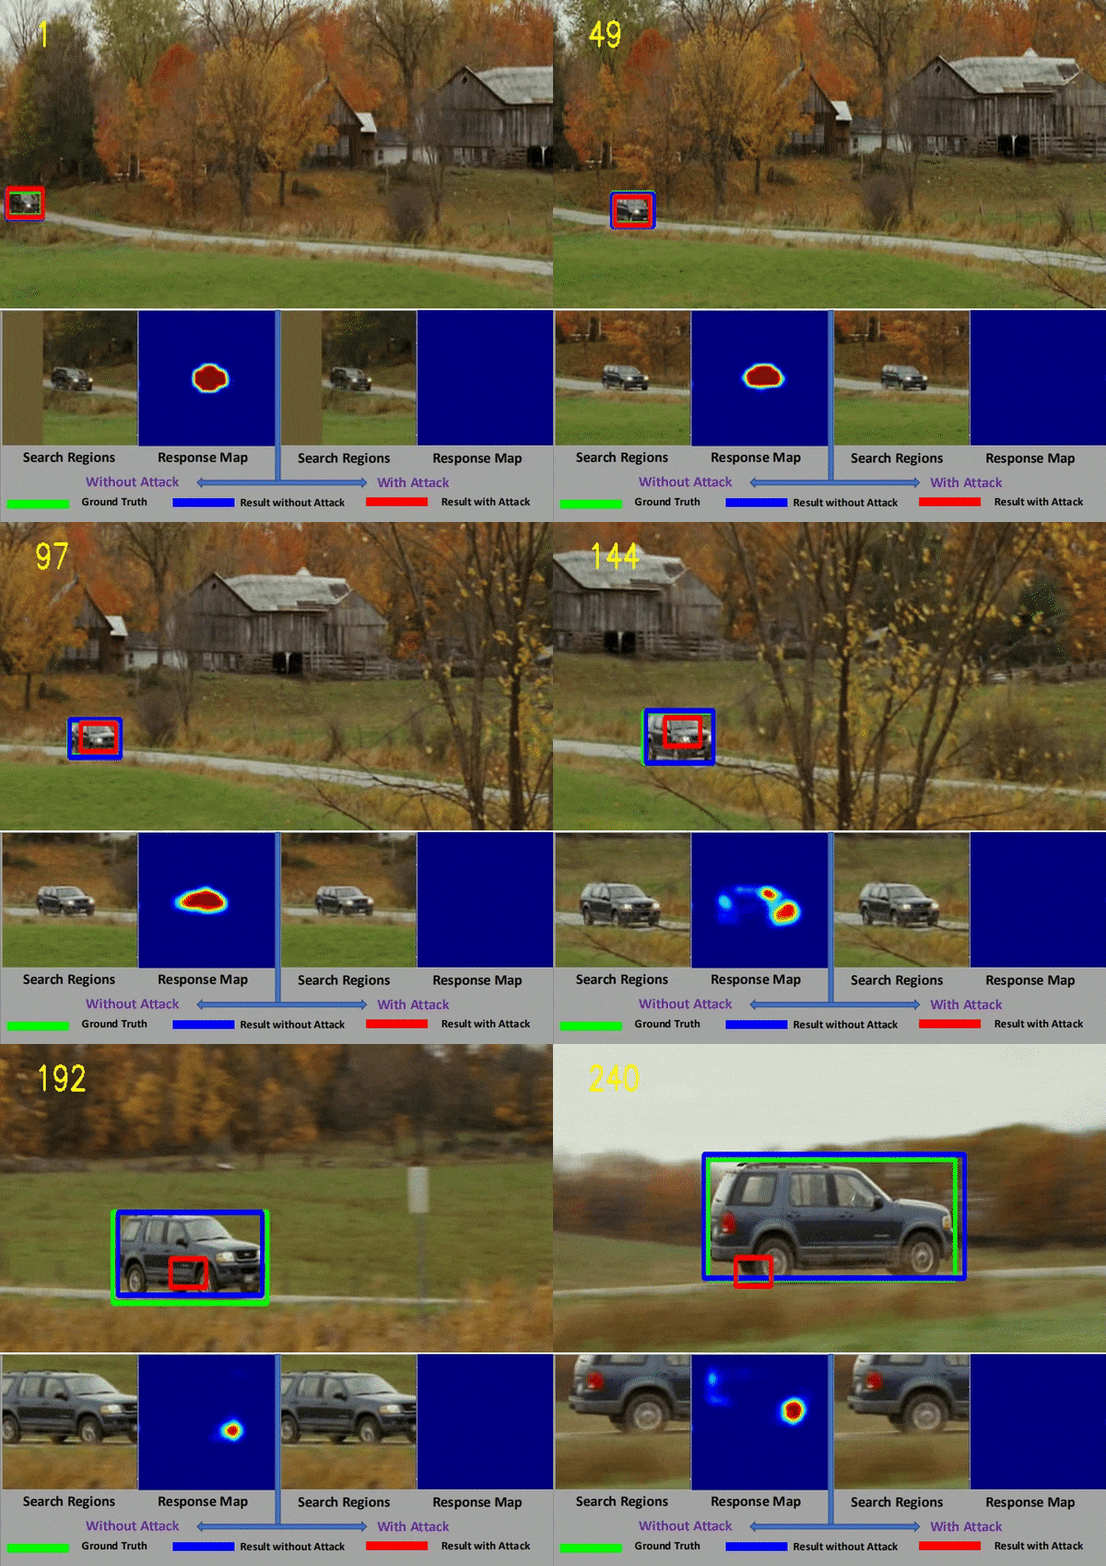
The official implementation for CVPR2020 Paper Cooling-Shrinking Attack: Blinding the tracker with imperceptible noises
Please cite our work as follows, if you find it helpful to your research. :)
@inproceedings{CSA-CVPR2020,
author = {Bin Yan and Dong Wang and Huchuan Lu and Xiaoyun Yang},
title = {{Cooling-Shrinking Attack: Blinding} the Tracker with Imperceptible Noises},
booktitle = {CVPR},
year = {2020}
}
This code has been tested on the following environment:
NVIDIA RTX-2080Ti
Ubuntu 16.04
CUDA 10.0
git clone https://github.com/MasterBin-IIAU/CSA.git
cd <Project_name>
conda create -n CSA python=3.6
source activate CSA
conda install pytorch=1.0.0 torchvision cuda100 -c pytorch
pip install -r requirements.txt
conda install pillow=6.1
- Download the training set of GOT-10K.
- Then change 'got10k_path' and 'save_path' in Unified_GOT10K_process.py to yours.
- Finally, run the following script.
(it takes a long time. After running it, you can do the next steps :)
python Unified_GOT10K_process.py
- SiamRPN++(Model_Zoo)
Download siamrpn_r50_l234_dwxcorr and siamrpn_r50_l234_dwxcorr_otb
Put them under pysot/experiments/<MODEL_NAME> - Perturbation Generators
Download checkpoints you need, then put them under checkpoints/<MODEL_NAME>/
(Google Drive, Baidu[Extraction code: 98rb])
Step1: Add pix2pix and pysot to environment variables
sudo gedit ~/.bashrc
# add the following two lines to the end
export PYTHONPATH=<CSA_PATH>:$PYTHONPATH
export PYTHONPATH=<CSA_PATH>/pysot:$PYTHONPATH
export PYTHONPATH=<CSA_PATH>/pix2pix:$PYTHONPATH
# close the file
source ~/.bashrc
step2: Set another paths
- Gather testing datasets
create a folder outside the project folder as <DATASET_ROOT>
then put soft links for OTB100, VOT2018 and LaSOT into it - Set 'project_path_' and 'dataset_root_'
Open common_path.py, go to the end
project_path_ = <CSA_PATH>
dataset_root_ = <DATASET_ROOT> train_set_path_ = <TRAIN_SET_PATH>
Option1: Use Default Settings
Train a generator for attacking search regions (Cooling+Shrinking)
python train1.py # See visualization in http://localhost:8097/
Train a generator for attacking search regions (Only Cooling)
python train0.py # See visualization in http://localhost:8096/
Option2: Change Settings
If you want to train other models (like the generator for attacking the template),
you can change the lines 23 and 24 in pix2pix/options/base_option0.py (or base_option1.py).
In specific, modify the default values to 'G_template_L2_500' (or 'G_template_L2_500_regress').
Then run python train0.py or python train1.py
Option3: Train Your Own Models
Step1: Create a new python file under pix2pix/models.
You can copy a file that belongs to this folder, then develop based on it.
Note that the class name must match the filename.
Step2: Change default values and train (Do as instructions in Option2)
open common_path.py, choose the dataset and siamese model to use.
open GAN_utils_xx.py, choose the generator model to use.
cd pysot/tools
run experiments about attcking search regions
python run_search_adv0.py # or run_search_adv1.py
run experiments about attacking the template
python run_template_adv0.py # or run_template_adv1.py
run experiments about attacking both search regions and the template
python run_template_search_adv0.py # or run_template_search_adv1.py
