LORE - Lightweight Open-source Rendering Engine
Jump to Building
Jump to Architecture and Design
What is LORE?
LORE is a 2D and 3D rendering engine that provides built-in shaders, rendering algorithms, and scene management. I started this project to learn more about software architecture, graphics, and modern C++. It is also intended to be lightweight with minimal dependencies (hence the name).
Engine Features
Scene graph, multiple scene rendering, graphics resource management, resource file management (parsing, indexing), dynamically loaded render API plugins, robust material/shading pipeline (easy to create custom effects), custom memory management (memory pooling), uber shader generation at runtime, data-driven configuration and scene loading, in-engine CLI, serialization API (currently JSON support with rapidJSON).
Graphics Features
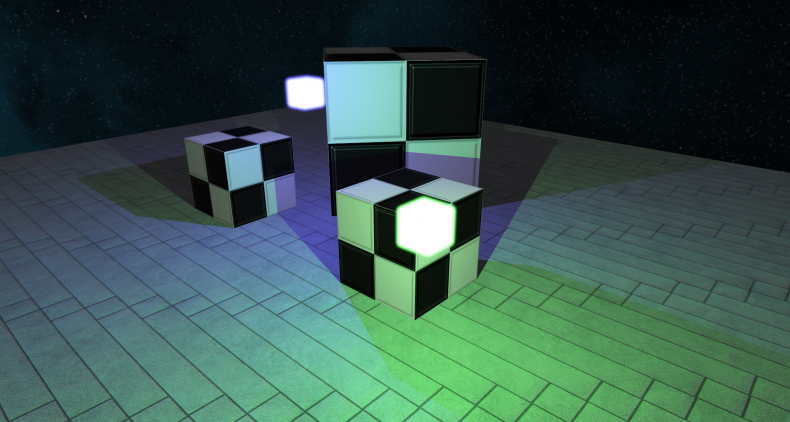
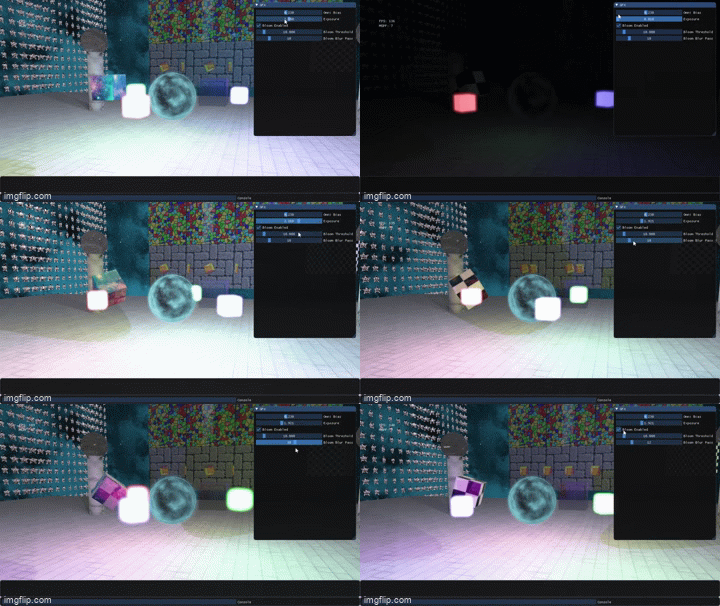
Realtime lighting (Blinn-Phong), render to texture, tangent space normal mapping, dynamic omnidirectional/directional shadow mapping, post processing (HDR with exposure based tone mapping, bloom), multitexturing, skyboxes, instancing, anti-aliasing, transparency, UI (powered by ImGui), model loading (with help from Assimp), forward 2D/3D renderer.
(I'd like to add PBR as well)
Building
I wanted an easy build process so there are just a few steps.
Clone and initialize submodules
git clone https://github.com/MemoryDealer/LORE.git
cd LORE
git submodule update --init --recursive
Generate the LORE project files and build
Navigate to src and run generate_project.bat to generate the Visual Studio project files using Premake.
Open LORE.sln and build the solution (you probably want the release build for good performance).
(Note I have provided the lib/dll files for the external libraries in the lib directory for convenience).
You are done :)
Running the samples
By default the Sample3D project is selected. There is also the Sample2D project, and the unit tests.
Tips and Tricks
Debug UI
Press ~ to bring up the debug UI and console. Alternatively you can only display the performance stats with shift + ~. There are just a few options in the debug UI currently.
Some Console Commands (not case sensitive):
SetNodePos [node name] [x],[y],[z]: sets the position of a node in world spaceMoveNode [node name] [x],[y],[z]: translates node in world spaceSetLightColor [node name] [r],[g],[b]: changes a light's color
Scene node names for Sample3D can be found in LORE\res\Sample3D\Sample3D.scene and in the Game.cpp files for Sample2D.
E.g.,
"Layout": {
    "Nodes": {
      "MagicSphere": {
        "Prefab": "MagicSphere",
        "Position": [0.0, 3.0, 0.0],
        "ChildNodes": {
          "RedCube": {
            "Prefab": "GlowingRedCube",
            "Light": "LightRed",
            "Scale": 0.25
          },
"MagicSphere" and "RedCube" are a couple of node names.
2D Sample Controls
- Move with standard WASD
- Z/X to zoom camera in/out
3D Sample Controls
- Move camera with standard WASD
- Mouse to rotate camera
- Q/E to move up/down in world space
- Shift to speed up movement
- Arrow keys move the player in the 2D scene
Bonus Image(s)
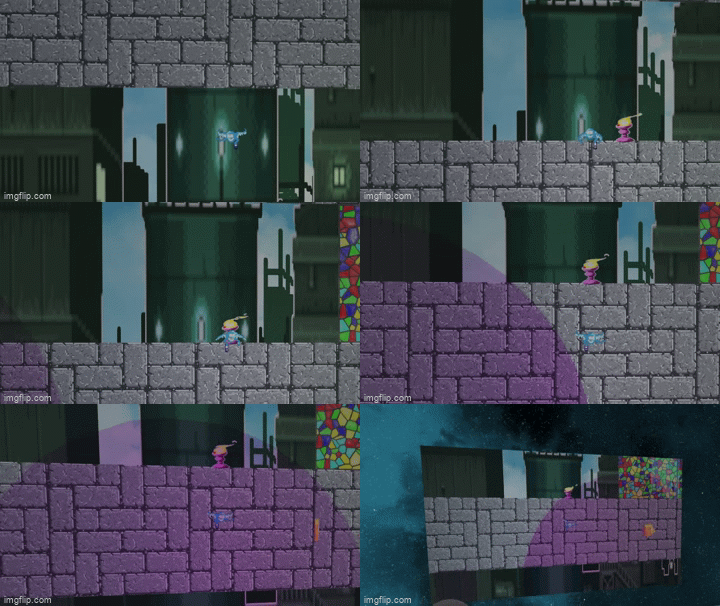
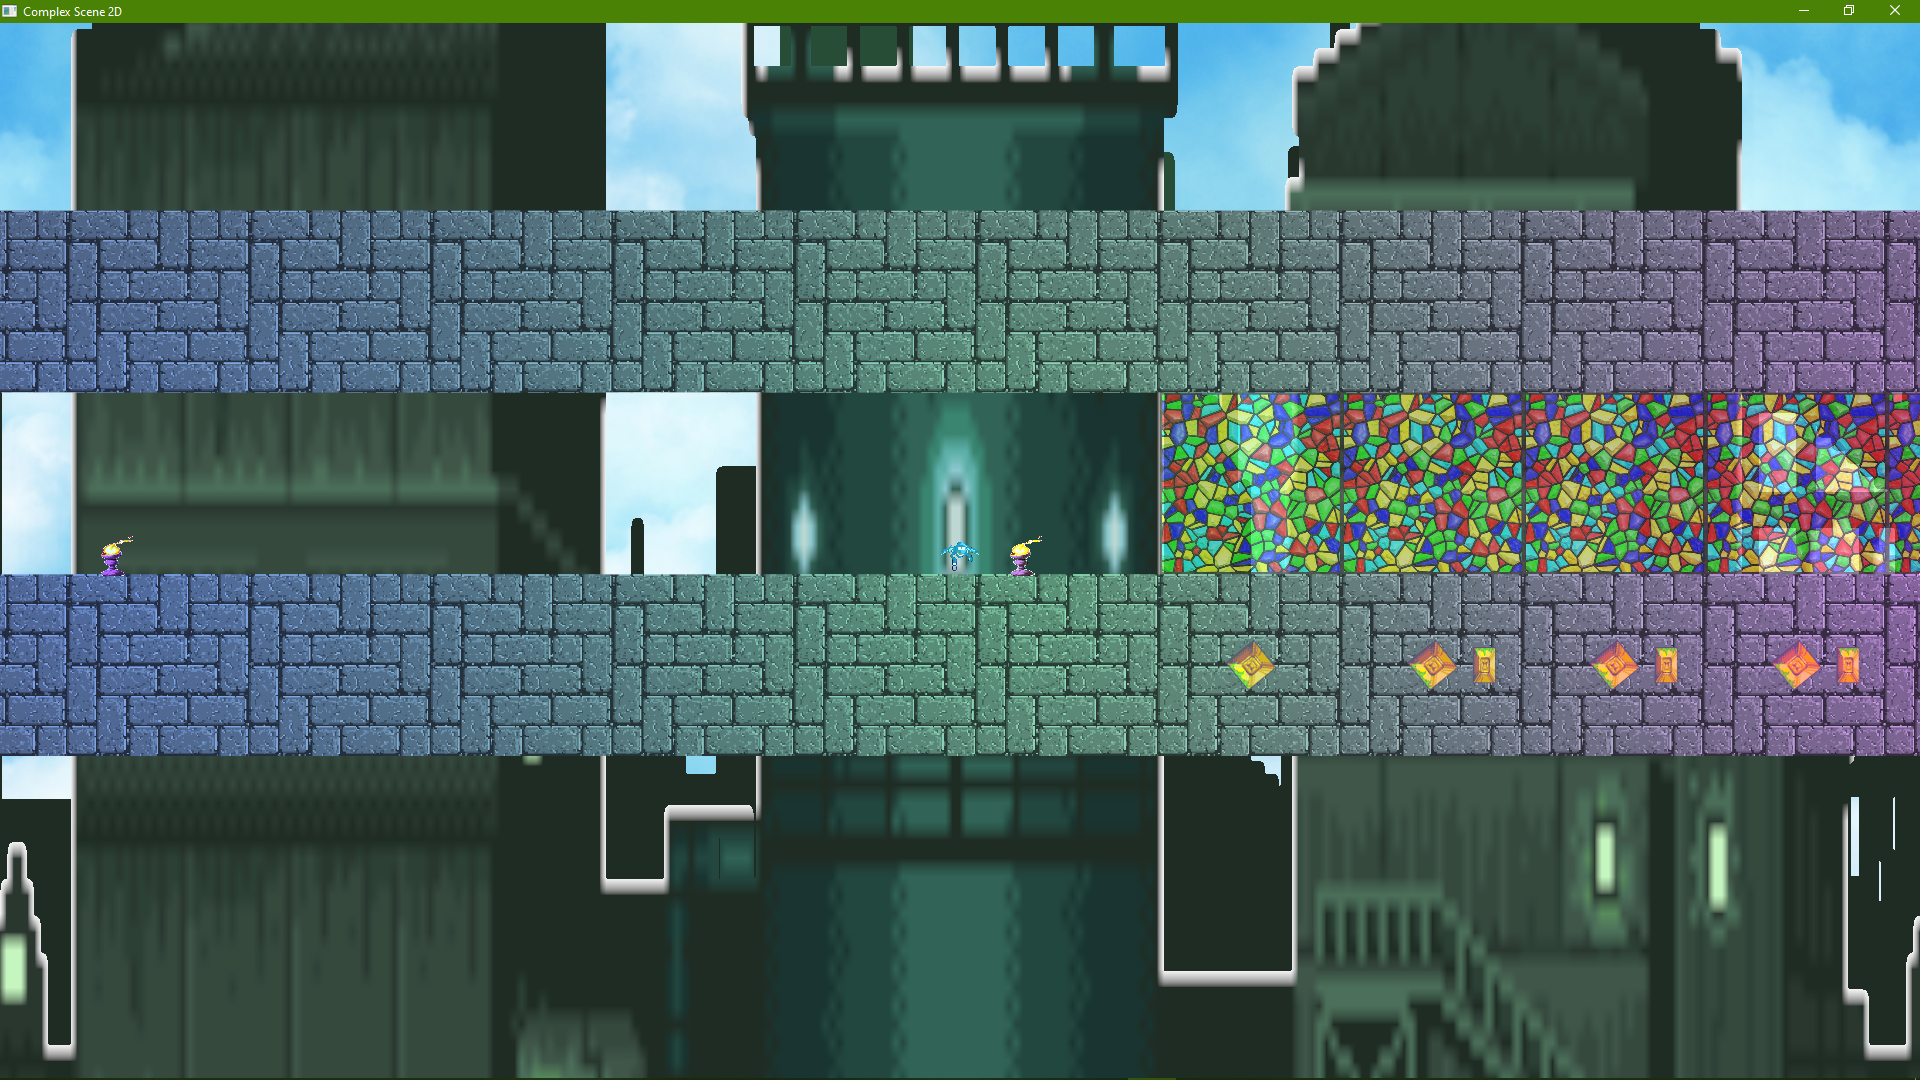
2D scene with light colors changed (e.g., setlightcolor torch0 [r],[g],[b]):
Architecture and Design
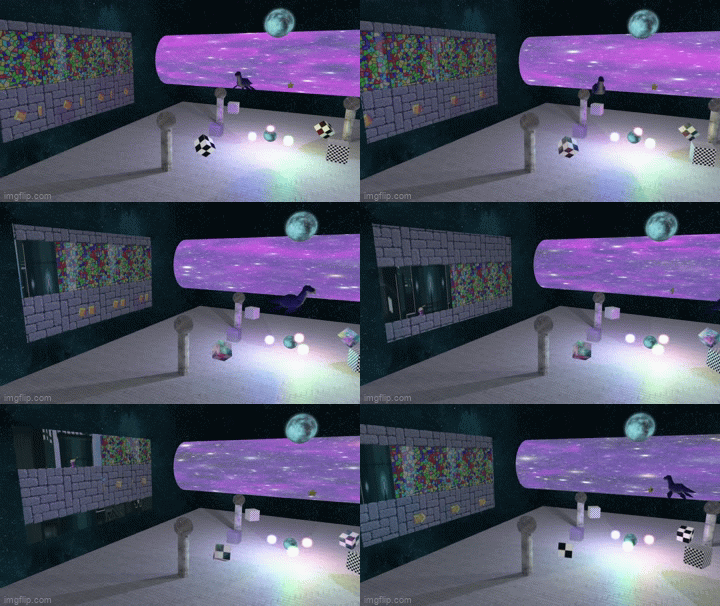
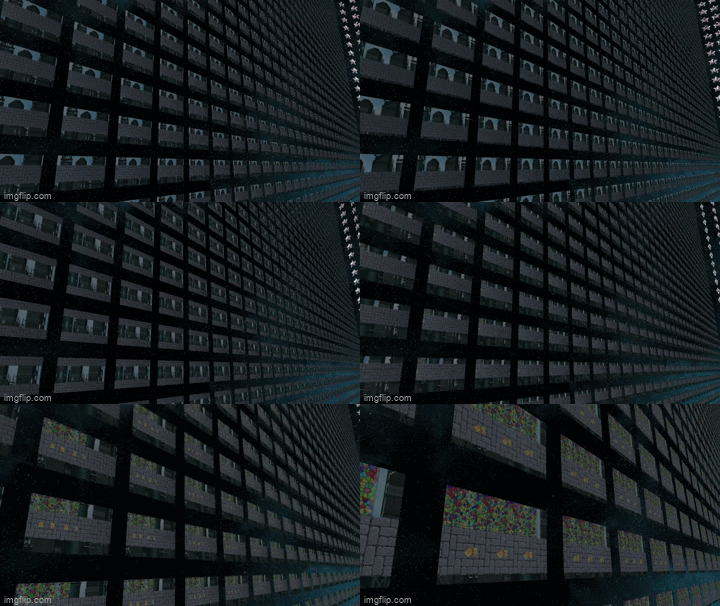
The main idea of setting up rendering in LORE is using a RenderView, which sets up a scene, camera, and viewport dimensions. By using two of these, it's very easy to setup an offscreen scene and sample it in the main scene (as seen in the 3D sample, where the 2D sample is rendered inside of it).
The provided samples showcase how to setup the main LORE objects (The Context - the object that manages everything, a Scene, and a Camera, etc.), how to load resources, and render the scene.
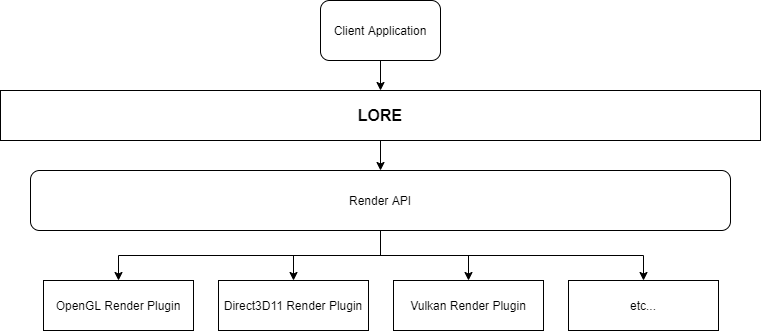
The client application/game is dynamically linked to the LORE library, which itself dynamically loads the shared library (DLL) of the desired render plugin. The render plugin API calls are all abstracted behind the LORE API frontend.
Objects (the major ones)
While I went with an object-oriented approach, my goal was to limit inheritance depth and use composition over inheritance wherever I could. Next time I'll probably just use a procedural approach.
Most engine objects used for rendering derive from the Alloc<T> class which allows their memory to be managed and pooled, to achieve constant time creation/destruction. The MemoryPool<T> class manages this process.
Prefab
Contains all of the information neeed to render an object, which includes:
- The model (e.g., a cube, a quad, or a custom mesh)
- The material (how it will look)
- Instancing settings (enable instancing on a prefab to render huge amounts of objects with little overhead)
- Options such as shadow casting and culling mode
Material
Everything describing the appearance of a model, including:
- Color settings (ambient, diffuse, specular)
- Opacity (implies transparency)
- The
GPUProgramused to render the model - The
Spriteto be rendered on the model
Renderer
The base class for presenting scene content (e.g., from a RenderView) to the window. LORE provides built-in renderer classes for forward 2D and 3D rendering algorithms, which coincide with the built-in generated stock shaders.
SceneGraphVisitor
Responsible for traversing and updating the scene graph when presenting a scene from a RenderView. Looks into each node and adds its renderable information (prefabs, lights, etc.) to the renderer queues.
Sprite
Contains Texture objects, each separated based on their type (diffuse, normal, or specular maps). The Sprite can contain N number of texture objects for each type for multitexturing.
SpriteController
Used for animating sprites by specifying frames and timing information.
Shaders
LORE comes with a built-in shader generator, which creates and compiles standard shaders at runtime based on a set of parameters. These are used in the default pipeline (the forward 2D/3D renderers). See StockResource.cpp for the shader generation.
Custom shaders can also be created by the client, for an example see Shaders.cpp in the Sample3D demo.
GPUProgram
Container for Shader objects which are compiled, linked, and ready to render.
Window
Manages the OS window setup for rendering. Contains a ResourceController for all resources intended for rendering in the window. Also maintains its RenderView objects which are used to present the scene content as intended by the client.
ResourceController
The central hub for managing resources for rendering. Everything that is loaded (models, textures, GPU programs, render targets, prefabs, etc.) is accessible via its ID (a string) through here. Each resource is also loaded into a specific resource group, making it easy to load/unload collections of resources.
All resources are managed with templated functions/classes.
Registry
A key part of managing the resources - a templated class for storing objects in the container type specified at compile time. Provides iterators to access the data as well as ID (string) based accessors.
RenderTarget
Sets up everything needed for rendering to a target (a texture, e.g., an OpenGL framebuffer). These are used for rendering to textures, shadow map rendering, and post processing.
Scene
Container of information for rendering content, such as:
- Scene nodes
- Lights
- Renderer
It is used in a RenderView along with a camera and viewport to display content.
Node
The key component of a Scene and the scene graph. Renderable objects can be attached to it (such as prefabs and lights). Can contain any number of child nodes recursively, which are automatically updated based on their inherited transforms.
Model
The top-level object for loading/rendering a 3D model. Contains multiple Mesh objects which are rendered individually as part of the model.
Light
Provides lighting information to add to the scene (if attached to a node). Currently point and directional lights are supported (with shadows).
Camera
The base class for 2D and 3D camera objects, which are part of a RenderView.
SceneLoader
Processes JSON files to load a scene layout (including prefabs, skybox settings, and nodes) into memory. Avoids having to manually setup a scene in code.
ResourceFileProcessor
Part of the scene loading process - knows how to interpret resource files based on their type (textures, models, LORE sprite metadata files, etc.).
Serializer
An interface for reading/writing data with a configurable backend (e.g., text or memory). Currently supports JSON data format through rapidJSON.
InputController
Allows you to setup input callbacks (keyboard/mouse). You can also temporarily override input handling with InputHooks through the static methods in the Input class. This is useful for UIs (it is used in the debug UI).
