This repo contains code for Topological structure of complex predictions.
- pytorch (with cuda)
- torchvision
- scikit-learn
- numpy
- scipy
- timm
- tqdm
- torch_geometric
- networkx
- seaborn
- rembg
The easiest way to setup the environment required by GTDA is to use the included GTDA.yml file. Run this file with the following command:
conda env create --file GTDA.yml
which will create a virtual environment under the current working directory. The installation can take up to one or two hours depending on network speed. Then, the code can be run after activating the conda environment using the following command:
conda activate GTDA
from GTDA.GTDA_utils import compute_reeb, NN_model
from GTDA.GTDA import GTDA

nn_model = NN_model()
nn_model.A = G # graph to analyze, in scipy csr format
nn_model.preds = preds # prediction matrix, samples-by-class
nn_model.labels = labels # integer class assignments starting from 0
nn_model.train_mask = train_mask # training mask in bool
nn_model.val_mask = val_mask # validation mask in bool
nn_model.test_mask = test_mask # testing mask in bool
smallest_component = 20
overlap = 0.1
labels_to_eval = list(range(preds.shape[1]))
GTDA_record = compute_reeb(GTDA,nn_model,labels_to_eval,smallest_component,overlap,
node_size_thd=5,reeb_component_thd=5,nprocs=10,device='cuda')g_reeb = GTDA_record['g_reeb'] # Reeb network in csr format
gtda = GTDA_record['gtda'] # an instance of GTDA class
gtda.final_components_filtered[gtda.filtered_nodes[reeb_node_index]] # map a reeb node back to the original component
gtda.A_reeb # projected Reeb network with the same set of nodes as the original graph
gtda.sample_colors_mixing # GTDA estimated errors for each sampleNone, self contained
-
train_swiss_roll.pygenerates the dataset and trains the model -
analyze_swiss_roll.ipynbcreates and analyzes Reeb network -
dataset/precomputed/swiss_rollcontains precomputed lens and graph to runanalyze_swiss_roll.ipynbdirectly
- A few minutes.
Download All products under 'Electronics' from the 2014 version of Amazon reviews data from http://jmcauley.ucsd.edu/data/amazon/index_2014.html and put under dataset/electronics folder
-
train_electronics.pygenerates the dataset and trains the model -
analyze_electronics.ipynbcreates and analyzes Reeb network -
dataset/precomputed/electronicscontains precomputed lens and graph to runanalyze_electronics.ipynbdirectly
Download from https://github.com/fastai/imagenette and put under dataset/imagenette folder
-
train_imagenette.pygenerates the dataset and trains the model -
analyze_imagenette.ipynbcreates and analyzes Reeb network -
dataset/precomputed/imagenettecontains precomputed lens and graph to runanalyze_imagenette.ipynbdirectly
Download variant_summary.txt from https://ftp.ncbi.nlm.nih.gov/pub/clinvar/tab_delimited/ and put under dataset/variants folder
Download human reference genome hg19.fa, hg38.fa and put under dataset/variants folder
Install tensorflow and setup Enformer based on instructions of https://github.com/deepmind/deepmind-research/tree/master/enformer. GPU with cuda support is highly recommended.
-
mutation_dataset.pypreprocesses downloaded files, tensorflow is required -
train_gene_mutation.pygenerates the dataset and trains the model -
analyze_gene_mutation.ipynbcreates and analyzes Reeb network -
dataset/precomputed/variantscontains precomputed lens and graph to runanalyze_gene_mutation.ipynbdirectly
To run the CNN model comparison experiment, all training and validation images of ImageNet-1k dataset must be downloaded from https://www.image-net.org/ and put under dataset/imagenet_1k. The folder should be organized as:
dataset/imagenet_1k/
    train/
        class1/
            img1
            img2
            ...
        class2/
        ...
    val/
        class1/
            img1
            img2
            ...
        class2/
        ...
It also requires to install timm package to get the pretrained VOLO model.
To run the chest X-ray experiment, all X-ray images and expert labels should be downloaded from https://cloud.google.com/healthcare-api/docs/resources/public-datasets/nih-chest. The images should be put under dataset/chest_xray/images and expert labels under dataset/chest_xray. We also use the implementation from https://github.com/zoogzog/chexnet to train a DenseNet-121 model.
train_analyze_imagenet_1k.pypreprocesses downloaded files and build the Reeb networktrain_chest_xray.pypreprocesses downloaded files, train a DenseNet-121 model from scratch, build the Reeb network andanalyze_chest_xray.ipynbuses precomputed data to find potential labeling errors for images with expert labels
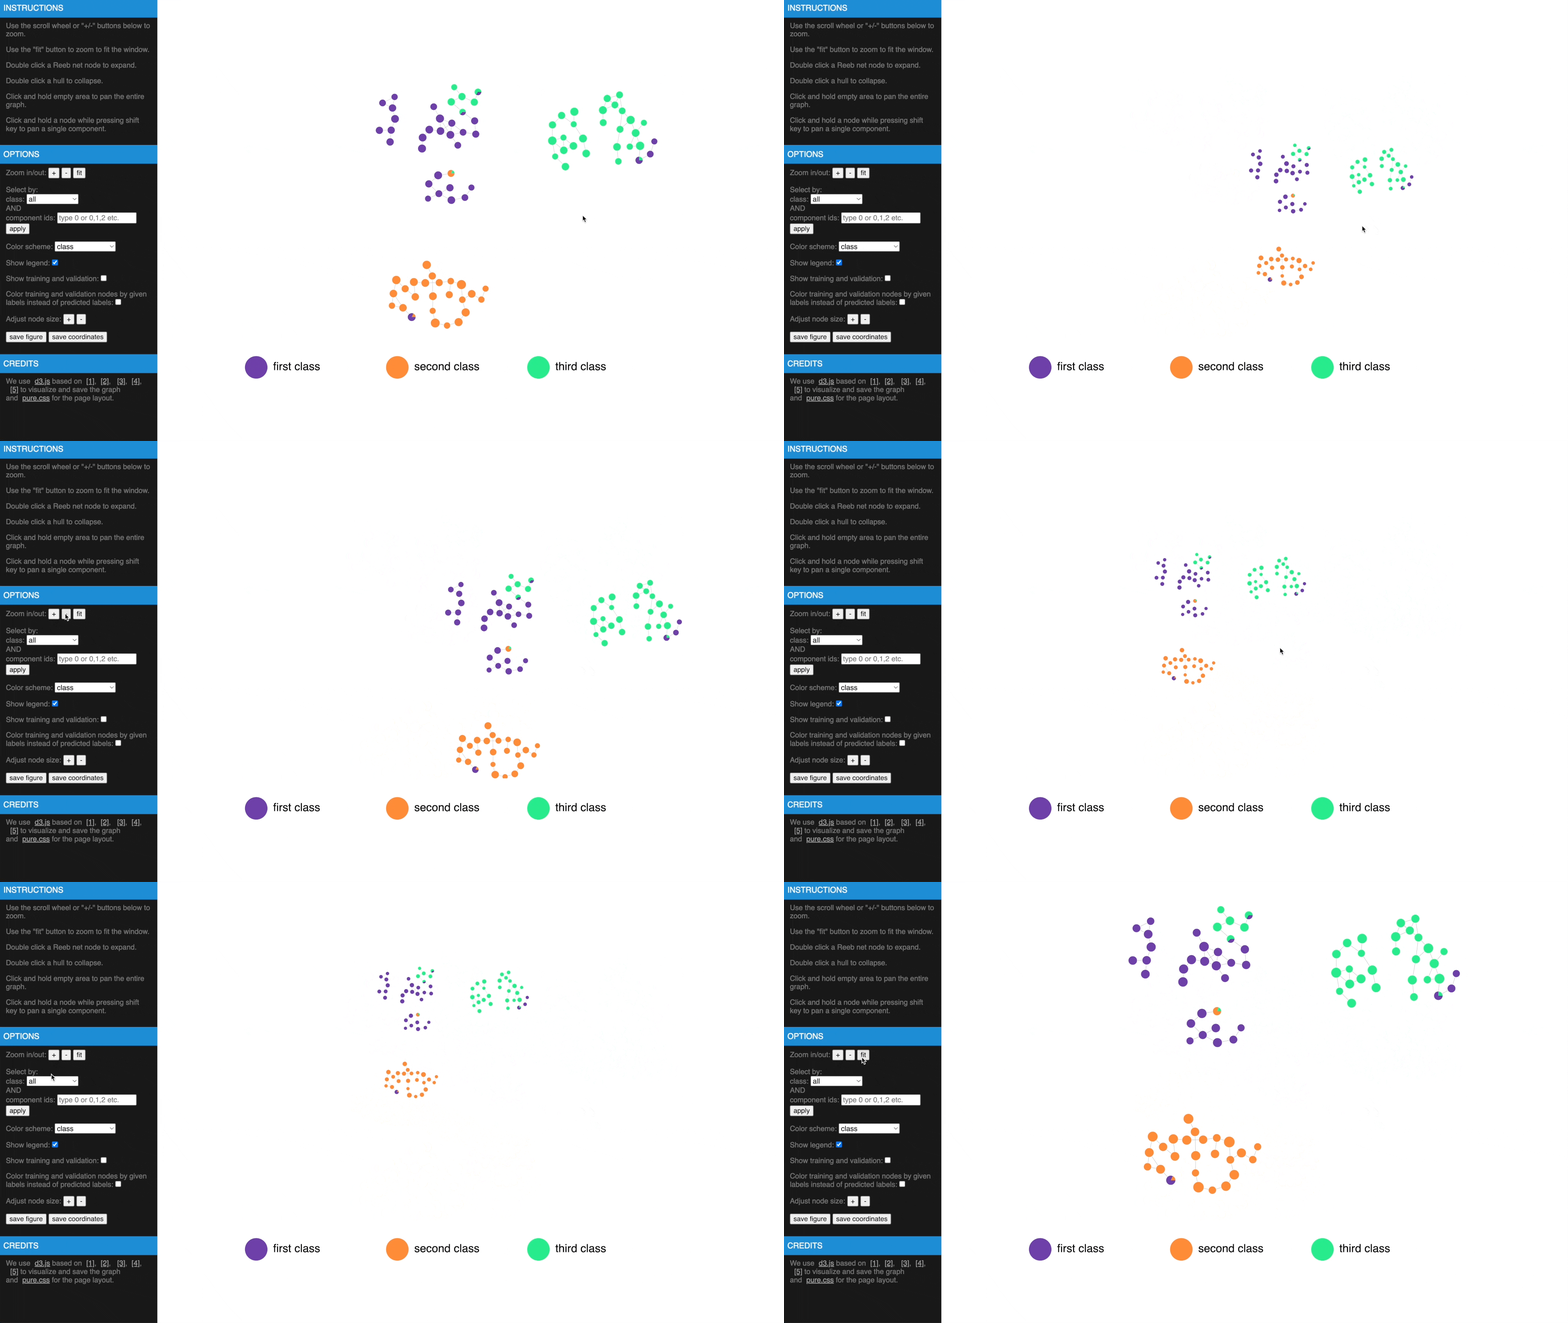
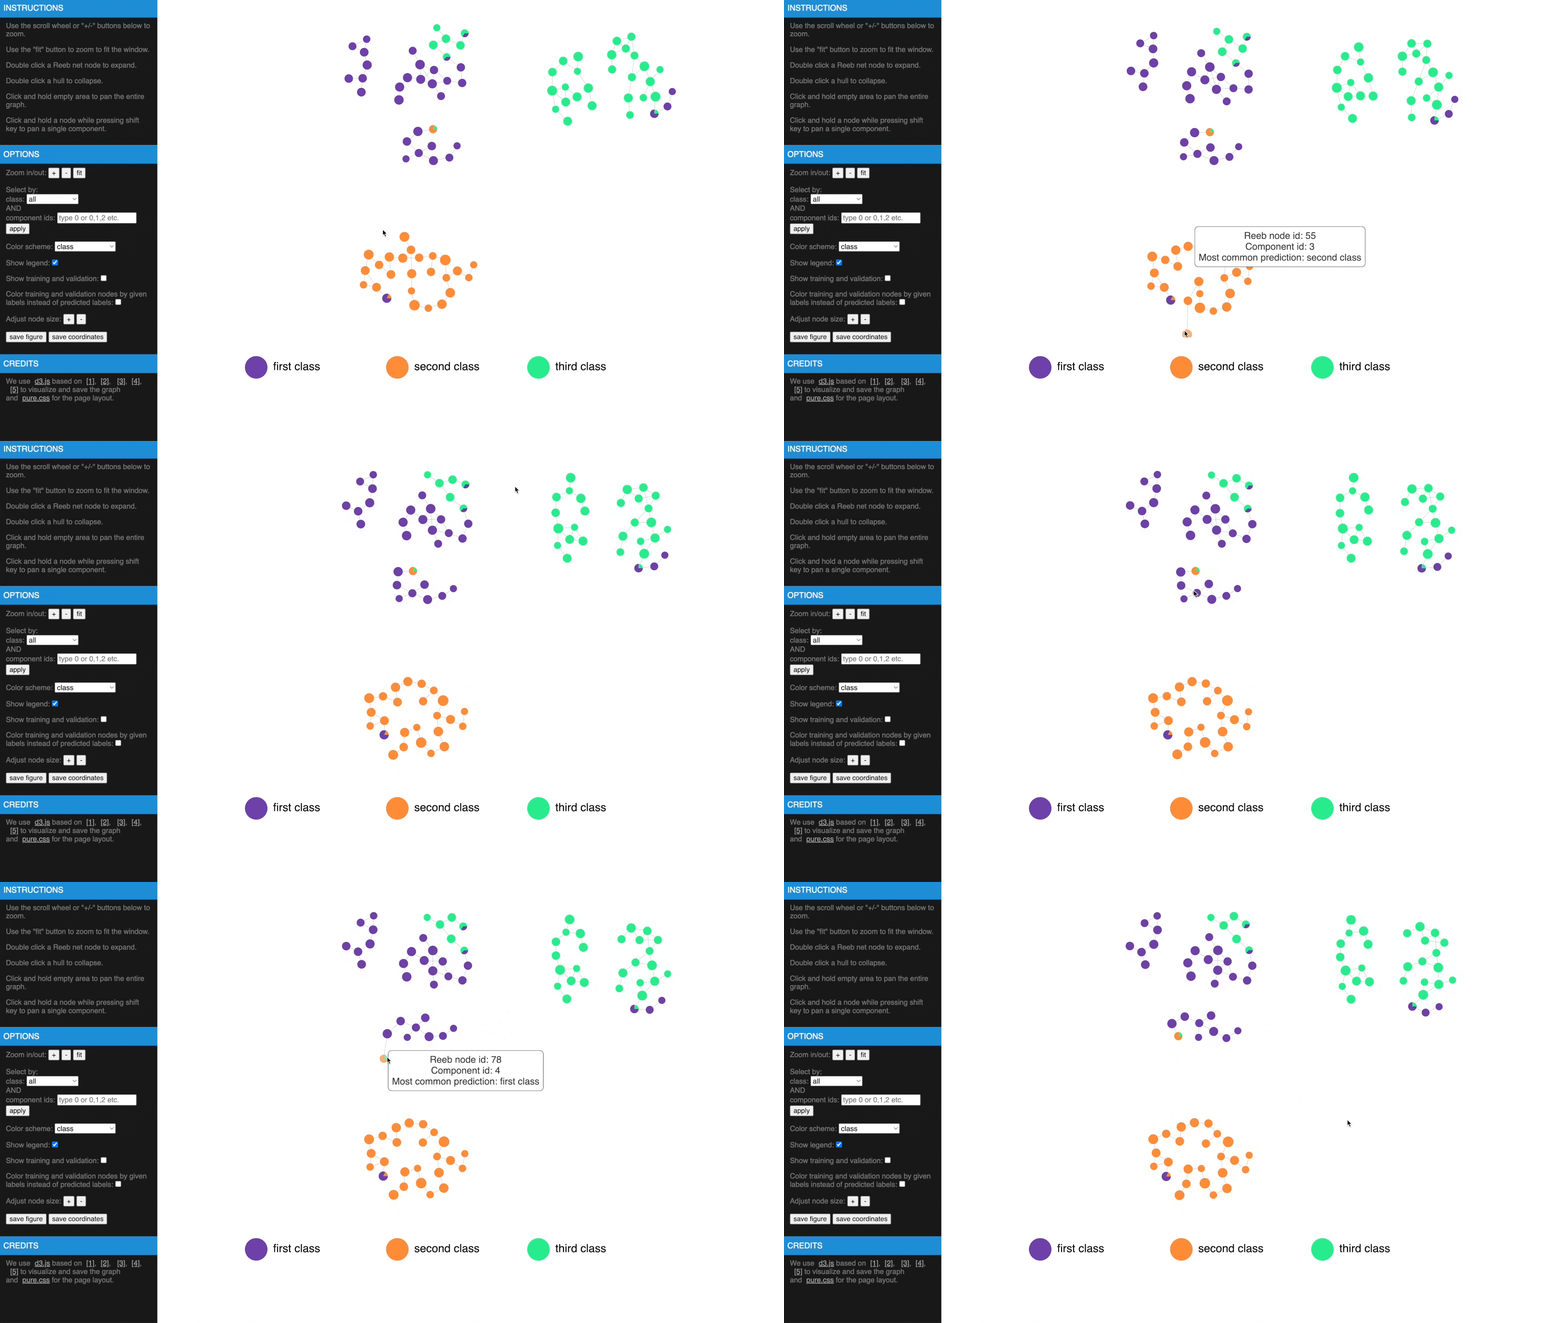
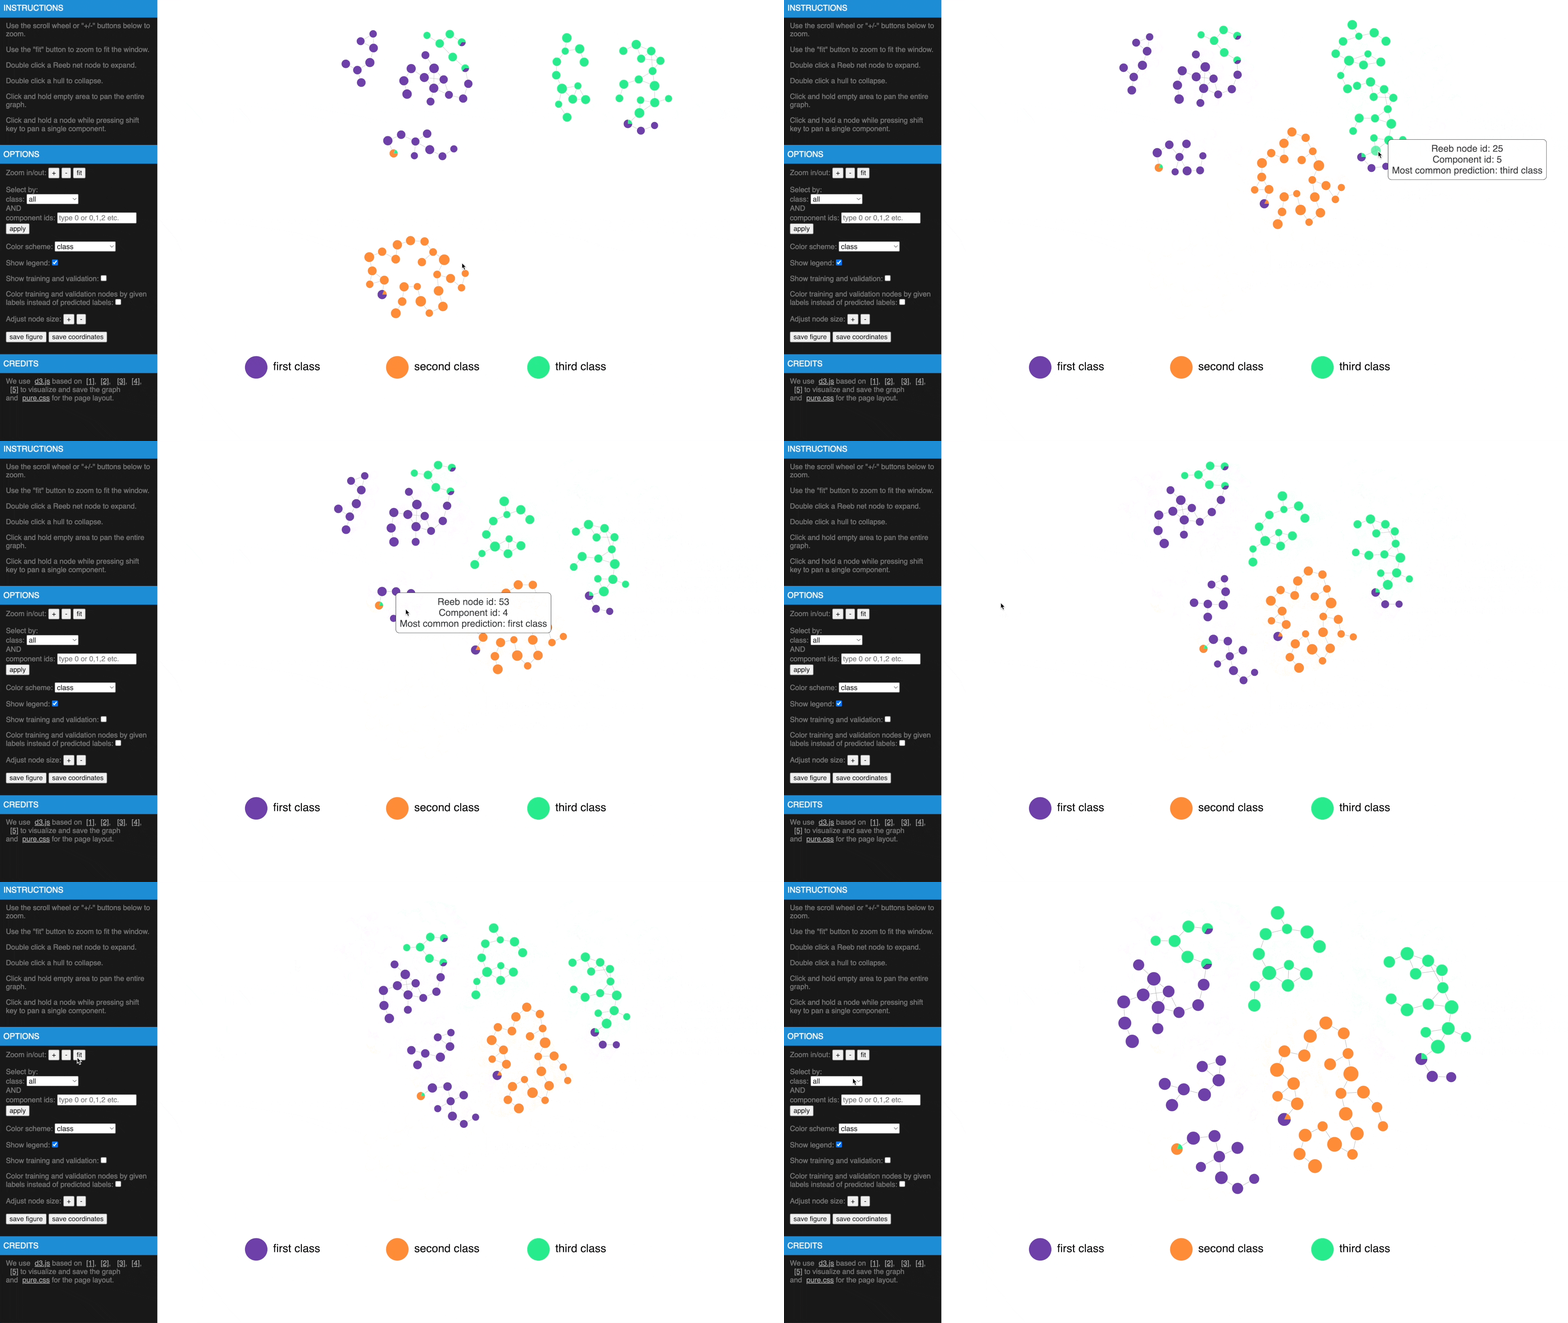
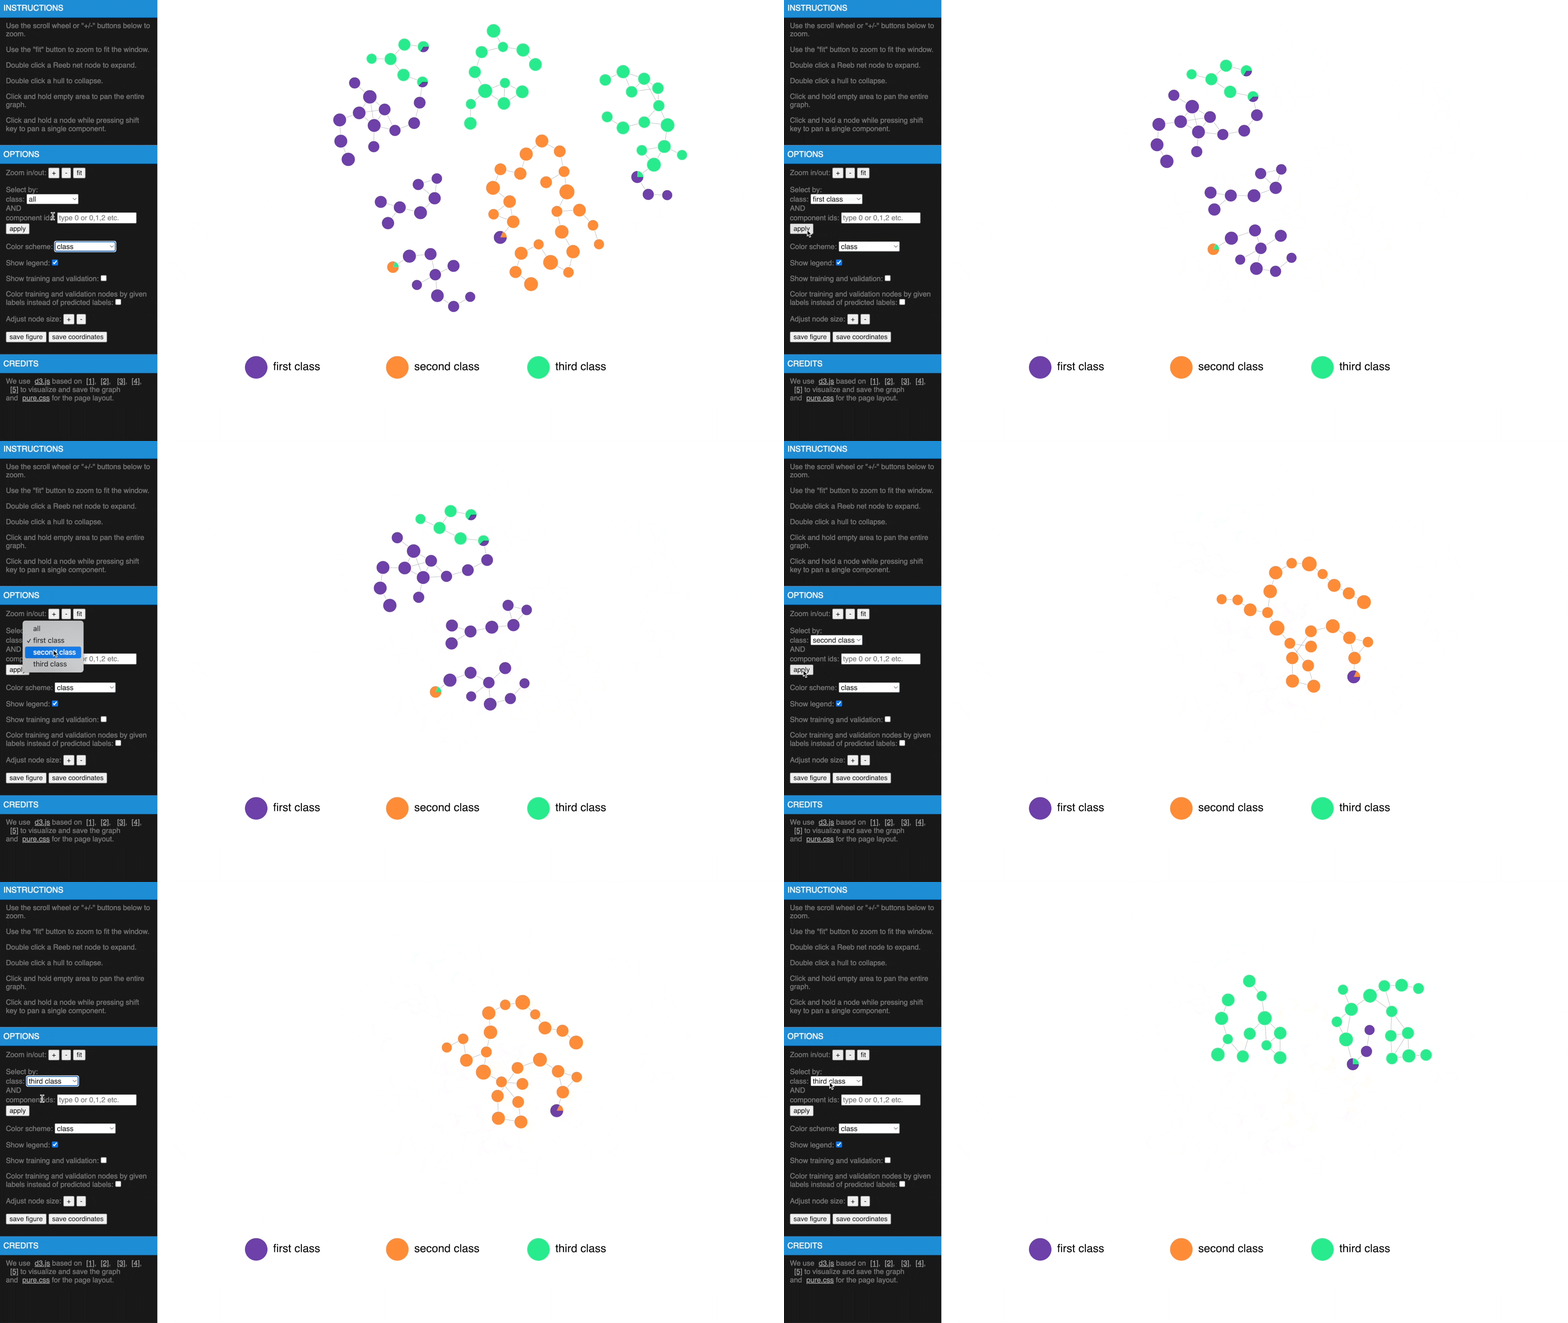
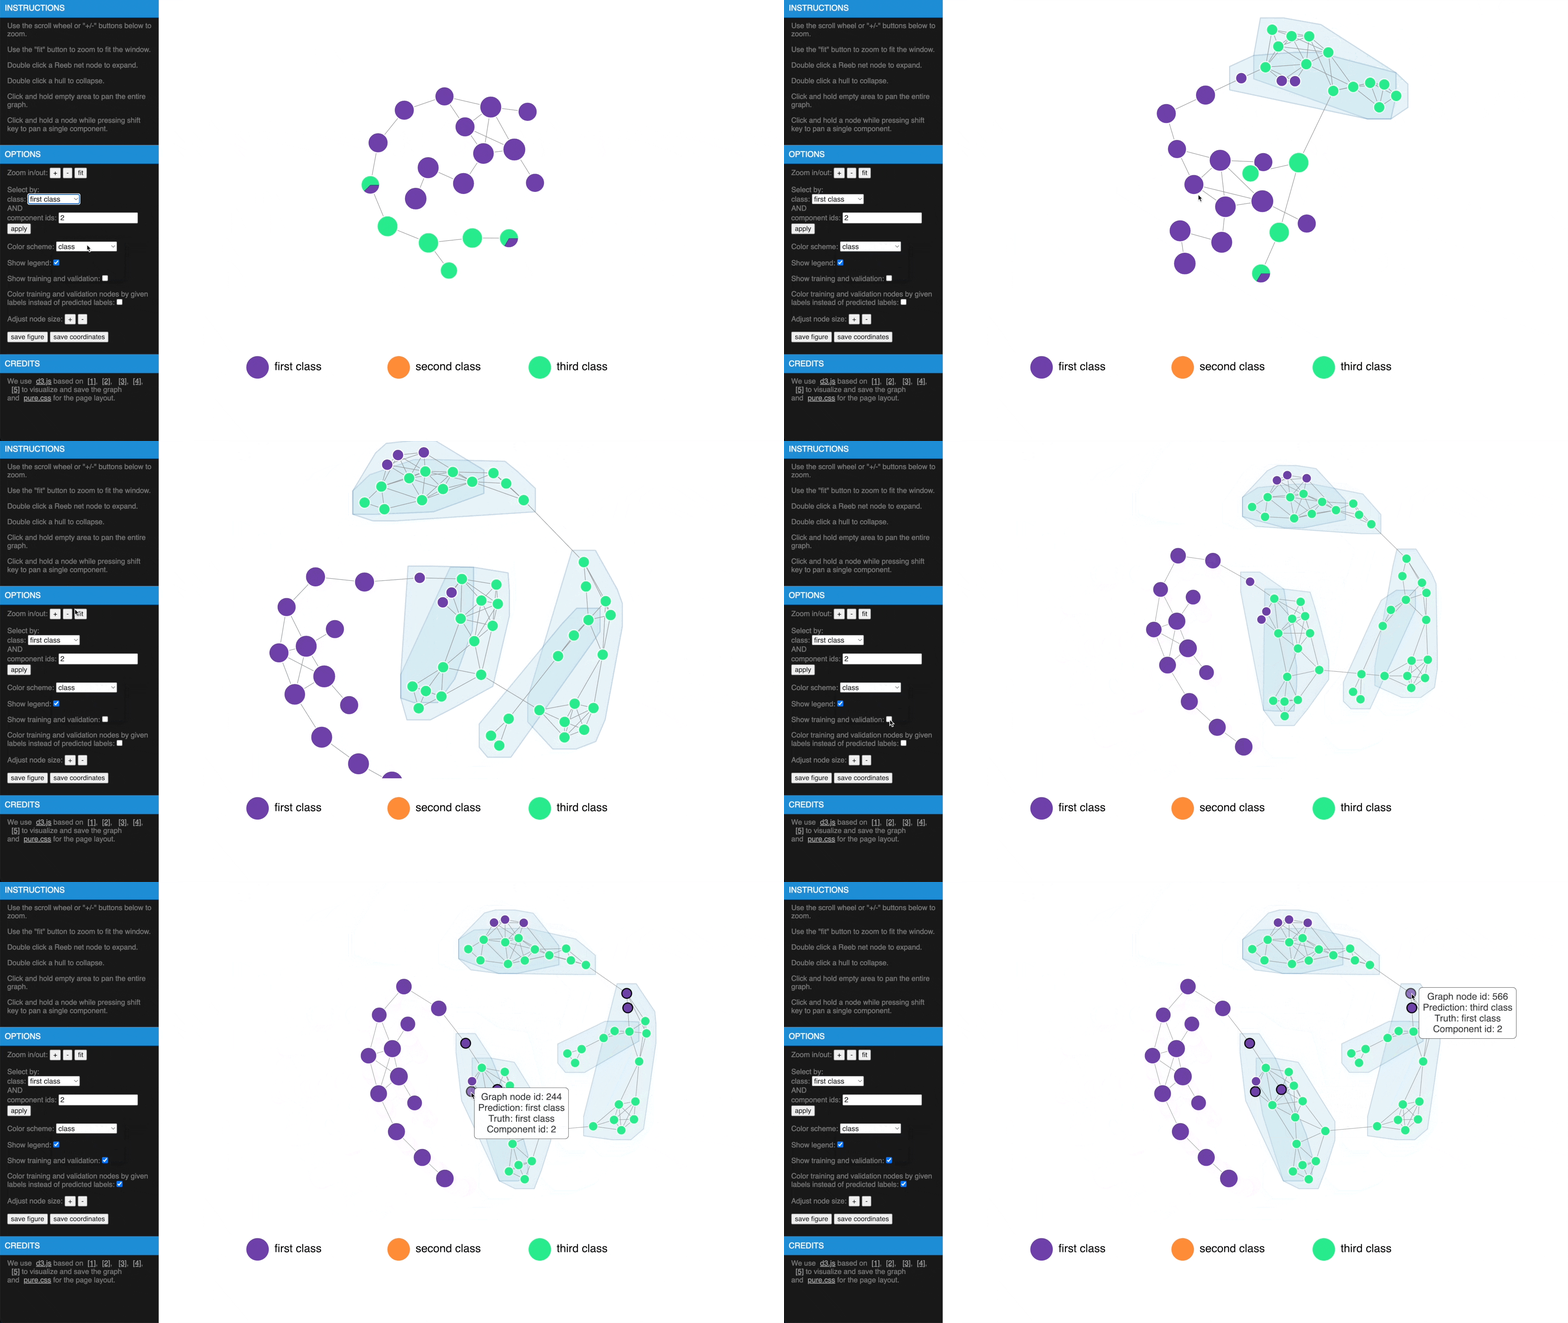
Once we have computed the Reeb net, other than examing the results in traditional figures, we have also created an interactive web interface using D3 library to explore the results in a web browser. To transform the GTDA results into the format compatible with the web interface, the following function needs to be called:
from GTDA.GTDA_utils import save_to_json
savepath = "web/"
save_to_json(GTDA_record, nn_model, savepath)
This function will save the results to web/reeb_net.js. Currently, this interface doesn't support another filename as reeb_net.js is hard coded in the code. This is to facilitate running the interface locally. Once the function is called, we can open web/index.html to explore the results.
https://mengliupurdue.github.io/Graph-Topological-Data-Analysis/
- Hover over a node to get more information, show or hide legend
- Use mouse wheel or buttons to zoom, move and fit to window, click and hold a node to drag to tweak layout
- Drag while pressing SHIFT to pan components, use buttons to change node size
- Check estimated errors or true errors, filter components by class or id
- Expand to samples or collapse to Reeb net nodes, understand estimated errors by highlighting training/validation
