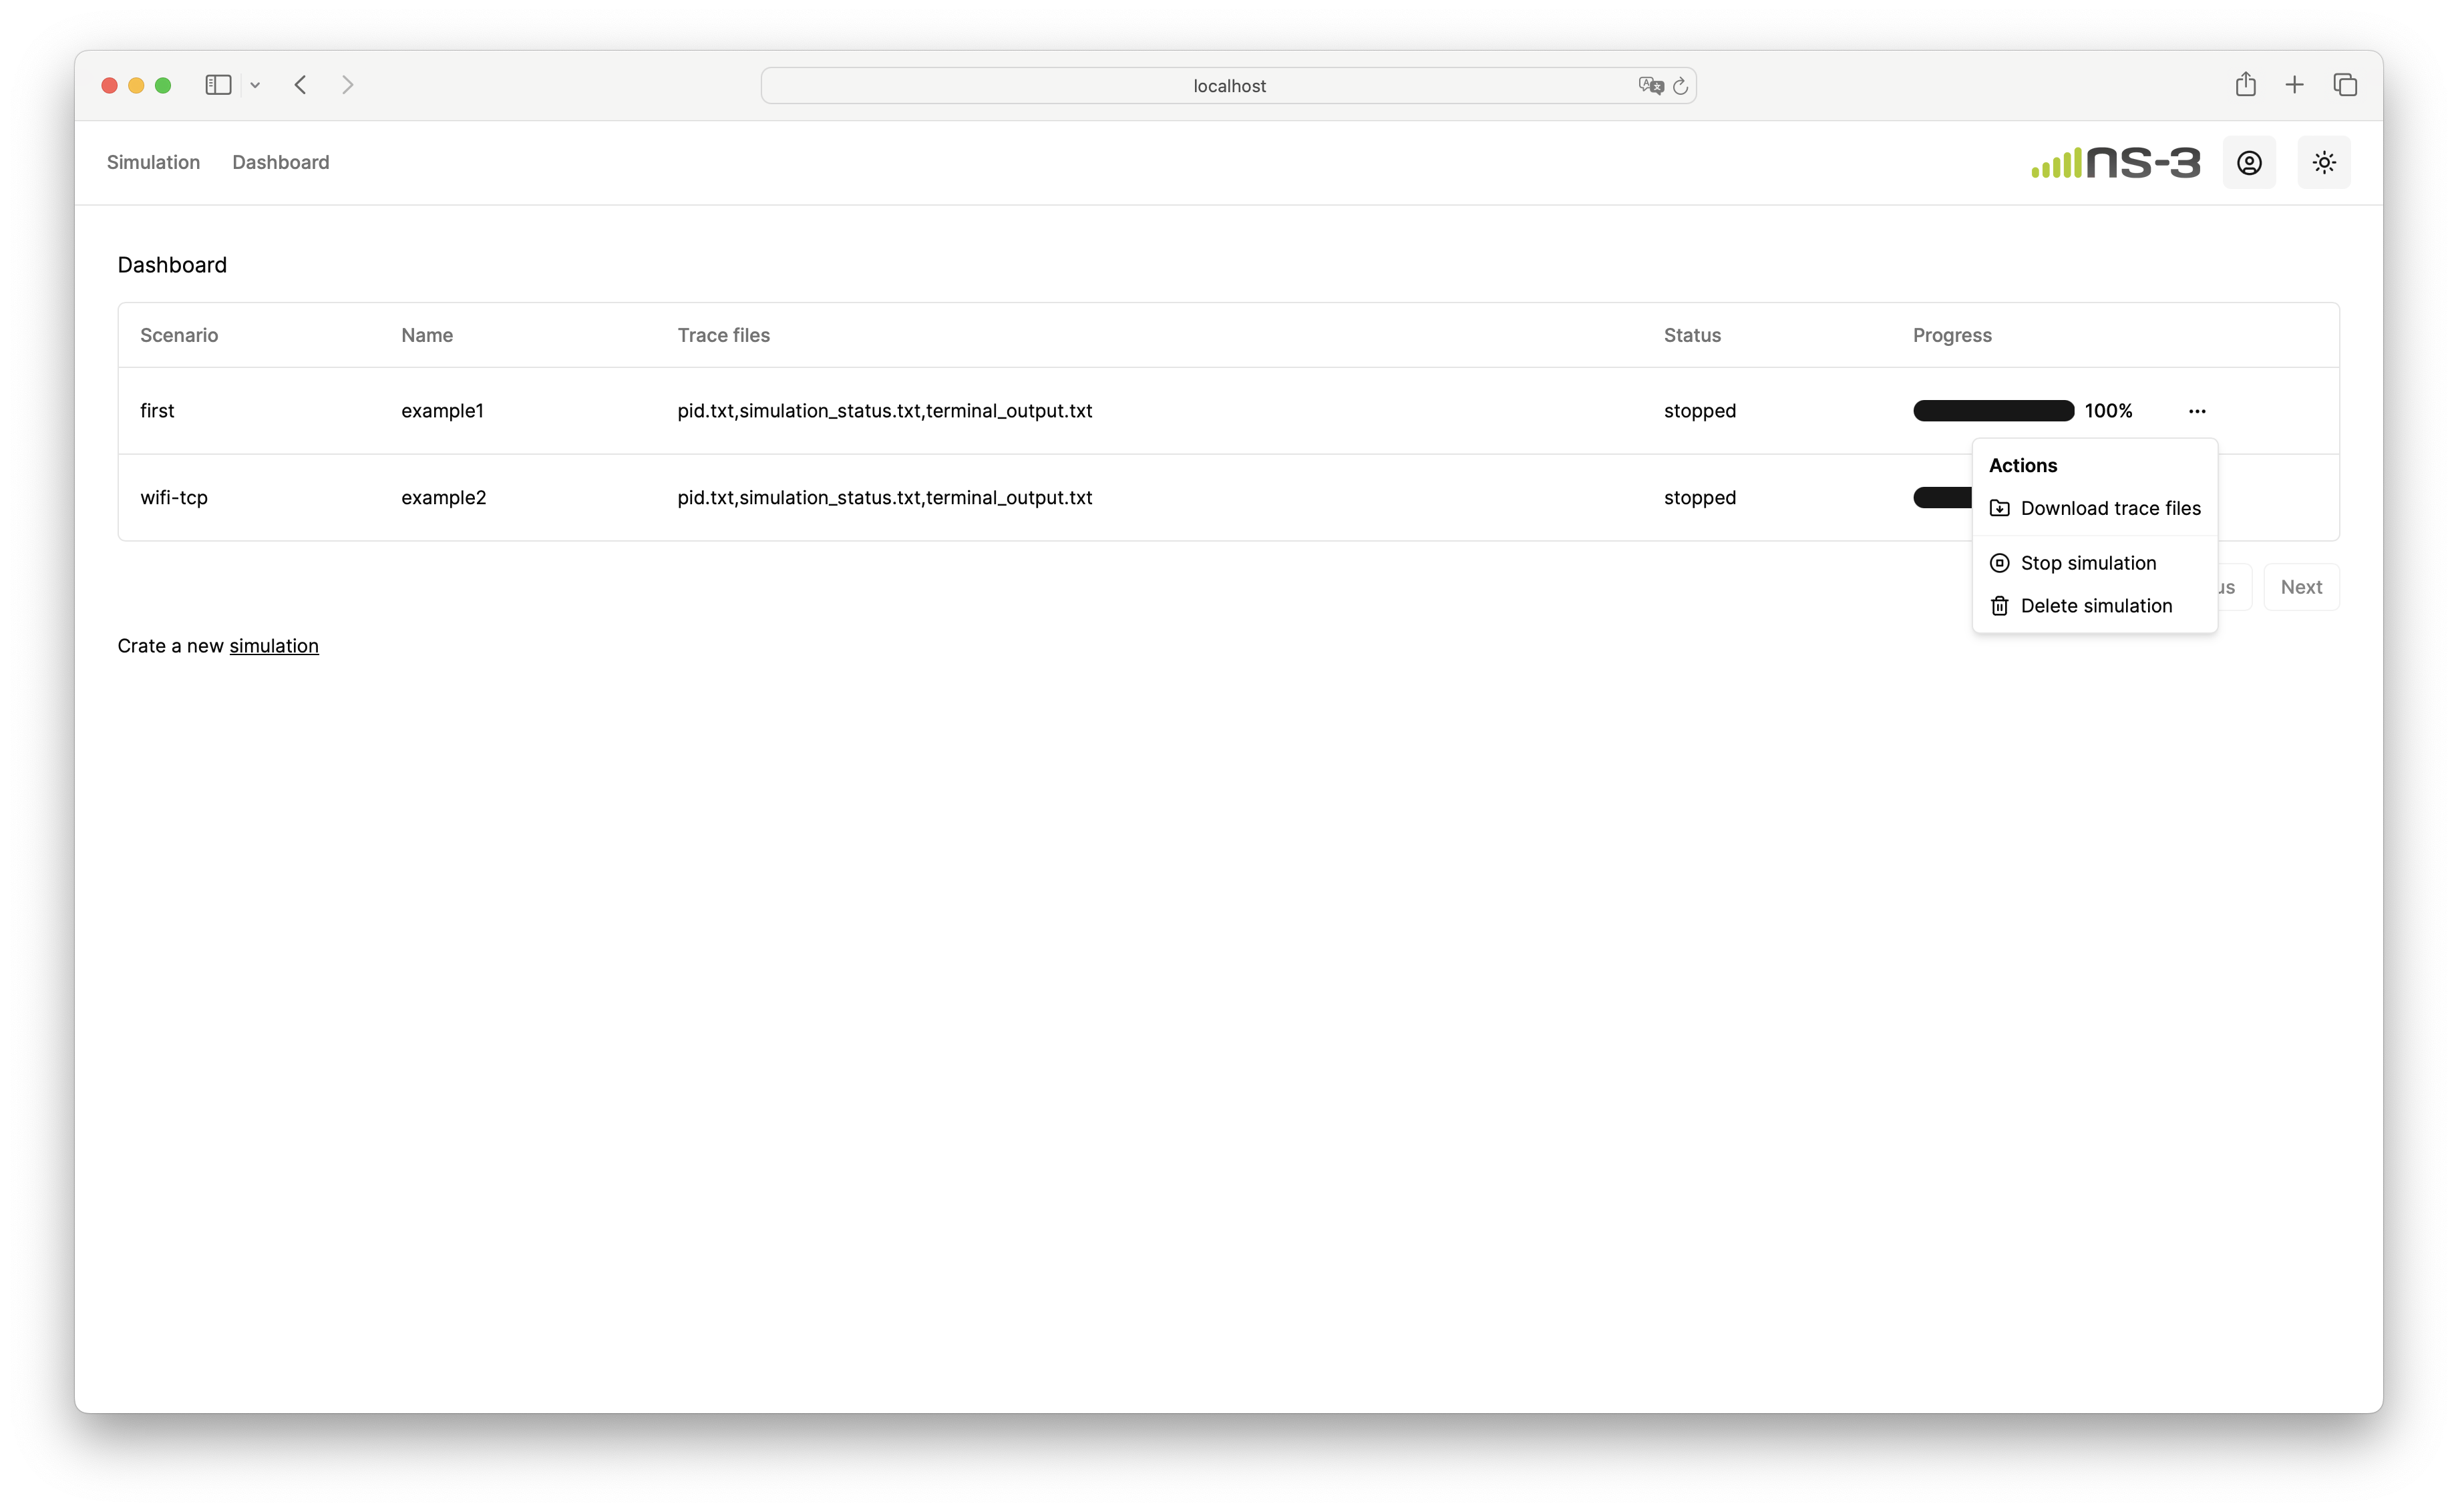
The ns-3 WebUI is a web application designed to display ns-3 example scripts (with future plans to support Local LLMs for code editing), initiate ns-3 simulations, monitor simulation progress, and download simulation traces.
The ns-3 WebUI is designed using Next.js and the shadcn/ui framework.
User authentication, e.g., login/logout pages, are based on Lucia and the sqlite3 database. Download the DB Browser for SQLite to manage the main.db database file.
node.js v20.15.1 or later.
In the root directory, clone ns-3.42 from GitLab:
git clone -b ns-3.42 https://gitlab.com/nsnam/ns-3-dev.git
After downloading ns-3, install the dependencies and libraries from ns-3 prerequisites. Build ns-3 with the following commands. You can find more information on building ns-3 here.
cd ns-3-dev
./ns3 configure --build-profile=optimized --enable-examples --disable-tests
./ns3 build
cd ..
You can set the build profile to debug (--build-profile=debug) if you would like ns-3 to print debug information.
Copy the modified default-simulator-impl to ns-3-dev. The modified simulator implementation logs the simulation timestamp into a trace file to trace simulation progress. Let me know if you have a better solution than modifying the source code.
cp ns-3-modified/default-simulator-impl.* ns-3-dev/src/core/model/
In the root directory, run the following command to start the WebUI:
cd webui
echo 'NS3_PATH="../ns-3-dev"' > .env.local
npm install
npm run dev
The path to ns-3 is stored in .env.local. You can now access the webpage by visiting http://localhost:3000. Upon your first visit, you'll be directed to a login page where you can create a new account.
Once logged in, access the simulation page and select a scenario to start simulation.
Upon starting the simulation, navigate to the dashboard page to monitor simulation progress and download trace files.


