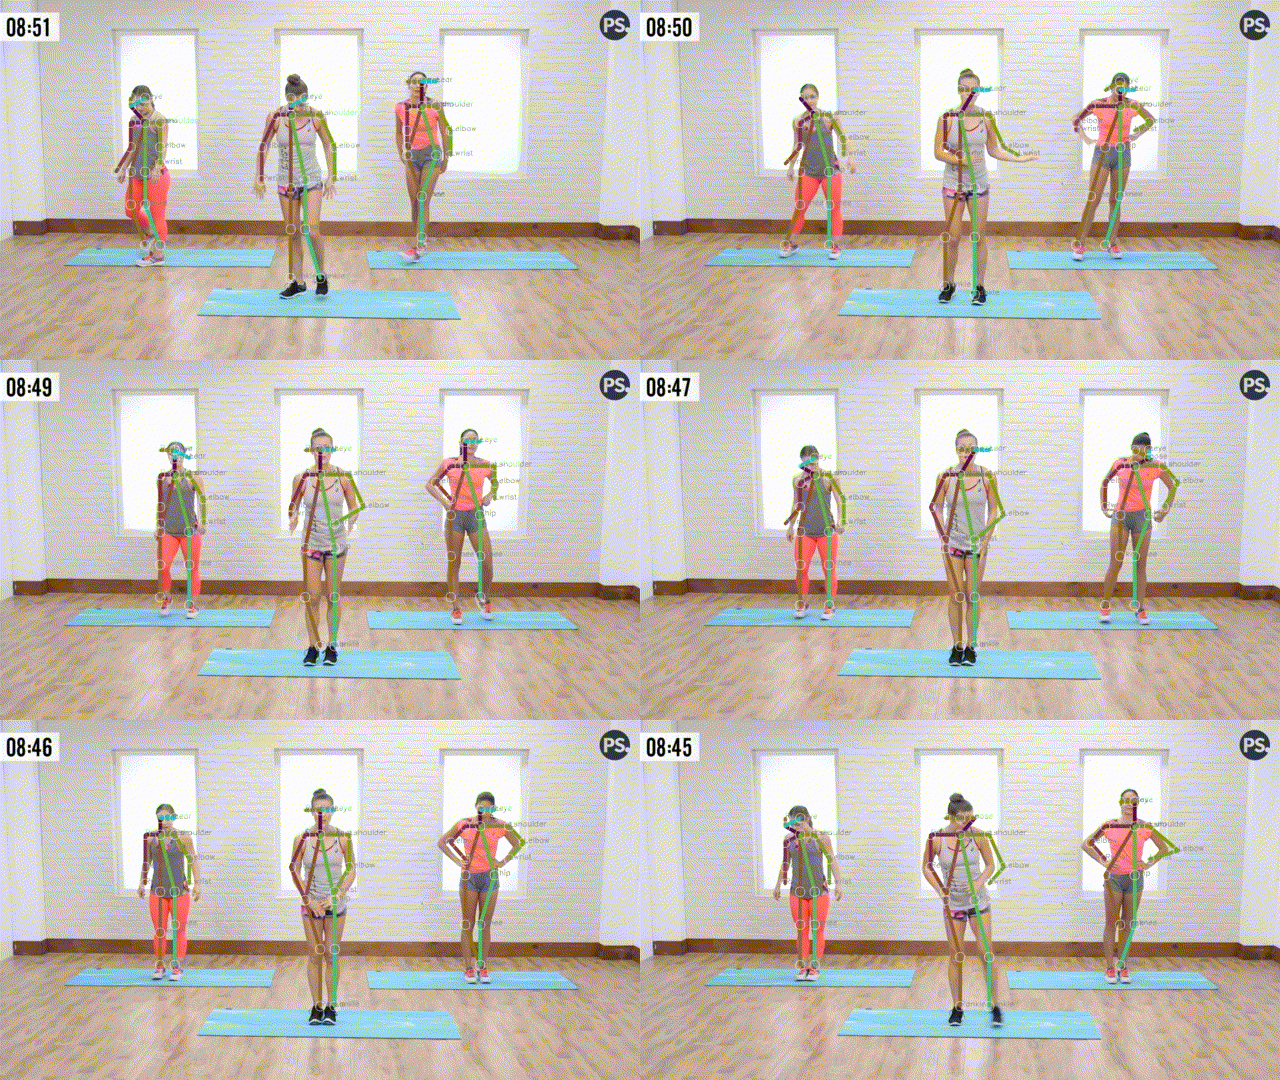
The Openpose algorithm processes an image with a deep CNN and extracts a skeleton representation of the pose of multiple people from it
This project reimplemented from scratch the OpenPose paper [1], Using Tensorflow 2.1 and TPU powered training (optional).
The default dataset used for training is the COCO 2017 keypoints dataset
The repo contains a trained model, and the applications are for demonstration purposes.
- Install all dependencies.
- For the web-cam demo launch
applications/cam.py - For video annotation launch
applications/video.py [input_video_filepath] [output_video_filepath] --fourcc [installed codec fourcc, for example XVID] --fps [the input video frame rate]
It's possible to train locally with a strong gpu (an epoch time of a few hours) in which case no TPU setup is required, or setup a google cloud tpu account and train on a TPU (an epoch time of ~15min, on a v2-8 instance).
- Set a google cloud account
- Create TPU instance (version must be 2.x+(for now it's a nighlty release))
- Create storage bucket for the TFrecords and for the training results in the same zone (must be globally unique names).
- Create a VM control instance (ie, a regular VM to utilize the TPU) in the same zone as the TPU.
*a suitable image istf2-latest-cpu - The network connectivity and permissions should allow full access between all 3 (TPU,VM,Bucket).
*All VM scopes should be allowed
*The bucket should be accessible with full permissions from the TPU and the VM - On the VM install
gcsfuse(dataset/install_gcsfuse.sh) - Setup Jupyter on the control VM to be accessible remotely
If training locally, this applies to the local machine, if using TPU, to the control VM.
- Checkout this repo
- Install dependencies
*if able to use tensorflow-gpu, install it - Download the dataset using
dataset/get_data(.sh or .bat) (run from its own working dir) - Run
training/transform_dataset.py(from it's wdir), this creates the TFrecord files used in training - Update
configs/local_storage_config - Run
training/Train.ipynbusing Jupyter - Run and access Tensorboard to track the training progress
- When happy with the results, update the demo apps with the new model.
- Checkout this repo
- Install dependencies
- Download the dataset using
dataset/get_data.sh(run from its own working dir) - Mount the GCS bucket using
dataset/mount_bucket.sh - Run
training/transform_dataset.py(from it's wdir), this creates the TFrecord files used in training - From within GCS verify the TFrecord files are in place
- Update
configs/remote_storage_config - Open
training/Train.ipynbfrom Jupyter - Check
Train.ipynbsettings and run the training. - Run and access Tensorboard to track the training progress
- When happy with the results, copy over the trained model to the local machine, and update the demo apps with the new model.
Python 3.5+ And everything in requirements.txt
*pycocotools for windows can be installed by:
pip install git+https://github.com/philferriere/cocoapi.git#subdirectory=PythonAPI
[1] Zhe Cao, Gines Hidalgo, Tomas Simon, Shih-En Wei, and Yaser Sheikh, Openpose: Realtime multi-person 2d pose estimation using part affinity fields, 2018.
