A library for training custom Stable Diffusion models (fine-tuning, LoRA training, textual inversion, etc.) that can be used in InvokeAI.
WARNING: This repo is currently under construction. More details coming soon.
- Finetune with LoRA
- Stable Diffusion v1/v2:
invoke-finetune-lora-sd - Stable Diffusion XL:
invoke-finetune-lora-sdxl
- Stable Diffusion v1/v2:
- DreamBooth with LoRA
- Stable Diffusion v1/v2:
invoke-dreambooth-lora-sd - Stable Diffusion XL:
invoke-dreambooth-lora-sdxl
- Stable Diffusion v1/v2:
More training modes will be added soon.
- (Optional) Create a python virtual environment.
- Install
invoke-trainingand its dependencies:
# A recent version of pip is required, so first upgrade pip:
python -m pip install --upgrade pip

# Editable install:
pip install -e ".[test]" --extra-index-url https://download.pytorch.org/whl/cu118- (Optional) Install the pre-commit hooks:
pre-commit install. This will run static analysis tools (black, ruff, isort) ongit commit. - (Optional) Set up
black,isort, andruffin your IDE of choice.
Run all unit tests with:
pytest tests/There are some test 'markers' defined in pyproject.toml that can be used to skip some tests. For example, the following command skips tests that require a GPU or require downloading model weights:
pytest tests/ -m "not cuda and not loads_model"The following steps explain how to train a basic Pokemon Style LoRA using the lambdalabs/pokemon-blip-captions dataset, and how to use it in InvokeAI.
This training process has been tested on an Nvidia GPU with 8GB of VRAM.
- Select the training configuration file based on your available GPU VRAM and the base model that you want to use:
- configs/finetune_lora_sd_pokemon_1x8gb_example.yaml (SD v1.5, 8GB VRAM)
- configs/finetune_lora_sdxl_pokemon_1x24gb_example.yaml (SDXL v1.0, 24GB VRAM)
- finetune_lora_sdxl_pokemon_1x8gb_example.yaml (SDXL v1.0, 8GB VRAM, UNet only)
- Start training with the appropriate command for the config file that you selected:
# Choose one of the following:
invoke-finetune-lora-sd --cfg-file configs/finetune_lora_sd_pokemon_1x8gb_example.yaml
invoke-finetune-lora-sdxl --cfg-file configs/finetune_lora_sdxl_pokemon_1x24gb_example.yaml
invoke-finetune-lora-sdxl --cfg-file configs/finetune_lora_sdxl_pokemon_1x8gb_example.yaml- Monitor the training process with Tensorboard by running
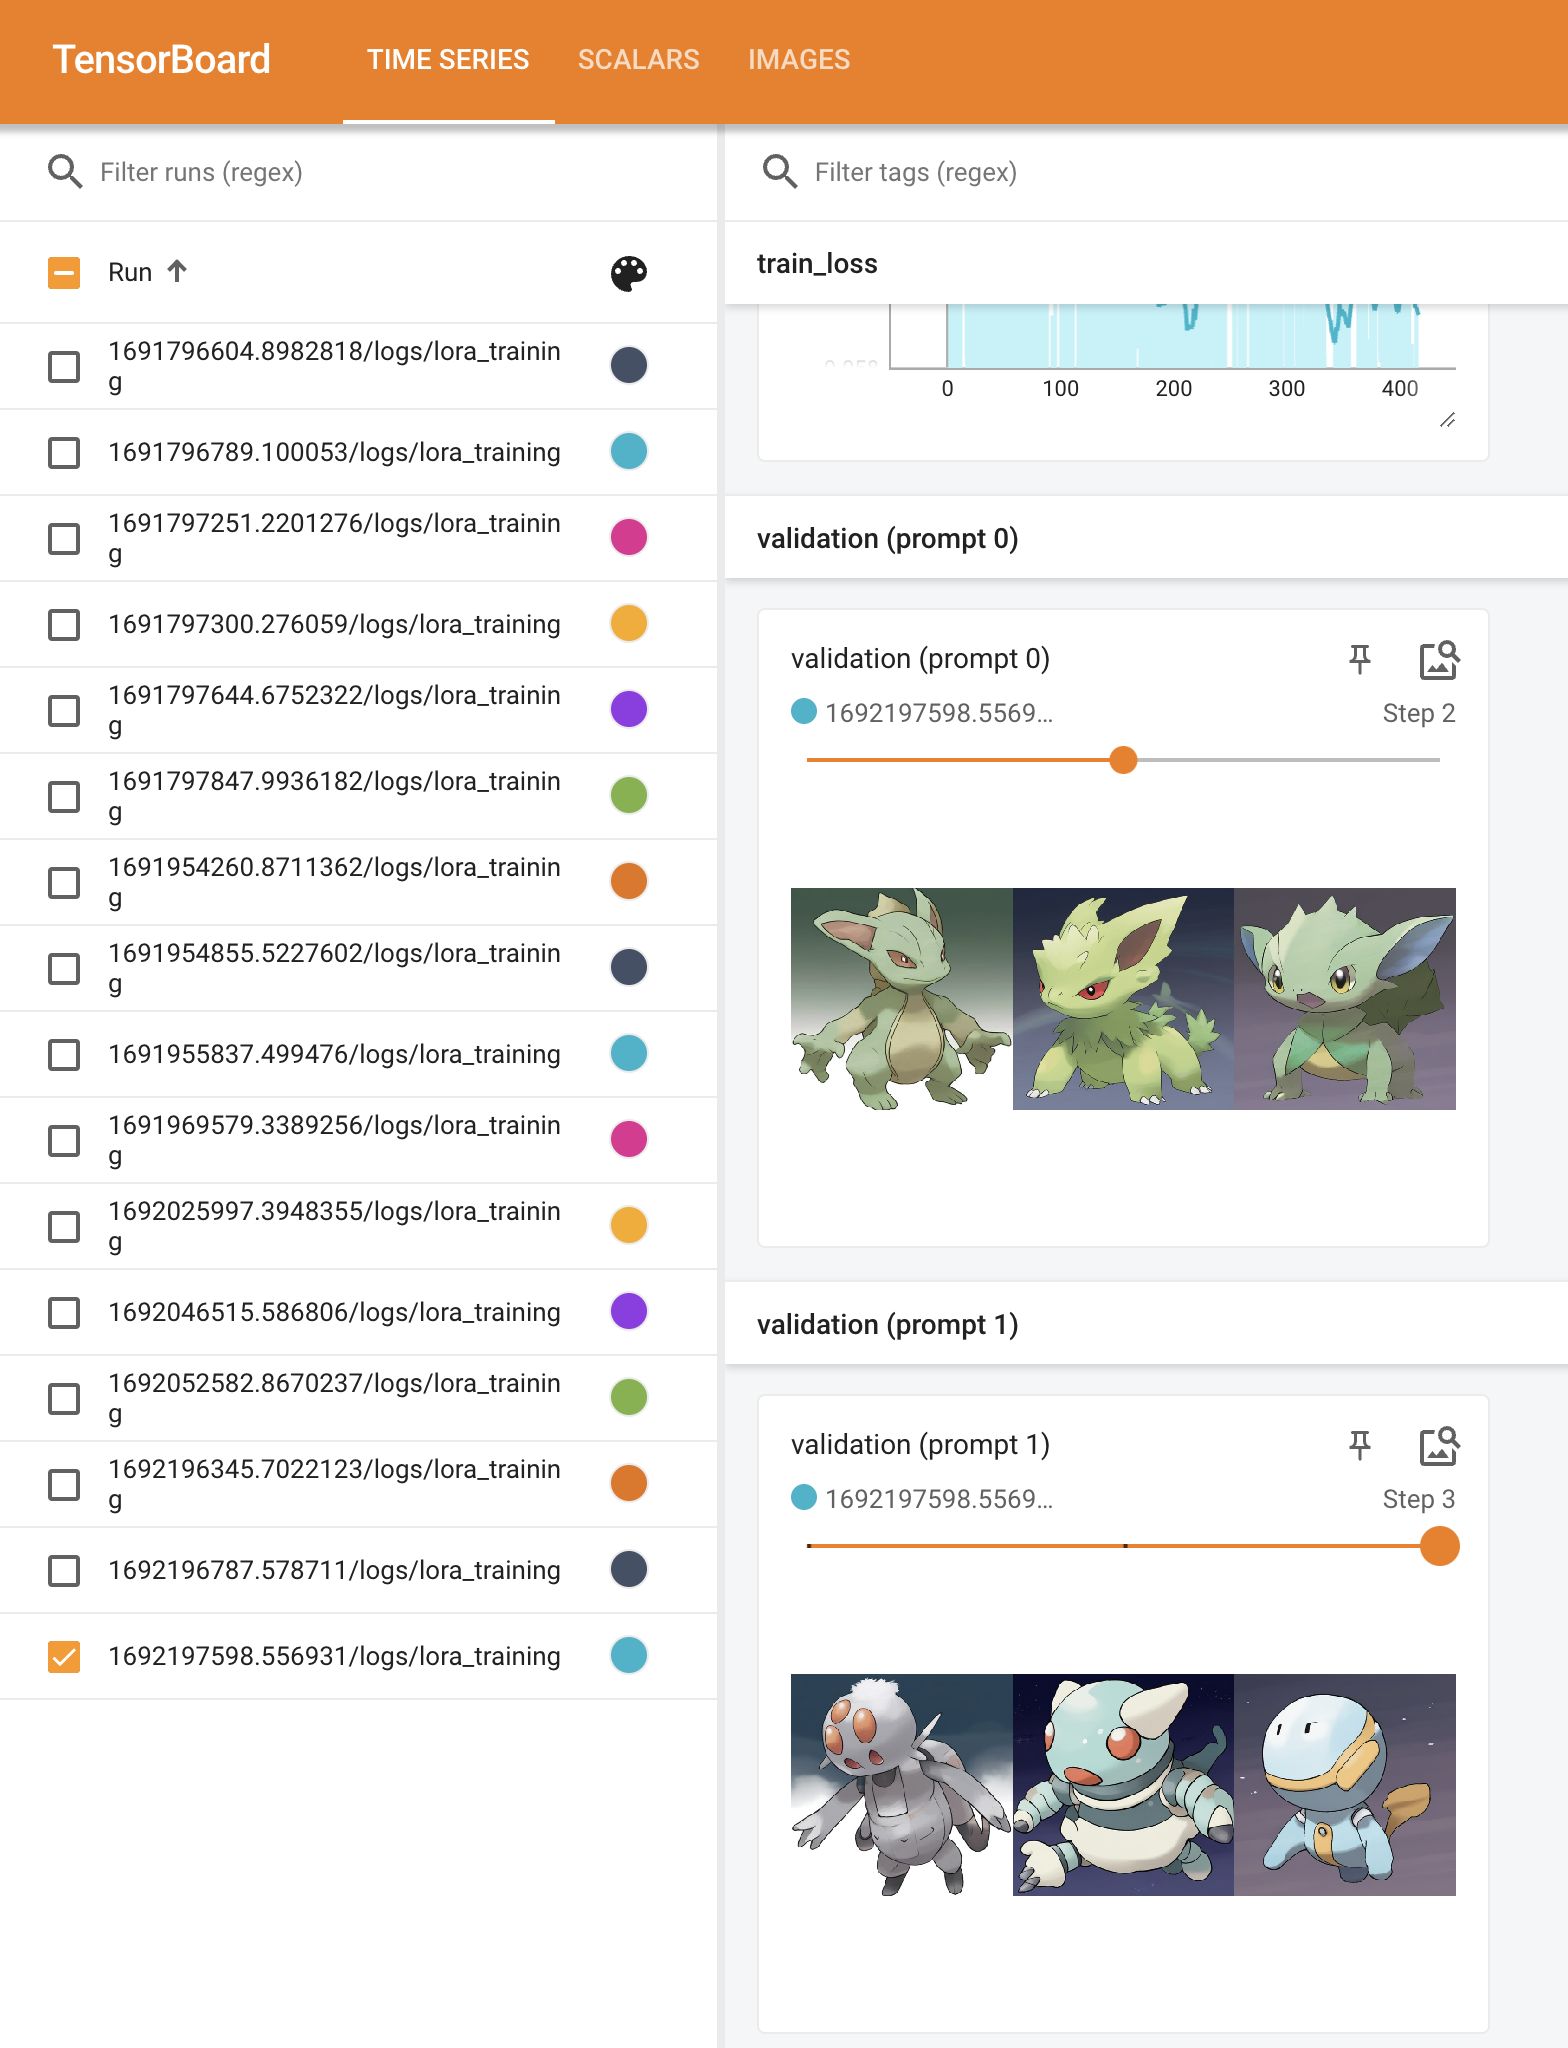
tensorboard --logdir output/and visiting localhost:6006 in your browser. Here you can see generated images for fixed validation prompts throughout the training process.
 Validation images in the Tensorboard UI.
- Select a checkpoint based on the quality of the generated images. In this short training run, there are only 3 checkpoints to choose from. As an example, we'll use the Epoch 2 checkpoint.
- If you haven't already, setup InvokeAI by following its documentation.
- Copy your selected LoRA checkpoint into your
${INVOKEAI_ROOT}/autoimport/loradirectory. For example:
# Note: You will have to replace the timestamp in the checkpoint path.
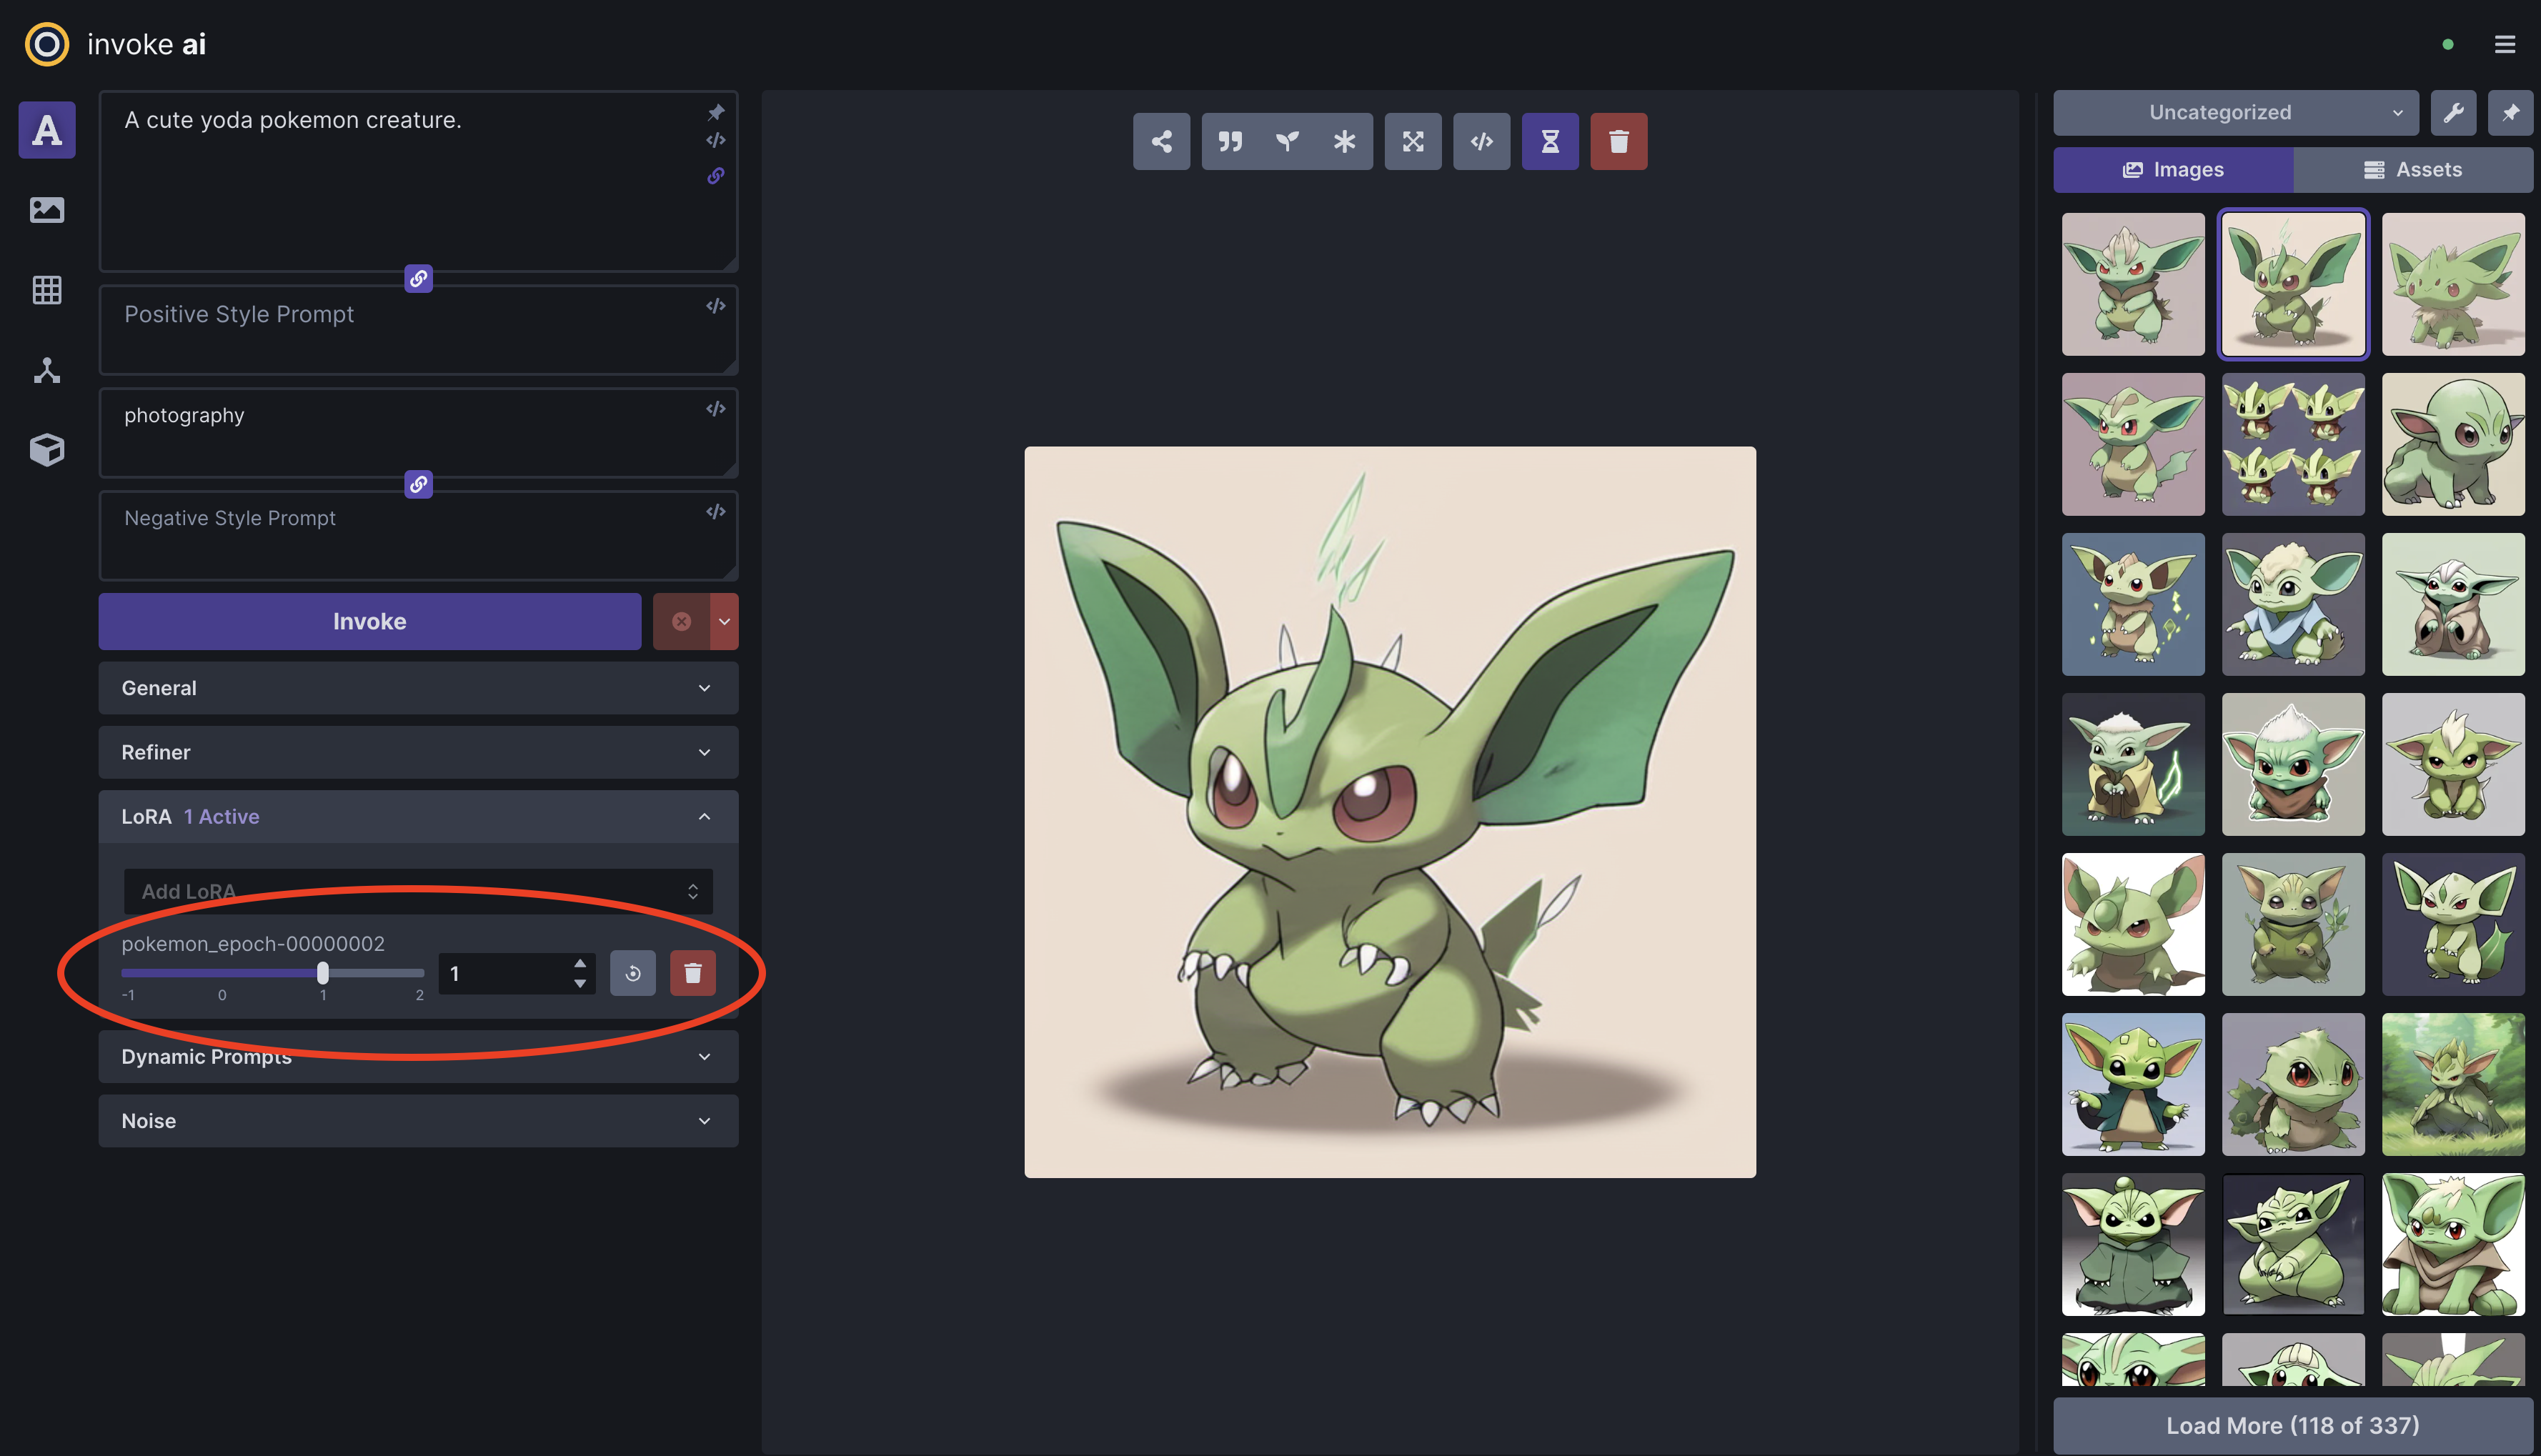
cp output/1691088769.5694647/checkpoint_epoch-00000002.safetensors ${INVOKEAI_ROOT}/autoimport/lora/pokemon_epoch-00000002.safetensors- You can now use your trained Pokemon LoRA in the InvokeAI UI! 🎉
 Example image generated with the prompt "A cute yoda pokemon creature." and Pokemon LoRA.
See the dataset formats for a description of the supported dataset formats and instructions for preparing your own custom dataset.